
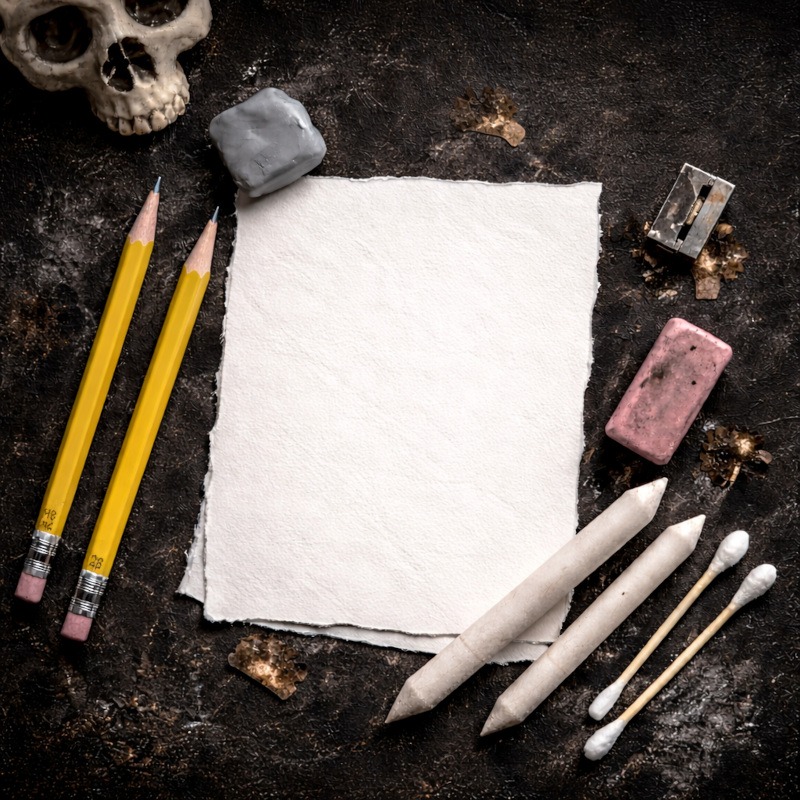
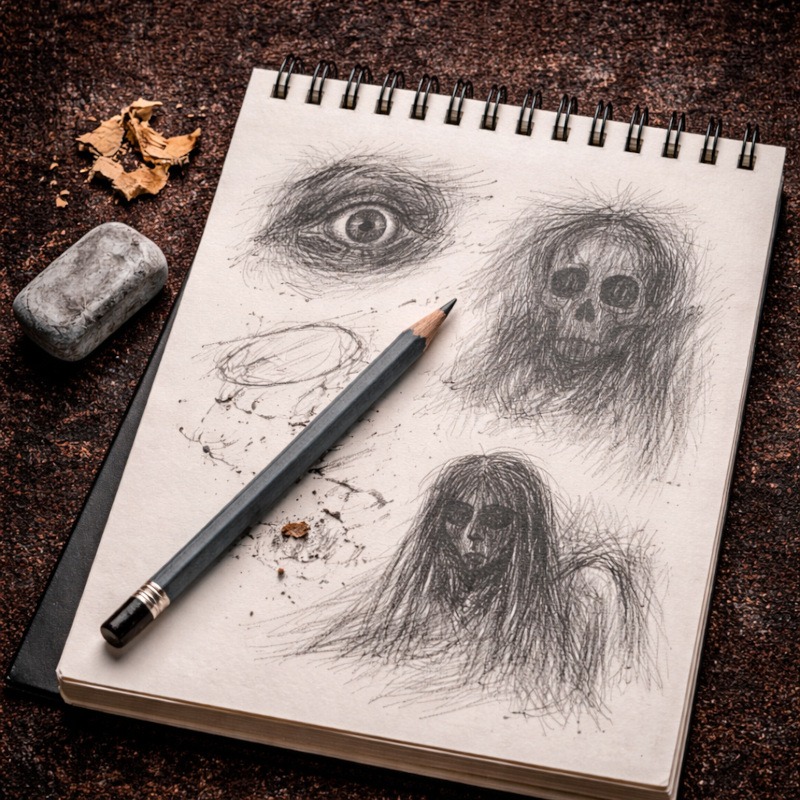
Essential Horror Drawing Tools for Beginners
Welcome to Horror Drawing Without the Supply Panic
Starting horror drawing can feel intimidating before you’ve even made a mark, especially when you’re unsure what drawing supplies you actually need. Social media is full of artists showing off massive pencil sets, fancy paper, and tools that look like they belong in a wizard’s study. It’s enough to make anyone think they’re already behind.
Here’s the truth. You don’t need any of that to begin drawing.
This post is here to strip things back to the absolute basics, so you can focus on learning to draw creepy characters instead of stressing about equipment. Simple tools. Simple explanations. No unnecessary pressure. If you already have a pencil and paper nearby, you’re officially ready. By the end of this post, you’ll know exactly what you need to start drawing horror characters without overthinking it.
Affiliate Disclosure:
Some of the links on this page are affiliate links. This means I may earn a small commission at no extra cost to you. I only recommend tools I personally use and genuinely trust as I learn and build my horror drawing skills.
Quick Picks for Beginners (no pressure, I promise):
You don’t need all of these. One pencil and one eraser are honestly enough to begin.
Graphite Pencils
- Best for Precision & Control
👉 Faber-Castell 9000 Graphite Set
- Best for Dark, Dramatic Shading
👉 Derwent Graphic Pencils
- Most Durable & Beginner-Friendly
👉 Staedtler Mars Lumograph Pencils
Erasers
- Best Everyday Eraser (My Go-To)
👉 Faber-Castell Dust-Free Eraser
- Best Budget Option
👉 Faber-Castell Latex-Free Eraser
Pencil Sharpener
- 👉 Faber-Castell Trio Pencil Sharpener (Grip 2001)
Keeps pencil points sharp without constantly breaking the lead. Works well for graphite, charcoal and coloured pencil, plus it keeps mess contained.
Blending Stumps
- 👉 Derwent Paper Stumps (Pack of 3)
Strong, tightly rolled paper that does not unravel after a few uses. Great for smooth blending and controlled shading in beginner tutorials.
If you’re new to using them, you can also follow my step-by-step guide on How to Use Blending Stumps with Graphite or learn How to Blend Charcoal with Blending Stumps.
The Essential Tools You Actually Need
Let’s start with the things that genuinely matter:
1. Graphite Pencils:
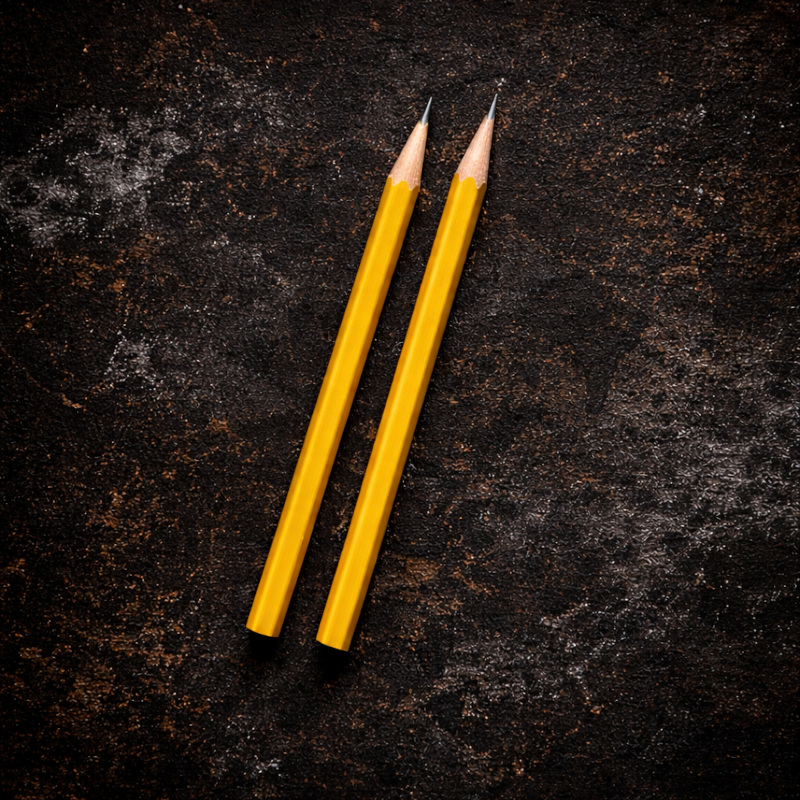
For beginner horror drawing, you only need one or two pencils to get going.
- HB pencil
This is perfect for light sketching, guidelines, and early shapes. It’s forgiving, easy to erase, and ideal for learning. - 2B pencil
Slightly darker than HB, this is great for adding depth and definition once you’re more comfortable with your lines.
If pencil grades confuse you, don’t worry. Think of HB as “lighter and forgiving” and 2B as “slightly darker and more confident.”
You don’t need a full set of pencils right now. If you have more, that’s great. If not, you’re not missing out. One or two pencils are more than enough to learn control and build confidence. confidence.
And yes, that slightly chewed pencil from the kitchen drawer still counts.
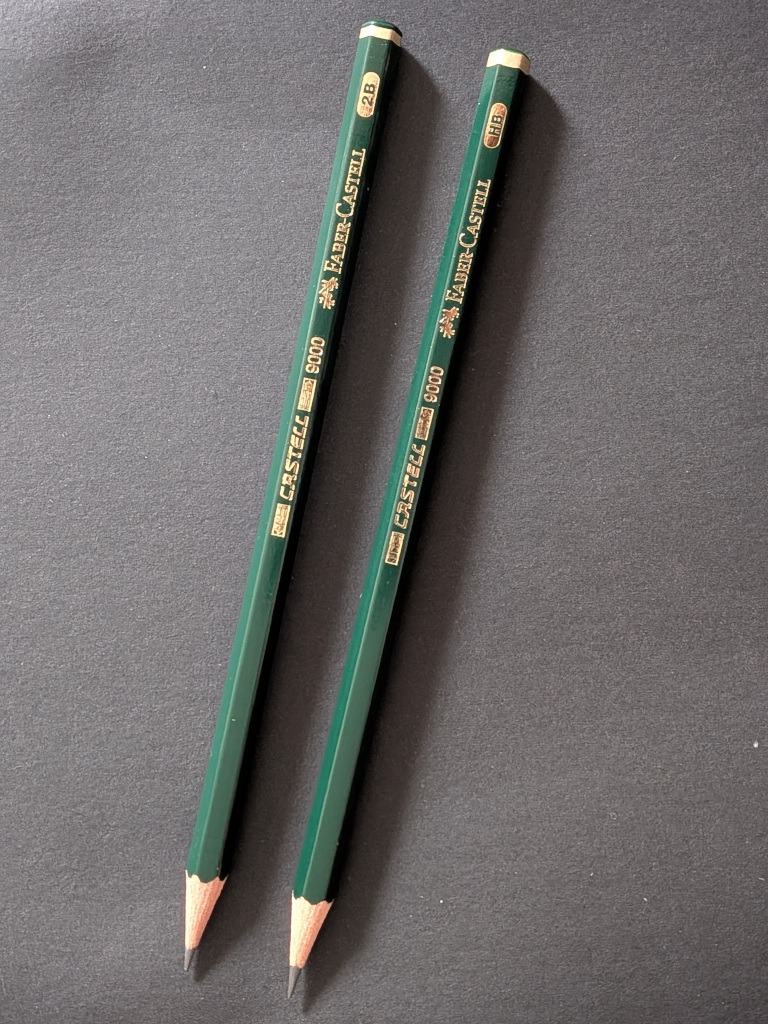
Faber-Castell 9000 Graphite Set
- Smooth, controlled graphite
- Excellent precision for refining details
- Comfortable and balanced in the hand
- Layers beautifully for gradual shading
- Needs gentle sharpening to avoid breakage
My Honest Take
These are the ones I reach for most when I want control and clean details. They feel smooth and controlled on the page, making it much easier to refine shapes and add small horror details.
They don’t feel quite as soft or instantly dark as Derwent at the same grade, but they build tone beautifully with layering. I also find them very comfortable to hold during longer drawing sessions.
They do need a careful hand when sharpening, as the cores can break if you rush it. But overall, the precision and smoothness make them a brilliant choice for controlled sketching.
👉 If you want to try them, you can check out the Faber-Castell 9000 Graphite Set here.
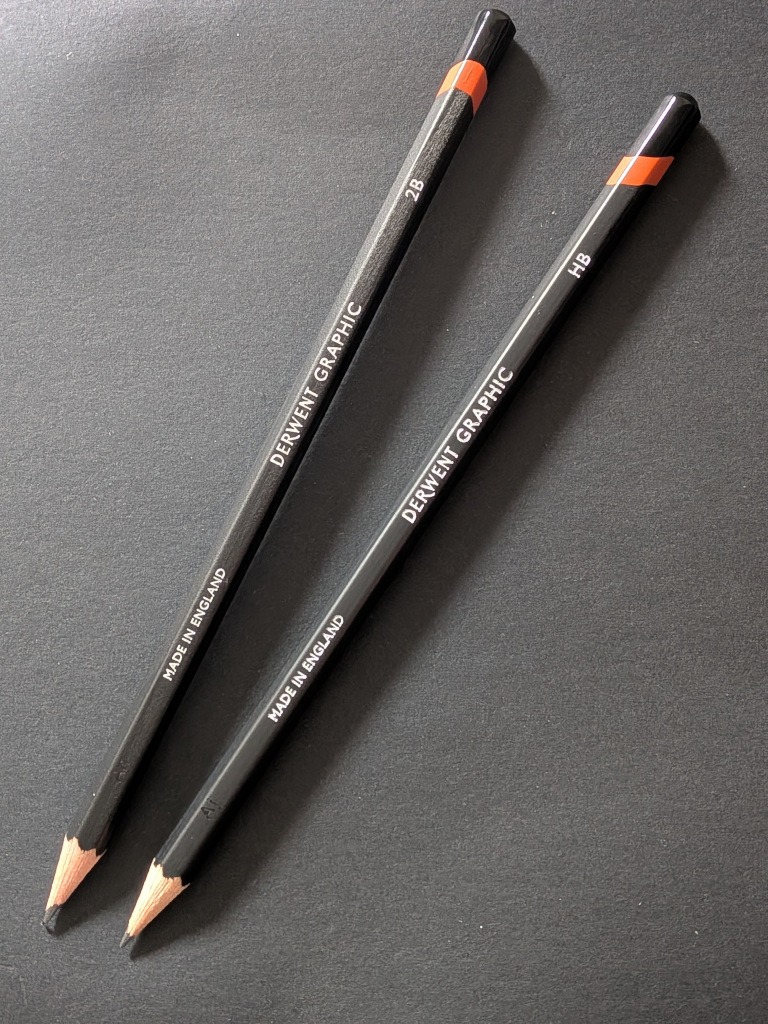
Derwent Graphic Starter Set
- Richer, darker graphite for strong contrast
- Softer feel for dramatic shading
- Wide range of grades available
- Needs a gentle hand when sharpening
My Honest Take
Derwent pencils give noticeably deeper dark values than many brands at the same grade. They’re great for dramatic horror shadows and bold contrast.
They do feel softer, which helps with shading, but they need a bit more care when sharpening, as the lead can break if you’re heavy-handed. I’ve also found that the lighter grades can feel slightly scratchy compared to some other brands.
If strong contrast and depth are your priority, these are a fantastic choice.
👉 If you want to try them, you can check out the Derwent Graphic 4-Pencil Starter Set here.
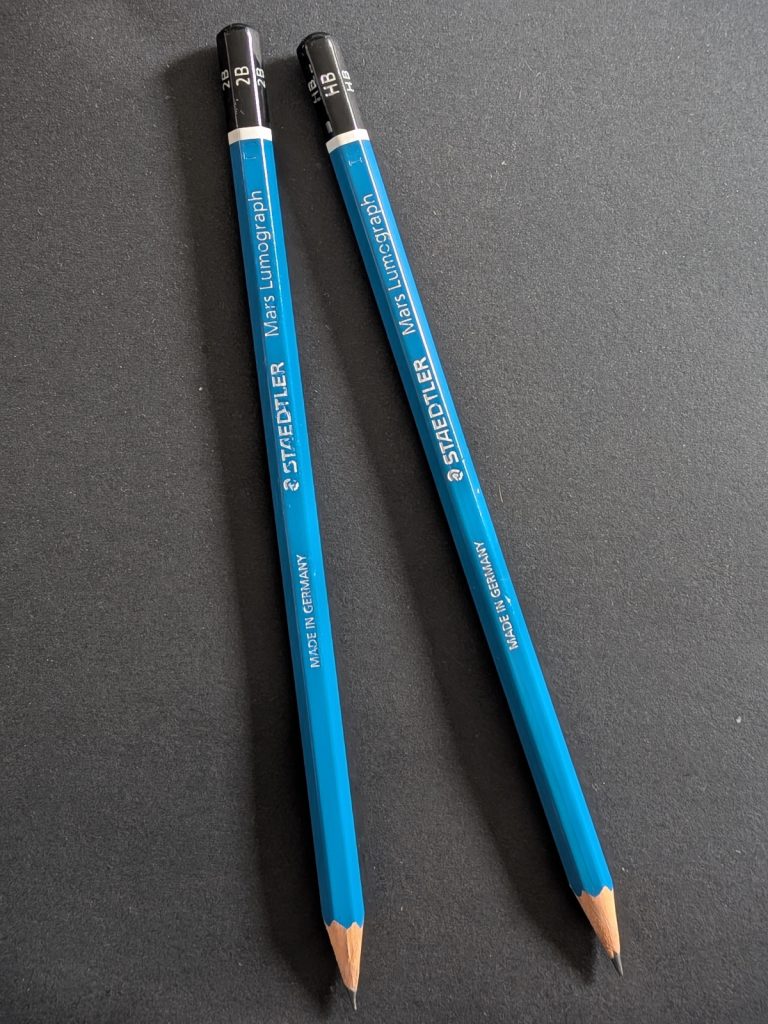
Staedtler Mars Lumograph Pencil Set
- Strong cores that don’t snap easily when sharpening
- Smooth for general sketching and early shading
- Beginner-friendly and easy to control
- Slightly lighter graphite than some other brands
My Honest Take
I’ve found these pencils to be really reliable, especially while you’re still getting used to sharpening and controlling pressure. They don’t snap as easily as some other brands, which makes them less frustrating when you’re just starting out. They feel smooth for general sketching and early shading work.
However, I’ve personally noticed that the darker grades don’t go quite as deep and rich as some other brands at the same grade. So if you’re aiming for very intense dark values for dramatic horror shading, they may appear slightly lighter than expected.
That said, for durability and beginner control, they’re a solid choice. If you’re buying a set, start with HB and 2B for basic sketching and shading.
👉 If you want to try them, you can check out the Staedtler Mars Lumograph Pencil Set here.
2. Paper:
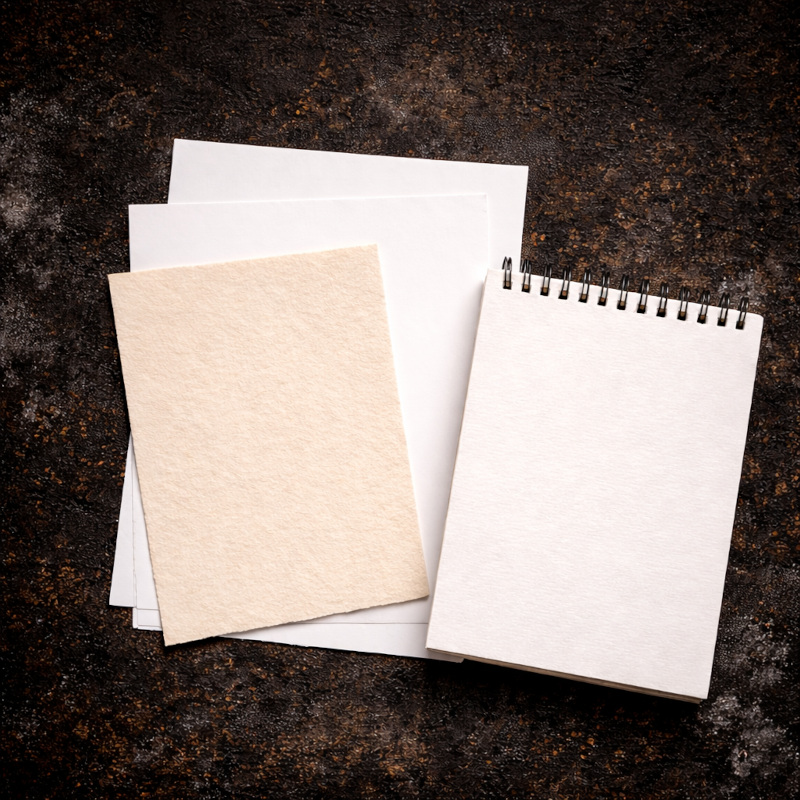
Your paper does not need to be expensive or fancy at this stage. The goal is to practice freely without worrying about “ruining” a page or wasting something precious.
- Printer paper works just fine for practice
- Basic sketch paper is a great step up
- Sketchbooks are optional, not required
The best paper is the one you’re happy to draw on. If you’re scared to use it, it’s probably not the right paper yet.
When you’re starting out, quantity beats luxury. You want pages you can fill without hesitation. The more you draw, the faster you improve. Fancy paper can wait until you’re experimenting with finished pieces.
3. Eraser:
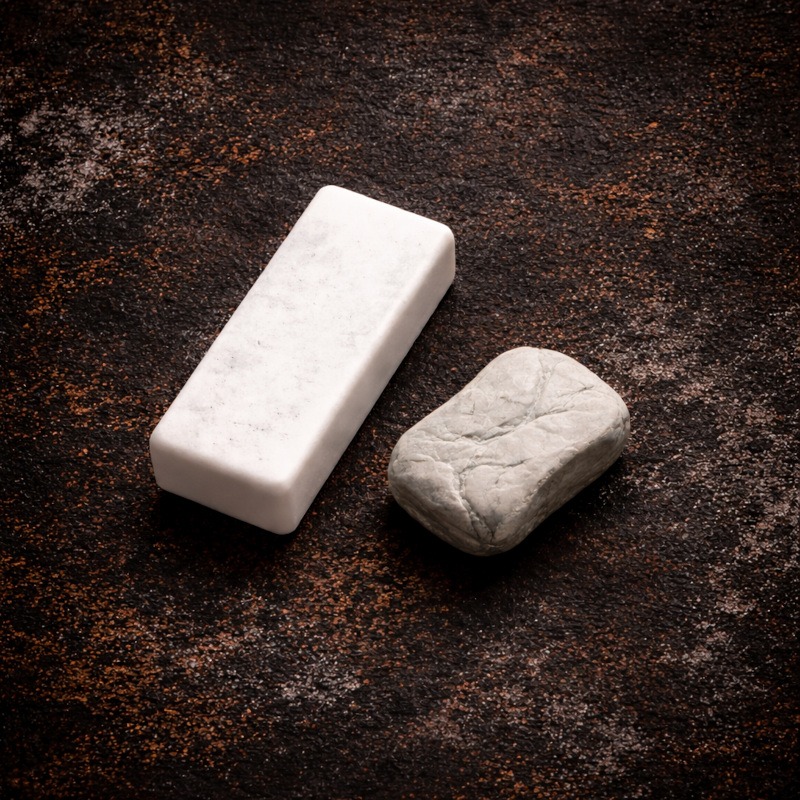
You’re going to erase. A lot. That’s completely normal.
Erasing is part of sketching lightly, adjusting shapes, and fixing proportions as you go. It is not a sign that you have failed. It just means you are building the drawing properly instead of committing too early.
Erasers are tools, not evidence of artistic doom.
- A standard eraser is more than enough for beginners
- A kneaded eraser is useful later, especially for lifting graphite gently, but not essential to start
Your eraser will get used constantly in the early stages. That’s a good thing. It means you are refining your sketch instead of trying to force perfection on the first line.
If your eraser looks a bit worn and dramatic by the end of a session, congratulations. It has done its job.
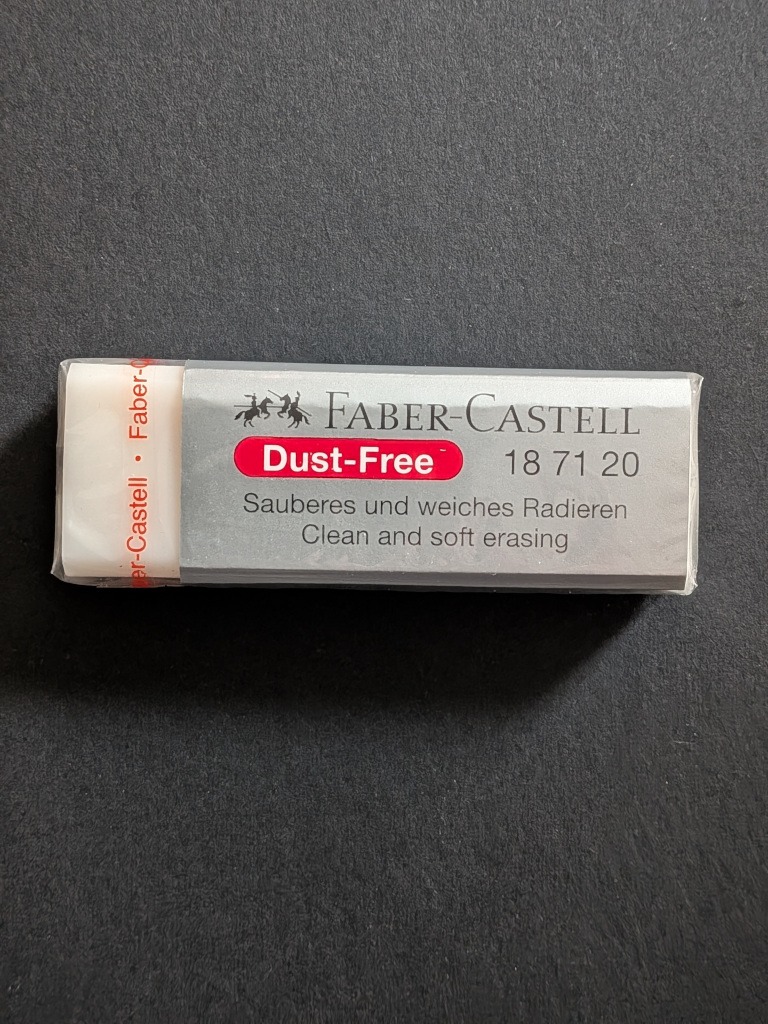
Faber-Castell Dust-Free Eraser
This is the standard eraser I personally reach for the most.
- Very gentle on paper
- Lifts graphite cleanly
- Doesn’t tear up sketch paper
- Produces minimal shavings
- Comfortable shape for controlled erasing
It removes marks easily without feeling aggressive, which is especially helpful when you’re still sketching lightly and adjusting proportions.
If you’re only buying one standard eraser to begin with, this is a reliable choice.
👉 Check out the Faber-Castell Dust-Free Eraser here
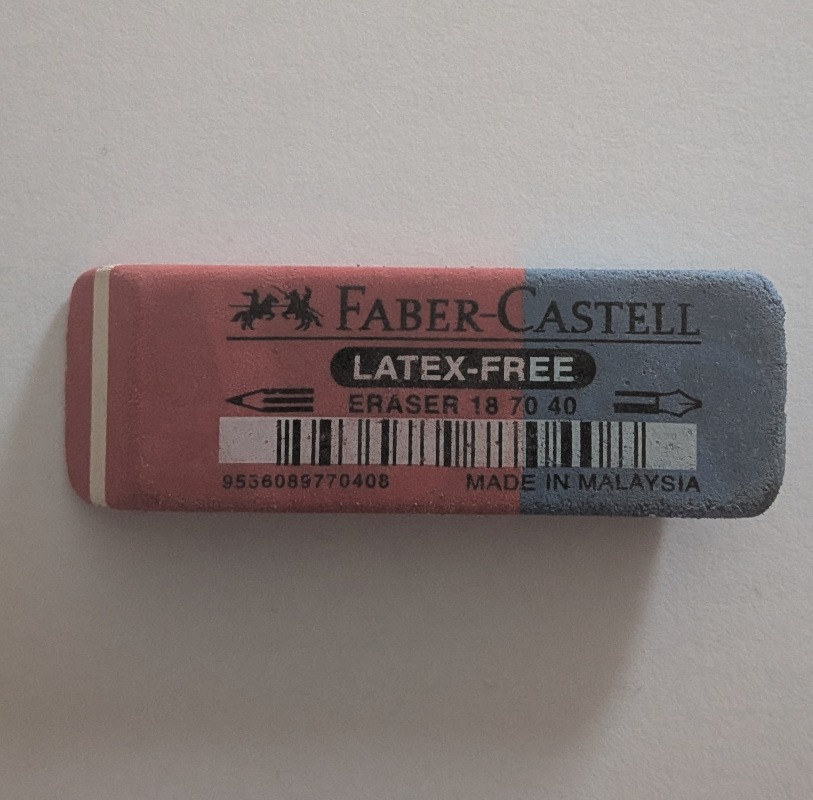
Faber-Castell Latex-Free Eraser
This is a great budget-friendly option if you want something simple and reliable. It’s especially good if you go through erasers quickly and don’t want to worry about replacing them.
- Removes graphite cleanly
- Produces minimal shavings
- Affordable and easy to replace
It doesn’t feel quite as comfortable to hold as the Dust-Free version, but it still does the job well and is reliable for everyday sketching.
If you want something simple, effective, and inexpensive, this is a solid choice.
👉 Check out the Faber-Castell Latex-Free Eraser here
4. Pencil Sharpener:
A good sharpener is more important than people realise. A blunt pencil makes it harder to control your lines and can even damage the paper if you press too hard.
Keeping your pencils sharp helps with clean sketch lines, better detail, and smoother shading from the start.
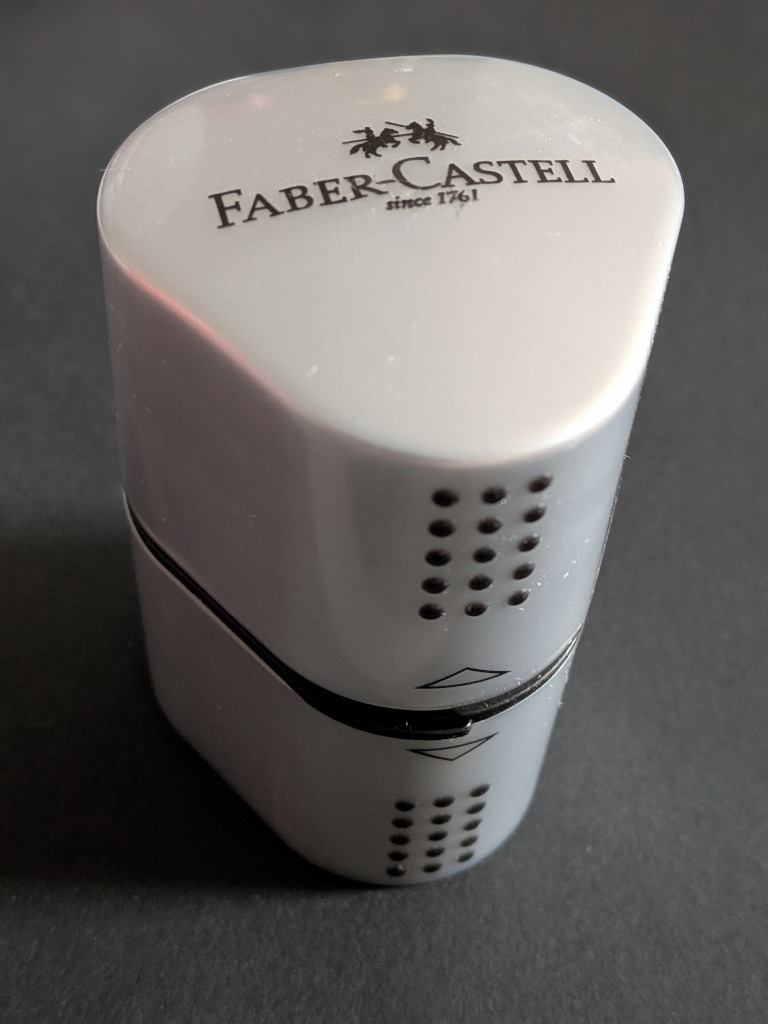
Faber-Castell Trio Pencil Sharpener (Grip 2001)
This is the sharpener I personally use.
- Keeps pencil points sharp and precise
- Separate holes for standard and coloured pencils
- Works well with graphite and charcoal pencils
- Does not snap the lead like some sharpeners can
- Built-in container keeps your workspace tidy
It sharpens evenly and gives a clean point without constantly breaking the core, which is especially important when using softer graphite grades. Because, let’s be honest, there’s nothing more frustrating than your pencil snapping mid-shading.
If you are only buying one sharpener to start with, this is a reliable option that works well for everyday drawing.
👉 Check out the Faber-Castell Trio Pencil Sharpener here.
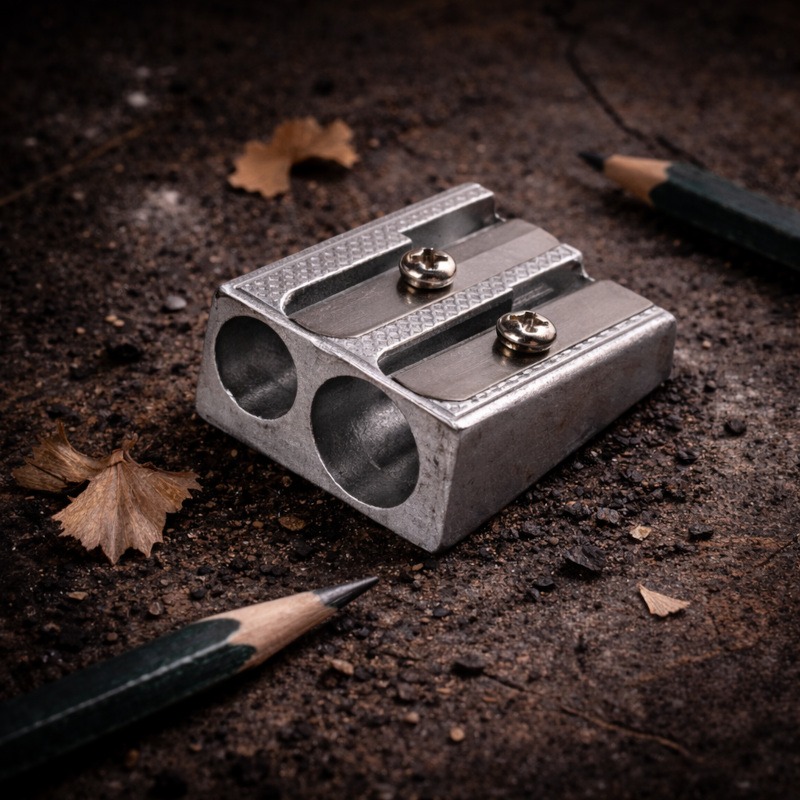
5. Blending Stumps (Tortillions):
Blending stumps help smooth out graphite, soften harsh pencil lines, and create those subtle shadow transitions that make drawings look more finished. I use them even in beginner tutorials because they make shading easier to control and far less streaky.
They’re especially useful for smoky backgrounds, deep eye sockets, and soft shadow transitions in horror characters.
You do not need them to start drawing, but if you want smoother horror shadows instead of “I accidentally rubbed it with my sleeve” shadows, they are incredibly helpful.
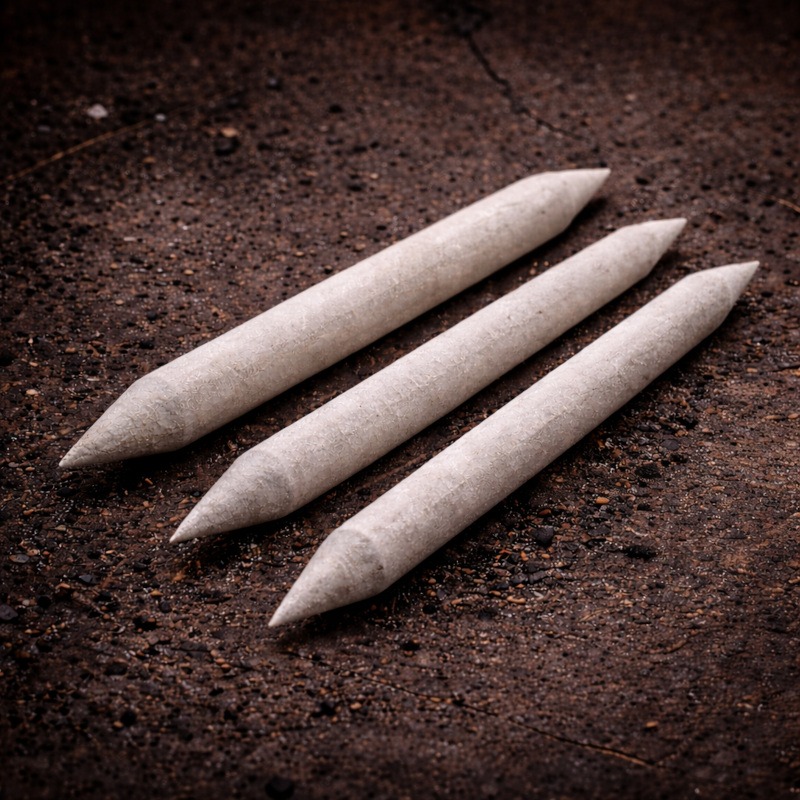
Derwent Paper Stump Pack (Set of 3)
These are the blending stumps I personally use and recommend.
- Tightly rolled paper that does not unravel easily
- Smooth blending without leaving rough fibres behind
- Different sizes for both small details and larger shaded areas
- Durable and long-lasting compared to cheaper alternatives
I’ve tried other brands where the paper starts peeling apart after a few uses. These hold their shape well and give much more control, especially when working on eyes, wrinkles, or soft shadow transitions.
👉 Check out the Derwent Paper Stump Pack here.

Tools You Can Safely Ignore for Now
It’s very tempting to buy everything all at once, especially when learning horror art. I’ve definitely been there. You don’t need to.
For now, you can skip:
- Charcoal – Fantastic for dramatic, moody shadows later on, but it’s messier and harder to control when you’re still learning basic pencil pressure and clean shading.
- Ink pens – Brilliant for bold outlines and finished pieces, but unforgiving. When you’re still figuring out proportions and line confidence, pencils are much more beginner-friendly.
- Coloured pencils – Fun and expressive, but they add another layer of complexity. It’s easier to understand light, shadow, and depth in simple graphite first.
- Expensive or textured paper – Lovely to work on eventually, but at this stage, you’re practising. Regular sketch or printer paper works perfectly fine.
- Large professional pencil sets – You’ll likely use just one or two grades in the beginning anyway.
These are fantastic tools later on, but early learning is about control and confidence, not complexity.
A Quick Mindset Reset Before You Start
Your practice, not your tools, determines the quality of your art.
Horror drawing is especially forgiving. Uneven lines, strange proportions, and rough sketches often add to the atmosphere. Something looking “wrong” doesn’t mean you failed. It usually means you’re learning.
Messy sketches are progress in disguise.
And if all you have is one pencil that’s been chewed at the end and an eraser that’s seen better decades, you’re still officially qualified to begin. Horror does not require luxury stationery. It requires vibes. Slightly unhinged vibes.
Conclusion: You’re Ready to Start
That’s it. No dramatic supply haul required. No mysterious art cabinet full of tools you don’t understand. Just a pencil, some paper, and the willingness to let things look a bit questionable at first.
With a few basic tools, you can start building the foundations of horror drawing today. The goal isn’t perfection. It’s practice. It’s getting comfortable making marks, pushing shadows darker, and slowly realising that your “weird sketch” actually has potential.
Grab your pencil. Keep your lines light. Let things be messy.
The spooky fun starts now.
What You Learned:
- You don’t need special or expensive supplies to begin horror drawing
- Basic pencils and paper are enough to build real skill
- Fewer tools make it easier to focus on control and confidence
- Messy sketches, erased lines, and “why does this look like that” moments are all part of improving
What’s Next
Now that you’ve got your tools sorted, the next step is learning how to build creepy drawings from simple shapes and place everything where it belongs. No details yet, no pressure, just the foundations.