Basic Face Guidelines for Horror Characters
(A Calm, Structured Way to Stop the Eyes From Escaping)
When you draw a horror face, it’s very easy for things to start… drifting.
Eyes slide sideways. Mouths sink south. The whole face quietly rearranges itself while you weren’t looking.
That’s not a lack of skill. That’s a lack of structure.
This tutorial walks you step by step through exactly how to place basic face guidelines, where they go on the head, and how to use them as a foundation for horror characters before distortion and exaggeration come into play.
No anatomy exams. No perfection pressure. Just simple lines that stop your drawing from placing an eye so far off that it needs directions back.
What These Guidelines Are For
Face guidelines are temporary planning lines drawn at the start of a sketch.
Their job is to:
- Anchor facial features
- Keep everything aligned while you work
- Give you control before you intentionally break things for horror
They are meant to be:
- Light
- Adjustable
- Erased later
If your final drawing still looks like a tic-tac-toe board, that’s not “style.” That’s just forgetting to erase.
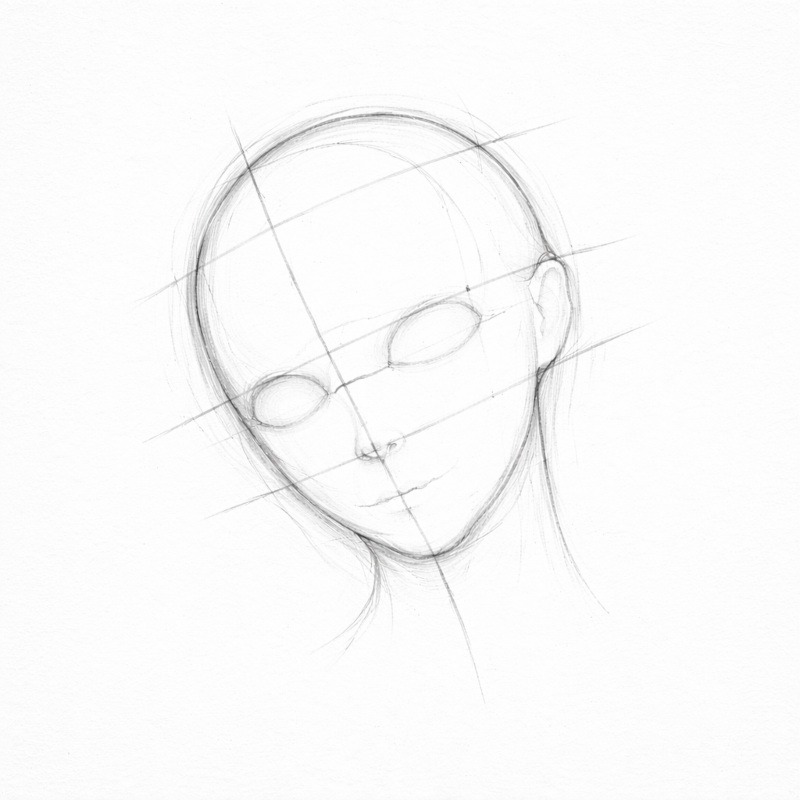
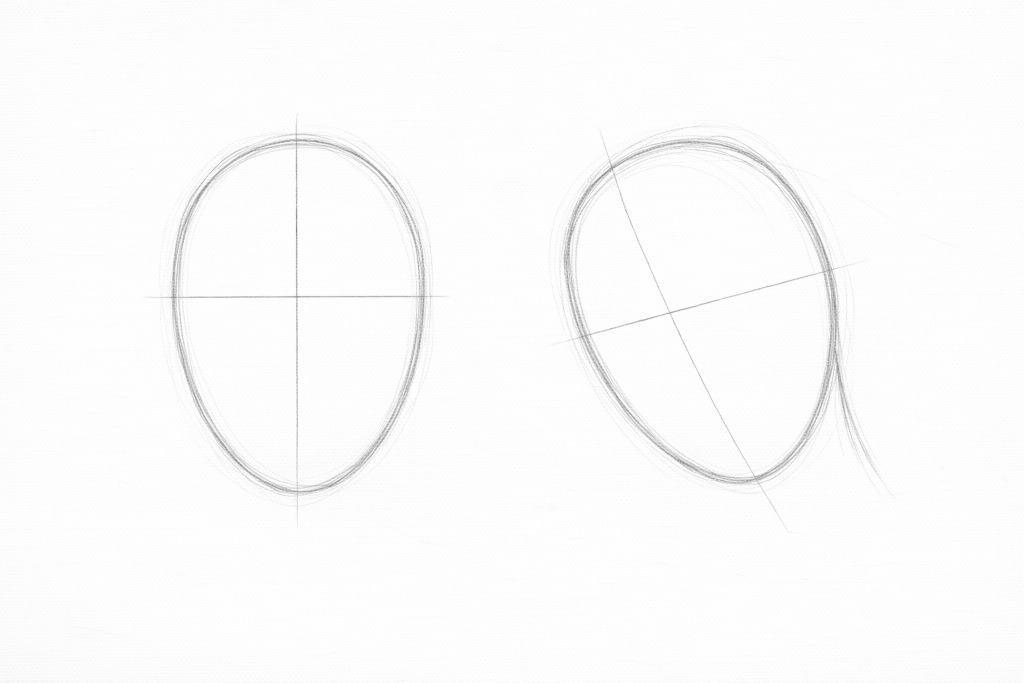
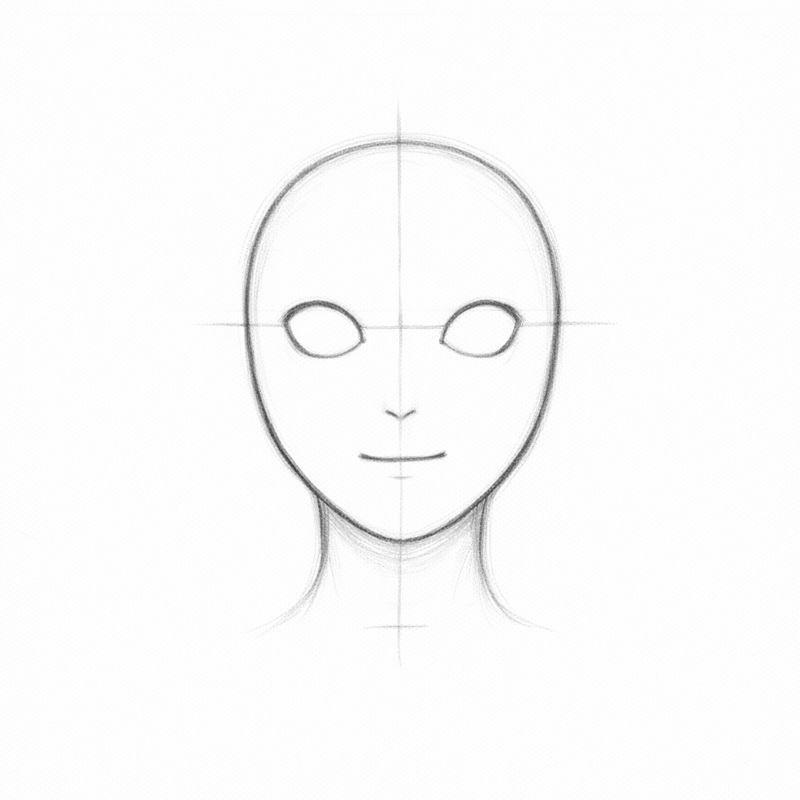
Step 1: Draw the Head Shape
Start with a simple head shape.
An oval is perfectly fine. It does not need to look realistic or pretty.
At this stage:
- No jaw details
- No cheekbones
- No expressions
You’re creating a container for the face, not the face itself. Think of it as the structure underneath.
The head shape can face forward or tilt slightly. The oval changes direction with the head.
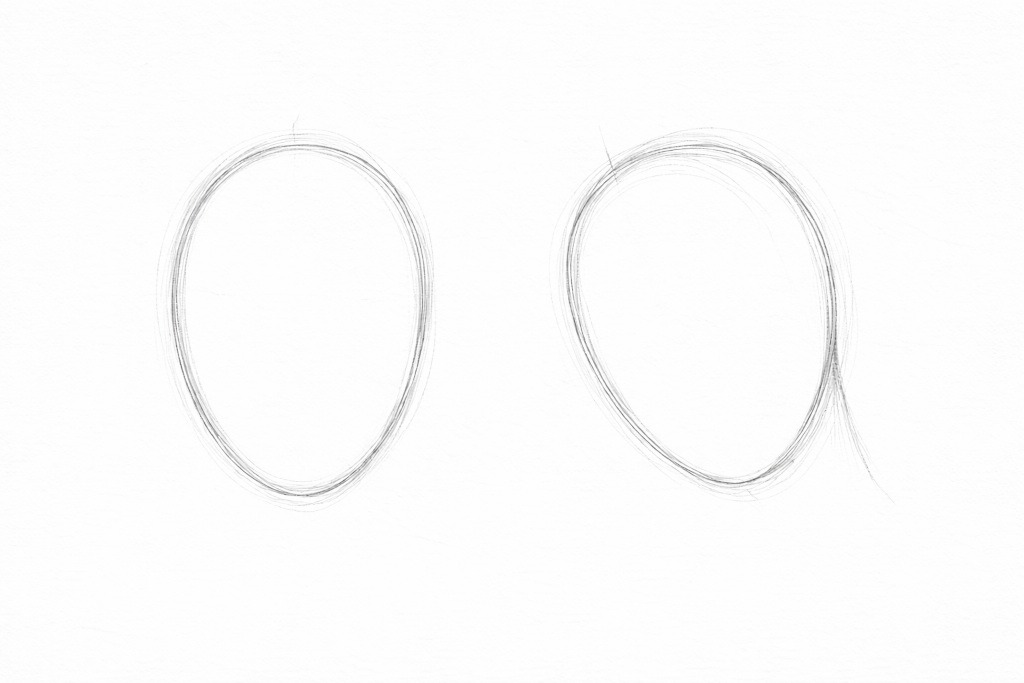
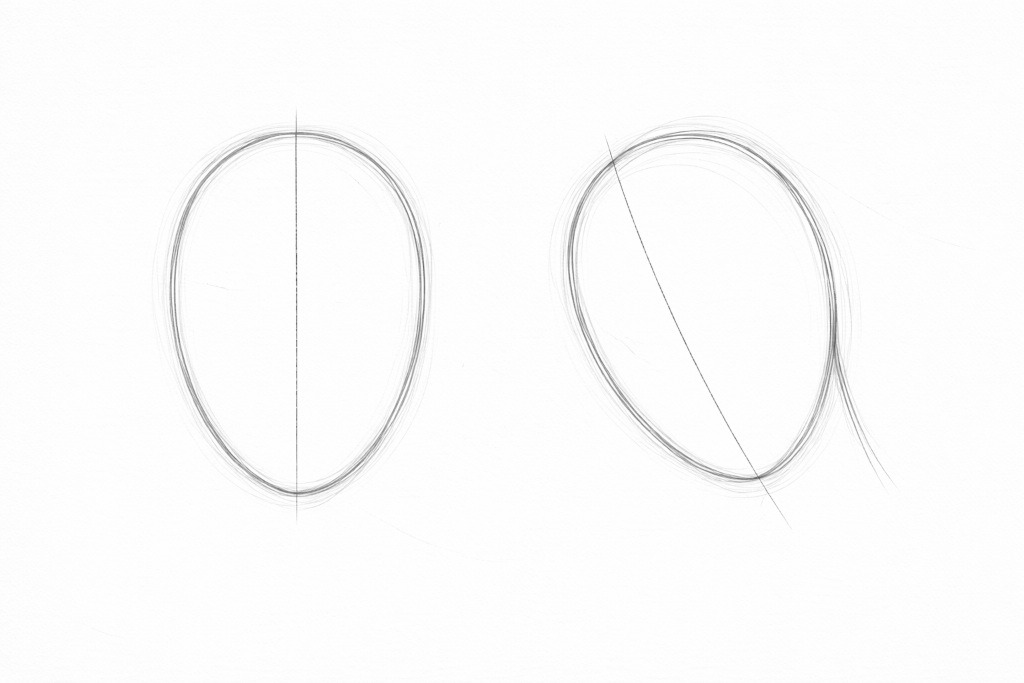
Step 2: Draw the Vertical Centre Line
Draw a light vertical line straight down the middle of the head.
This line:
- Splits the face into left and right halves
- Helps keep features centred
- Acts as a reference, even if you distort things later
If the head is facing straight forward, the line stays straight.
If the head is tilted, tilt the centre line with it.
This is important. A tilted head with a straight guideline creates chaos, not creepiness.
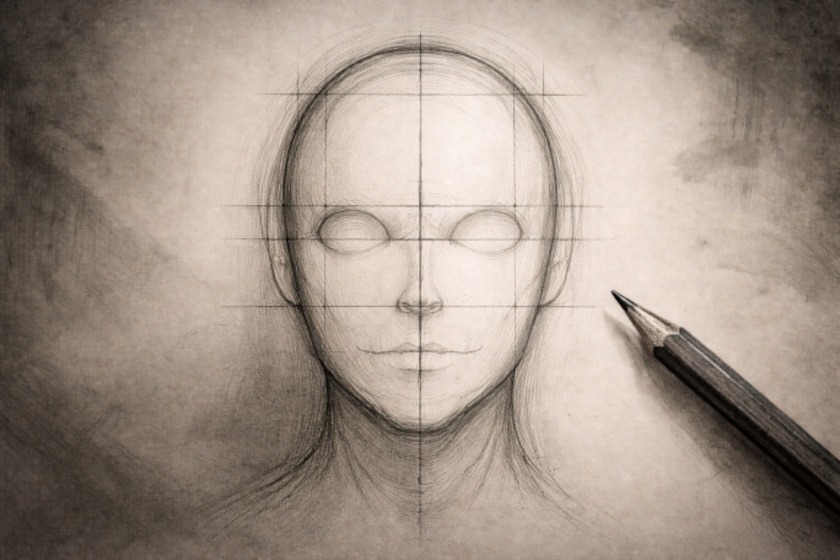
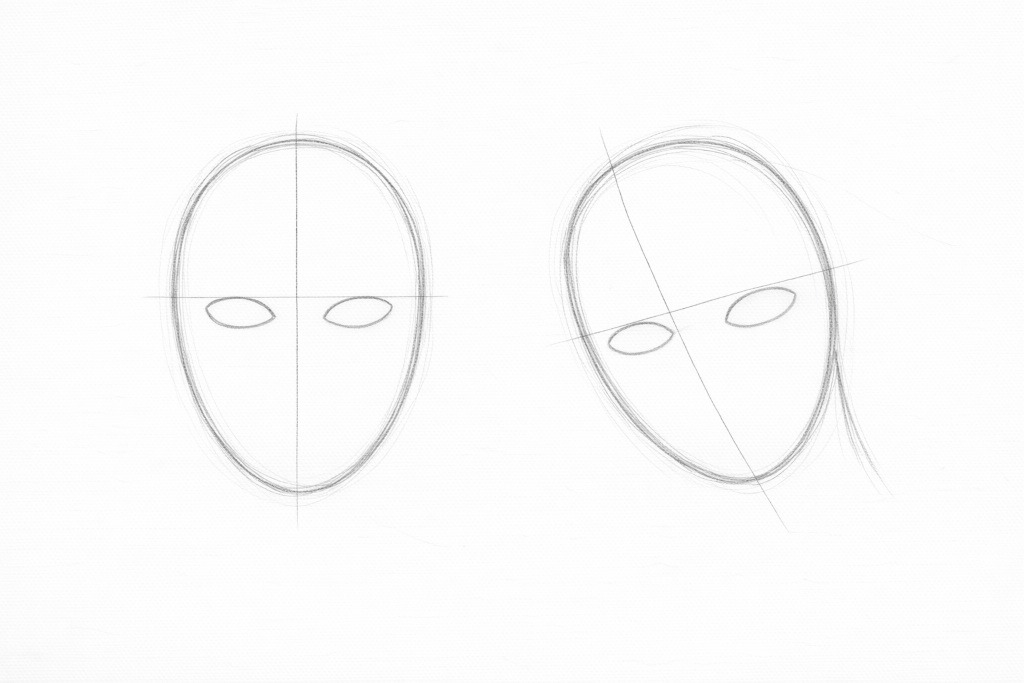
Step 3: Place the Horizontal Eye Line
This is the step that feels wrong but fixes almost everything.
Draw an eye line across the head for eye placement.
Where it goes:
- Roughly halfway down the head. (Measure from the top of the skull to the bottom of the chin, not just the hairline.)
- Often slightly below the midpoint for beginners
Most people instinctively put eyes too high. This is why faces often look “off” without knowing why.
If the head is tilted, tilt the eye line with it.
If this placement makes you uncomfortable, that’s normal.
Art growth is uncomfortable. Like stretching, but with more erasing.
Step 4: Place the Eyes Along the Guideline
Place the eyes directly on the horizontal line.
At this stage:
- Use simple shapes
- No pupils
- No lashes
- No emotion
A helpful spacing rule: There is roughly one eye-width of space between the eyes.
The space between the eyes should be roughly one eye-width.
You don’t need to measure this perfectly. Just aim for balance.
This step alone prevents:
- One eye from creeping upward
- One eye from sliding sideways
- The slow, haunting separation of eyeballs over time
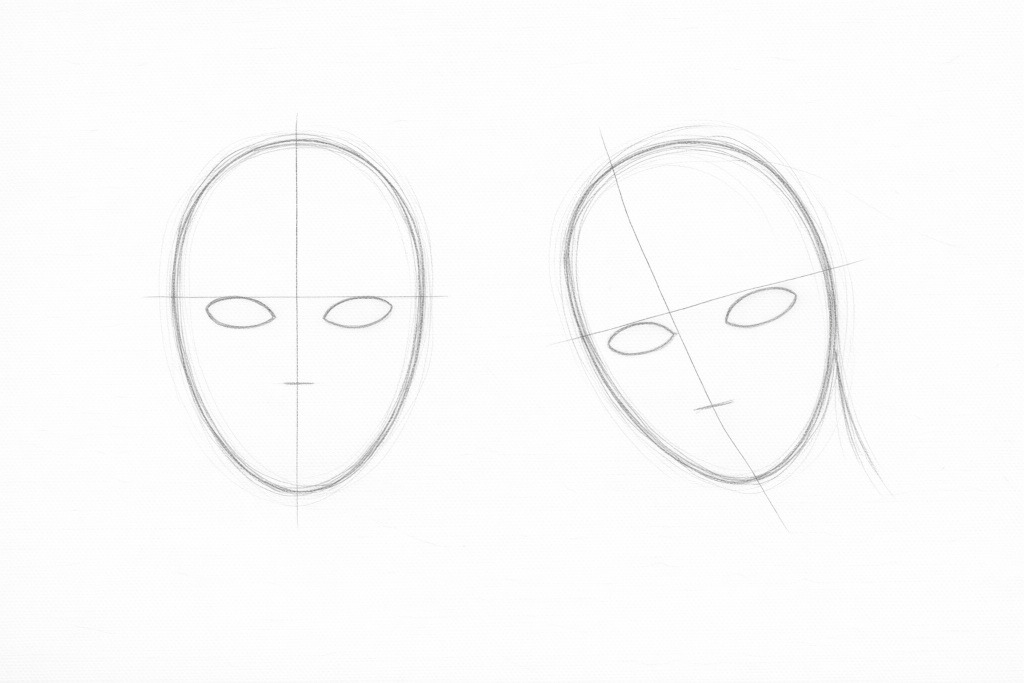
Step 5: Indicate Nose Placement
Now lightly mark where the nose will sit.
A simple guideline:
- The bottom of the nose usually sits halfway between the eye line and the chin.
If you divide the lower half of the face in half again, that midpoint is usually where the bottom of the nose sits.
You can mark this with:
- A short horizontal tick
- A small shape
- A light indication only
This is not the moment for nostrils, shading, or commitment.
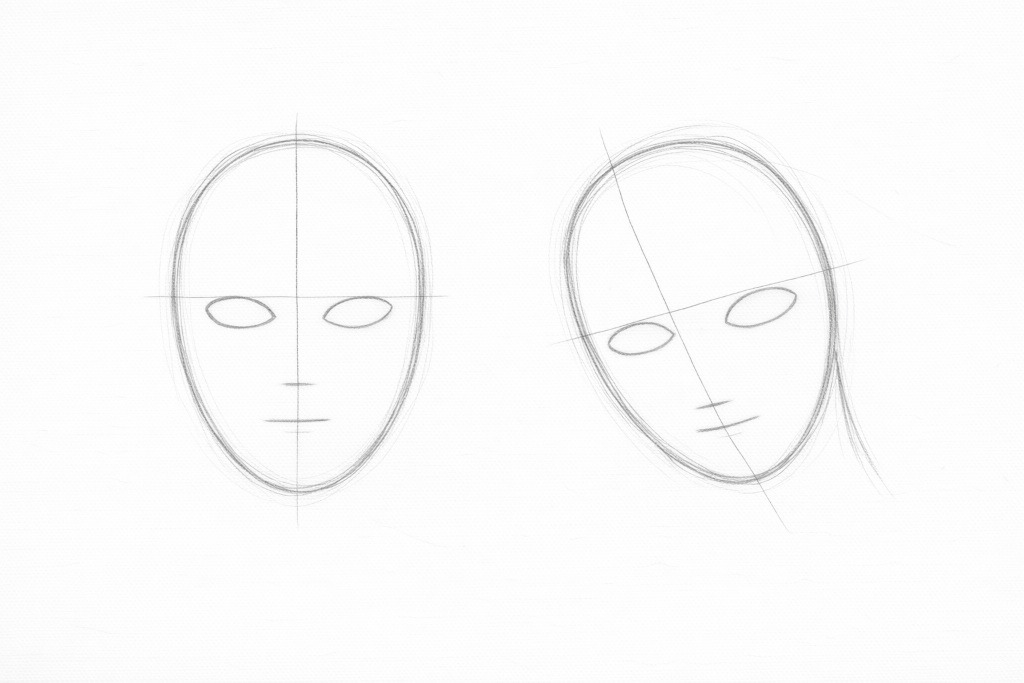
Step 6: Indicate Mouth Placement
Place the mouth below the nose.
Generally:
- The mouth usually sits about one-third of the distance between the nose and the chin
- It follows the vertical centre line unless you plan to distort it later
Mark it lightly. A simple line or shape is enough.
This step keeps the mouth from:
- Sliding into the neck
- Floating too high
- Looking surprised for reasons unrelated to horror
Step 7: Check Alignment Before Details
Before adding eyelashes, wrinkles, shading, or creepy expressions, pause.
Do a quick structure check.
Look for these three things:
1. Are both eyes sitting on the same horizontal line?
Even if one eye is smaller or the head is turned, the eye line should still guide their placement. If one eye is creeping upward or drifting lower, fix it now.
2. Is the nose centred on the vertical line?
If the head is facing forward, the nose should sit on the centre line. If the head is turned, the nose should shift with that turn, not float randomly.
3. Does the mouth follow the face direction?
The mouth should align with the vertical centre line unless you are deliberately distorting it later. If it is sliding sideways or tilting without intention, adjust it before adding detail.
Fixing alignment now takes seconds. Fixing it after you have added shading and texture feels frustrating because you are undoing work you already committed to.
Tip: To check alignment, lightly squint at your drawing or flip it upside down. Misalignment becomes much easier to spot when your brain stops reading it as a face.
Where Horror Comes In (After Structure)
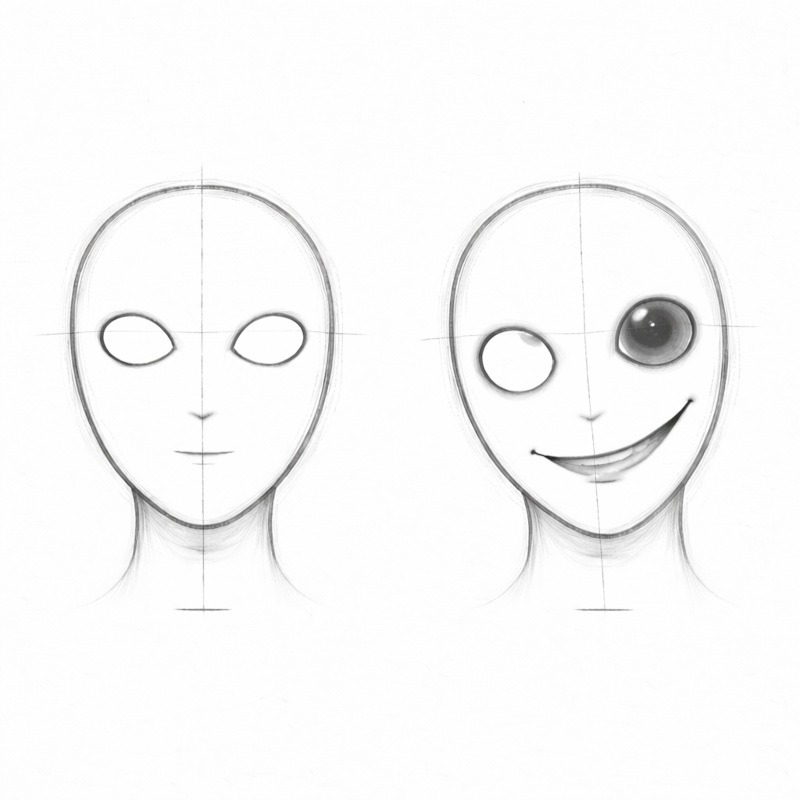
Once the guidelines are in place, you can intentionally break things.
You might:
- Lower one eye
- Stretch the mouth unevenly
- Twist the jaw
- Tilt the head further
The difference is control. Notice how these directions feel intentional because the structure underneath still holds.
Without structure, distortion looks accidental.
With structure, distortion looks deliberate.
Keep Guidelines Light and Temporary
Your guidelines should:
- Be lighter than your final lines
- Erase easily
- Fade into the background as the drawing develops
If your guidelines are darker than your finished drawing, you’re pressing too hard.
Five-Minute Practice Exercise
Try this without pressure:
1. Draw a simple oval head
2. Add a vertical centre line
3. Add a horizontal eye line
4. Place the eyes as simple shapes
5. Mark nose and mouth placement
6. Stop
Yes, stop. Messy is fine. Stopping early is the point.
This is practice, not a finished illustration. Walking away early is part of the exercise.
Next, learn how to build simple body structure with the Simple Body Guidelines for Horror Characters tutorial.
Conclusion: A Little Structure Goes a Long Way
If drawing horror faces has ever felt frustrating or unpredictable, this is the bit to remember.
Your drawings weren’t failing. They just didn’t have enough structure at the start.
Using simple face guidelines gives you control early on, so when you distort features or push things into unsettling territory, it looks deliberate rather than accidental. You’re no longer fighting the face halfway through the drawing. You’re guiding it.
The goal isn’t to make your horror characters neat or realistic. The goal is to stop them from falling apart before they get a chance to be creepy. Structure does not make your drawing stiff. It makes it stable.
So keep the lines light, keep things simple, and remember that the awkward early stage is part of the process. Every unsettling face starts out plain before it earns the right to be disturbing.
And if your sketch still looks strange at first? Congratulations. That means it’s working.
What You Learned:
- Horror faces still need basic structure before distortion works
- The vertical centre line keeps facial features aligned and prevents sideways drift
- The eye line sits around the middle of the head, even when it feels wrong
- Placing eyes early and evenly stops them from drifting as the sketch develops
- Rough nose and mouth placement anchors the lower face before details
- Guidelines should be light, temporary, and erased later
- Distortion and asymmetry are more effective when added after structure
- Fixing placement early is easier than correcting it after details are added