How to Use Blending Stumps with Charcoal (Step-by-Step Guide)

Charcoal is fantastic for creating dramatic shadows, deep contrast, and wonderfully moody drawings. However, it’s also extremely good at getting everywhere.
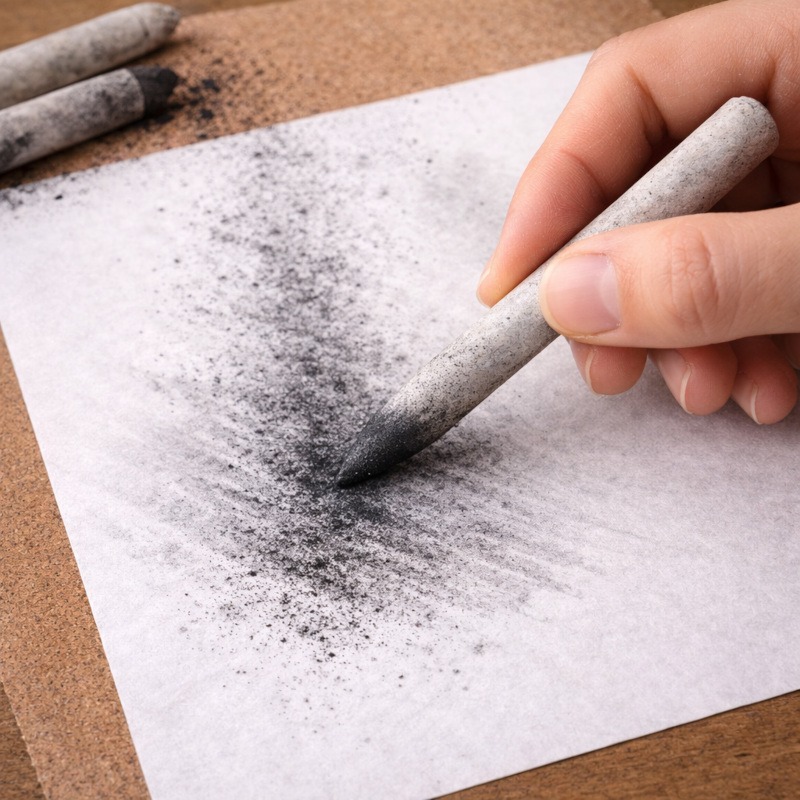
If you’ve ever carefully drawn a charcoal shadow only to brush it with a blending stump and suddenly watched it expand like a tiny soot explosion, don’t worry, that happens to everyone when they first start working with charcoal.
Blending tools can help you soften charcoal, create smooth transitions, and build atmospheric shading. But because charcoal is much softer than graphite, it behaves differently when blended.
In this guide, you’ll learn simple charcoal blending techniques using blending stumps so you can control your shading instead of accidentally summoning a smoky disaster across the page
If you’re working with graphite pencils instead of charcoal, you may also find my guide on How to Use Blending Stumps with Graphite Step-by-Step helpful, since graphite behaves quite differently when blended.
What You Need:
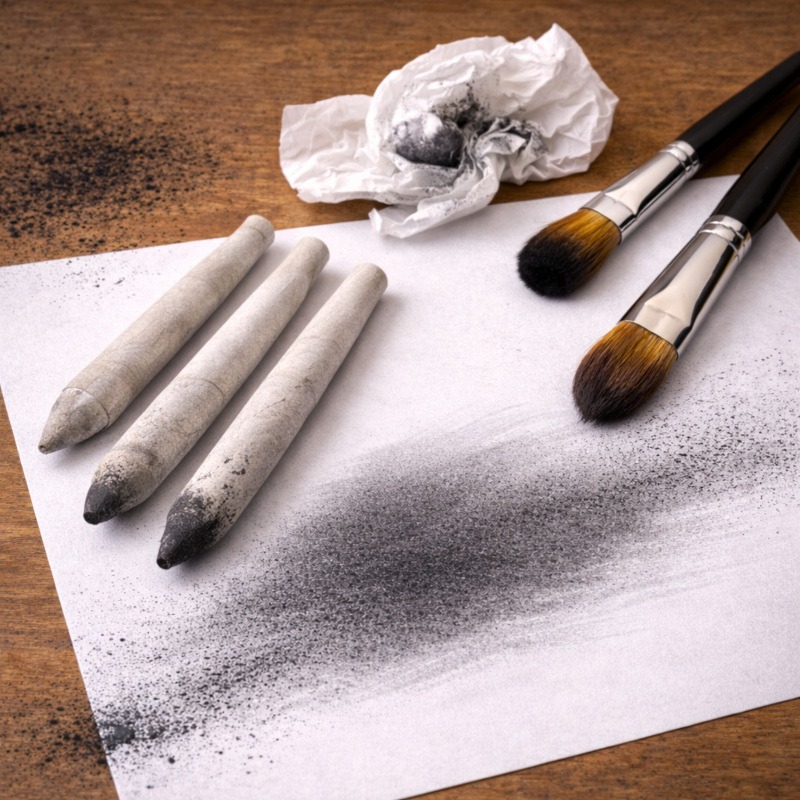
Before you begin, gather a few basic materials:
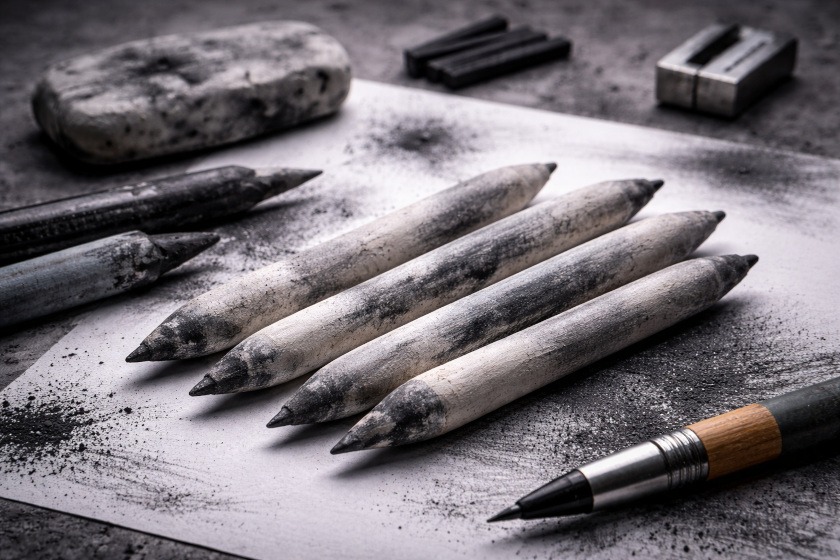
- Charcoal pencils or compressed charcoal
- A blending stump or tortillon
- Drawing paper with some texture (also called “tooth”)
- A kneaded eraser
- Scrap paper for testing
- Optional: a soft brush for removing charcoal dust
Charcoal pencils are often the easiest option for beginners because they give you more control and produce less loose dust than charcoal sticks.
Charcoal performs best on textured paper; The surface helps blend the charcoal particles smoothly.
Step 1: Apply Charcoal Lightly First
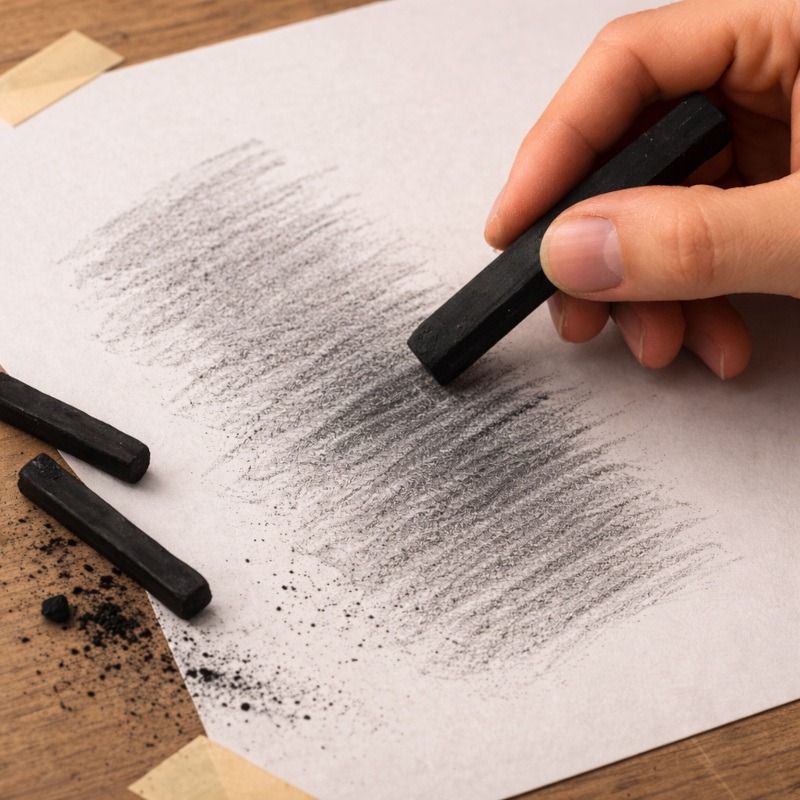
Just like with graphite, blending works best when there is already charcoal on the paper.
Start by lightly shading the area with your charcoal pencil or stick.
Use gentle strokes and build up the charcoal gradually rather than pressing hard right away. Charcoal is naturally very dark, so even a small amount can produce strong shadows.
Try to avoid dragging your hand across the paper while working, because charcoal dust can easily smudge large areas of the drawing.
Keeping the first layer light gives you much more control when blending later.
Think of this stage as placing the charcoal where you want the shadows to live before you begin softening them.
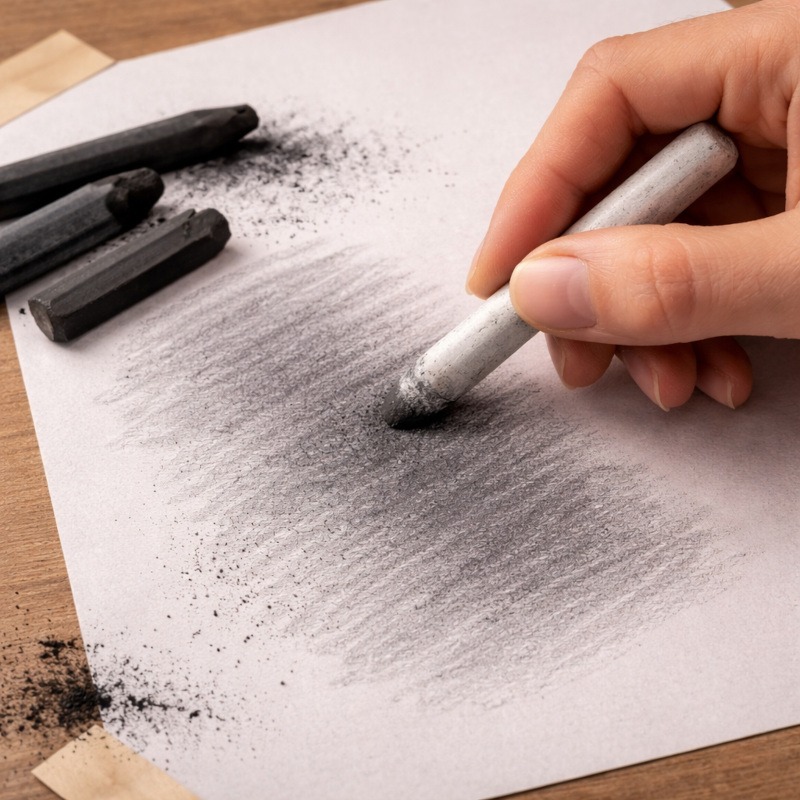
Step 2: Blend Using Very Light Pressure
Charcoal blends much more easily than graphite, meaning it can also become messy much faster.
When you use your blending stump, apply very light pressure.
Move the stump slowly in small circular motions or soft strokes to spread the charcoal across the paper.
Because charcoal particles sit loosely on the surface, they will shift easily under the stump. Heavy pressure can push too much charcoal into one area, which can make the shading look patchy or overly dark.
A gentle touch will create much smoother transitions. A gentle touch will create much smoother transitions. Press too hard and charcoal has a habit of reminding you just how dark it can get.
Step 3: Build Shadows Gradually
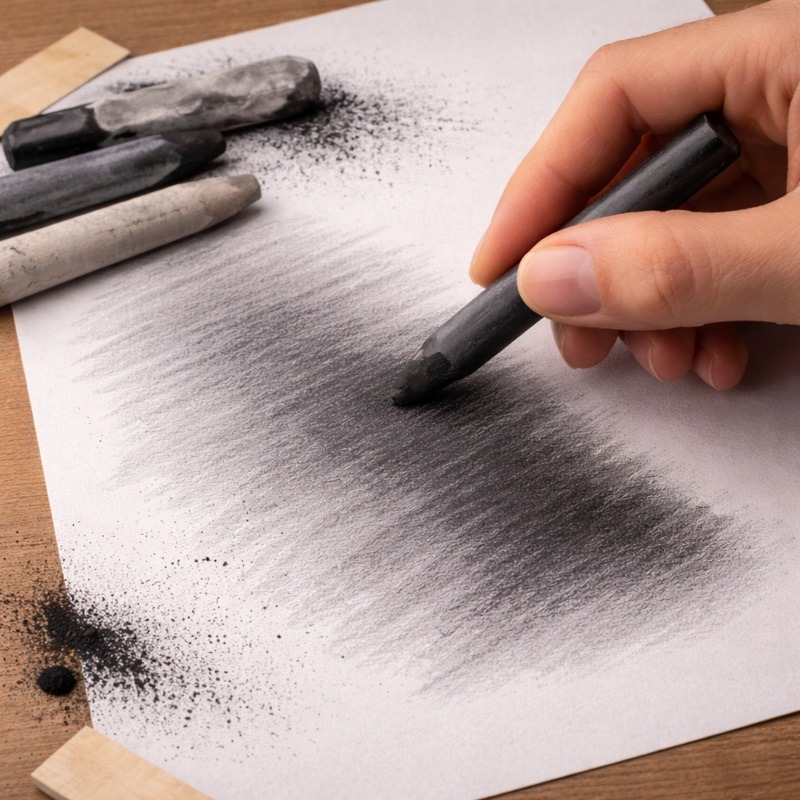
One of the most effective ways to work with charcoal is to build your shading slowly.
Instead of creating a very dark shadow immediately, build it gradually by layering charcoal and blending between each stage.
For example:
- Lightly apply charcoal
- Blend gently with the stump
- Add darker charcoal in the deepest shadow areas
- Blend the edges of the shadow so they fade smoothly into the lighter tones
This layering approach helps you control how dark the charcoal becomes and prevents the shading from looking flat.
Charcoal can reach very dark values, so building up to those darker tones gradually usually produces better results.
Step 4: Follow the Shape of the Form
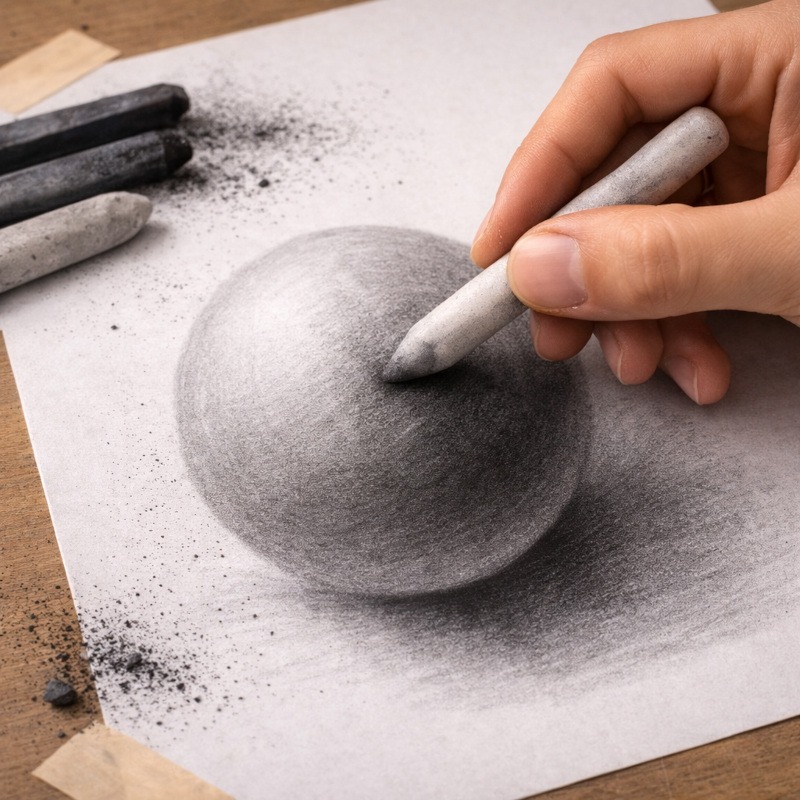
When blending charcoal, move the stump in a direction that follows the shape of the object you’re drawing. Blending in random directions might smooth the charcoal, but it can also make your shadows look like they’ve completely lost the plot.
For example:
- If you’re shading a skull or creature’s face, blend along the curves of the bone structure.
- If you’re shading a rounded object, such as a sphere, use curved blending strokes that follow the form.
This technique helps reinforce the structure of the object and makes the drawing feel more three-dimensional.
Blending isn’t just smoothing charcoal. It’s helping you shape light and shadow.
Step 5: Preserve the Deepest Shadows
Charcoal is excellent for creating strong contrast, which is one of the reasons why it works so well for dramatic drawings. However, if you blend every part of the charcoal shading, you may lose the darkest areas that give the drawing its depth.
Try blending mainly in the midtones and softer shadow areas, while leaving some of the deepest shadows slightly sharper. This keeps the drawing from becoming overly soft and helps maintain the strong contrast that gives charcoal its impact.
In horror art, especially, those darker shadows often create the most dramatic and unsettling effects.
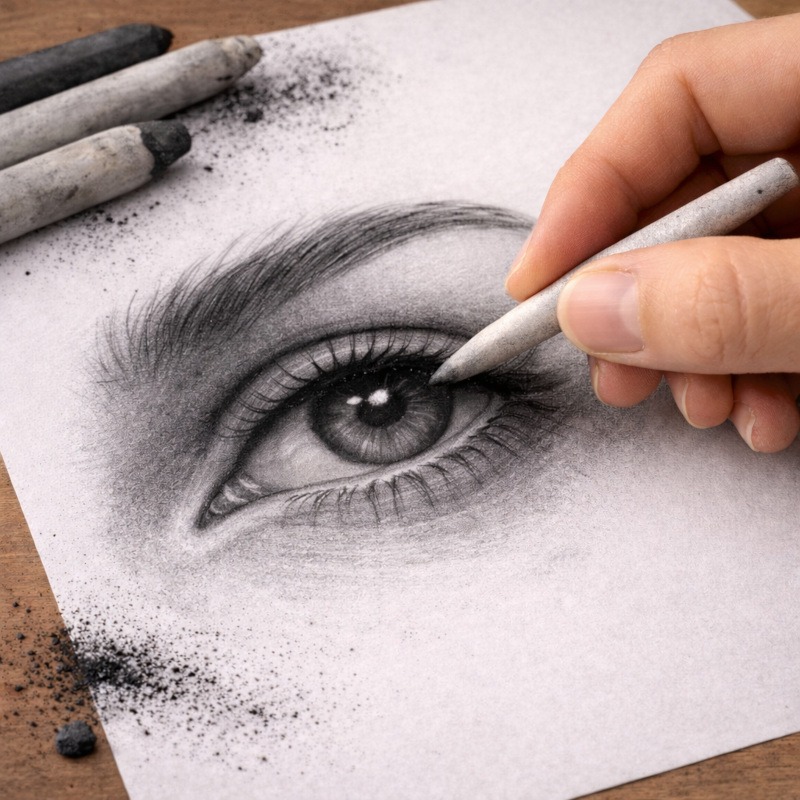
Step 6: Use Smaller Stumps for Details
Large blending stumps are useful for smoothing bigger areas of charcoal, such as backgrounds or large shadows.
For smaller details, it’s better to switch to a smaller stump or tortillon. Trying to blend tiny areas with a large stump can feel a bit like painting eyelashes with a broom.
Smaller blending tools give you more control when working in areas such as:
- eye sockets
- wrinkles
- folds in fabric
- narrow shadows
Using the right-sized blending tool helps prevent charcoal from spreading into areas that you don’t want it to.
Step 7: Clean Your Blending Stump Often
Charcoal builds up on blending stumps quickly.
If the stump becomes too dark, it can accidentally spread charcoal into lighter areas of the drawing.
To clean it, rub the tip on scrap paper until the charcoal fades. You can also refresh the tip by gently sanding it with fine sandpaper.
Keeping the stump clean helps maintain better control over your shading. Otherwise, it may quietly continue spreading charcoal across your drawing like a tiny soot-covered accomplice.
When You Shouldn’T Use a Blending Stump
Blending is useful for soft transitions, but it’s not always the best option.
Charcoal drawings often look more interesting when some of the natural charcoal texture is left visible rather than fully blended.
For example:
- rough stone textures
- cracked surfaces
- sharp shadow edges
- expressive sketch marks
Leaving some areas unblended adds contrast and visual interest to the drawing.
In many horror illustrations, those rough charcoal textures can help create a more unsettling atmosphere.
Blending Stumps vs Tissues vs Brushes
Artists often use other tools to blend charcoal, each producing slightly different results.
Blending stumps:
These provide the most precise control and are ideal for detailed blending and shaping shadows.
Tissues:
Tissues can soften large areas quickly but tend to spread charcoal widely. They are often better suited for backgrounds.
Soft brushes:
Soft brushes can gently move loose charcoal dust across the surface and create very subtle shading transitions.
Many artists combine these tools depending on the effect they want to achieve.
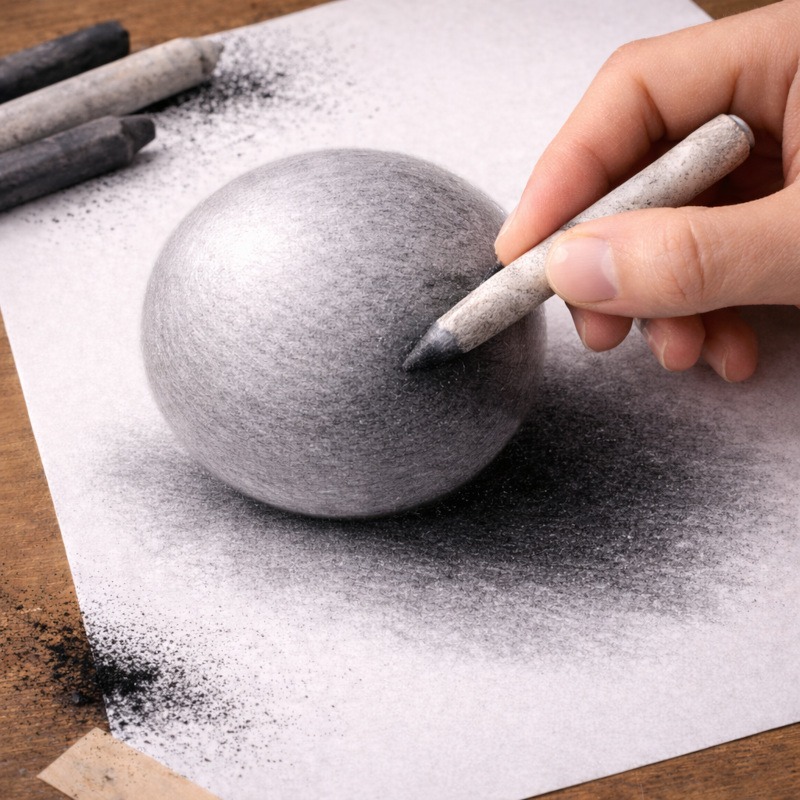
Practice Exercise: Simple Charcoal Sphere
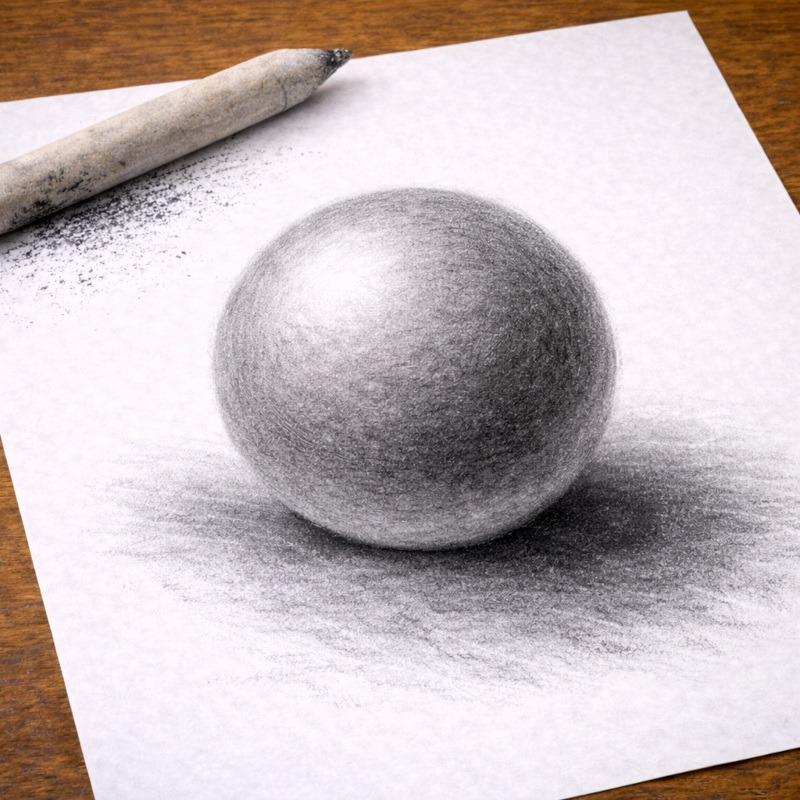
A simple sphere exercise is one of the best ways to practice blending charcoal and controlling smooth shading transitions.
1. Draw a circle on your paper.
2. Lightly shade one side with charcoal.
3. Use a blending stump to soften the midtones.
4. Leave the brightest highlight untouched.
5. Gradually darken the shadow edge and blend the transition.
If the highlight becomes too dark while blending, you can gently lift some charcoal with a kneaded eraser to restore the lighter area.
Because charcoal blends easily, this exercise is perfect for learning how pressure and layering affect the final shading.
Once you’re comfortable blending simple shapes like spheres, you can start applying the same techniques to more complex drawings such as faces, creatures, and textured surfaces.
When Blending Works Best in Horror Art
Charcoal is particularly good for creating dramatic, atmospheric effects.
Blending charcoal can help produce:
- smoky shadows
- eerie lighting effects
- dark, misty backgrounds
- hollow eye sockets
- shadowy fog around creatures
These effects work well because charcoal naturally produces rich dark tones and blends smoothly across textured paper.
When combined with sharper charcoal marks and strong shadows, the result can create a powerful horror atmosphere.
If you’d like to learn more about creating dramatic shadows, you may also find my guide on Shading and Lighting helpful.
Final Thoughts
Working with charcoal can feel messy at first, but blending stumps makes it much easier to control the shading and create smooth transitions. Just remember to keep a scrap piece of paper nearby… because charcoal has a mysterious talent for appearing on parts of your drawing you definitely didn’t shade.
The key is to work lightly, build shadows gradually, and avoid blending every part of the drawing. A good charcoal drawing usually combines soft blended areas with stronger textures and deeper shadows.
As you practice, you’ll become more comfortable controlling how charcoal spreads and blends on the paper.
And once you get used to it, charcoal becomes an incredibly powerful medium for creating bold shadows, dramatic contrast, and wonderfully eerie artwork.
What You Learned:
- Charcoal blends much more easily than graphite
- Light pressure helps prevent overly dark smudges
- Building shadows gradually gives you better control
- Leaving some charcoal texture visible creates stronger contrast
- Clean blending tools help prevent unwanted smudging