
Layered Shadows for Extra Depth in Horror Drawings

Layered shadows are the difference between “yes, this is shaded” and “why does this feel like it is judging me.”
If you’ve ever shaded a drawing, leaned back confidently, and then thought, “Cool… why does this still look flat,” congratulations. You have reached the exact stage of artistic frustration this technique exists to fix.
Layered shadows are not about pressing harder, rubbing the paper like it personally offended you, or adding more graphite until the page gives up. They are about building darkness slowly, in layers, so depth happens on purpose instead of by accident.
This guide is for early-intermediate artists who already understand basic shading and want their horror drawings to feel heavier, moodier, and just unsettling enough to make someone pause before turning the page. No dramatic smudging. No panic shading. And absolutely no whispering apologies to your pencil halfway through.
What Are Layered Shadows?
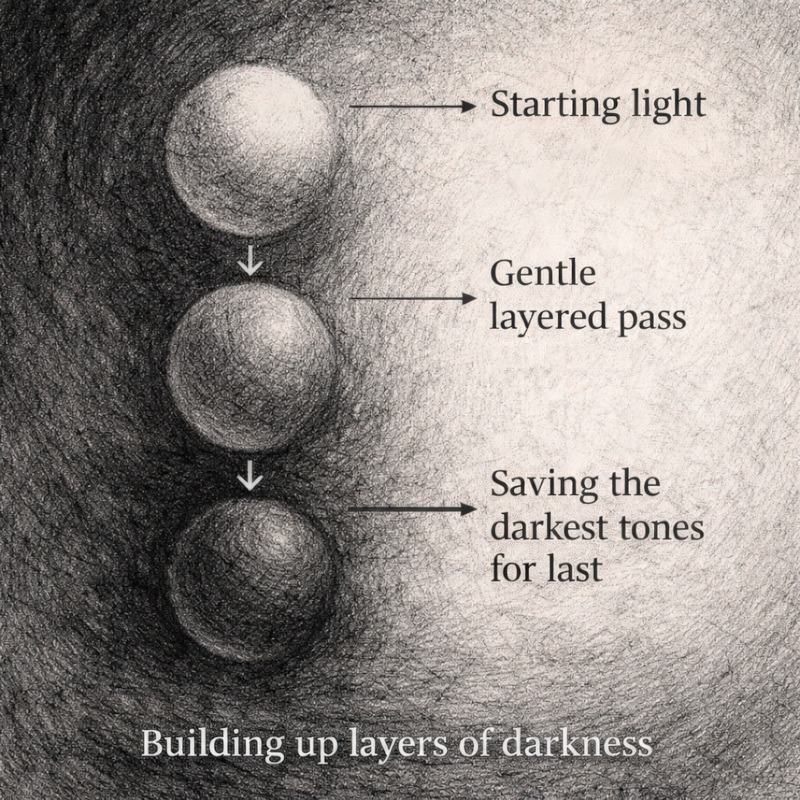
Layered shadows mean building up darkness in multiple passes, instead of shading once and committing immediately to your darkest values.
In real life, shadows are not uniform. They stack, they deepen where light overlaps less, and they soften where light still reaches.
Layered shading copies this by:
- Starting light
- Gradually deepening shadows
- Saving the darkest tones for last
Think of it as sneaking up on the darkness instead of tackling it head-on.
Why Layered Shadows Work So Well for Horror Art
Horror art thrives on depth and uncertainty.
Layered shadows work because they:
- Make forms feel solid and weighted
- Create natural transitions instead of flat tones
- Let details fade into darkness instead of explaining everything
Our brains love trying to decode shadows. When information is partially hidden, things feel more unsettling, which is very convenient if unsettling is the goal.
Tools You Will Need
You do not need anything fancy to do this well.
- Graphite pencils (HB, 2B, 4B)
- Kneaded eraser for lifting highlights
- Regular eraser for cleanup
- Paper with a bit of texture
Optional but helpful:
- A scrap page to test values first. Pencils lie sometimes.
Blending tools can help smooth transitions between shadow layers. If you’re unsure how to use them properly, this guide How to Use Blending Stumps with Graphite explains how they affect shading control.
Before You Start: Decide Your Light Source
Before shading anything, decide where your light is coming from and stick to it.
Top lighting, side lighting, or dramatic under-lighting are all fine. Just do not change your mind halfway through.
If the light source wanders, your shadows will look confused. Confused shadows are only scary when they’re intentional.
Step-by-Step: How to Build Layered Shadows
Throughout this process, lighter layers should be built using gentle pressure. If you catch yourself gripping the pencil a little too tightly, take a breath and ease your pressure.
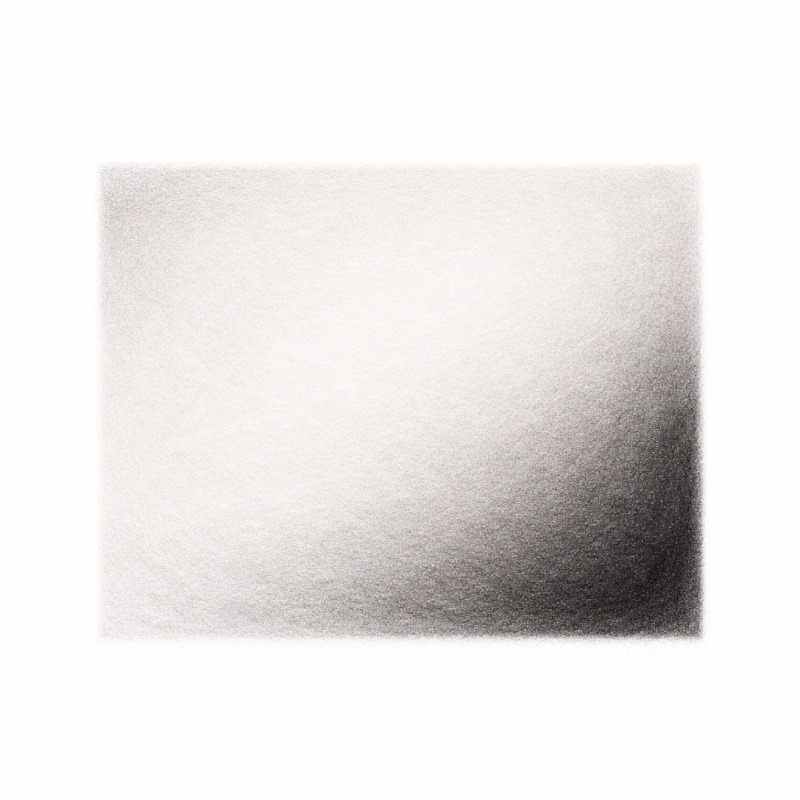
Step 1: First Shadow Layer
Using light pressure, shade the areas that turn away from the light.
This layer should be subtle and soft. If it feels too light, that is correct; this layer exists to provide a foundation for the darker shadows to sit on later.

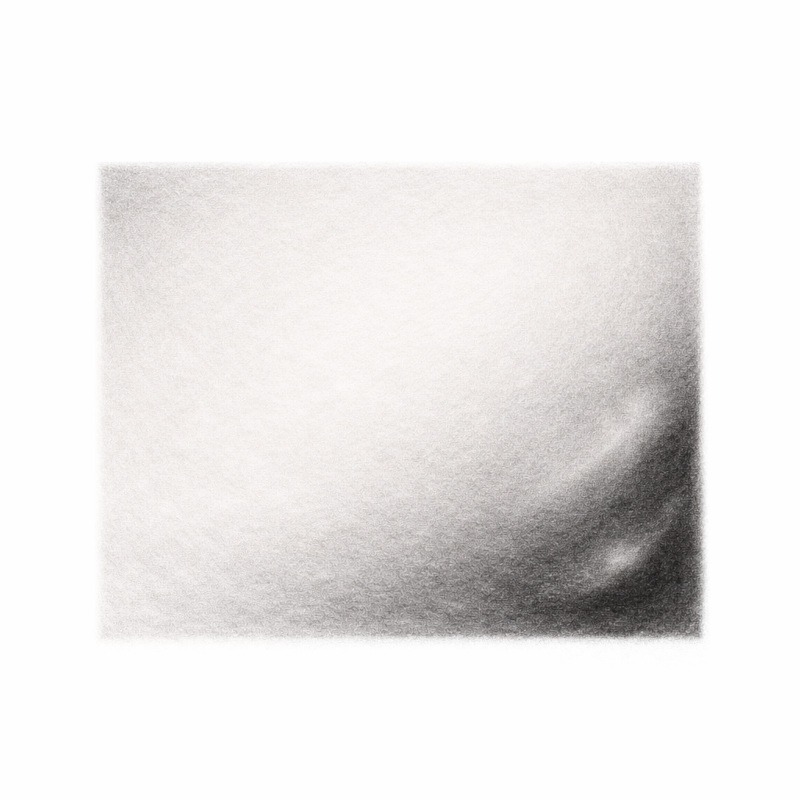
Step 2: Second Shadow Layer
Now look for areas where shadows naturally overlap, such as:
- Under the chin
- Inside eye sockets
- Between folds of skin or fabric
- Where one form meets another
Darken these areas slightly, while leaving the first layer visible underneath.
This is where the drawing starts to feel three-dimensional instead of simply shaded.

Step 3: Deepest Shadows
This is the darkest layer and should be used sparingly.
Only apply it where light barely reaches at all, such as deep creases, tight corners, and hollow areas.
A little goes a long way. If everything is dark, nothing feels deep.
Step 4: Pull Highlights Back In
Once the shadows are built, use a kneaded eraser to lift highlights.
Focus on raised areas and edges that catch the light. Highlights placed next to deep shadows increase contrast and make the depth feel much stronger.
This is also the stage where the drawing suddenly looks much better for no obvious reason.
When to Stop Adding Layers
Knowing when to stop matters more than most people realise.
Stop layering when:
- The form reads clearly
- The darkest areas feel heavy enough
- Adding more graphite only makes the drawing muddy
A good rule of thumb: if you can clearly see three distinct shadow values, you are on the right track.
If your pencil starts sliding instead of gripping the paper, you have gone far enough.
Common Problems and Fixes
1. Everything looks flat:
You likely need stronger middle values. Add another transition layer instead of jumping straight to dark.
2. The drawing looks dirty:
Too much pressure too early. Lighten the area and rebuild gradually.
3. It looked better five minutes ago:
You overworked it. Step away. This is a very common artist experience and not a personal failure.
Layered Shadows in Horror Drawings
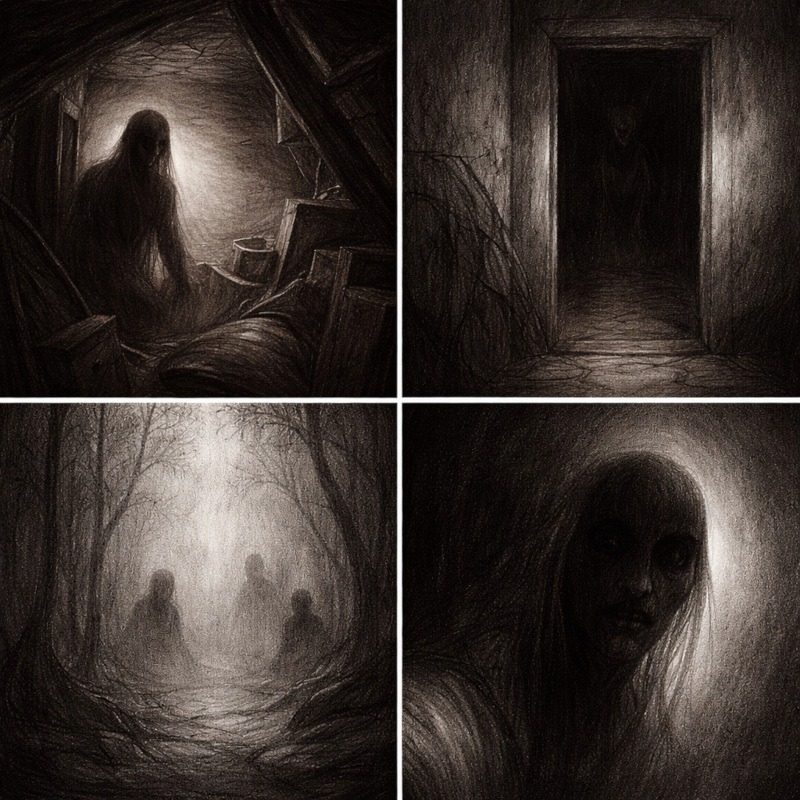
Horror art gives you a bit more freedom with shadows.
- Let shadows hide details instead of explaining everything
- Darken corners and enclosed spaces more than open areas
- Use uneven shadow edges. Perfect gradients are rarely creepy
- Suggest shapes rather than outlining them clearly
If the viewer is unsure what they are seeing, you are doing it right.
Practice Exercise
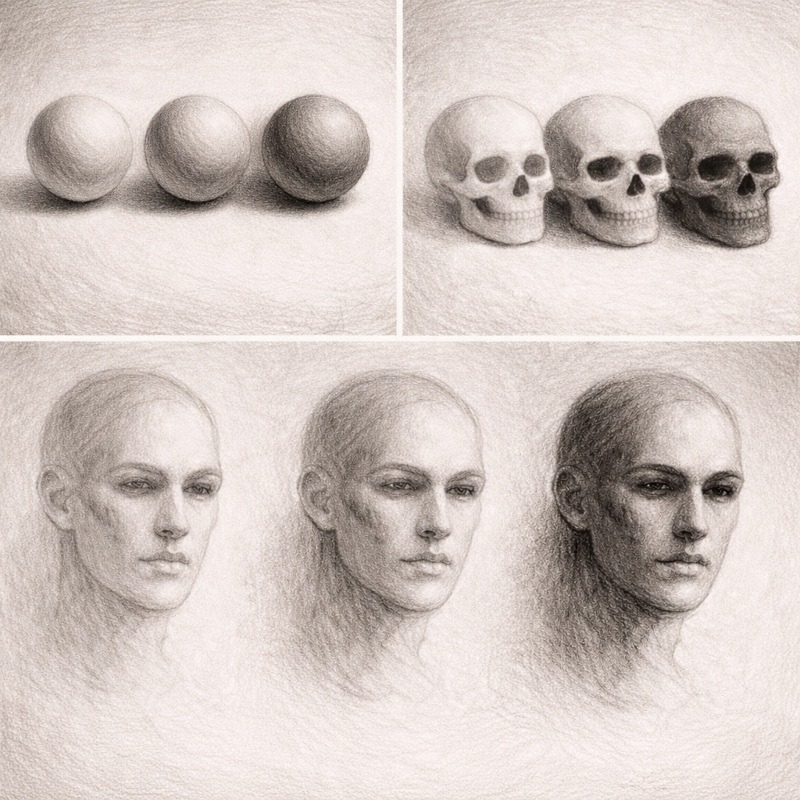
This exercise teaches you how to build darker values slowly, in layers, rather than trying to jump straight to the deepest shadows. It works with any subject, but a sphere, skull, or simple face is ideal for practice.
1. Draw a basic form
Choose something simple:
- Sphere
- Skull
- Face
- Any rounded object
Keep the sketch light. You only need the basic shapes and edges.
2. Add the first light shadow layer
Use soft pressure and shade the areas that naturally fall away from the light.
This first layer should be light and even.
Think of it as mist or fog settling across the form.
Goal: Establish the basic shape and direction of light.
3. Add a second, darker layer where shadows overlap
Go back over the areas that are slightly deeper in shadow.
Use a bit more pressure, but still keep your strokes smooth and controlled.
Look at your drawing and ask:
“Where would the light reach last?”
Darken those places.
This step starts building that soft, realistic transition between light and dark.
4. Add a final deep shadow in the darkest areas only
Now place the deepest shadows.
These are the places light cannot reach at all, such as:
- The underside of the form
- Tight corners
- Eye sockets or nasal cavities
- Creases or folds
Build this layer slowly. Add graphite one pass at a time rather than pressing too hard.
Goal: Create a rich value range without damaging the paper.
5. Refine the edges and blend the transitions
Softly blend or smooth the transitions if needed, but keep the darkest areas crisp.
Layered shadows look the most effective when the deep shadows remain bold, and the edges soften gradually outward.
6. Stop before it feels perfect
Layered shadows are meant to feel organic and moody, not polished like a magazine advert.
Stop when the depth feels convincing.
If the drawing starts to turn shiny or muddy, you have gone too far.
Restraint is part of the technique.
Final Thoughts
Layered shadows are one of those techniques that feel awkward at first and then suddenly make everything else start behaving.
If it felt slow, slightly uncomfortable, or like your pencil was testing your patience, that is normal. Layered shading is not about speed or pressure. It is about control, restraint, and knowing when to stop before your drawing quietly falls apart.
With practice, this approach will start to feel more natural, and you will find yourself using it without thinking. Your shadows will feel deeper, your forms more solid, and your horror drawings a lot less like they were shaded in a moment of artistic panic.
Take it slow, trust the layers, and encourage the darkness to build itself. Just maybe don’t press harder and hope for the best. We have all tried that. It never works.
What You Learned:
- Layered shadows are built gradually, starting light and deepening over time
- Overlapping shadow areas are where darker layers belong
- The darkest shadows should be added last and used sparingly
- Controlling pencil pressure keeps shading clean and readable
- Lifting highlights helps increase contrast and strengthen depth
- Knowing when to stop prevents shadows from becoming muddy
Continue Exploring Advanced Shading Techniques
Layered shadows are just one way to add depth and mood to your horror drawings. If you want to push things further, these techniques build naturally on what you have learned here:
- Textured Shading for Skin, Decay & Surfaces
Learn how rough, uneven shading can suggest age, damage, and decay without over-detailing. - Blending Graphite and Charcoal for Extreme Contrast
Take your shadows even deeper by combining materials for a heavier mood and dramatic contrast. - Negative Space Shading for Eerie, Ghostly Effects
Discover how shading the space around your subject can create unsettling, half-seen figures. - Suggestion vs Detail in Horror Art
Learn how leaving things unfinished on purpose can be far creepier than drawing every detail. - Strategic Highlights for Maximum Horror Impact
Find out how small, deliberate highlights can control focus and make shadows feel alive.