Photographing Real-World Textures for Horror Art
Photographing real-world textures is one of the easiest ways to improve your horror art, and no, you don’t need fancy equipment, photography knowledge, or a tragic backstory to do it.
You’re not taking art photos here; you are collecting visual references for future drawing.
Cracks, rust, peeling paint, and worn surfaces can all become powerful horror ingredients. Anything that looks abandoned, damaged, or slightly unsettling is already doing half the work for you.
If it looks like it has survived several bad decisions, it belongs in your texture folder.
Why Photograph Your Own Textures
This page discusses how to photograph real-world textures so you can use them later when drawing horror art. It’s not about copying photos directly or turning them into finished artwork.
Think of it as building your own little nightmare library.
Using your own texture photos has a few big advantages:
- You control the lighting
- You can zoom in on exactly the details you need
- You’re not relying on internet images disappearing
- You know where the texture came from and why it caught your eye
You only need a few clear photos. Three or four textures are more than enough to practice with.
Once you start noticing textures in the real world, everything becomes reference material, including that wall you have ignored for five years.
What Makes a Good Texture Photo
A good texture photo is:
- Clear
- Well lit
- Focused on surface detail
- Not taken while running away
You’re not trying to make it pretty.
You’re trying to make the texture readable.
If the surface detail is easy to see, the photo works.
Some textures photograph especially well, and horror art loves them.
Best Textures to Photograph for Horror Art
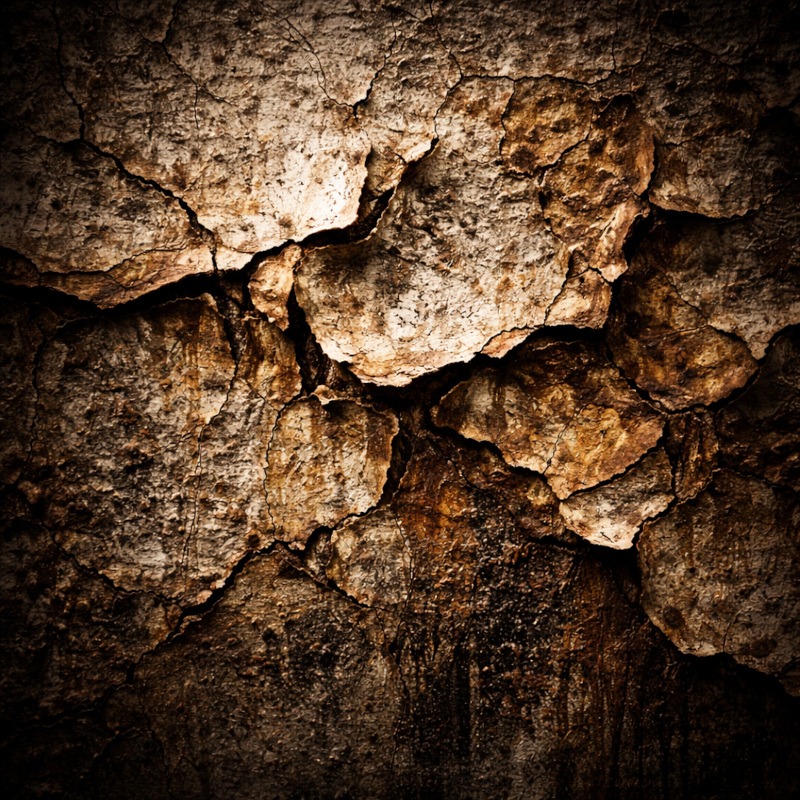
Cracks and Damage
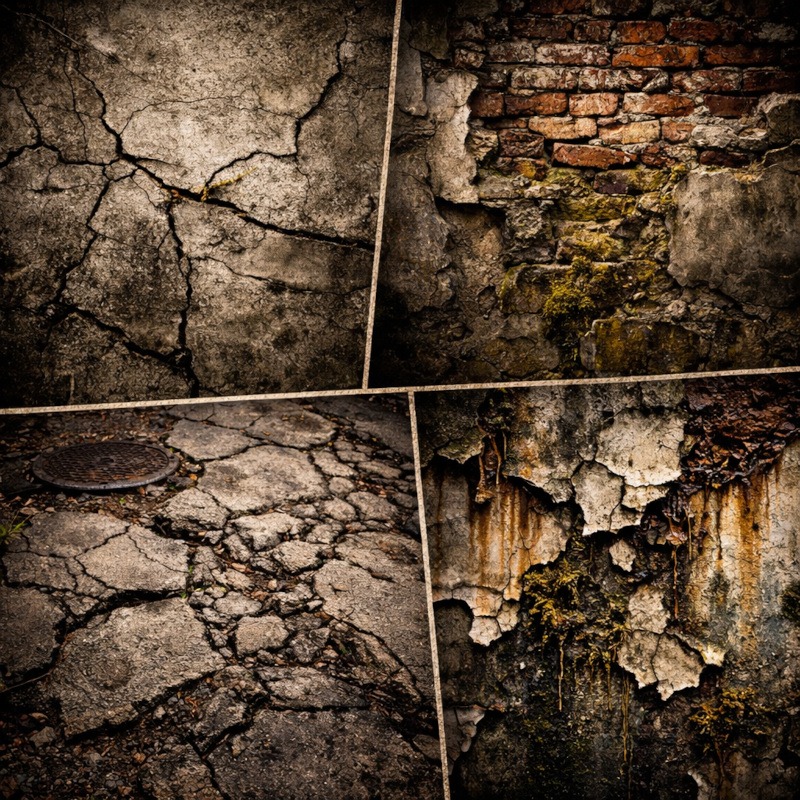
Cracked walls, pavement, and peeling plaster are excellent for studying broken patterns.
Great for:
- Damaged skin
- Old creatures
- Cursed environments
Look for uneven lines and natural breaks.
If the crack looks too symmetrical, it’s lying to you.
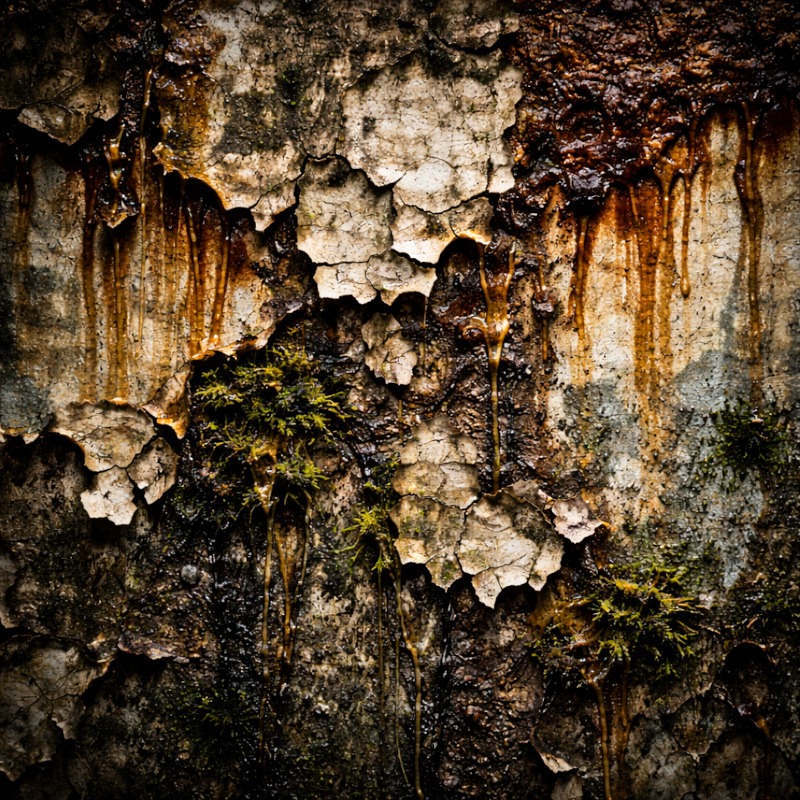
Peeling Paint
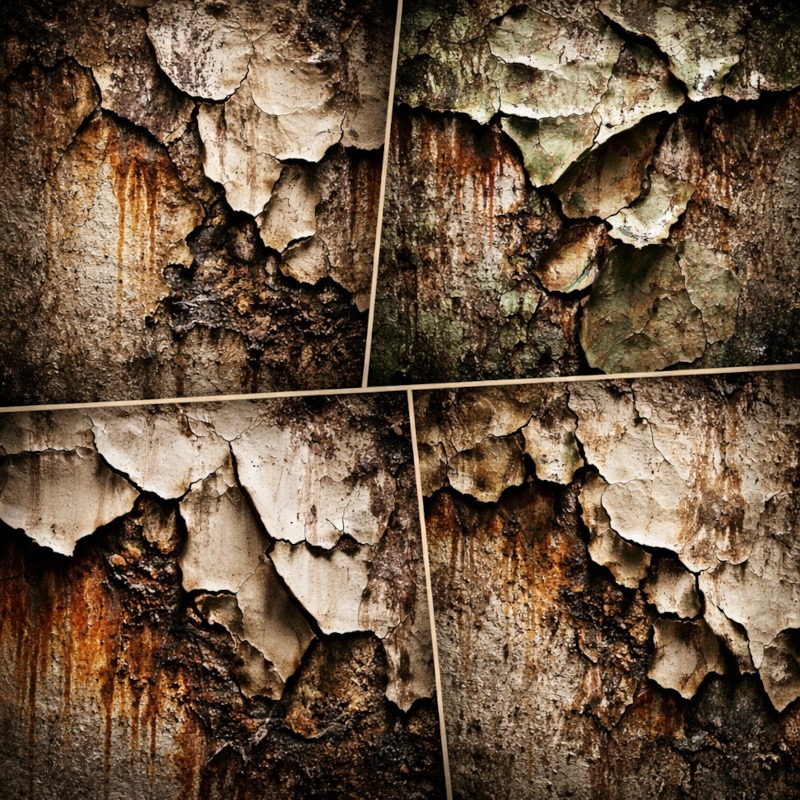
Peeling paint is one of the best textures you can photograph.
It creates layered edges, natural shadows, and organic shapes that work beautifully for horror designs.
It creates:
- Layered edges
- Natural shadow
- Organic shapes
Rust and Corrosion
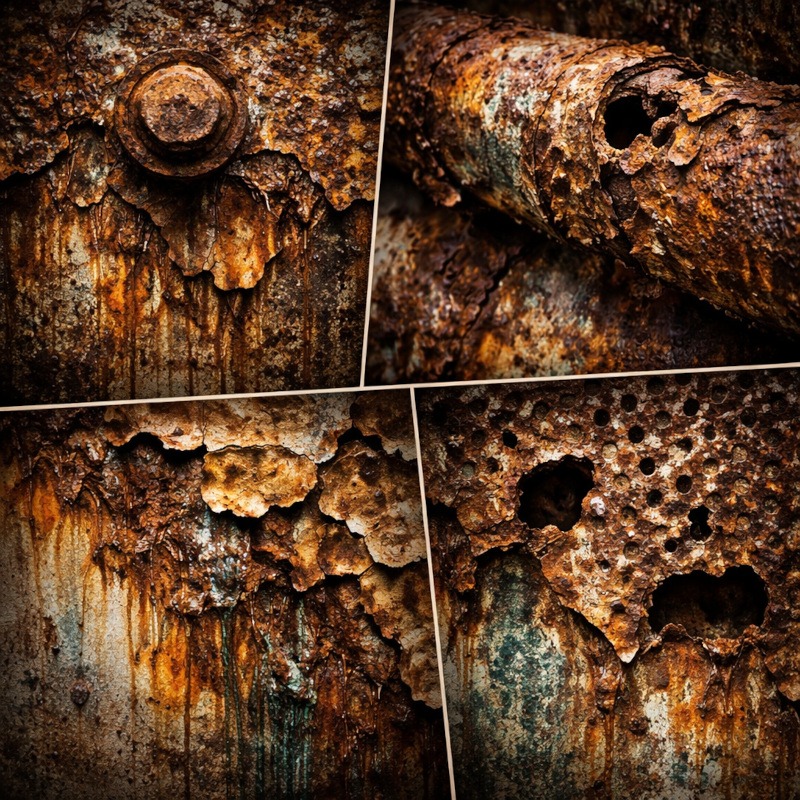
Rust is excellent for organic horror textures.
Photograph areas where rust fades into metal rather than sharp edges. The transition matters more than the rust itself.
Rust never behaves politely.
That is why it works so well.
Organic Surfaces
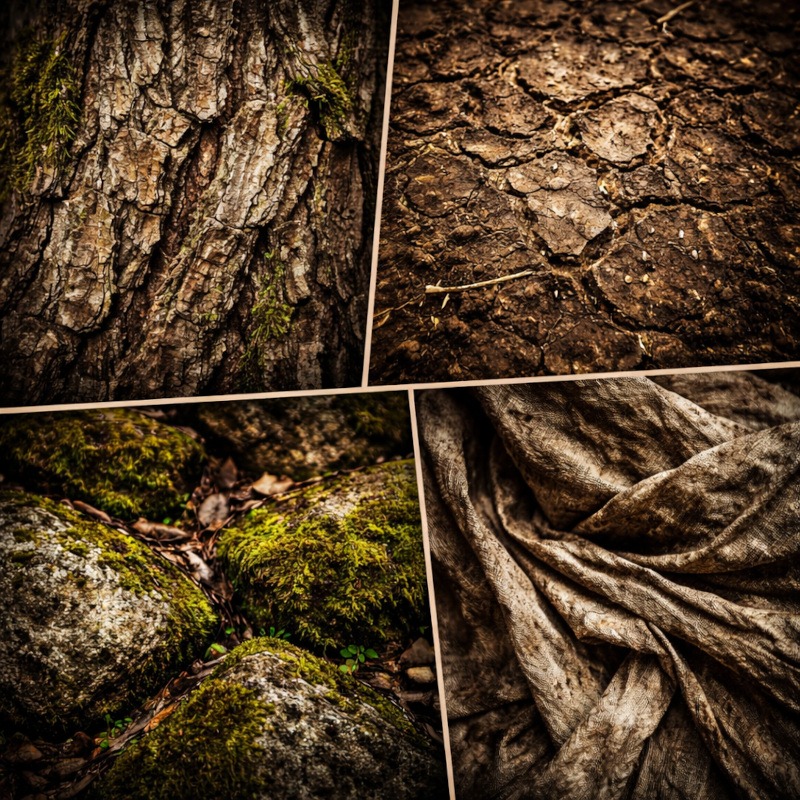
Nature is basically a walking texture catalogue.
Good options include:
- Tree bark
- Dirt and dried mud
- Stone surfaces
- Wrinkled fabric
These textures work beautifully for creatures, mutations, and unsettling details.
Nature doesn’t care about clean lines, and neither should your horror art.
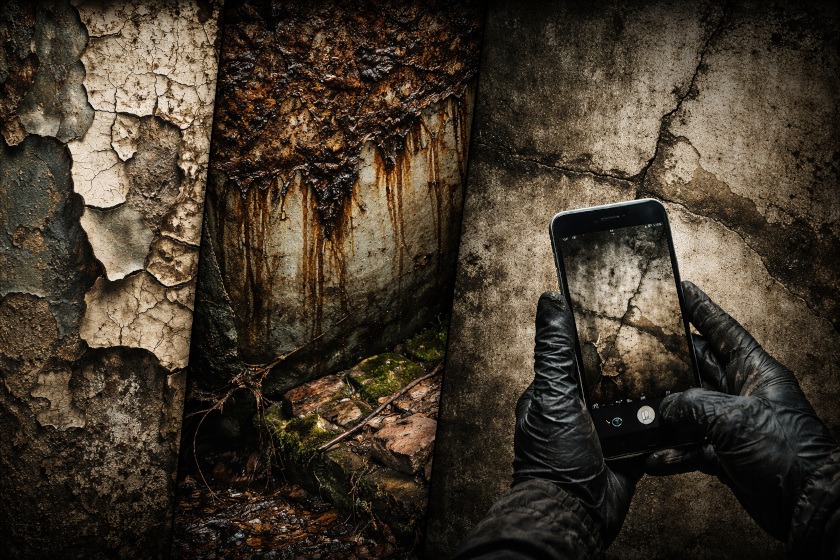
How to Take Texture Photos With Your Phone
You don’t need camera settings knowledge.
Just a few simple habits:
- Use natural light when possible
- Avoid harsh flash
- Hold your phone steady
- Get close, but not blurry
- Take multiple shots
If one looks slightly out of focus, that is fine. Take another.
Lighting Tips for Texture Photos
Lighting makes or breaks texture.
Side lighting works best because it creates shadows that show depth.
If the texture looks flat, change your angle slightly instead of moving the object.
Small changes make a big difference.
Much like horror makeup.
Safety First Because Please
Do not photograph dangerous surfaces.
Do not touch sharp or unstable objects.
Do not climb into places that might fight back.
If something looks sharp, mouldy, crumbling, or like it could give you tetanus, photograph it from a distance.
You’re collecting reference, not injuries.
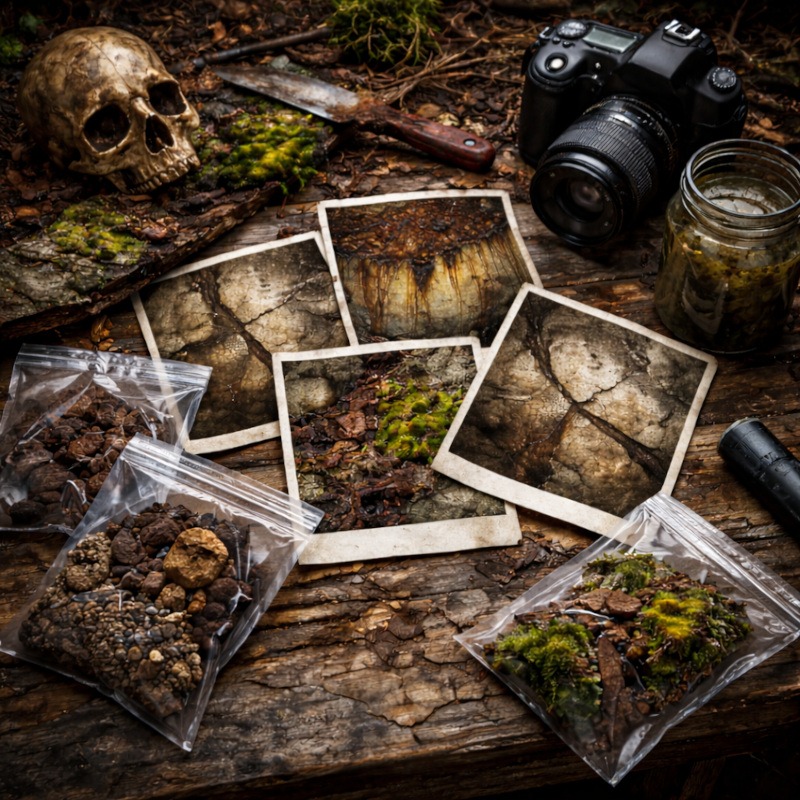
Organising Your Texture Photos

Keeping your references organised makes life much easier later.
A simple folder labelled “Textures” on your phone or computer is more than enough.
You can sort them later if you want, but there is no pressure to be perfect.
Chaos is allowed. Controlled chaos is preferred.
Using Your Texture Photos for Drawing
Once photographed:
- Don’t trace directly
- Study shapes and patterns
- Focus on light and dark areas
- Simplify what you see
You might borrow the direction of cracks or the way rust spreads, but not the exact shape.
Textures support your drawing.
They don’t replace it.
Conclusion
Photographing real-world textures is about collecting reference, not creating perfect photos. Your phone is enough. A few clear images are enough. You don’t need to capture everything, just the surfaces that catch your eye and spark ideas for your artwork.
By building your own small library of texture photos, you give yourself references that feel personal, familiar, and always available. Over time, you’ll start seeing texture everywhere, even in places you have walked past a hundred times before.
Keep it simple. Stay safe. Photograph what interests you.
These photos are ingredients, not instructions. How you use them in your art is where the real creativity happens.
And yes, you may never look at cracked walls the same way again.
That is completely normal.
What You Learned:
- You can photograph textures using just your phone
- You only need a few clear reference images
- Lighting and clarity matter more than beauty
- Photos are tools, not things to copy exactly
- Everyday surfaces make excellent horror references
Explore More Texture & Reference Guides
This photography guide works best when paired with the rest of the category:
- Using Real-World Textures for Horror Art
See how to apply real-world textures to skin, decay, and creatures in your drawings. - Websites for Horror Reference and Inspiration
Find additional horror reference material when you need inspiration beyond your own photos. - Real-World Texture Reference Photos for Horror Art
Study close-up texture photos you can use as inspiration and reference for horror art. - How to Use Art References Effectively (Without Killing Your Creativity)
A guide to using photo and texture references properly, helping you turn observation into stronger, more believable horror designs.