Understanding Surface Textures in Shading
Different surfaces react to light in different ways. This doesn’t mean the light source changes. It means the surface itself reflects and absorbs light differently. A smooth cheek does not shade the same way as cracked stone, and fog definitely does not behave like bark. This is where surface texture comes in.
Texture is what tells the viewer what something feels like, not just what it looks like. When you understand the basic types of surfaces and how shading changes between them, your drawings start to feel more believable.
If you have ever shaded something and thought, “Why does this feel wrong?” surface texture is usually the reason.
You don’t need to master every texture at once. You just need to recognise what kind of surface you are dealing with.
Why Surface Texture Matters
When shading without thinking about surface texture, everything can start to look… oddly similar.
Skin looks plastic.
Stone looks rubbery.
And your terrifying creature suddenly looks like it would ask you for directions instead of haunting you. This usually happens when everything is shaded the same way, even though the materials are completely different.
Surface texture helps prevent this by guiding how your shading behaves. It affects how soft or sharp your marks are, how smooth or broken your transitions look, and how much detail you actually need to show.
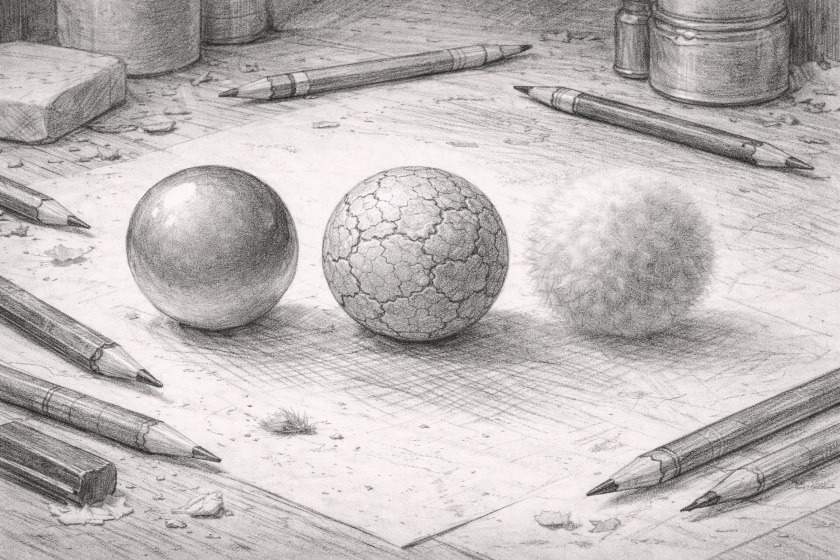
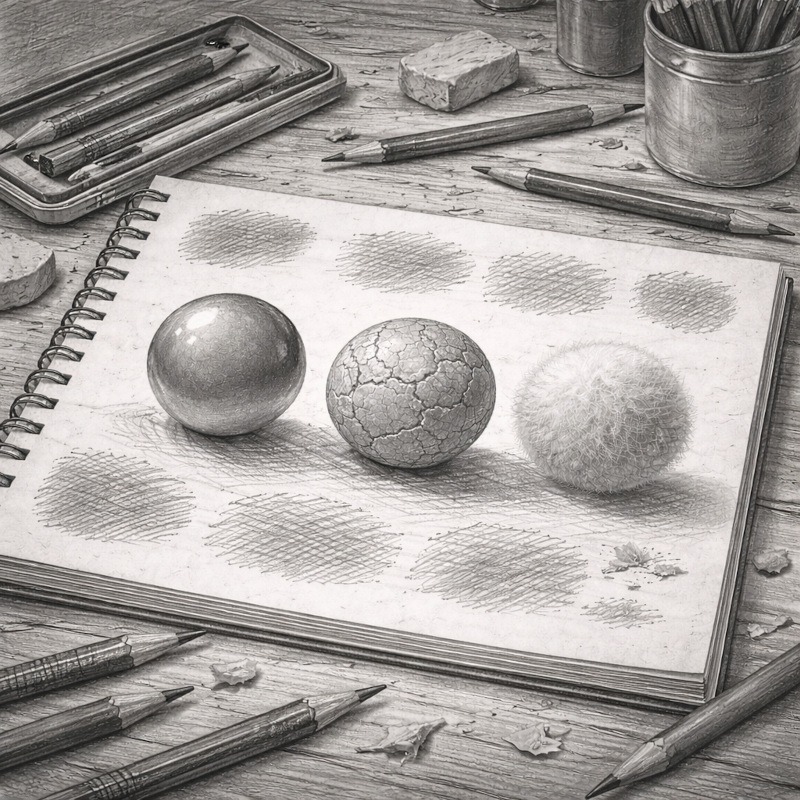
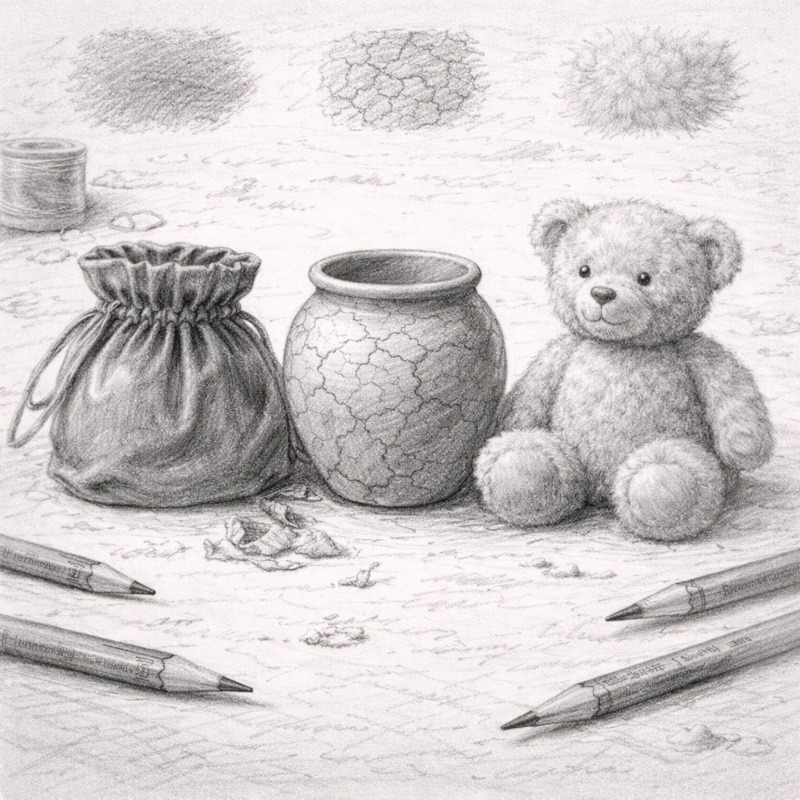
The Three Main Surface Types
To keep things simple, we can group most surfaces into three basic types:
- Smooth
- Rough
- Soft
You can mix them later once you feel more comfortable. For now, recognising them is more important than mastering them.
Smooth Surfaces
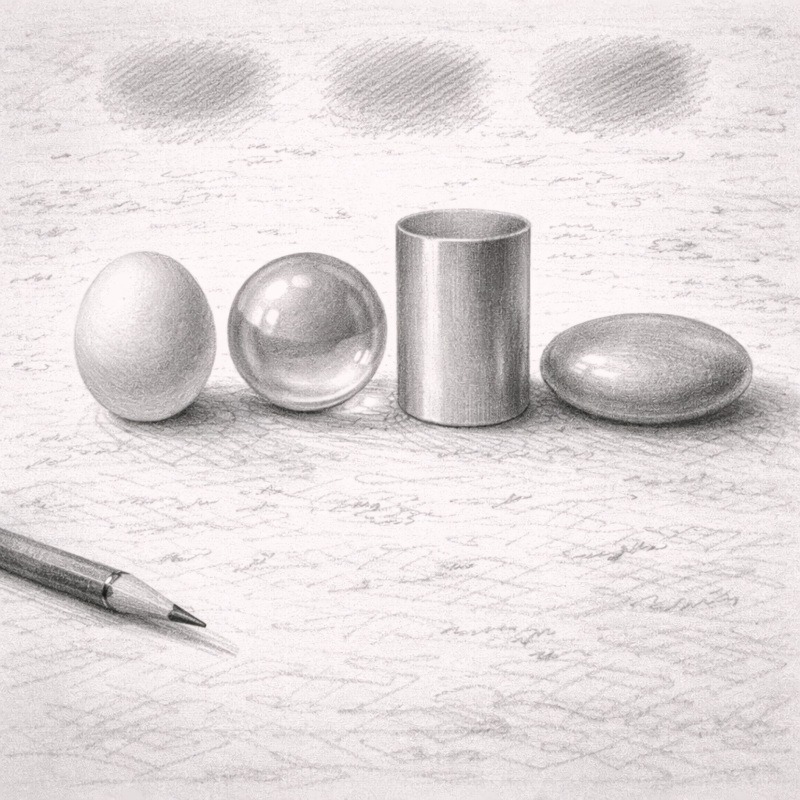
(Skin, glass, polished metal)
Smooth surfaces usually have very little visible texture. What makes them feel realistic is the gradual change from light to shadow, not heavy line work.
When shading smooth surfaces:
- Use light pressure
- Build tones gradually
- Keep transitions soft
- Avoid harsh or scratchy marks
Instead of drawing a lot of lines, you’re gently shifting light into shadow with soft layers.
If the shading looks streaky or uneven, the surface may start to feel rough even when it’s not meant to be.
Smooth surfaces rely more on patience than pressure. Unfortunately.
Rough Surfaces
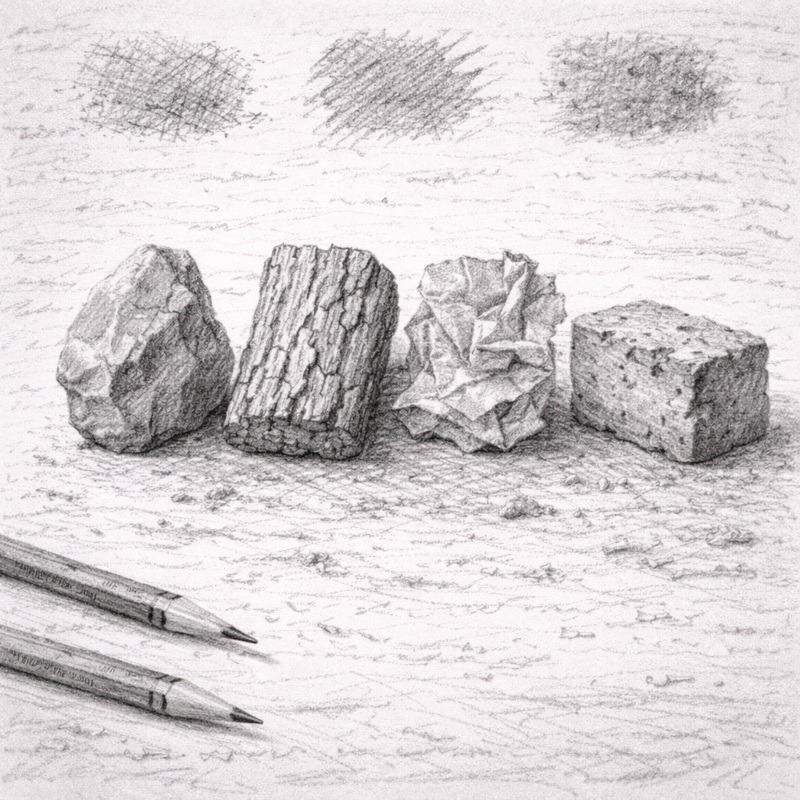
(Stone, bark, worn fabric)
Rough surfaces thrive on texture. They benefit from uneven shading and visible marks.
When shading rough materials:
- Use directional strokes
- Try crosshatching or light stippling
- Allow shading to stay uneven rather than perfectly blended
- Let small gaps exist between marks
Rough textures rarely have smooth transitions. Those imperfections are what make them feel believable.
If your shading looks a little messy here, congratulations. That is usually a good sign.
Soft Surfaces
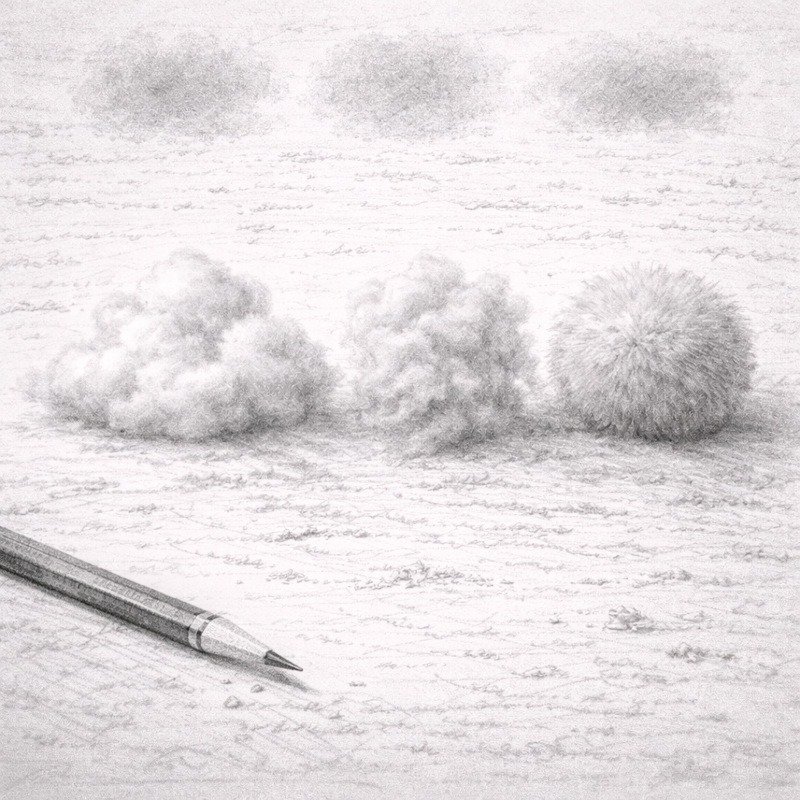
(Moss, smoke, fog)
Soft textures sit somewhere between visible and invisible.
They usually have some combination of:
- Blurred edges
- Gentle transitions
- Very light pressure
- Minimal sharp lines
Soft surfaces often feel more like atmosphere than solid objects. You are suggesting them rather than clearly defining them. You’re aiming to suggest softness, not outline it.
A Helpful Way to Think About Texture
Before shading, ask yourself one simple question:
Is this surface smooth, rough, or soft?
That single decision will guide your pressure, mark type, and shading approach far more effectively than memorising techniques.
You can combine textures later. Right now, recognising them is enough.
A Gentle Reminder
You don’t need to draw every crack, fibre, or wrinkle.
Texture is often suggested rather than fully drawn.
A few thoughtful marks can communicate far more than covering the entire area in detail. Your pencil does not need to suffer for realism. This is art, not a medieval endurance test.
If your drawing feels messy at this stage, that usually means you’re doing it right.
Conclusion
Understanding surface textures helps you make smarter shading choices without adding unnecessary detail. When you recognise how different materials behave, your drawings begin to feel intentional instead of accidental.
You’re not aiming for perfection. You’re learning how to observe and respond. And that is already far more powerful than angrily scribbling and hoping for the best.
What You Learned
- Different surfaces react to shading in different ways
- Smooth textures rely on soft transitions
- Rough textures benefit from uneven, broken marks
- Soft textures use light pressure and blurred edges
- Recognising surface type matters more than detail
Up Next: Creating Depth With Shading
Next, we will look at how shading patterns and mark direction help create texture, and how small changes in your strokes can completely alter how a surface feels in the Creating Depth With Shading post.