How to Use Blending Stumps with Graphite (Step-by-Step Guide)

If you’ve ever carefully shaded part of a drawing, picked up a blending stump… and then somehow turned the whole area into a grey fog cloud, you’re not alone.
Blending stumps are fantastic tools for smoothing graphite, softening transitions, and creating subtle shading. But they’re also very good at ruining perfectly nice pencil work if you press too hard, blend too early, or enthusiastically smudge absolutely everything.
The good news is that blending is a skill you can learn quickly with the right approach. Once you understand how graphite behaves and how a blending stump moves it around the paper, you’ll be able to create smoother shading and more realistic depth in your drawings.
This guide walks you through exactly how to use blending stumps with graphite step by step, so even complete beginners can follow along.
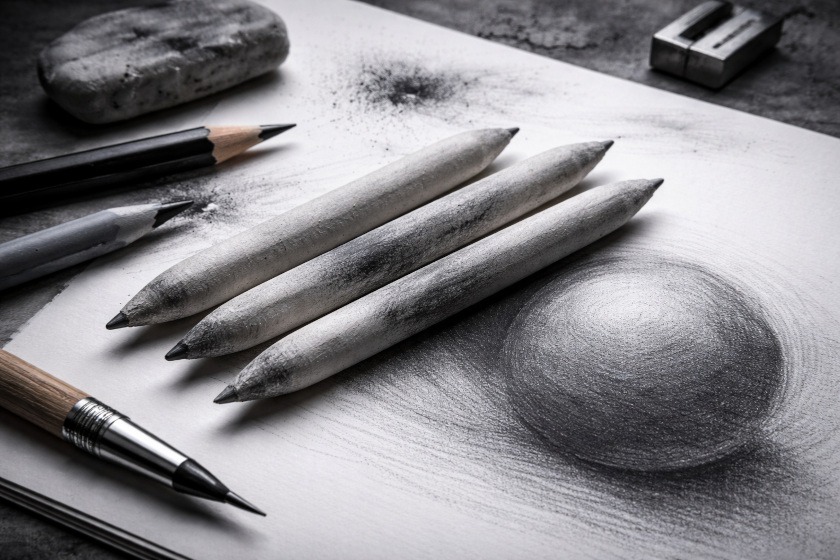
What You Need:
Before starting, gather a few simple supplies:
- Graphite pencils (HB to 6B work well)
- A blending stump or tortillon (both work the same way)
- Drawing paper
- A kneaded eraser
- Scrap paper for testing
You don’t need anything fancy to get started. A basic pencil set and a couple of blending stumps are more than enough for practice.
If you’re still learning the basics of shading, you might also find my guide to Basic Shading Techniques helpful.
Step 1: Lay Down Graphite First
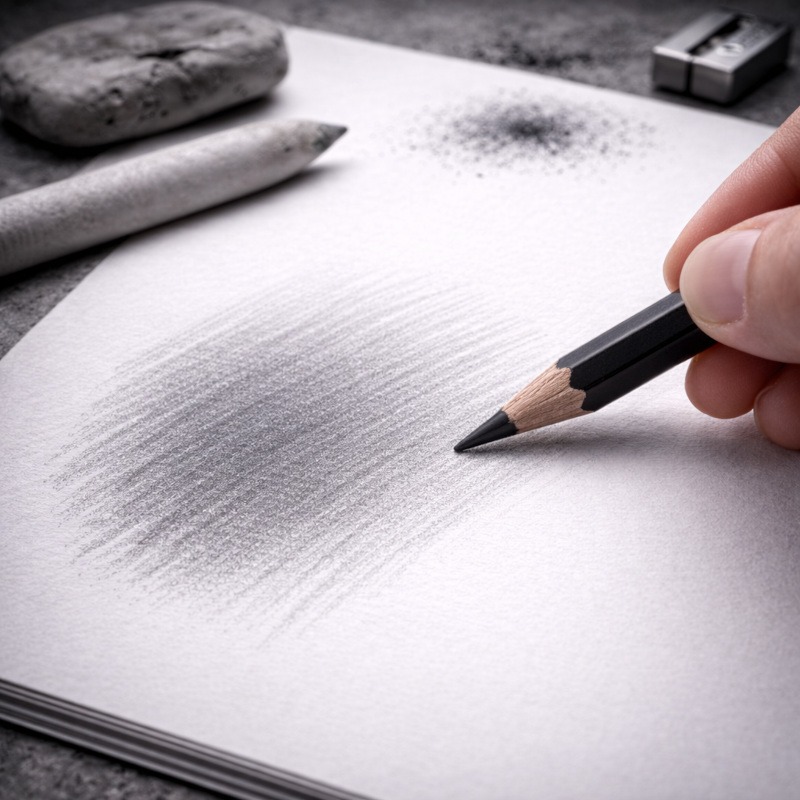
The biggest mistake beginners make is trying to blend before enough graphite is on the paper. Blending stumps don’t magically create shading. They simply move the graphite that is already there.
Start by lightly shading the area with your pencil using small, even strokes. Try to keep your pressure light and consistent, so the graphite builds up gradually rather than creating harsh lines.
Building up graphite slowly gives the blending stump something to work with and helps you create smoother gradients later.
If you press too hard at this stage, the graphite can become shiny and difficult to blend evenly.
Think of this step as preparing the “raw material” that the blending stump will shape.
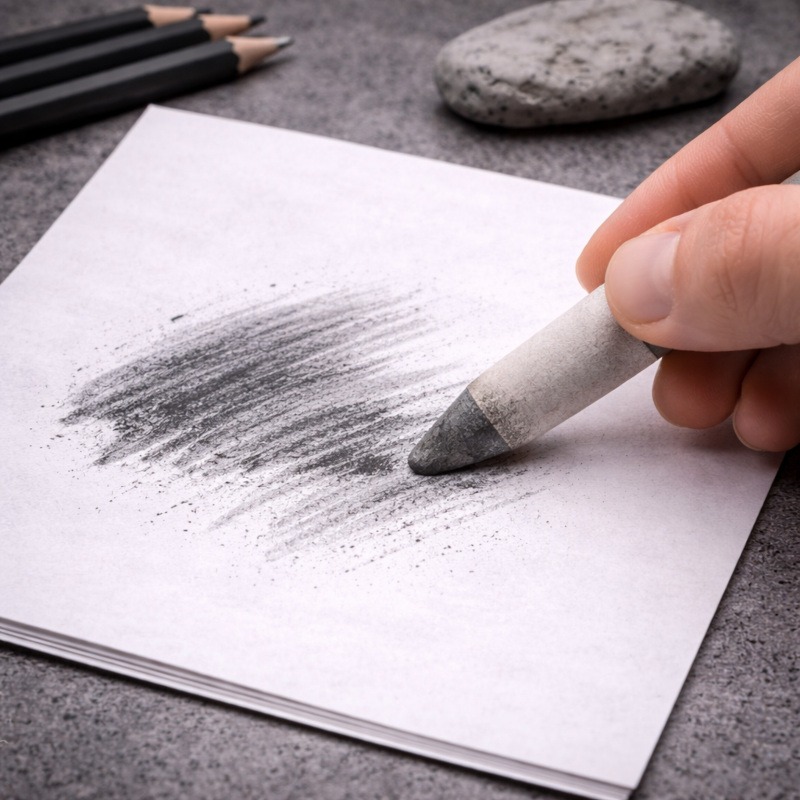
Step 2: Use Light Pressure When Blending
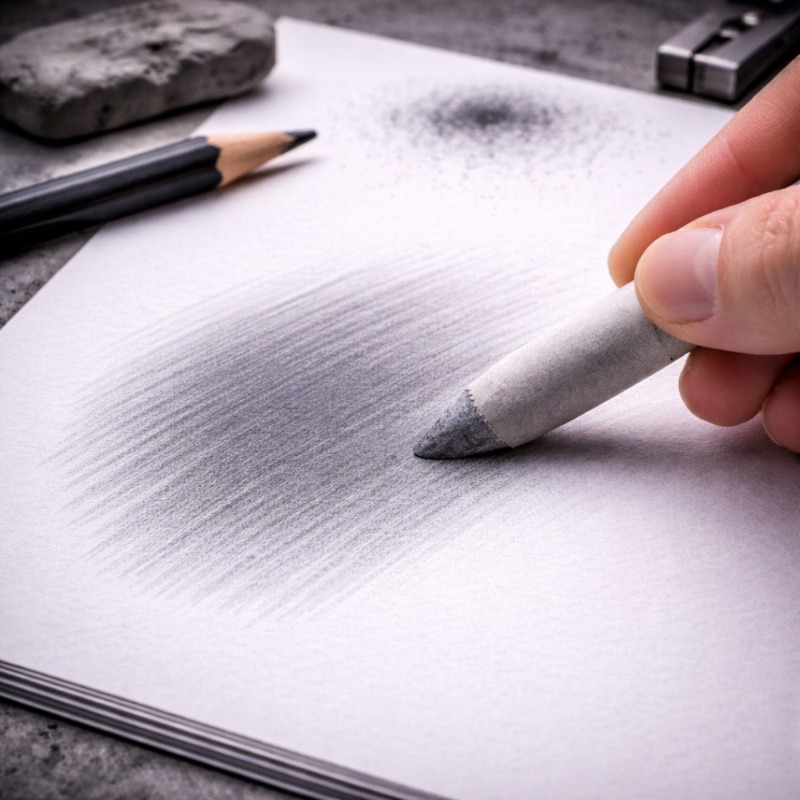
Now it’s time to use the blending stump.
Place the stump gently onto the shaded area and move it using small circular motions or soft directional strokes.
Small circular motions work well for smoothing larger areas, while directional strokes help follow the shape of an object. For example, you might blend along the curve of a cheekbone or the round surface of a sphere.
The key here is light pressure.
If you press hard with the stump, you can grind graphite into the paper and flatten the surface texture. This often leads to muddy shading and shiny patches. Instead, let the stump gently move the graphite around.
If the stump feels like it’s doing heavy manual labour, it’s probably a sign to lighten your touch.
Step 3: Blend Gradually in Layers
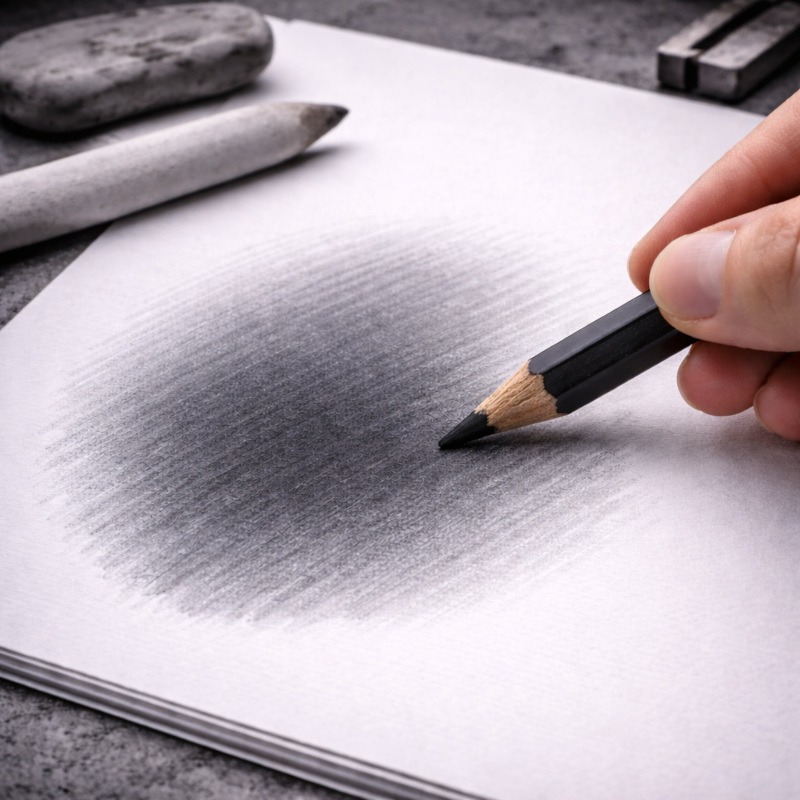
Many beginners try to blend the entire shaded area all at once, but graphite usually blends better when you work in layers.
Start by blending the first light layer of graphite to soften the pencil strokes and create a smoother base.
Next, add more graphite with your pencil where you want darker areas. Then blend again gently to soften the transition between tones.
For example, you might:
- Lightly shade with an HB pencil
- Blend gently with the stump
- Add darker graphite with a 2B or 4B pencil
- Blend the edges of the darker areas
Working this way builds depth and keeps the drawing from becoming flat or over-smudged.
Step 4: Blend with the Shape of the Form
When blending graphite, it helps to follow the shape of the object you’re drawing.
For example:
- If you’re shading a sphere, blend in slightly curved strokes that follow the round surface.
- If you’re shading a cheekbone, skull structure, or creature’s face, blend along the natural contours of the form.
This small habit makes a big difference. It helps the shading feel more natural and adds a stronger sense of volume to your drawing.
Blending isn’t just smoothing graphite. It’s helping you shape light and shadow.
Step 5: Leave Some Areas Unblended
This might sound surprising, but good blending often means not blending everything.
Beginners sometimes think smooth shading means every part of the drawing must be perfectly blended. In reality, leaving some pencil texture can make your drawing look more interesting and natural.
Some areas benefit from staying crisp, especially darker shadows and small details.
If you blend every part of the drawing, the result can look overly soft and lose contrast.
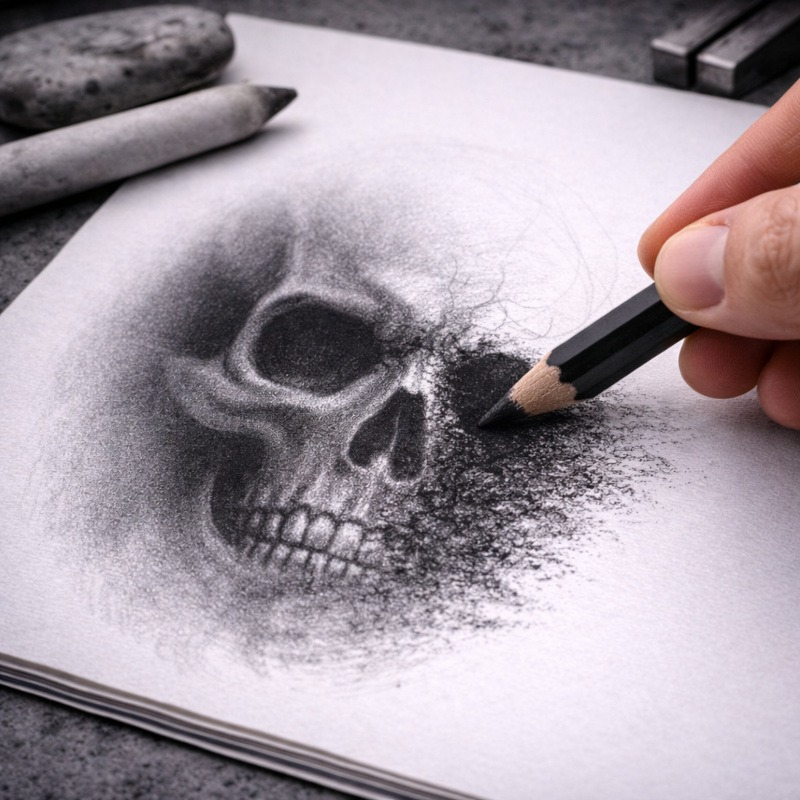
Horror art especially benefits from this contrast. Sharp shadows and rough textures can make a creature feel much more unsettling than perfectly polished shading.
Step 6: Use Different Tools for Different Areas
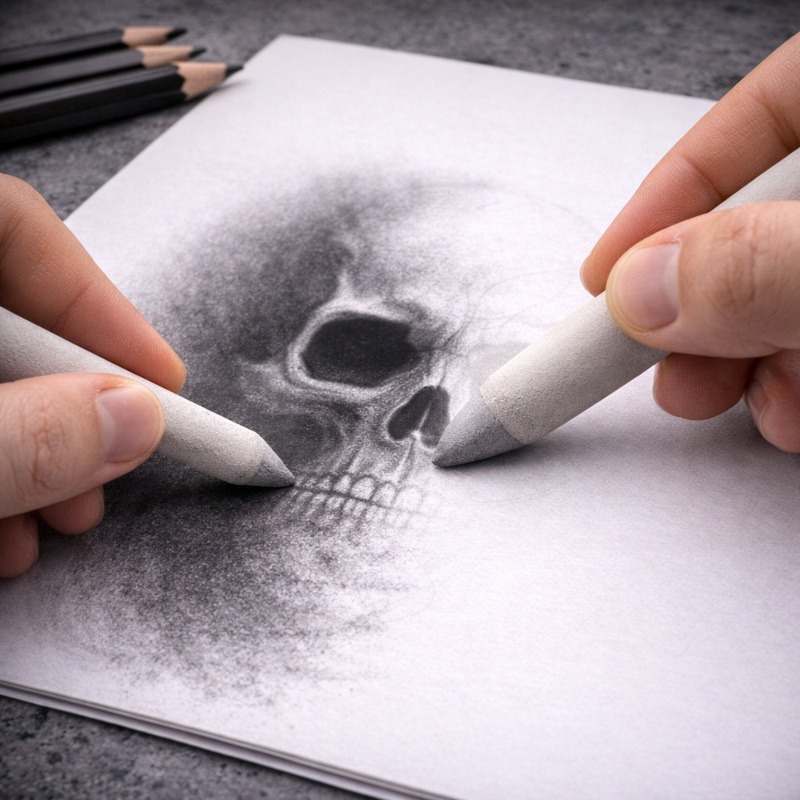
Blending stumps come in different sizes, and each one works best for certain areas.
Larger stumps are useful for:
- background shading
- larger surfaces
- soft gradients
Smaller stumps or tortillons are better for:
- wrinkles
- eye sockets
- small creases
- tight shadow areas
Trying to blend tiny details with a large stump can quickly smudge nearby areas, which usually leads to a quiet moment of regret followed by reaching for the eraser.
Step 7: Clean Your Blending Stump Regularly
Blending stumps collect graphite quickly, and a dirty stump can unintentionally darken areas you meant to keep light.
To clean it, rub the tip on scrap paper until the graphite fades. If the tip becomes very dark or blunt, gently sand it with fine sandpaper to refresh it.
Keeping your stump clean gives you far more control over your shading.
Otherwise, it may quietly spread graphite everywhere like a tiny paper gremlin.
When You Should’nT Use a Blending Stump
Blending stumps are helpful tools, but they aren’t always the best choice.
There are times when leaving the pencil strokes visible actually improves the drawing.
For example:
- textured skin, scars, or rough surfaces
- deep cracks and wrinkles
- sharp shadow edges
- areas that need strong contrast
Over-blending can flatten the drawing and remove interesting textures. In horror art, in particular, a combination of smooth shading and rough pencil marks can create a much more dramatic effect.
Sometimes the scariest details come from those rough, uneven textures.
Blending Stumps vs Tissues vs Brushes
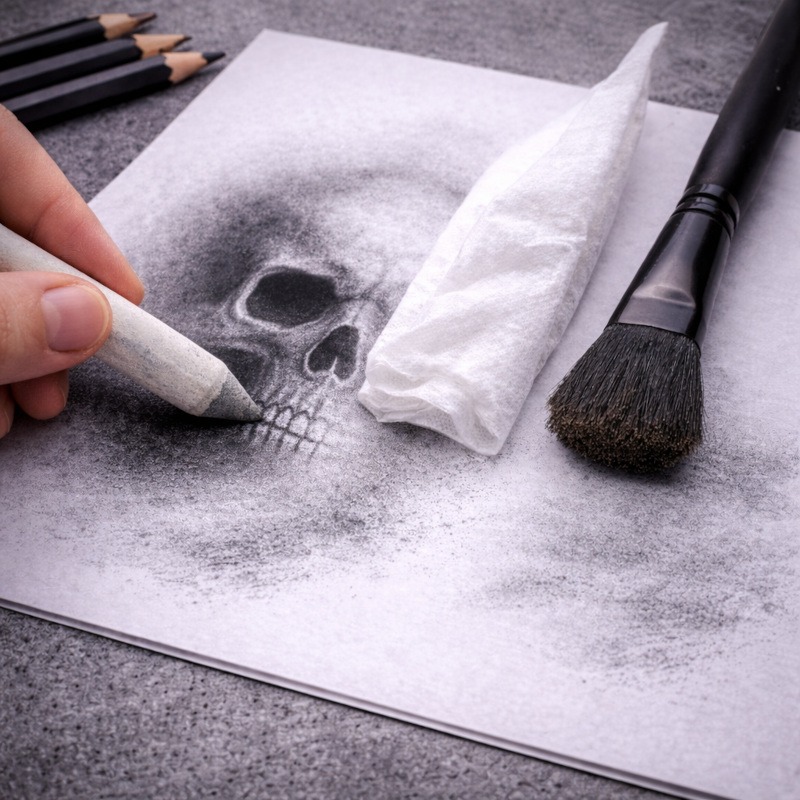
Artists sometimes use other tools for blending graphite, such as tissues or soft brushes.
Each tool produces slightly different results.
Blending stumps:
These provide the most control. They allow you to move graphite precisely and are ideal for detailed shading.
Tissues:
Tissues can soften large areas quickly, but they tend to spread graphite over a wider area. This makes them useful for background elements but less suitable for fine details.
Soft brushes:
Soft brushes can gently move loose graphite dust across the paper. They are useful for subtle transitions and very soft effects.
Many artists use a combination of these tools depending on the part of the drawing they are working on.
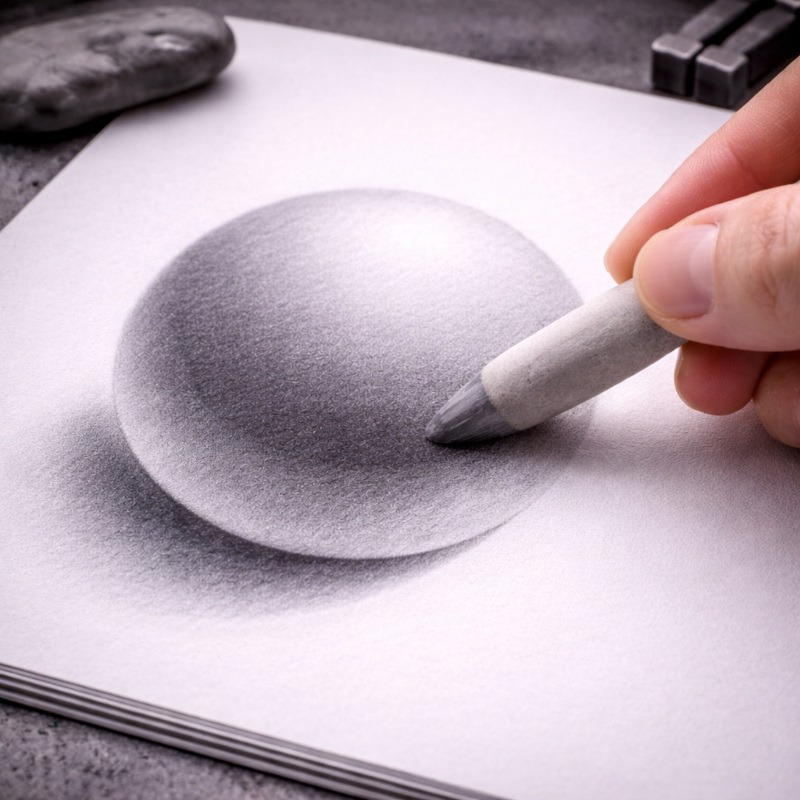
Practice Exercise: Shaded Sphere
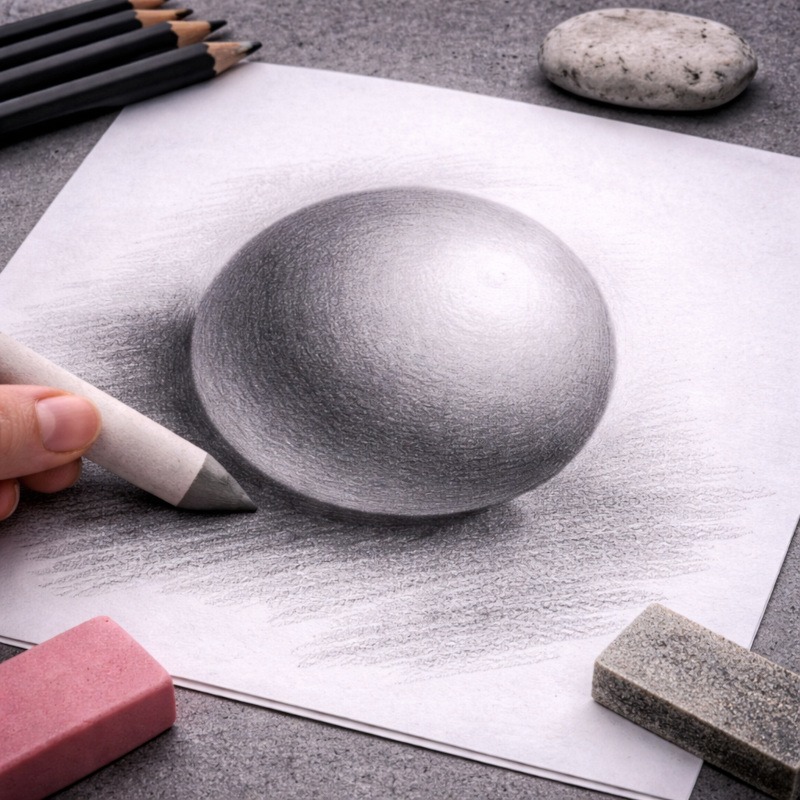
A great way to practice blending is with a simple sphere.
1. Draw a basic circle.
2. Lightly shade one side with your pencil, gradually building darker tones.
3. Use small circular motions with your blending stump to soften the midtones.
4. Leave the brightest highlight untouched.
5. Add deeper shadows near the outer edge of the sphere and blend gently along the transition.
This simple exercise helps you understand how blending affects gradients and how light and shadow create the illusion of form.
When Blending Works Best in Horror Art
Blending is particularly useful for creating soft, eerie effects in horror drawings.
For example:
- misty or foggy backgrounds
- hollow eye socket shadows
- soft skin shading on creatures
- smoky atmospheric lighting
These effects work well because blending allows shadows to fade gradually into darkness. However, combining blended shading with rough pencil textures can make horror artwork feel even more dramatic and unsettling.
A balance between smooth and rough areas often creates the most interesting results.
Final Thoughts
Learning to use blending stumps properly takes a little patience, but it’s one of the easiest ways to improve the smoothness and depth of your graphite drawings.
The most important things to remember are to build your graphite gradually, use a light touch when blending, and avoid the temptation to smooth absolutely everything. A good drawing usually includes a mix of soft blended areas and sharper pencil textures.
Like most drawing techniques, blending gets much easier with practice. The more you experiment with different pressures, pencil grades, and layering methods, the more control you’ll gain over your shading.
If your first attempts feel a bit messy, don’t worry. Every artist has gone through the “why does this look like a smudged potato” stage at some point.
With a little practice, blending stumps become incredibly useful tools for shaping light, shadow, and atmosphere in your drawings. And once you get comfortable using them, they can help bring everything from soft skin tones to eerie horror shadows to life on the page.
What You Learned:
- Blending stumps move graphite rather than creating it
- Light pressure helps prevent muddy shading
- Layering graphite and blending creates smoother gradients
- Not every area of a drawing should be blended
- Cleaning your blending stump helps you keep better control