So, you’ve survived the beginner stage – you’ve shaded pumpkins, haunted dolls, and probably sworn vengeance on your eraser at least once. Now it’s time to level up (no pressure, I promise).
This section is where we start breathing more unlife into your drawings. These tutorials focus on expressive, eerie characters; not perfectly realistic portraits, but designs that capture that creepy “did-it-just-blink?” vibe. You’ll explore shading for depth, wrinkles that tell disturbing stories, and textures that make your creatures look almost touchably gross.
Think of this stage as your mad scientist era – experimenting, learning, laughing at your mistakes, and sometimes accidentally creating something genuinely horrifying (don’t worry, that’s half the fun).
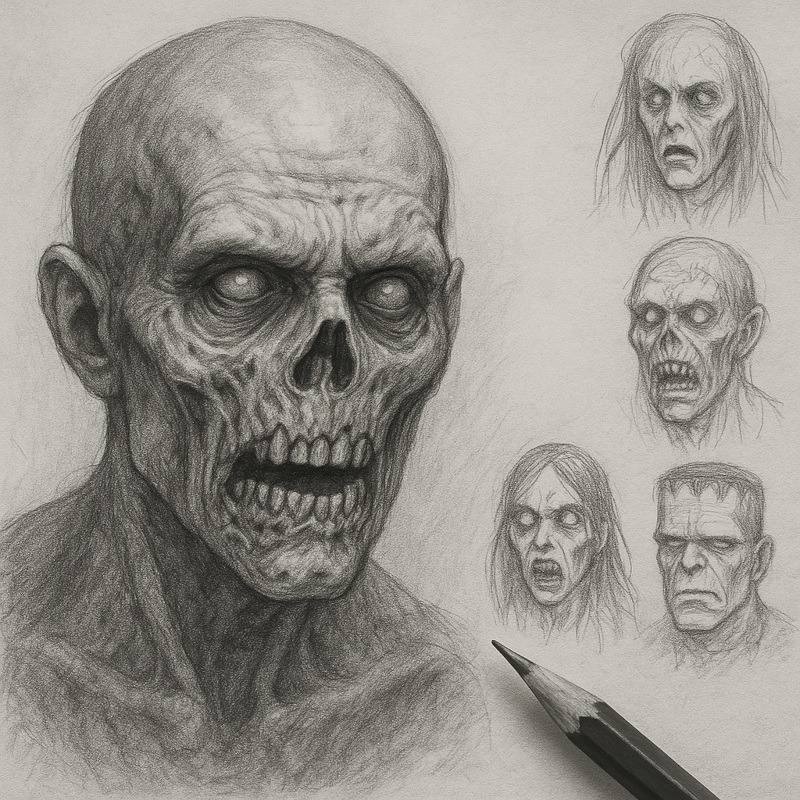
How to Draw a Realistic Zombie Head (Graphite Tutorial)
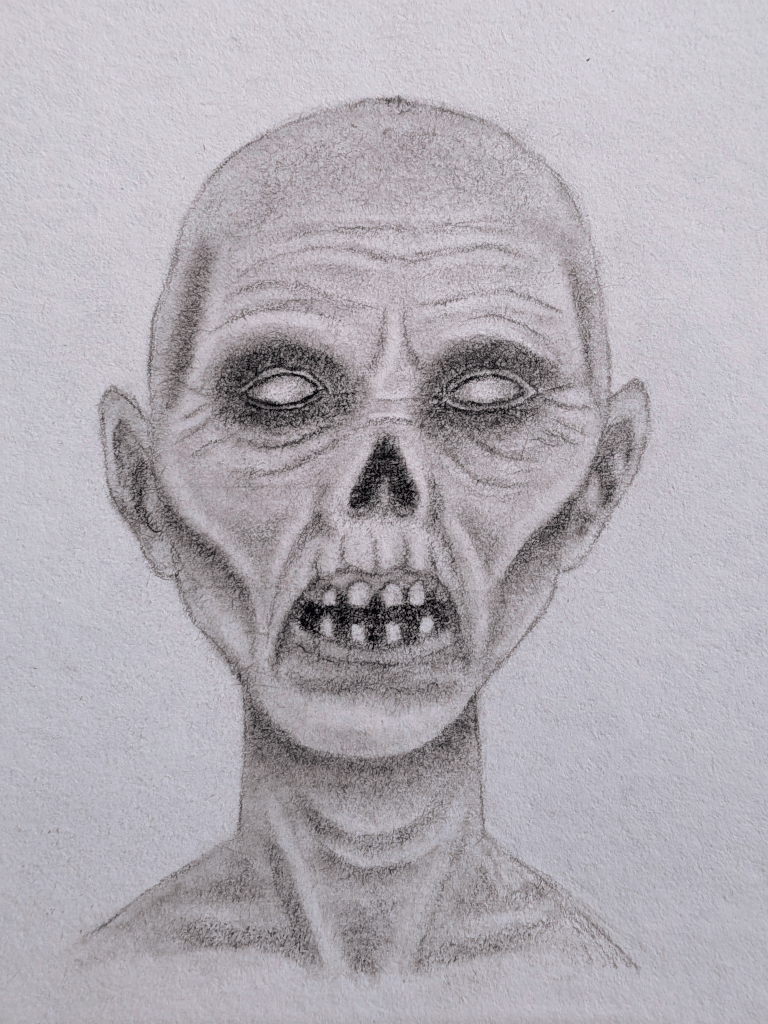
Learn how to draw a hauntingly undead face using only graphite pencils. This step-by-step tutorial walks you through shaping the skull, adding facial features, and layering shading to build depth and decay. You’ll learn how to create wrinkles, textures, and subtle details that bring your zombie to life – or, more accurately, back from the dead.
Ready to build on your shading foundation? The Realistic Intermediate Zombie Drawing Tutorial post shows how to layer, blend, and create eerie depth, all while keeping the process simple and approachable.
Coming Soon:
Further intermediate tutorials will be added here over time; expect twisted ghouls, creepy grin-wearers, and monsters that probably need a moisturiser (or an exorcism). Keep checking back, because this page will keep evolving (much like your drawings).
Conclusion
These tutorials are designed to help you grow your horror art skills in a fun, relaxed way. It’s not about perfection – it’s about learning, experimenting, and discovering your creepy, creative voice one smudge at a time.
Keep your pencils sharp, your imagination darker, and your sense of humour intact.