Horror Lighting Practice Exercises for Artists
Lighting in horror drawings isn’t just about making things visible – it’s about creating atmosphere, suspense, and that delicious “oh no, something’s behind me” feeling. By changing where the light comes from, how strong it is, and what it reveals (or hides), you can make your drawings go from “mildly moody” to “please turn the lights back on.”
Lighting in horror art isn’t about visibility – it’s about giving your sketch that look people have when they realise they’re in the wrong house.
These exercises will help you practice creepy lighting setups so you can confidently summon eerie glows, sinister shadows, and unsettling silhouettes whenever your drawing demands it.
If you haven’t explored the theory behind these setups yet, take a look at Advanced Lighting Techniques for Horror Artwork before diving into the exercises.
1. The Single Candle Test
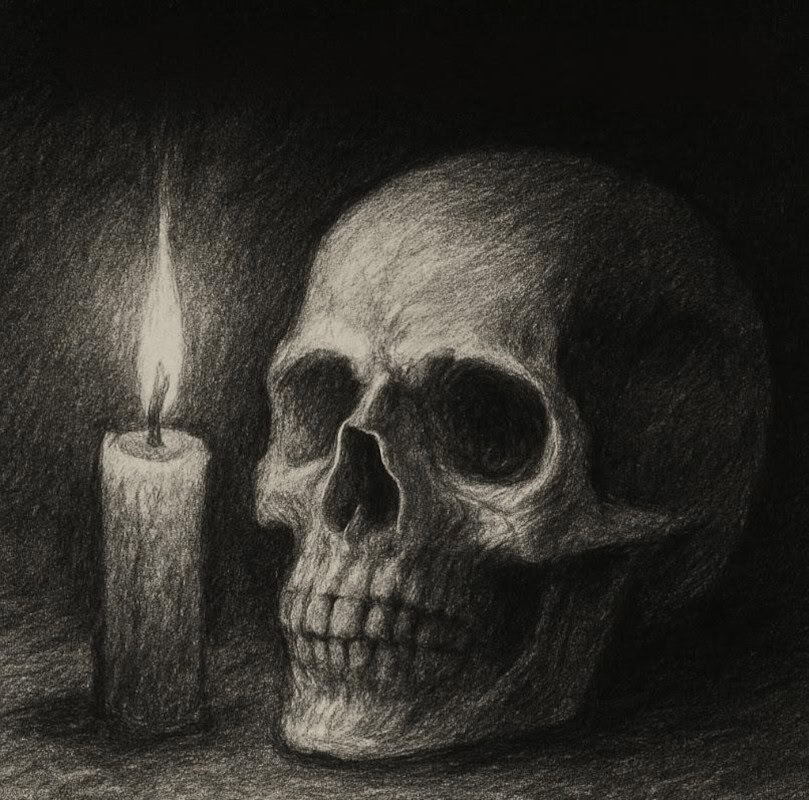
Why this matters: A single flame creates intense highlights and deep shadows. This limited light source forces contrast and drama.
Great for studying atmospheric setups in haunted portraits or cursed objects. Candlelight exaggerates the mood and immediately gives a gothic tone.
Exercise:
- Place a candle beside a simple object.
- Sketch how the light falls – strong highlights on the lit side, and deep, soft shadows on the other.
- Notice how the flame doesn’t light everything evenly, but leaves pockets of darkness.
Levels:
- Beginner: Focus on one light direction and keep it simple.
- Intermediate: Move the candle to different spots and compare shadow lengths.
- Advanced: Light two objects close together – notice how their shadows overlap and merge.
2. Flashlight Reveal
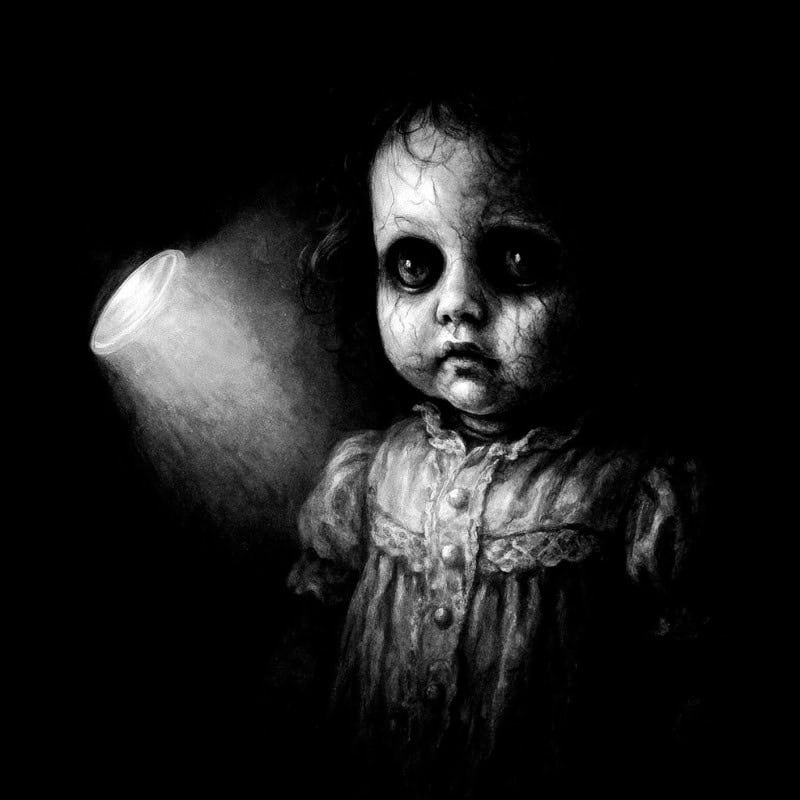
Why this matters: Flashlights create harsh, directional beams that sharply separate lit areas from darkness.
Ideal for creating “found-footage” effects or depicting a creature emerging from the darkness.
Exercise:
- Shine a flashlight onto an object and observe the sharp edges where light stops.
- Sketch the highlights, then fade quickly into dark values around them.
- Try moving the light to see how it distorts shapes and lengthens shadows.
Levels:
- Beginner: Sketch a single object with a focused light.
- Intermediate: Place the light at a distance to exaggerate the cast shadow.
- Advanced: Add a background or figure that partially extends outside the light beam to create a sense of mystery.
3. Silhouette Studies
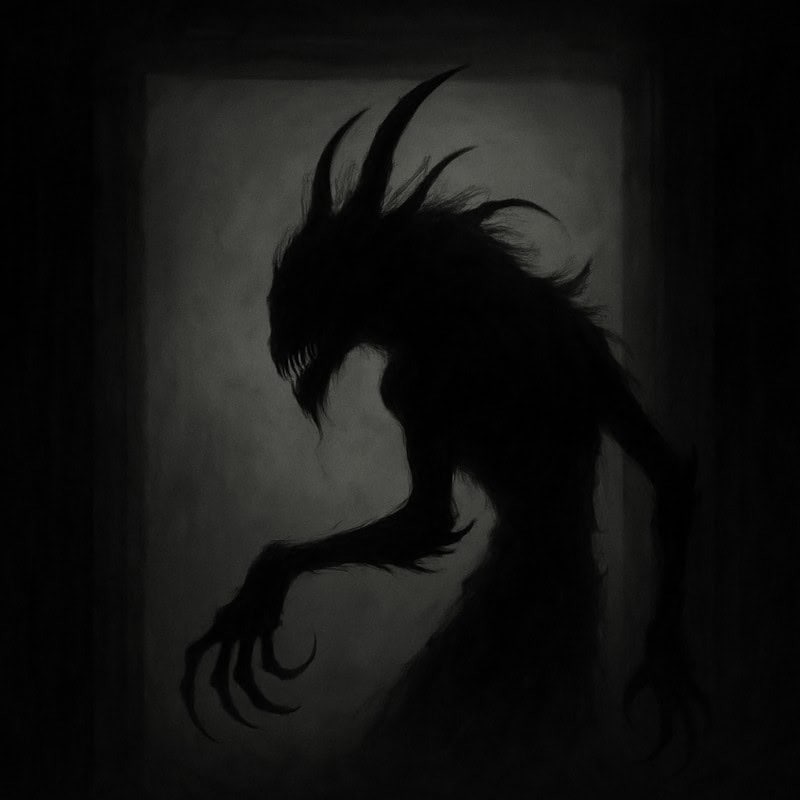
Why this matters: Backlighting reduces a subject to a simple dark outline, stripping away interior detail.
Excellent for creepy figures in windows or monsters framed in a doorway. Silhouettes let you imply menace without over-explaining it.
Exercise:
- Position a light source behind your subject.
- Focus on drawing only the shape, leaving the inside areas dark.
Levels:
- Beginner: Trace simple shapes in silhouette form.
- Intermediate: Use more complex objects (dolls, masks, plants).
- Advanced: Create a full horror scene where everything is defined by silhouette only.
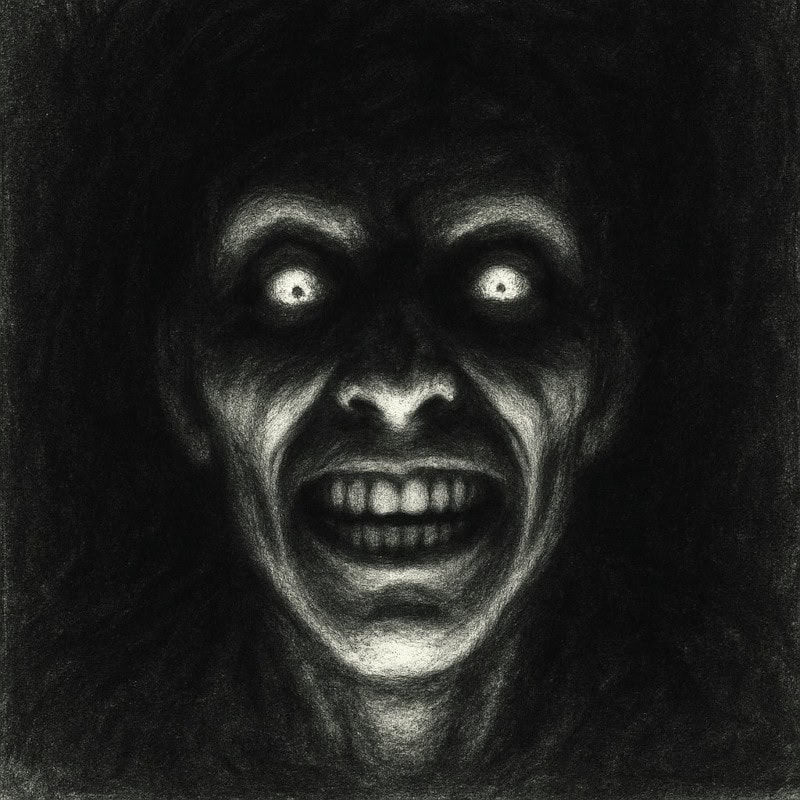
4. Eerie Glow Practice
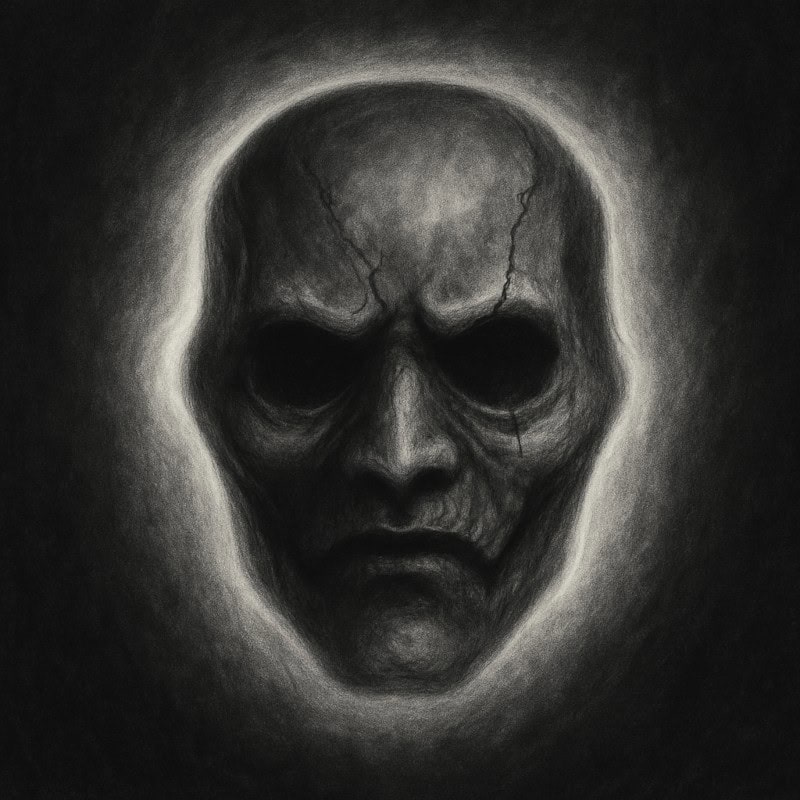
Why this matters: Glows add supernatural energy to your drawings. They signal danger, magic, or something unnatural lurking in the dark.
Ideal for glowing eyes, cursed masks, or otherworldly symbols. This technique makes the subject feel separate from its surroundings, as though it’s radiating energy.
Exercise:
- Place a bright light behind an object.
- Instead of literally drawing the “glow”, use strong contrast and soft edges to suggest it.
- Keep the object darker and highlight the edges so they appear lit.
- Try eraser lifts or a white pencil to enhance the effect.
Levels:
- Beginner: Practice with simple glowing dots.
- Intermediate: Try glowing objects (a lantern, a magic crystal).
- Advanced: Make the glow interact with other surfaces – like light reflecting on a wall, face, or floor.
5. Fog & Atmosphere Studies
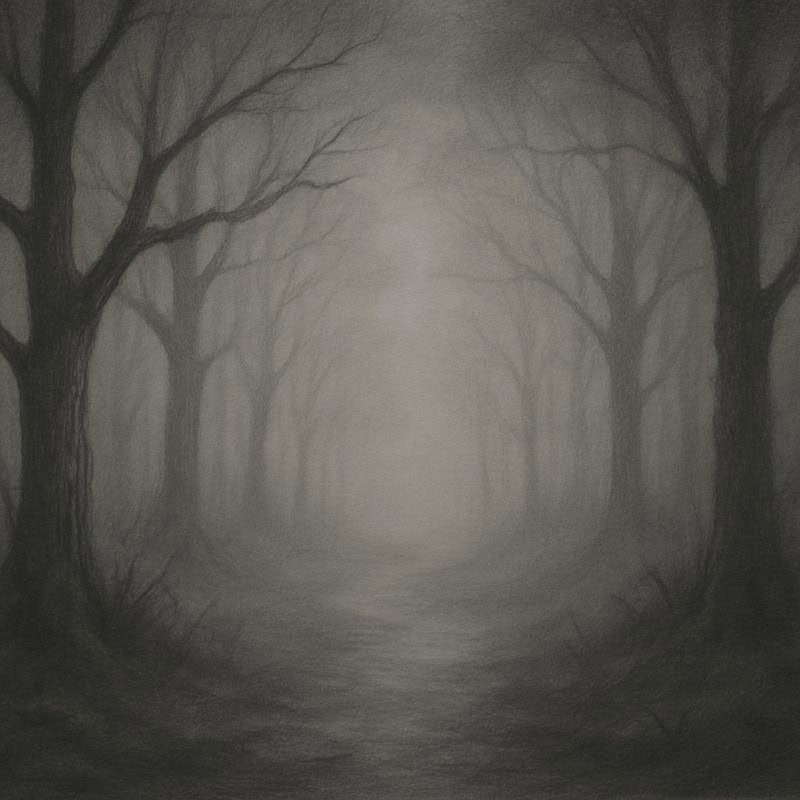
Why this matters: Fog reduces visibility, softens shadows, and forces suggestion over detail. It creates instant mystery and dread.
Essential for graveyards, forests, and deserted streets. Fog is especially effective in horror because it hides details and makes the viewer imagine what might be waiting just out of sight.
Exercise:
- On dark paper, use soft shading, smudging, or eraser lifts to suggest fog rather than literally draw it.
- Keep edges blurred and fade shapes gradually into the background.
- Add faint silhouettes or highlights within the “mist” to give the impression of depth.
Levels:
- Beginner: Keep the fog soft and uniform.
- Intermediate: Layer in different fog densities for depth.
- Advanced: Hide suggestive forms (a silhouette, glowing eyes) inside the haze.
6. Contrast Challenge
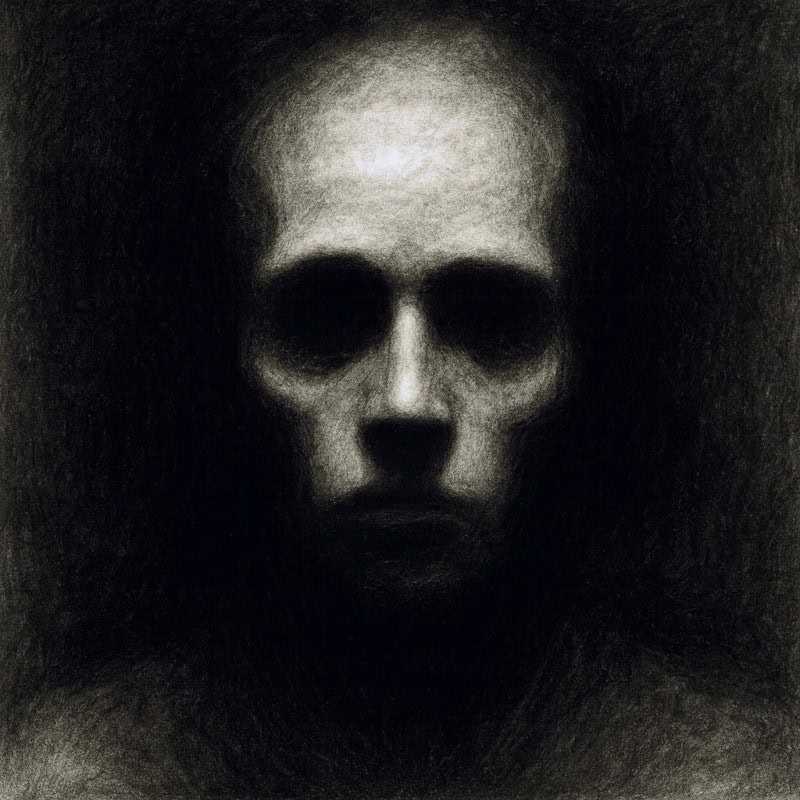
Why this matters: Limiting values builds control and creates high-impact images.
Works well for stark portraits, skeletal forms, or anything that needs to feel bold and unsettling.
Exercise:
- Pick a subject (face, hand, skull).
- Shade it using only 3 values: black, mid-tone, and white. This forces you to think about light placement and shapes instead of detail.
- Keep details minimal – let the contrast tell the story.
Levels:
- Beginner: Stick to a simple object with 3 values.
- Intermediate: Push contrast harder by exaggerating shadows.
- Advanced: Combine contrast with texture (wrinkled skin, cracked walls) for unsettling realism.
Final Words
Practising horror lighting is like being the director of your own creepy movie – you control what the audience sees and, more importantly, what they think they see. Whether it’s the flicker of a candle, the sharp cut of a flashlight beam, or a pair of glowing eyes in the dark, each setup changes the mood completely.
Remember, lighting tells the story. In horror, that story usually ends with someone sprinting up the stairs when they should’ve gone out the front door.
Tip: Use quick thumbnails before starting full drawings. Small experiments keep the focus on lighting, not perfect details.