Advanced Lighting Techniques for Horror Art and Drawing
Horror art lighting techniques can create mood, build tension, and draw the viewer into the scene. Whether it’s the flicker of a candle in a haunted room or moonlight casting long shadows in a graveyard, the right lighting can transform even the simplest drawing into an eerie, spine-chilling masterpiece.
In this guide, we’ll explore essential lighting techniques to enhance your horror art. From sharp contrasts to eerie glows, you will learn how to set the stage for suspense and create unforgettable work.
Ready to dive into the darkness? Let’s get started!
If you’re still getting comfortable with light and shadow, you may want to check out Mastering Shadows for Depth and Drama in Horror Drawings before diving into these advanced techniques.
1. Using contrast to create depth
Contrast is vital for making elements either stand out or sink ominously into the background.
Here’s how you can use it effectively:
High Contrast for Focus
Using strong light and dark values on your main subject helps draw attention exactly where it’s needed. For example, you might use bright highlights on a character’s face, framed by deep shadows, to enhance their features and crank up the tension.
In horror art, this technique is especially effective for creating a haunting mood. Picture a dimly lit hallway with a single flickering light casting an ominous glow on a lurking figure – it instantly creates a feeling of unease, drawing the viewer into the scene as if they just heard something breathing behind them.
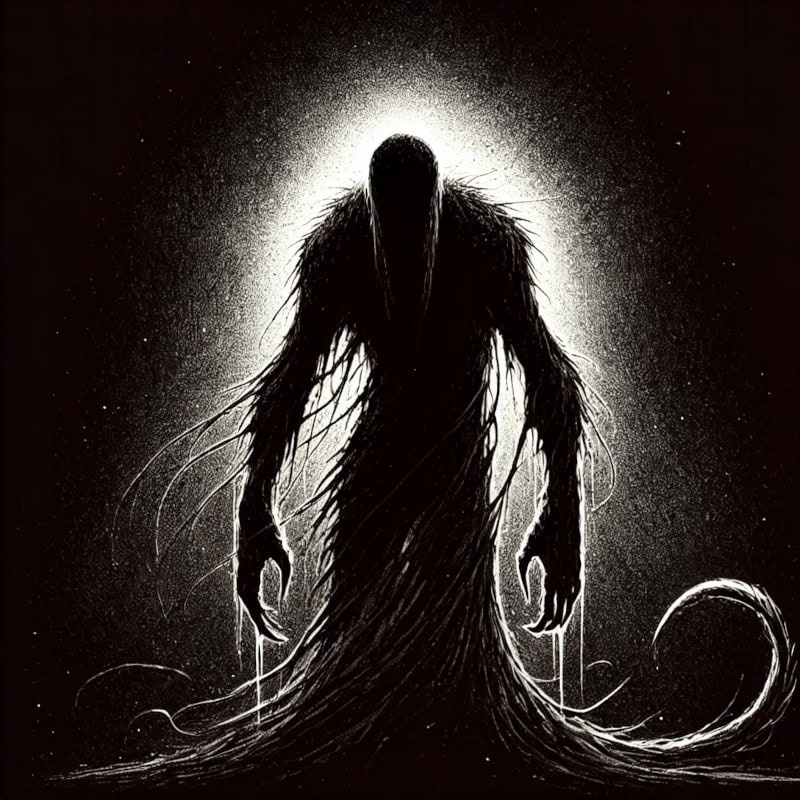
Low Contrast for Backgrounds
Low contrast techniques, on the other hand, use softer, more uniform shading to push elements into the background. As a result, this helps your focal point stand out while still creating depth in your composition. For instance, fading trees or misty environments with minimal tonal variation can subtly create a sense of distance. In horror art, this subdued approach reinforces the unknown, letting unsettling shapes and shadows linger quietly in the background, like they’re watching… but not quite ready to move.
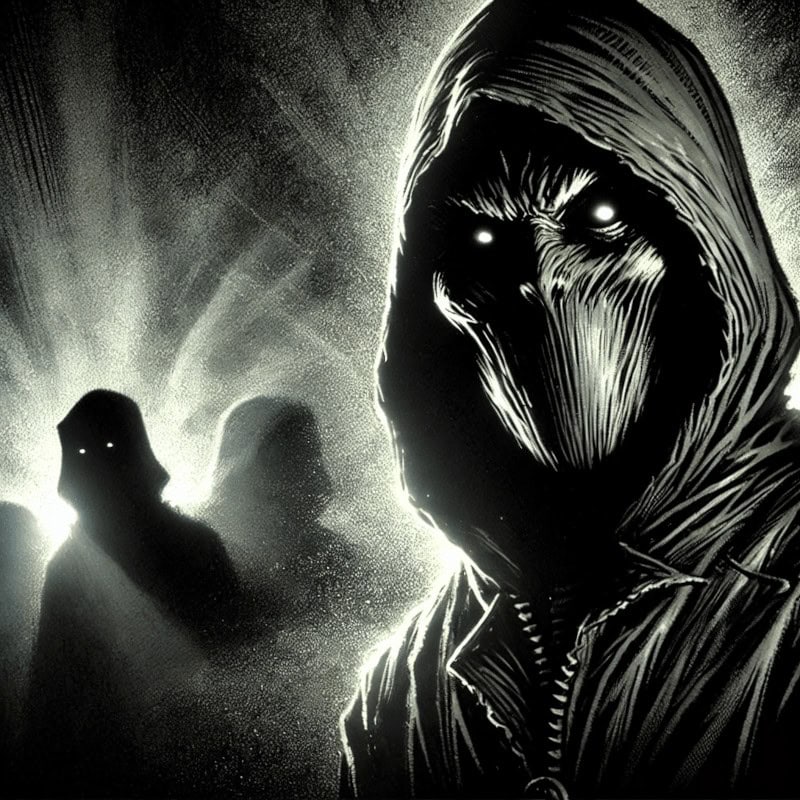
This eerie illustration showcases the power of contrast in horror lighting. The hooded figure is illuminated with sharp highlights and deep shadows, making it stand out dramatically. Meanwhile, the misty background fades into darkness, demonstrating how low contrast can push elements into the distance and enhance the depth of a scene.
2. Lighting techniques for horror art
dramatic lighting
Turn up the Tension with Bold Contrasts
Dramatic lighting is all about high contrast and bold shadows that immediately seize the viewer’s attention. By doing so, it pulls them into the eerie tension of the scene. It’s perfect for creating an intense, unsettling mood.
- Why it Works: The stark difference between light and dark makes the subject feel isolated, vulnerable, or even dangerous.
- How to Achieve It: Use a strong, singular light source and push the shadows into extreme darkness. Add angular shadows on walls or ground to heighten the drama.
- Where to Use It: Ideal for interrogation scenes, a flashlight in the dark, or moonlight piercing through a cracked window.
Pro Tip: Avoid over-softening your shadows. Sharp, jagged edges add a sinister edge and make everything feel more menacing, like something is lurking just outside of the light.
backlighting
Let the Shadows Speak Louder than the Light
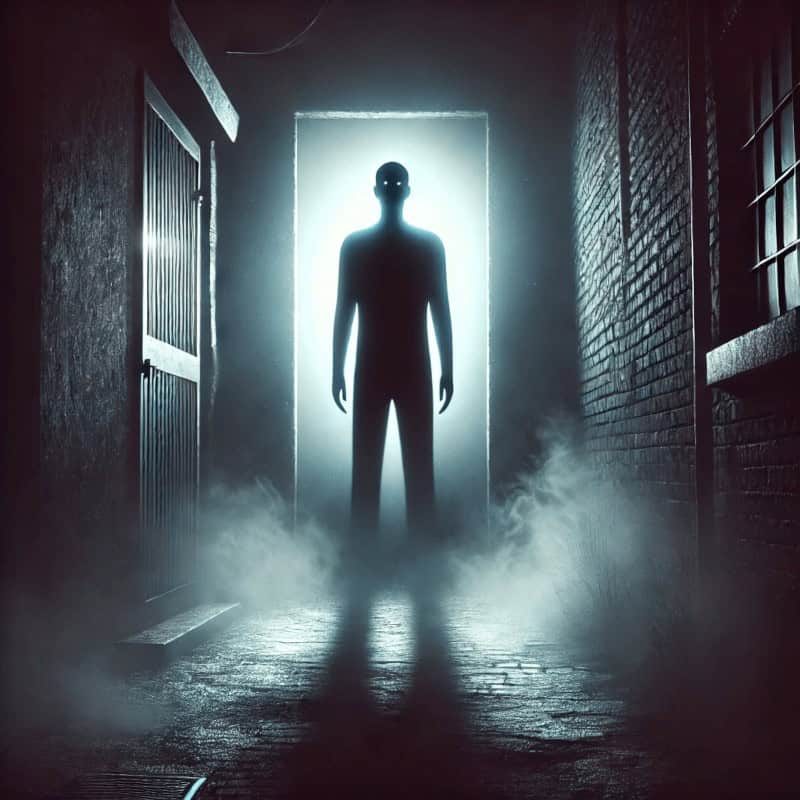
Backlighting creates silhouettes or glowing edges, adding mystery and unease to your subject. It’s perfect for hiding details and letting the viewer’s imagination fill in the blanks – often with something much worse than you could draw.
- Why It Works: Silhouettes strip away detail, making the subject feel unknowable, eerie, and deeply unsettling.
- How to Achieve It: Place the light source directly behind the subject and keep the foreground dark. Add a soft glow or halo effect to outline the edges.
- Where to Use It: Perfect for scenes with fog, ghostly apparitions, or mysterious figures creeping slowly toward the viewer.
Pro Tip: Use subtle gradients around the edges to avoid a flat, cut-out look and give your shadows more depth and menace.
spotlighting
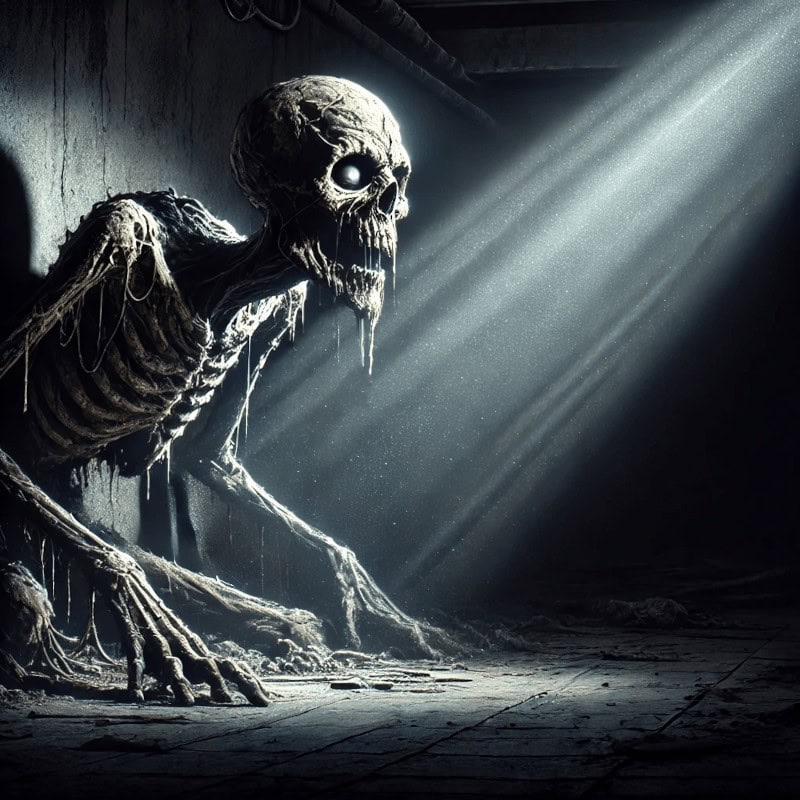
Shine a Light on Terror
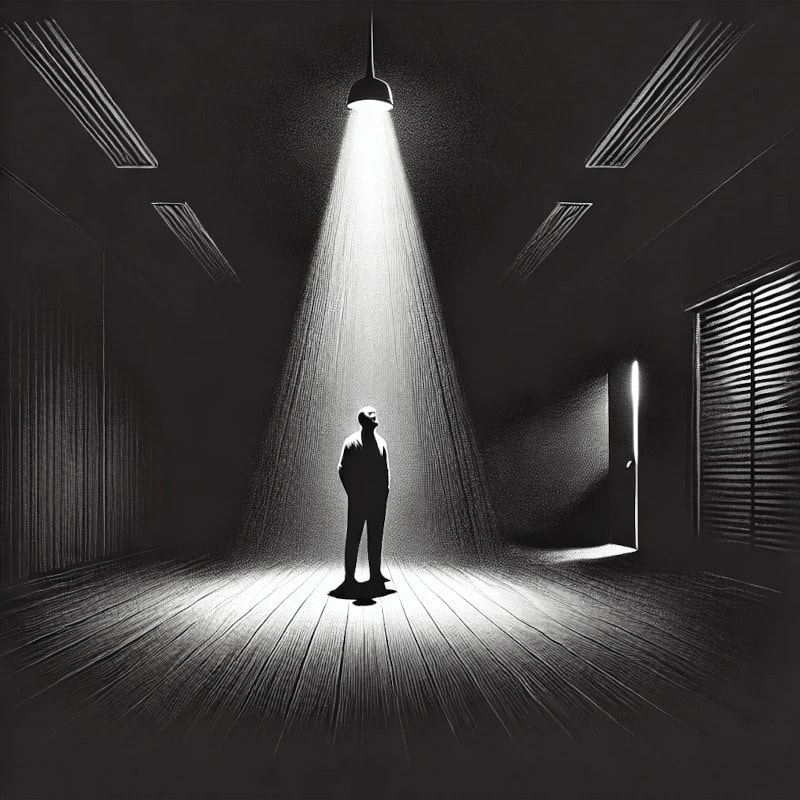
Spotlighting draws attention to a specific area, leaving the rest of the scene cloaked in shadow. It’s a powerful way to build suspense and lock the viewer’s gaze exactly where you want it.
- Why It Works: Isolating a subject in light creates a sense of vulnerability or exposure, like a monster under a microscope.
- How to Achieve It: Use a circular or directional beam of light, such as from a flashlight or spotlight. The edges of the beam can be sharp to create tension or soft to evoke mystery.
- Where to Use It: Great for highlighting a face in the dark, a bloody handprint on the wall, or something lurking just outside of the light.
Pro Tip: Add texture to the light, like shadows from cracked blinds or a dirty lens, for a more immersive, cinematic horror vibe.
chiaroscuro
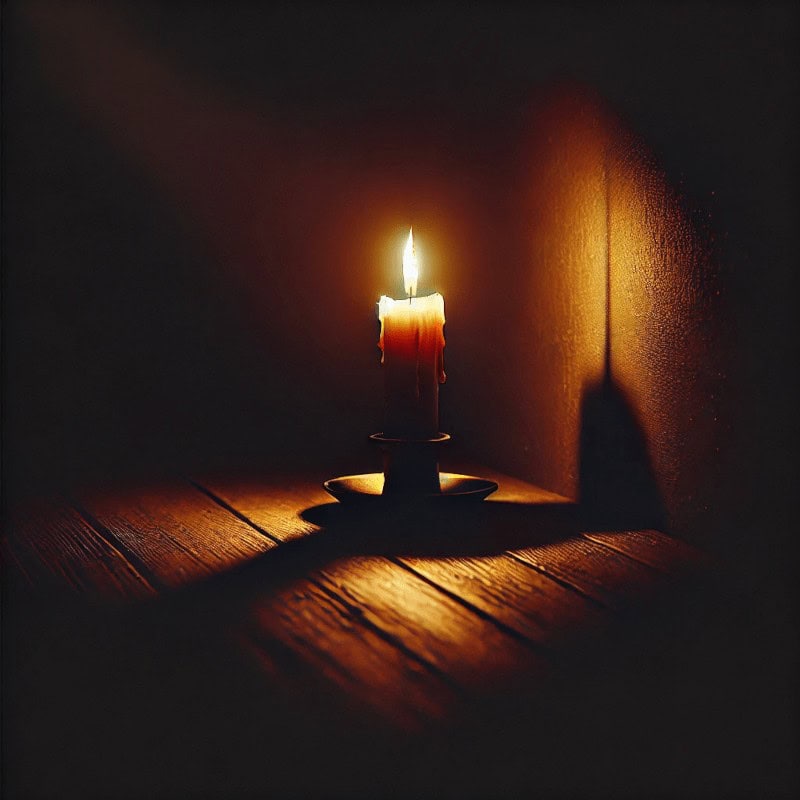
Blend Light and Dark for Moody Drama
Chiaroscuro is a timeless technique that mixes strong highlights with deep shadows to create deliciously eerie dimension and dramatic atmosphere.
- Why It Works: The dance between light and dark creates depth and intrigue, making the scenes feel more lifelike and more emotionally intense.
- How to Achieve It: Use a single, directional light source and focus on areas where light naturally falls. Blend your highlights and shadows smoothly to build a scene that whispers “something’s not right.”
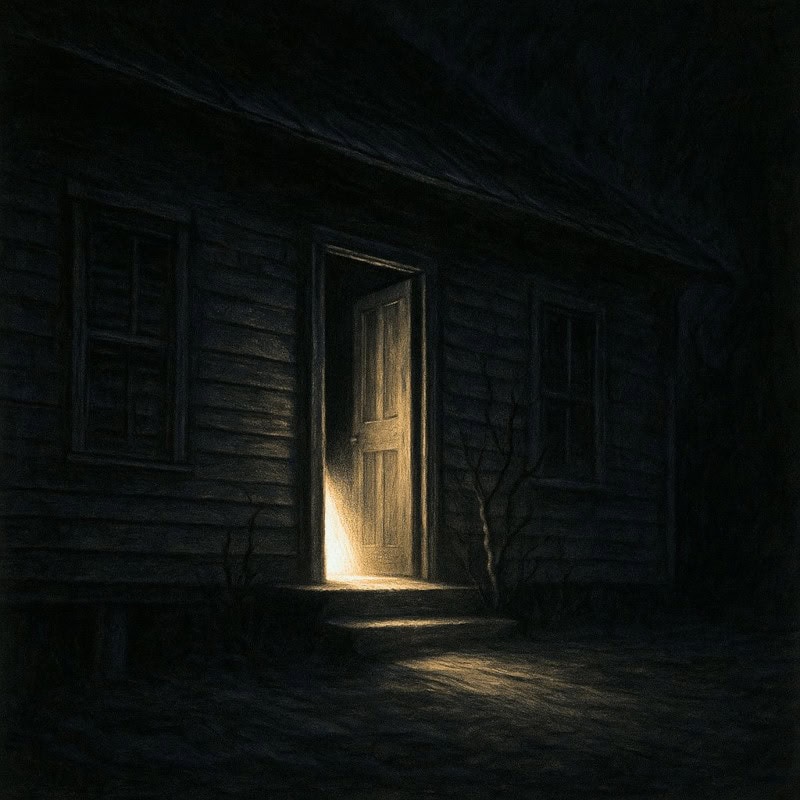
- Where to Use It: Perfect for moody interiors, like a dimly lit room with a single candle or a figure frozen in fear beneath a flickering streetlight.
Pro Tip: Use chiaroscuro to guide the viewer’s eye to key details, like a glowing candle or a character’s terrified expression.
coloured lighting
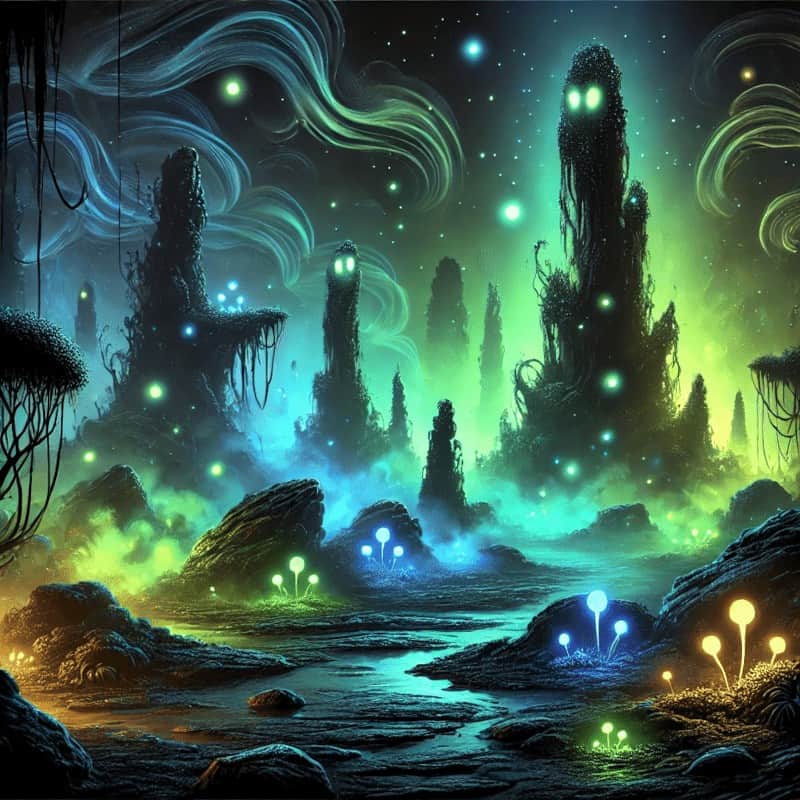
Set the Mood with Eerie Hues
Coloured lighting can completely transform the mood of a scene, making it feel supernatural, otherworldly, or unsettling.
- Why It Works: Different colours evoke strong emotional responses. Red screams danger or rage, green suggests sickness or toxic ooze, and blue conveys coldness or death.
- How to Achieve It: Add a coloured light source, like a glowing green fog, flickering neon, or the warm flicker of an otherworldly flame. Blend the colours into your shadows to create depth and realism.
- Where to Use It: Perfect for supernatural scenes, alien landscapes, or shady science labs filled with glowing vials and questionable lifeforms.
Pro Tip: Use high-contrast colours (like red and blue) to crank up the tension and give your scene an unnatural, haunted edge.
Rim lighting
Outline the Fear in the Dark
Rim lighting adds a thin, glowing outline to your subject, making it stand out against dark backgrounds with an eerie glow.
- Why It Works: It creates a sharp, otherworldly effect that draws the viewer’s eye while keeping most of the subject hidden in shadow. Perfect for hinting at the unknown.
- How to Achieve It: Position a light source behind your subject and focus on the edges where the light grazes the form. The key? Keep the outline subtle but chilling.
- Where to Use It: Ideal for creatures emerging from the dark, ghostly silhouettes in fog, or anything lurking under moonlight.
Pro Tip: Use rim lighting to sneakily reveal just a hint of texture – fur, scales, or torn fabric – to top up the unease without spilling all the secrets.
Final Thoughts
Mastering advanced lighting techniques can elevate your horror art, transforming ordinary scenes into truly spine-chilling masterpieces. You can control mood, depth, and tension in your illustrations by experimenting with dramatic lighting, backlighting, uplighting, chiaroscuro, and low-key lighting.
Remember, horror thrives on the unknown. Strategic lighting choices can make your viewers question what lurks in the shadows or feel the creeping unease of an unnatural glow. In conclusion, keep practising, push the limits of contrast and shadow, and most importantly, have fun bringing your dark ideas to life.
Next up: Practice Exercises for horror lighting and shadows
Now that you’ve learned advanced lighting techniques, it’s time to implement them! In the next post, we’ll go through hands-on exercises to help you refine your skills and create even more chilling, atmospheric art.
Continue to Practice Exercises for Horror Lighting and Shadows