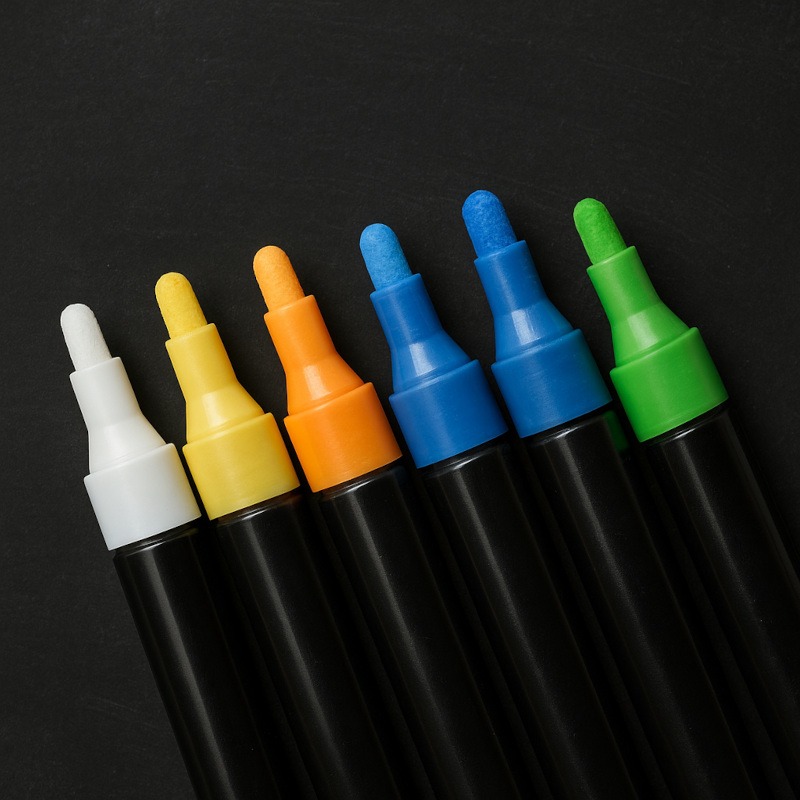
Liquid Chalk Markers for Horror Art
If your art had a weather forecast, liquid chalk markers would bring the eerie fog rolling in.
Like graffiti from the underworld, liquid chalk markers bring bold, ghostly strokes that look both temporary and hauntingly permanent. They’re smooth to use, but their matte, powdery finish feels like something scrawled on a cursed blackboard in an abandoned school where the lights keep flickering for no reason (probably fine… right?).
These markers are perfect for creating eerie effects, creepy lettering, and mysterious symbols that seem like they could glow if you whisper the wrong incantation. They’re a favourite for artists who want to create a misty, fog-like texture without getting dust all over their clothes – or summoning a respiratory demon named Phil.
Why Liquid Chalk Markers Are Worth Summoning
If traditional chalk is the dusty spectre of art supplies, liquid chalk markers are its cool, modern cousin who drives a hearse and wears way too much eyeliner. Here’s what makes them magical (and mildly alarming):
- Matte finish, ethereal vibe: The finish is soft, ghostly, and slightly eerie, like words fading from a haunted mirror.
- No mess, no dust, no coughing fits: Say goodbye to sneezing fits that make you look like you just performed an exorcism on yourself.
- Smooth control: The ink flows evenly, allowing you to create neat lines or foggy shading without the drama of chalk snapping in half every five minutes.
- Erase when you please: Wipe away your mistakes, experiments, or mysterious sigils before your neighbours start asking questions.
Best Surfaces for Liquid Chalk Markers

These markers don’t cling to just any surface – they’re picky little ghouls. They perform best on non-porous materials, such as:
- Chalkboards (real or faux)
Quick note: Real chalboards can be a bit porous, so if yours isn’t sealed, the ink may cling on like a needy spirit. Faux or vinyl chalkboards work best for clean wipe-offs. - Glass or mirrors
- Black acrylic sheets
- Whiteboards
- Metal signs
- Sealed ceramic or slate
Pro Tip: Liquid chalk appears soft and matte on chalkboards but brighter and more vivid on glossy surfaces like glass or acrylic.
Extra Tip: Always test a small area first. Because if the ink sinks into an unsealed surface, you’ll be adding “accidental ghost writing” to your home décor whether you wanted it or not.
Creating Horror Art with Liquid Chalk Markers
Liquid chalk markers might sound like classroom tools, but in horror art, they’re pure nightmare fuel in pen form.
Try these ideas:
- Eerie fog effects: Blend light strokes with a soft cloth or your finger (if you enjoy mild chaos) to create mist creeping across a window or swamp scene.
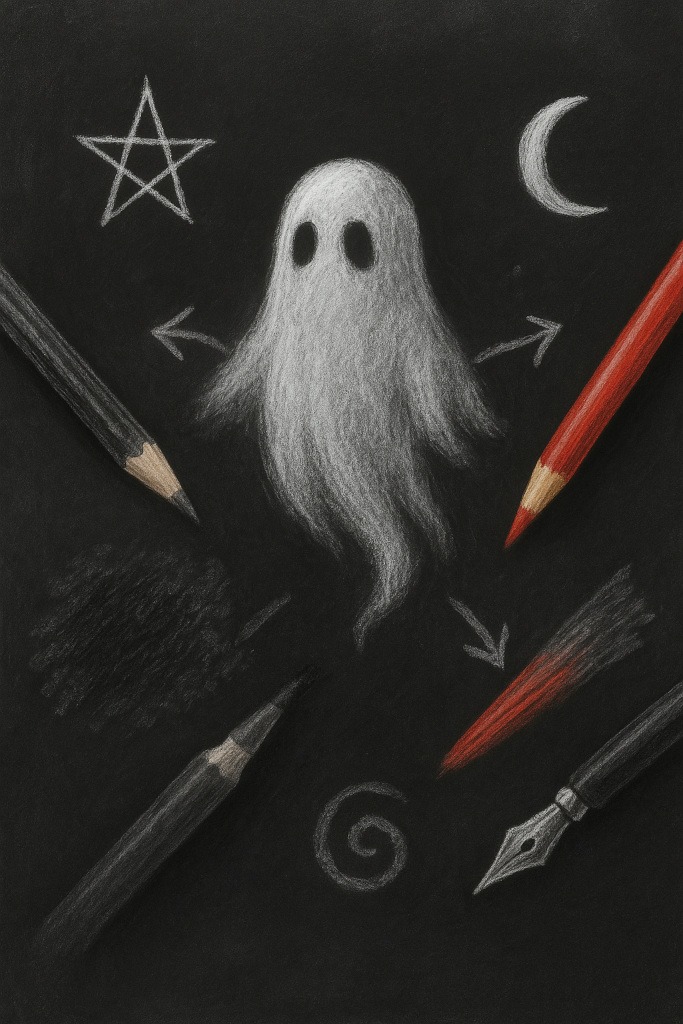
- Spectral outlines: Draw glowing shapes or ghostly silhouettes over a dark surface – perfect for spirits, phantom figures, or haunted landscapes.
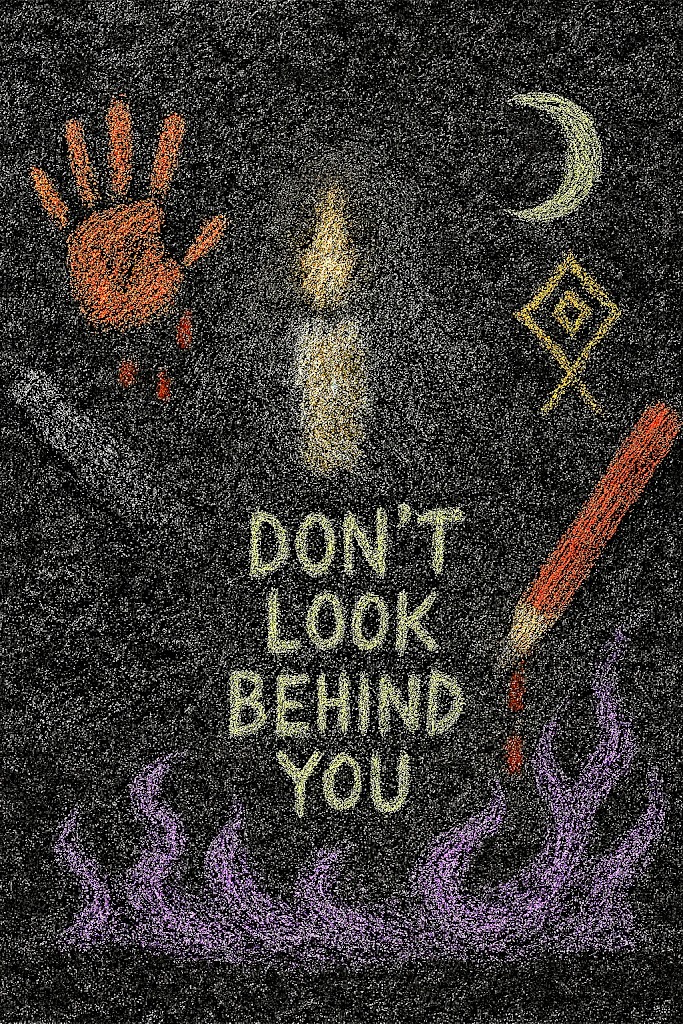
- Runes and sigils: The matte glow looks amazing for occult symbols and creepy handwriting. It’s that “freshly scribbled spell” aesthetic without the risk of summoning something with too many teeth.
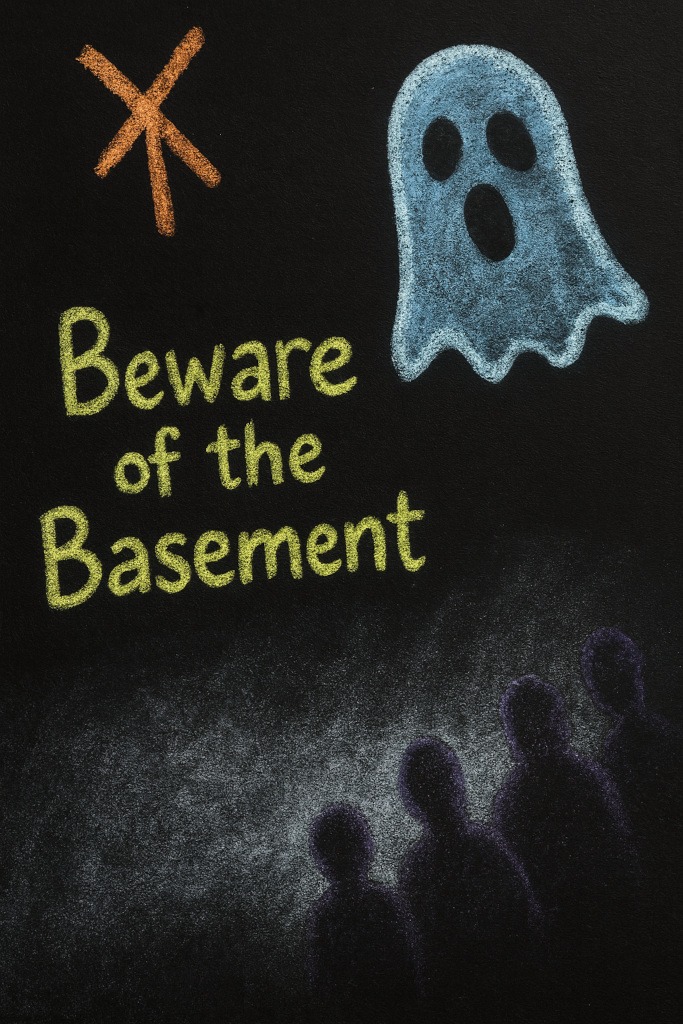
- Weathered signs: Create faux-vintage signs for your art backgrounds – like “Beware of the Basement” or “Don’t Feed the Shadows.” Instant spooky ambience!
- Creepy handwritten notes: Write messages that look like they’re fading away – ideal for horror story illustrations, haunted journals, or fake evidence boards.
Mixing Liquid Chalk with Other Mediums
If you like your horror art mixed like a mad scientist’s potion, liquid chalk markers blend surprisingly well with other tools – just don’t add real eye of newt.
Here’s how to combine them safely for maximum spooky payoff:
- Graphite + Chalk: Sketch in graphite first for structure, then add white or coloured chalk marker highlights for glowing eyes, mist, or eerie reflections. The contrast between matte and shine looks wicked.
- Charcoal + Chalk: Charcoal creates deep, textured shadows; chalk can add a foggy or glowing effect over the top. Together, they give that “did I just see something move in the darkness?” vibe.
Works best on sealed or non-porous surfaces – on regular paper, the charcoal will smudge everywhere. - Coloured Pencils + Chalk: On sealed surfaces, layering chalk over coloured pencil can make neon horror effects, such as spectral light or cursed bioluminescence.
- Ink + Chalk: Once your ink has dried completely, use chalk markers to add ethereal outlines or faded runes. It’s like highlighting your nightmares in glowing ink.
All mixed-media combos in this section – graphite + chalk, charcoal + chalk, coloured pencil + chalk, and ink + chalk – only behave properly on smooth, non-porous surfaces.
Liquid chalk needs a slick surface to sit on (like glass, acrylic, metal, or a sealed chalkboard); otherwise, it gets absorbed instantly.
On paper, it just sinks in, smears everywhere, and basically throws a tiny tantrum. Stick to glossy or sealed surfaces to make the magic actually… you know… magical.
Beware the Bleed:
Never mix liquid chalk with still-wet paint or markers – it’ll smudge faster than your eyeliner during a horror movie marathon. Always let everything dry before layering.
Colour Recommendations for Horror Effects
Liquid chalk markers often come in bright or pastel sets, but when used right, you can turn even cheerful colours into something wonderfully unsettling.
Here’s how to use colour to your creepy advantage:
- White: The all-rounder. Perfect for ghost glows, fog, candlelight, and moonlit reflections.
- Grey: For subtle shadows and misty backgrounds – ideal for haunted alleyways or creepy fog banks.
- Red: Best for runes, blood smears, or warning messages like “Don’t Look Behind You.” It’s the universal colour of “this can’t end well.”
- Blue: Gives a spectral glow – great for ghost outlines, frozen spirits, or underwater horror.
- Green: Perfect for anything slimy, cursed, or suspiciously glowing in the dark.
- Purple: Adds a mystical, arcane vibe – like a spell gone slightly wrong but still stylish.
- Yellow: Ideal for soft ghostly lights, but go lightly, or it stops saying “unsettling ambience” and starts saying “someone left the hallway light on.”
Tips & Tricks for the Perfect Haunting
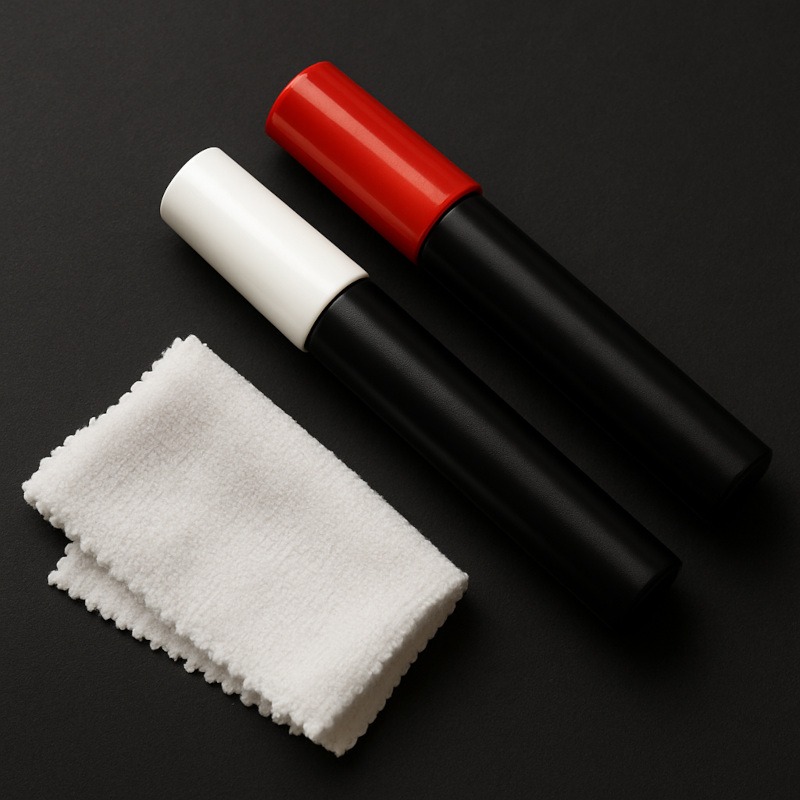
- Shake before use: Always shake the marker well to mix the pigment evenly. You’ll hear a small ball rattling inside – that’s normal and helps keep the colour smooth.
- Prime the tip carefully: Press the nib down gently until the ink begins to flow. Avoid pressing too hard to prevent oversaturation or accidental splatters.
- Layer for depth: Apply lighter colours first and build up gradually with darker shades. This creates subtle, eerie lighting effects perfect for horror-themed pieces.
- Blend with a damp cloth: For softer transitions or fog-like textures, use a lightly dampened cloth or cotton swab to blend the ink before it fully dries.
- Erase with water or cleaner: A damp cloth usually removes the ink easily. For stubborn residue, a mild cleaner or vinegar solution works well; just test a small area first.
Common Mistakes (and How to Avoid Summoning Regret)
- Using porous paper: The ink can soak in and leave permanent stains, especially on unsealed materials. Always test a small area first to avoid unwanted marks.
- Forgetting to shake: If you don’t shake, the pigment can separate, resulting in uneven or faded lines. Give the marker a good mix before each use for smooth, consistent colour.
- Leaving the cap off: The ink dries out quickly when exposed to air. Always recap tightly after use to keep your markers in good condition.
- Mixing brands on the same surface: Different formulas can react unpredictably, leading to streaks or blotches. Stick with one brand per project for best results.
Cleaning & Care
After a drawing session that looks suspiciously like you’ve been channelling spirits:
1. Wipe your markers clean with a soft cloth – no need to baptise them in holy water.
2. Store them horizontally so the ink stays evenly distributed.
3. Keep caps tight. If air gets in, the next time you open it, you might get a sad “pfffft” noise that sounds like the marker’s final breath.
When to Use (and When to Pass)

Use liquid chalk markers when you want:
- Translucent, eerie strokes
- Easy cleanup
- Temporary art displays
- Mixed-media pieces with ghostly vibes
Skip them when you need:
- Permanent detail
- Fine, precise work on paper
- A surface that shouldn’t be used (like your wall, your pet, or your sibling’s forehead – don’t do it)
Final Thoughts
Liquid chalk markers are the drama queens of the art world – bold, bright, and just temporary enough to make you panic when you forget they wipe off. They glide smoother than a ghost on roller skates and can turn even a plain black surface into something that whispers, “Draw with me… if you dare.”
They’re ideal for testing creepy ideas without fear of commitment; think of them as the “ghosting phase” of art supplies. You can experiment, layer, smudge, and wipe away your questionable choices faster than you can say, “Maybe that pentagram didn’t need googly eyes.”
So grab your markers, shake ‘em like a possessed maraca, and start summoning fog, glows, and ghoulish lettering. Worst-case scenario? You accidentally create a haunted mirror message. Best case? You make something so spooky that even your reflection applauds.
What You Learned:
- Liquid chalk markers: The stylish, low-maintenance cousin of traditional chalk. No dust, no mess, just spooky perfection.
- They work best on non-porous surfaces like glass, metal, or acrylic – basically anything your ghost could admire its reflection in.
- Perfect for fog, glows, runes, and mysterious warnings that make guests deeply uncomfortable.
- Mix beautifully with graphite, charcoal, and ink for that layered, “I may have awakened something” aesthetic.
- Colour choices matter: red for runes, white for ghost light, purple for witchy sass.
- Always shake, layer, and blend – think potion-making, but with fewer chances of accidental tentacle summoning.
- Store them properly unless you enjoy performing marker CPR.
Tools You Might Also Like
If you’re building your horror art toolkit, these guides might help you find your next favourite way to make things look delightfully cursed:
- Coloured Pencils
For cursed skin tones, bruised shadows, and fine details that whisper, “Something’s not right here.” - Acrylic Paint Markers
For bold, permanent lines that scream “I meant to do that,” even if you didn’t. - Pastels
For hazy backgrounds, spectral fog, and textures that feel like they’ve haunted your paper for centuries.