Circle Templates (Stencils) for Horror Art
Because Drawing Perfect Circles by Hand Is a Cruel Joke
Drawing circles by hand is one of those cursed activities that exposes your soul. You sit down thinking, “I’m an adult, I can absolutely draw a simple round shape,” and two seconds later, you’re staring at something that looks like a circle’s long-lost cousin who wasn’t invited to family gatherings for… reasons. Circle templates exist purely to stop that emotional spiral. These magical bits of plastic let you trace perfect circles instantly – no wobbling, no spiralling into self-doubt.
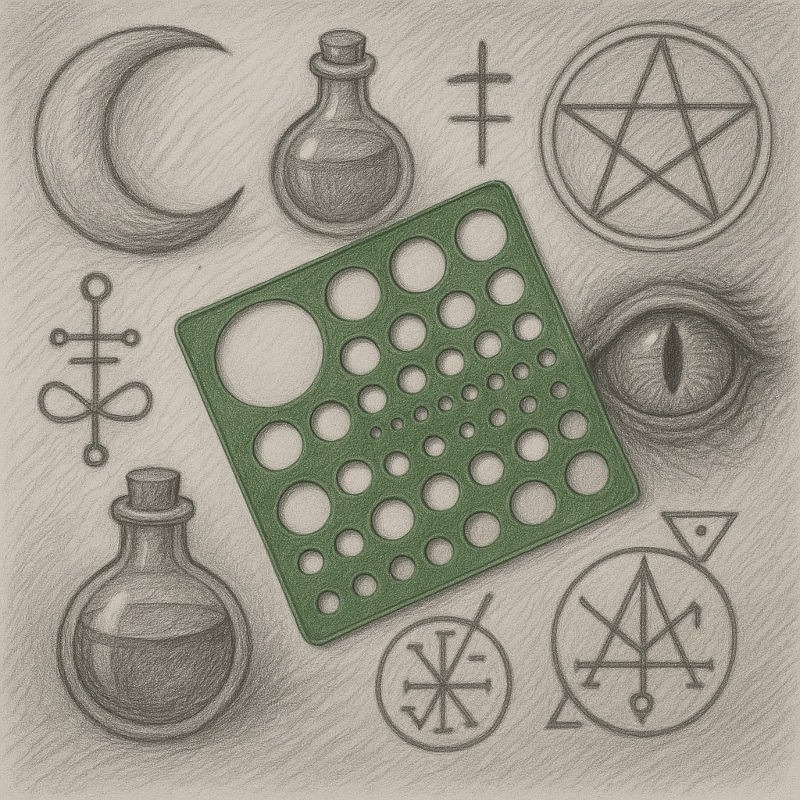
In horror art, circles appear everywhere: glowing monster eyes, dramatic ritual seals, ominous moons, potion bottle tops, creepy clocks – basically every circular thing in existence waits patiently for the chance to betray you. Templates keep those shapes crisp and clean while still letting you add all the eerie fun afterwards: cracks, shadows, slime, mystery stains, supernatural glows… whatever chaos your drawing requires. They’re simple, affordable, and responsible for preventing at least 87% of artist tantrums.
What Are Circle Templates?
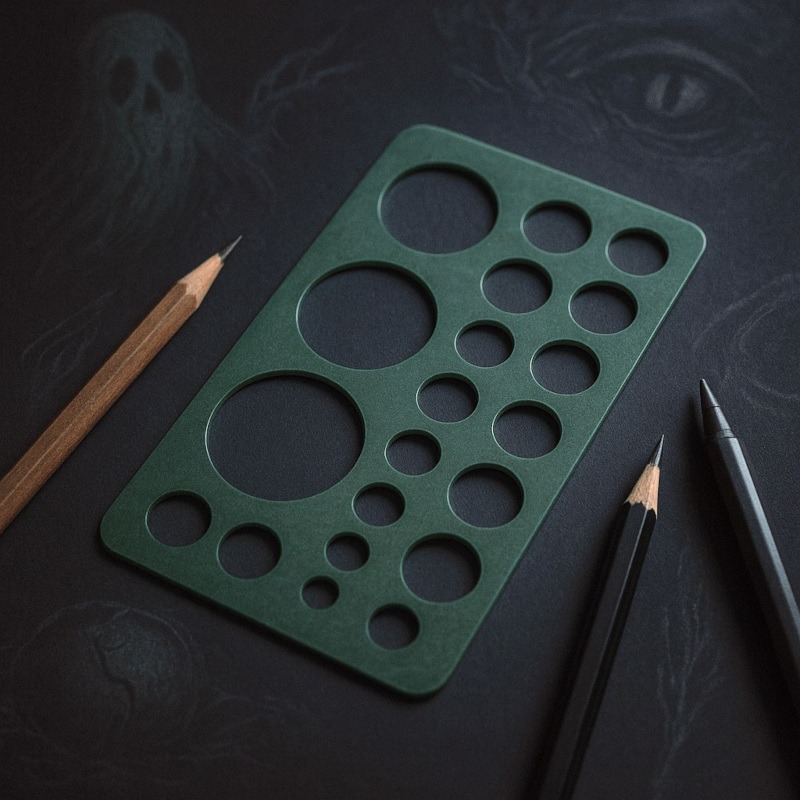
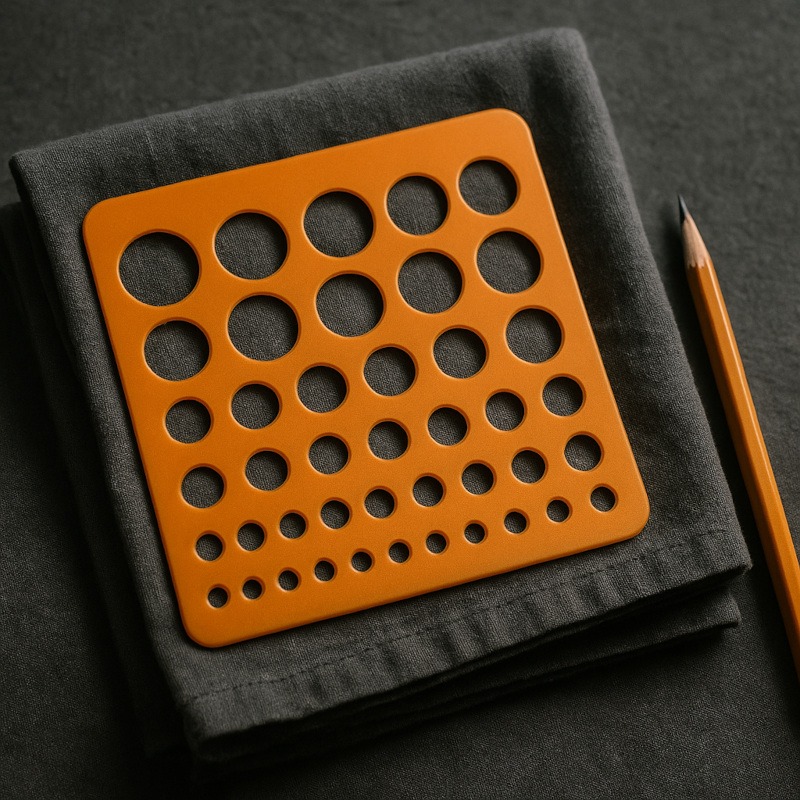
Circle templates are thin plastic sheets full of pre-cut circular holes in various sizes. You place the stencil on your paper, choose the hole that fits your idea, and trace around it for a perfect circle every time.
They’re simple, beginner-friendly, and a must-have for any artist who wants clean circular shapes without doing geometry homework. Horror art uses circles more than most people realise, which makes templates surprisingly powerful little tools.
There are a few variations – standard circle guides, ellipse templates for angled shapes, and larger sheets for big occult designs – but you only need one basic sheet to start.
Think of them like a cheat sheet for perfectly round things – monster pupils, moons, bottle lids, ghostly orbs, you name it.
Why Horror Artists Love Circle Templates
Circle templates are incredibly versatile once you start using them:
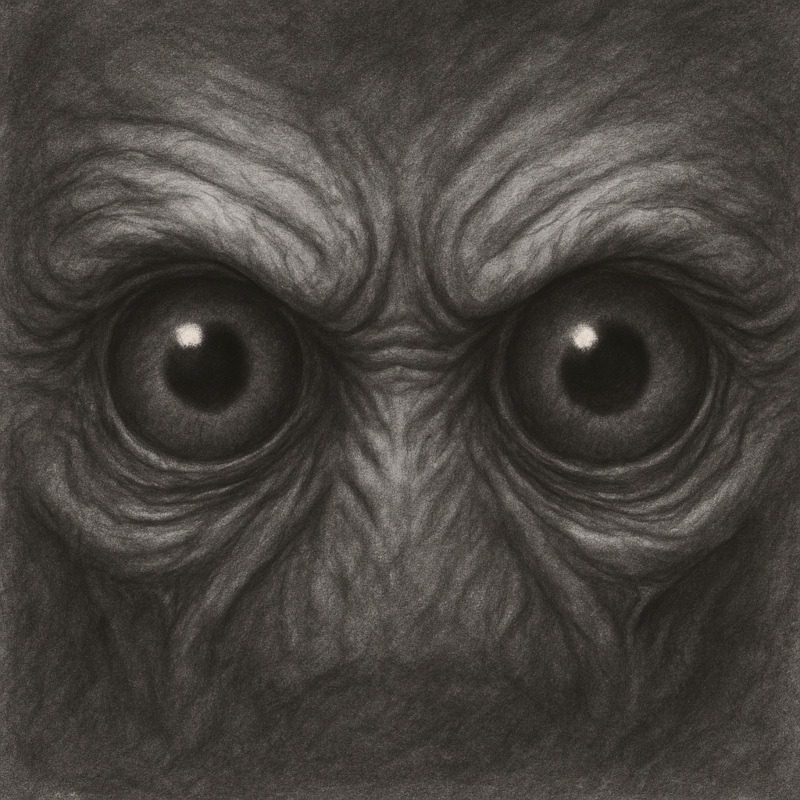
- Monster eyes: Clean circular shapes help keep both eyes the same size, making glows look intentional rather than lopsided.
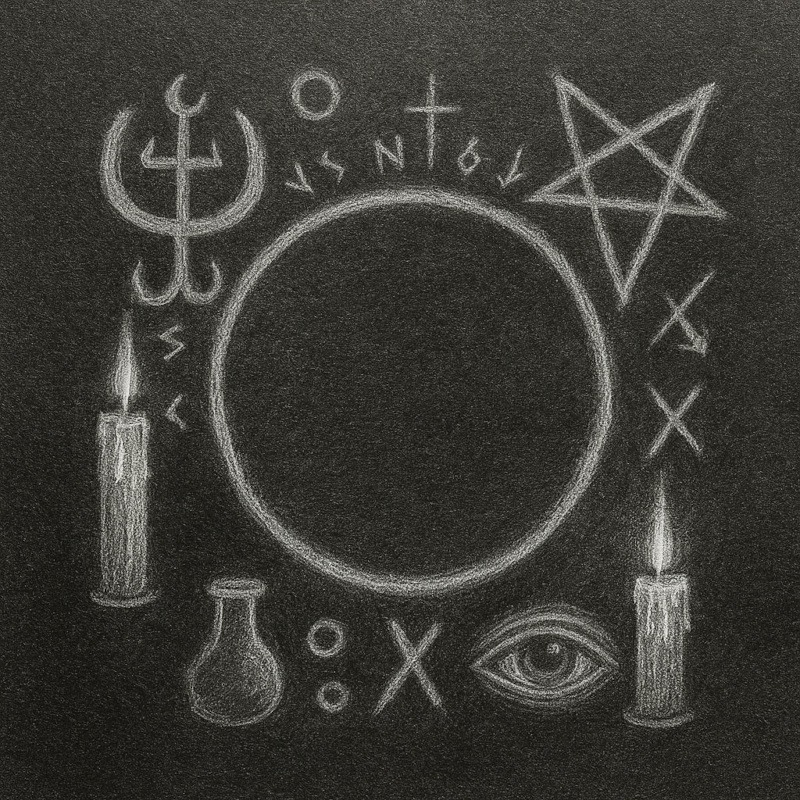
- Ritual and occult symbols: Perfect rings give your magic and sigils real impact – nothing kills the mood like a summoning circle that looks “tired.”
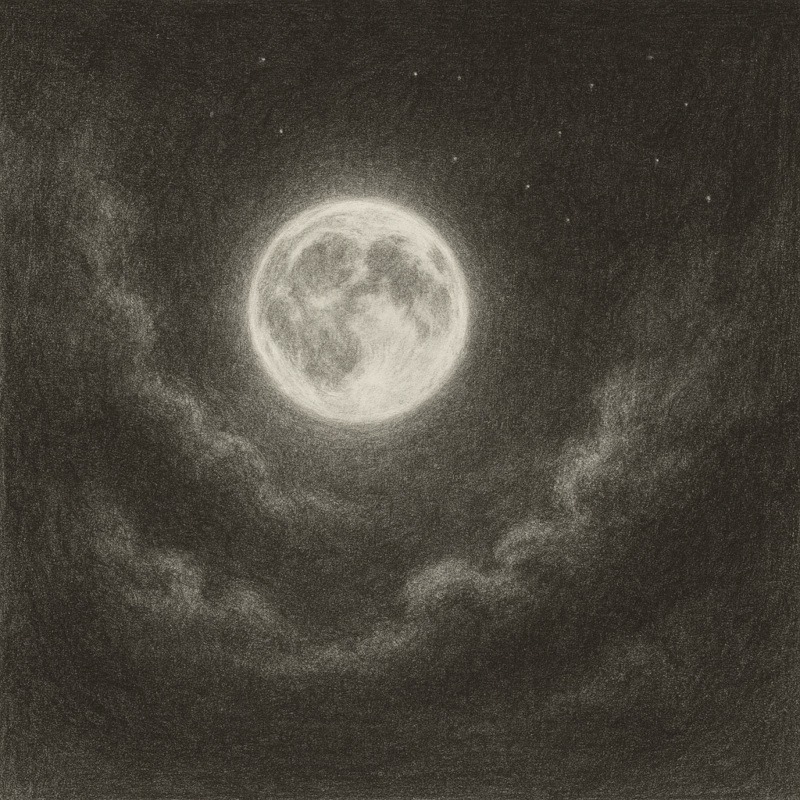
- Moons and celestial shapes: Templates keep your moon shapes smooth and your night skies tidy.
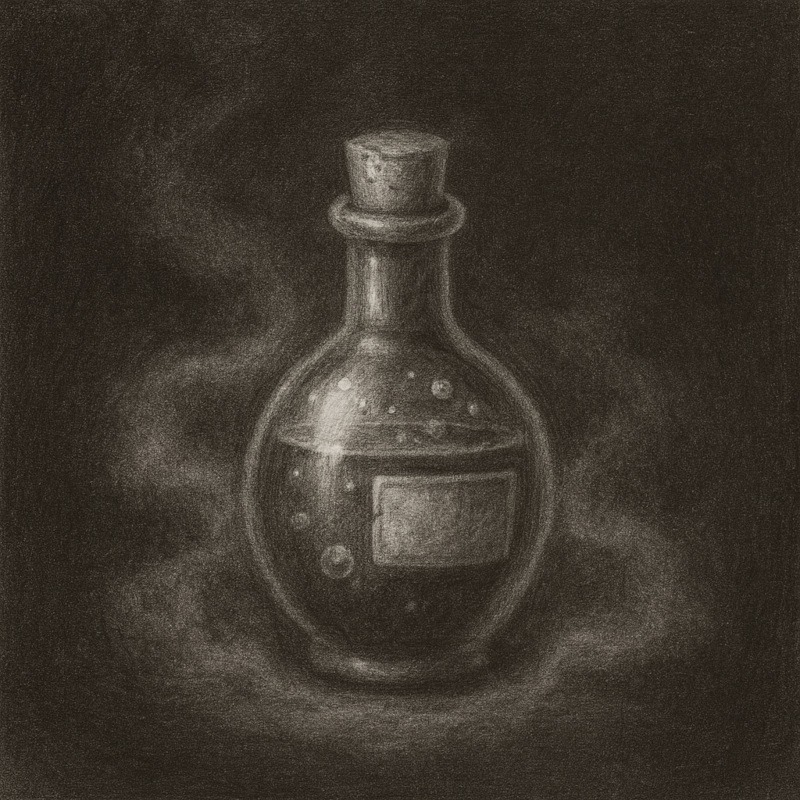
- Potion bottles and gadgets: They’re great for bottle tops, knobs, gears, and spooky clock faces.
- Atmospheric compositions: Circles help guide the viewer’s eye and anchor your layout.
Templates also remove a lot of frustration. No more drawing the same circle ten times. No more erasing holes through the page. Just smooth, clean shapes that support your creepy ideas rather than distracting from them.
Types of Circle Templates
There’s no need to buy an expensive set – a simple plastic sheet works perfectly. But here’s what you might come across:
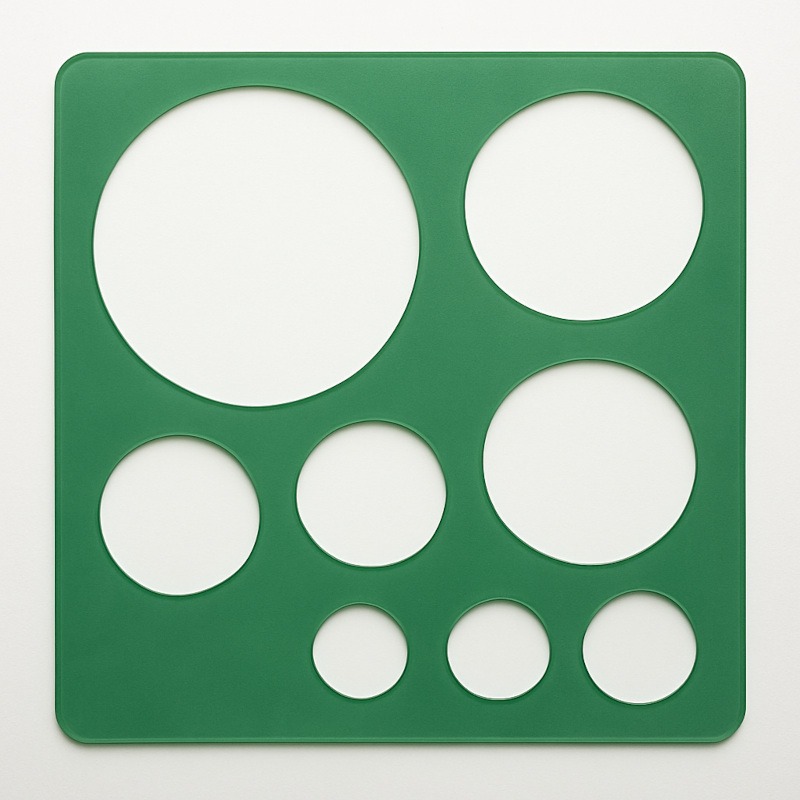
1. Standard Circle Templates
Your all-purpose tool: lots of circles, lots of sizes, endlessly useful.
Great for monster eyes, potion bottle tops, spooky clock faces, celestial symbols, and anything that needs clean, consistent curves.

2. Ellipse Templates
Ellipses help you draw objects at angles – cauldrons viewed from above, tilted jars, demon vials, creepy bowls, anything with an opening that isn’t a perfect circle.

3. Large Circle Templates
You’ll use these for ritual circles, big moons, spell diagrams, or large-format illustrations where freehand would wobble like a caffeinated spider.
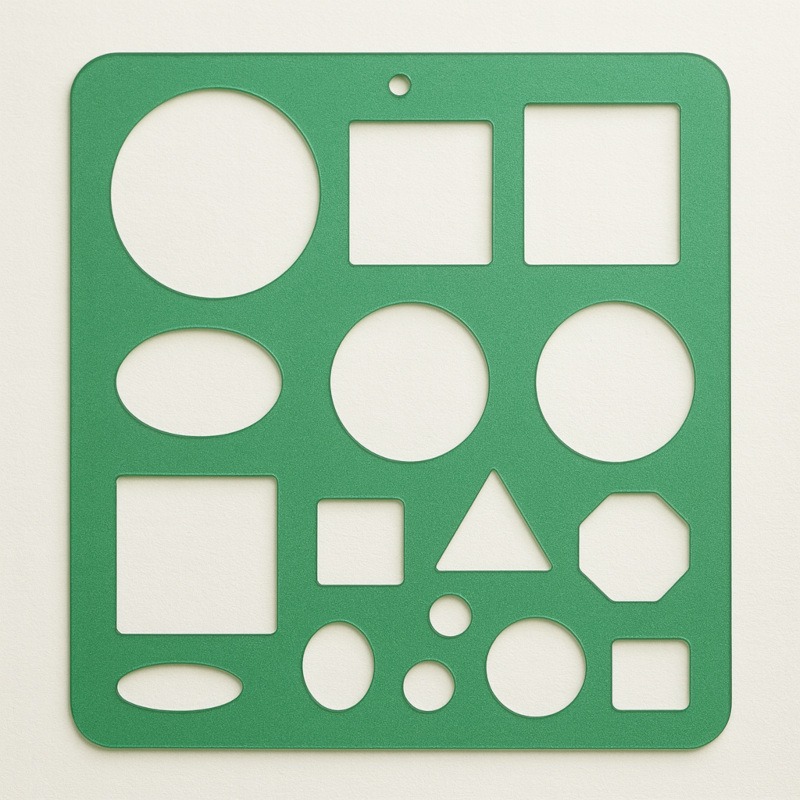
4. Mixed Geometry Templates
These sheets give you random shapes (circles, squares, ovals) for quick prop sketches or background elements. Not essential, but handy when designing spooky gadgets.
How to Use Circle Templates Without Making Your Art Feel Stiff
Circle templates can feel a bit “too perfect” if everything in your drawing is flawless. Horror art thrives on texture and imperfection, so here’s how to get the best of both worlds.
Start with a rough sketch:
Lightly sketch your composition freehand, then use the template to refine only the circles that matter – eyes, symbols, moons, bottle tops, etc.
A rough sketch keeps your drawing organic. Templates should only refine the shapes, not replace your own style.
Use a light touch:
Pressing too hard dents the paper and creates grooves that later catch graphite. Gentle tracing works best.
If you press too hard, it’ll leave a dent deep enough to be found by future archaeologists.
Add texture afterwards:
Once you have your perfect circle, you can distress it however you like, with cracks, chips, shadows, glowing effects, ink splatter, or scratchy edges. The circle stays clean, but the atmosphere stays spooky.
Layer circles for impact:
Using several different sizes together creates an incredibly striking effect in horror art. Inner rings, outer rings, and symbols placed between them give instant “forbidden ritual” energy.
Horror-Friendly Ways to Use Circle Templates
Ritual Circles & Sigils:
Clean rings give you a solid foundation, and then you can add runes, symbols, candles, blood trails, chalk marks, or cracks radiating outward.
Monster Eyes:
Templates help you make pupils the same size, which avoids that “Oops, one eye is judging me harder” look. Afterwards, add veins, highlights, and textures to make them feel alive (or undead).
Moons & Celestial Designs:
A perfect moon instantly elevates a spooky landscape, whether it’s full, crescent, or part of a dramatic night scene. Use the circle for the moon base, then shade in atmospheric fog, glowing edges, clouds, or shadows.
Potion Bottles & Vials:
Templates create perfect lids, bottoms, and labels. Once that’s done, add scratches, foggy glass, bubbles, cracks, and mysterious liquids.
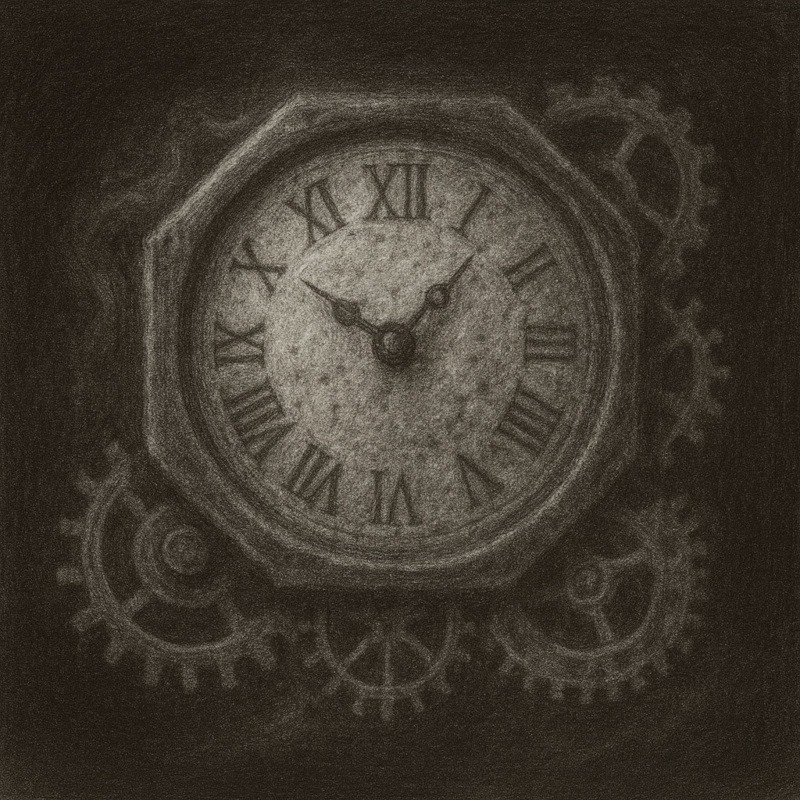
Gears, Clocks & Strange Machinery:
Great for steampunk-horror pieces or creepy clockwork creatures. Templates let you build clean circles, then add grime, rust, glowing runes, or broken teeth.
Common Mistakes (and How to Avoid Them)
Pressing too hard:
Dents your page, grabs your pencil later, and creates weird shadows.
Fix: Trace lightly and build up your shading afterwards.
Making everything perfect:
Too many flawless shapes remove the creepiness.
Fix: Add cracks, grime, scratches, or uneven shading to bring the circle back into the horror world.
Choosing the wrong size:
The wrong circle size can throw off your whole design – too small, and it looks timid, too large, and it dominates the drawing.
Fix: Hold the stencil over your sketch first to preview how it’ll look before tracing.
Smudging the pencil:
Templates can smear graphite if you slide them across your sketch.
Fix: Lift carefully and remember to wipe the stencil’s edges occasionally.
Caring for Your Templates
Circle templates are low-maintenance, but treat them kindly, and they’ll last for years:
- Store them flat
- Keep them away from high temperatures
- Don’t bend them
- Wipe off any graphite every so often
- Keep them out of reach of pets with chaotic energy
Templates warp easily, and even a slight bend can stop them from lying flat on the page, which means your “perfect circle” suddenly has a rebellious wobble.
Conclusion
Circle templates might not be dramatic tools, but they’re absolute lifesavers for horror artists. They keep your circular shapes clean, consistent, and powerful so your artwork feels intentional rather than accidental. A single crisp circle can transform a messy sketch into a structured, atmospheric scene that draws the viewer straight into your world.
Use templates for the clean foundation. Add your chaos, cracks, and eerie textures on top. Together, they create the perfect balance of precision and horror – smooth shapes with unsettling energy underneath.
With one simple circle template sheet, you can build everything from cackling eyeballs to haunted skies. Start experimenting, and let your creepy ideas spin into full-blown nightmare fuel.
What You Learned
- Circle templates help you create perfect circles for monster eyes, rituals, moons, and symbols.
- Light tracing and freehand details keep your artwork eerie, not stiff.
- Templates save time, reduce frustration, and build confidence.
- One basic sheet is more than enough to get started.
The key is balance: clean circles + eerie details = artwork that feels polished but wonderfully haunted.
More Horror Art Tools
If you’re building up your horror art toolbox, there are a few more wonderfully spooky essentials worth exploring:
- Pastels
Soft pastels create dreamy fogs and eerie glows, while oil pastels provide unsettling, greasy textures perfect for nightmare fuel. - Rulers & French Curves
If your straight lines wobble like they’ve seen something traumatic, or your curves keep acting shy, this guide will help you tame them. - Craft Knives
Great for razor-thin highlights, scratchy textures, and adding those unnerving marks that pencils alone can’t achieve (without sacrificing any actual fingers, please).