Charcoal for Drawing: Types, Tools and Paper for Dramatic Horror Art
Because Every Great Horror Piece Starts With a Good Smudge.
Welcome to the wonderfully messy world of charcoal for drawing, where smudges are magical, and shadows do all the storytelling. Whether you’re just dipping a dusty toe into the medium or looking to level up your creepy creations, charcoal is your perfect partner in crime. It’s moody, dramatic, and bursting with the kind of raw energy that makes your horror art feel… disturbingly alive.
In this guide, we’ll explore the different types of charcoal, essential tools, and handy tips to help you master this dark and dreamy medium.
Let’s get smudgy!
1. Which charcoal type is right for you?
Charcoal is an incredibly versatile medium, perfect for creating moody, atmospheric effects in your art. Whether you’re aiming for soft, ghostly shadows or deep, dramatic contrasts, the right type of charcoal can make all the difference. But with so many options – vine, compressed, pencils, even tinted and white charcoal – where do you begin?
Let’s crack open the coffin and take a peek:
Soft & smoky: vine charcoal
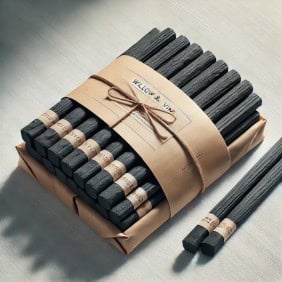
If you’re new to charcoal, vine charcoal is a great introduction. Made from burnt sticks, it’s lightweight, easily smudged, and fantastic for soft, eerie shading. The best part? It erases like a dream, so you can build up spooky layers without worrying about permanent mistakes because vine charcoal lifts off the page easily.
Its ghostly, powdery texture is perfect for haunting shadows, subtle transitions, and sketching out your ideas without fear of commitment. Because it’s so forgiving, vine charcoal is ideal for roughing out compositions or adding that “fog rolling in” vibe to your backgrounds.
Just be aware – it doesn’t stick to the paper as strongly as other types, so fixative spray is recommended if you want to lock those shadows in place.
bold & dark: compressed charcoal
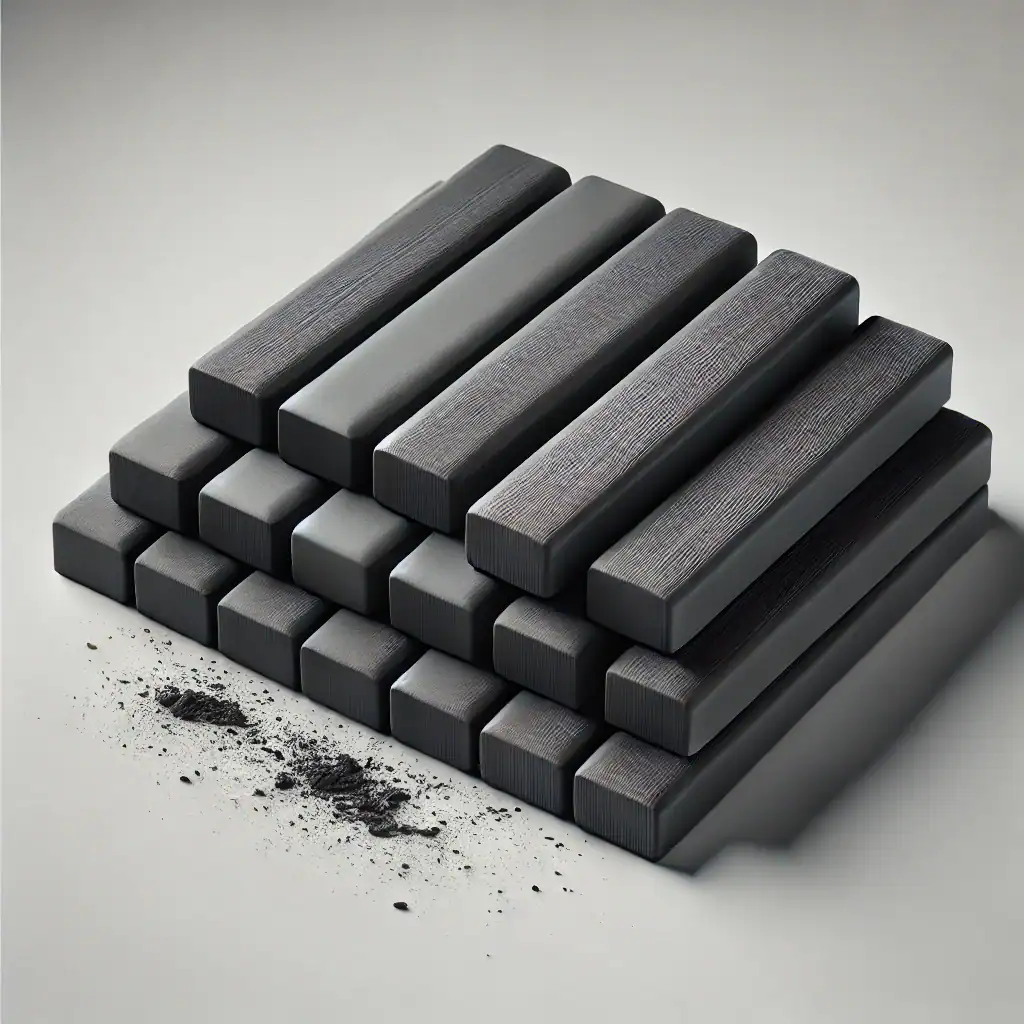
Looking for something with more depth? Compressed charcoal might be your go-to. Its darker, richer tone holds its shape better, making it perfect for strong shadows and horror-themed drawings because it deposits more pigment onto the paper. Unlike vine charcoal, it’s harder to erase, but the intensity of its blacks is worth the trade-off.
Compressed charcoal is like the vampire of the charcoal world – intense, dramatic, and a little less forgiving. It’s great for bold outlines, powerful contrasts, and defining sharp features like jagged claws, crumbling stone, or sunken eyes. Want your work to scream “doom and gloom”? This is your weapon of choice.
Just be sure to plan ahead, as changes can be trickier once it’s on the page.
precision & detail: charcoal pencils
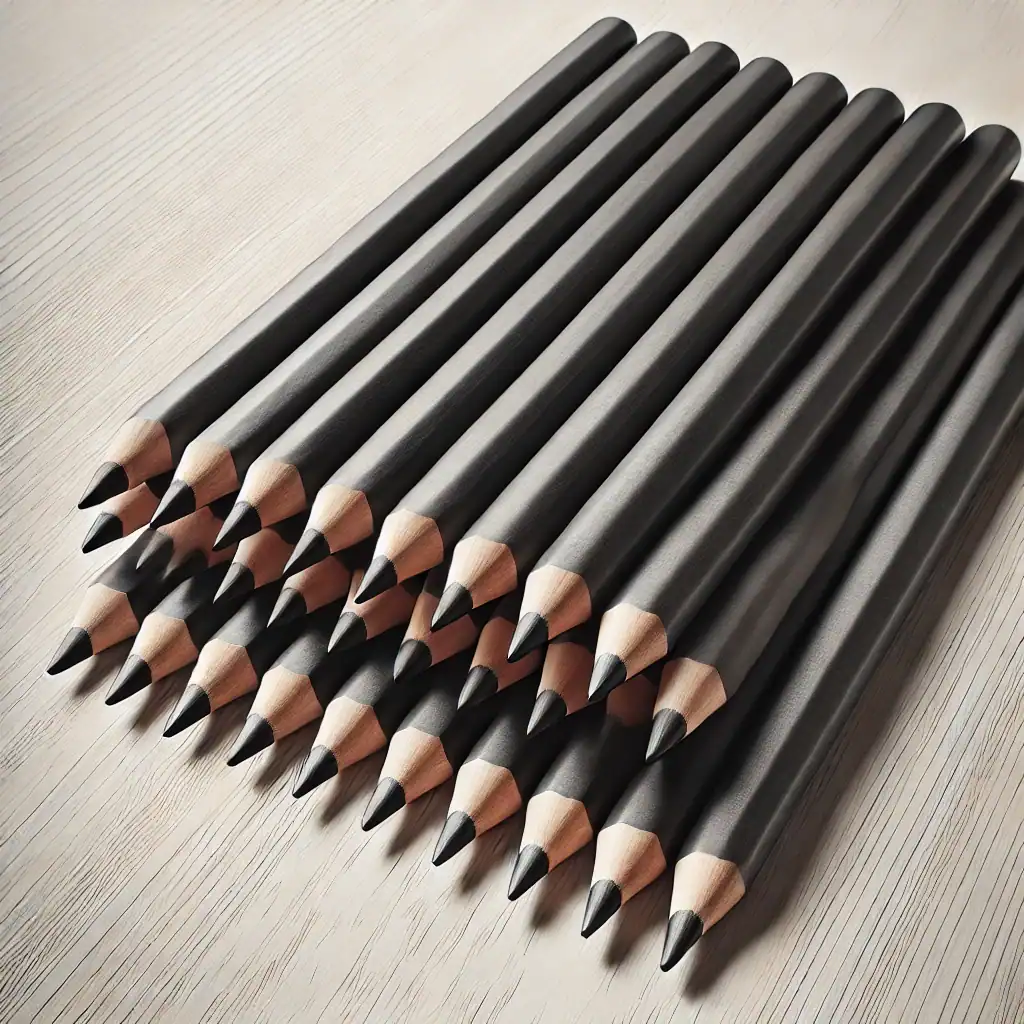
Then there are charcoal pencils, the best of both worlds – precision and intensity. Unlike loose charcoal, these won’t crumble in your hands, making them ideal for detailed work like fine cracks in an old skull or the intricate texture of aged wood.
If you struggle with control when using loose sticks, charcoal pencils give you structure without losing that classic charcoal look. They’re also less messy, which is a big plus if you’re working in tighter spaces or want more control over your spooky sketches. Perfect for hatching, crosshatching, or adding sharp contrast to foggy backgrounds, charcoal pencils are a must-have for linework or facial details.
Think haunted portraits, cursed relics, or grotesque anatomy studies – charcoal pencils are your scalpel. These things sketch tighter than a crypt door at midnight.
adding a touch of colour: tinted charcoal
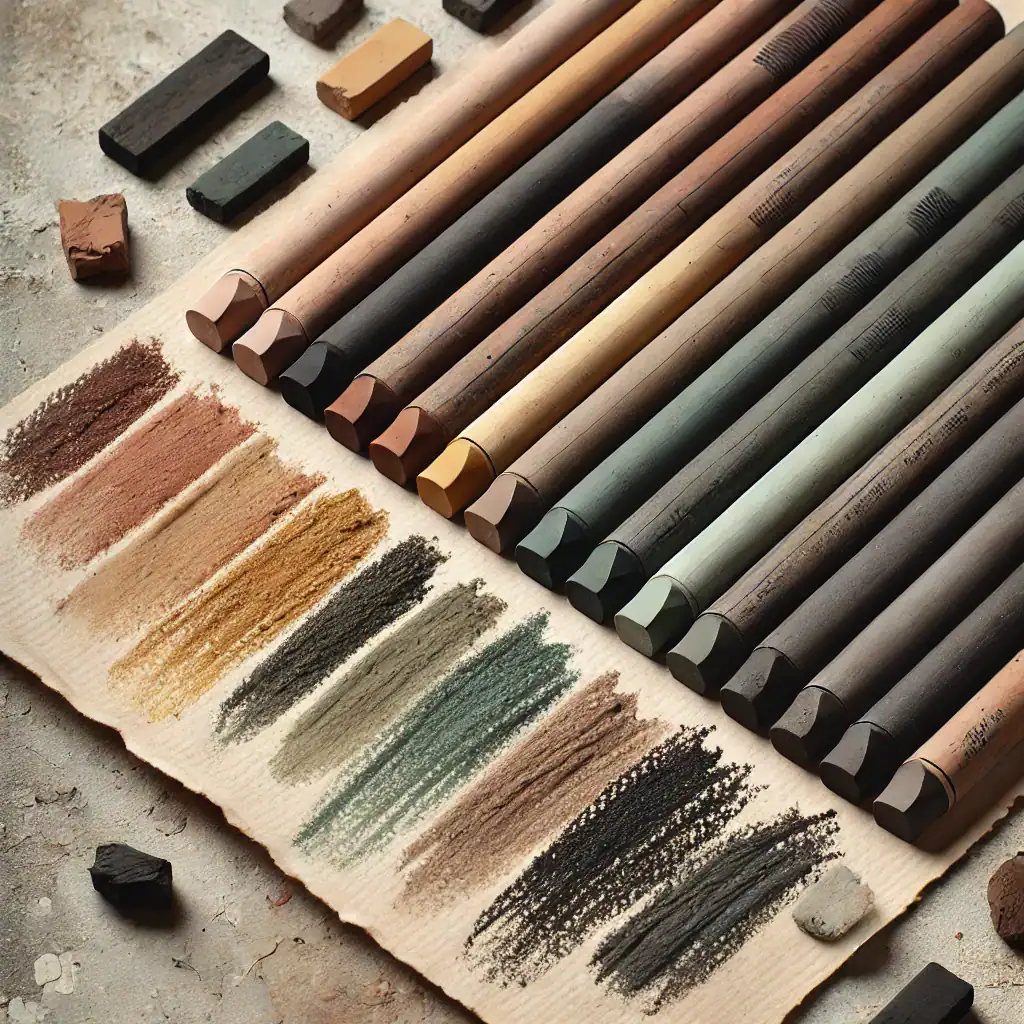
If you love adding subtle colour to your dark designs, tinted charcoal might surprise you. It blends that familiar gritty texture with muted pigments, great for when you want to push beyond grayscale without losing the eerie charcoal aesthetic.
It’s ideal for creating bruised-looking skin tones, unnatural undertones, or adding a splash of unsettling colour to eyes or backgrounds. These sticks offer just enough hue to make a statement, while still feeling like part of the charcoal family. Think ghostly greens, sickly yellows, or dried-blood reds – tinted charcoal lets you creep into colour without fully abandoning the shadows.
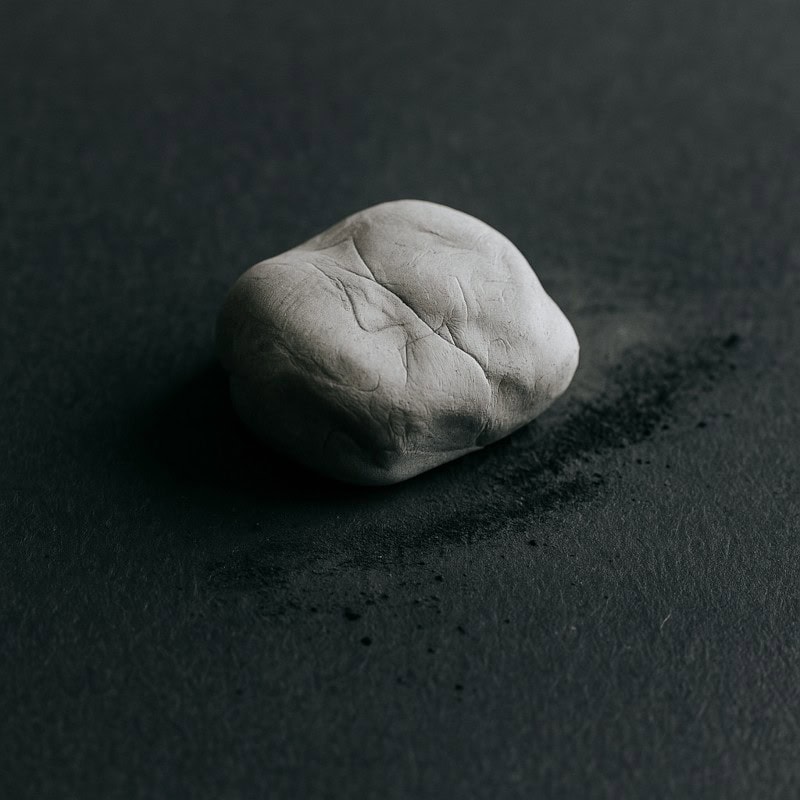
Blending & atmosphere: powdered charcoal
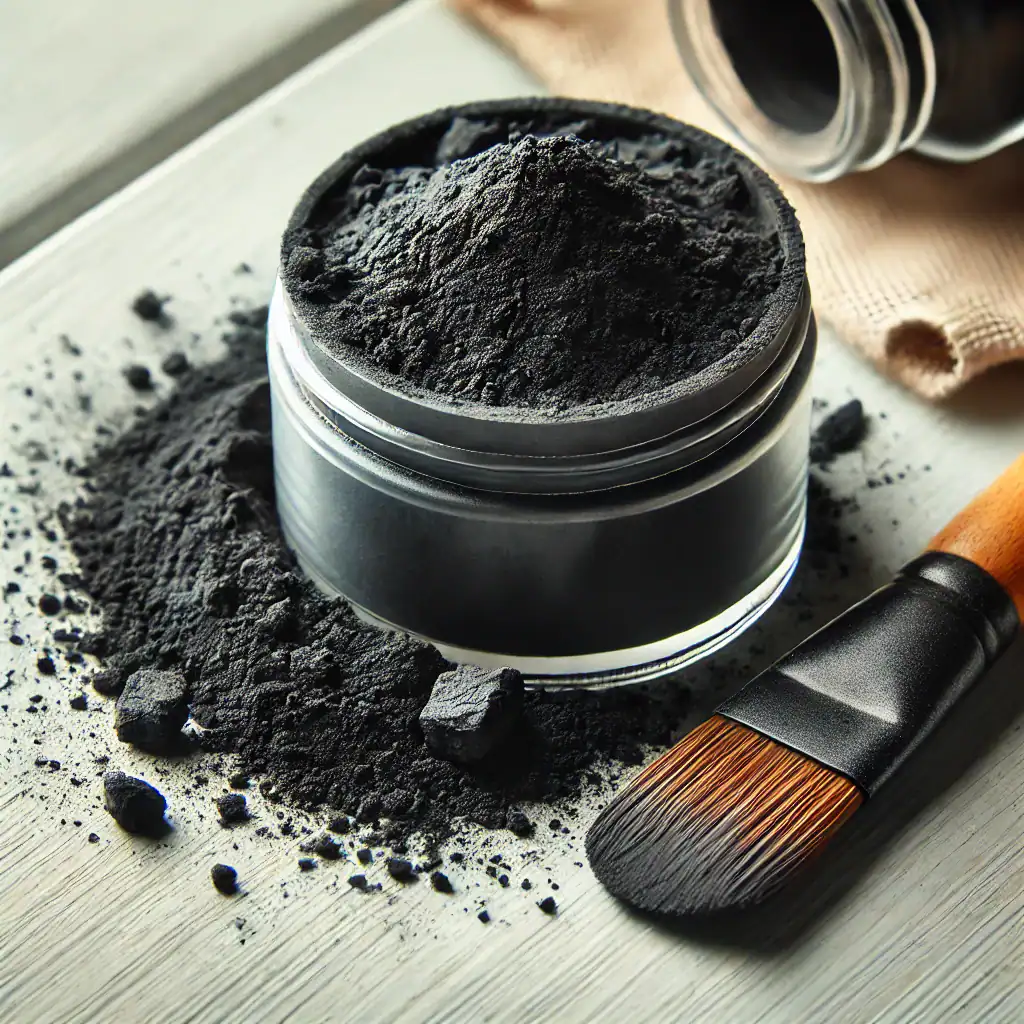
For artists who like working in broad, sweeping tones, powdered charcoal is a game-changer. It covers large areas quickly, making it ideal for misty backgrounds or faded, ghostly textures. You can even blend it with graphite for a unique mixed-media effect – perfect for giving your drawings that haunting, otherworldly vibe.
Think of powdered charcoal like the fog machine of your art kit – it sets the mood and softens the scene. It’s fantastic for atmospheric depth, blurry shadows creeping in the corners, or eerie gradients behind more defined elements. Just a pinch goes a long way, and with a soft brush or cotton pad, you can control it like a spectral breeze. Dip your brush into the powder, tap off the excess, and gently sweep it across the page to build soft, moody shadows.
bringing out the highlights: white charcoal
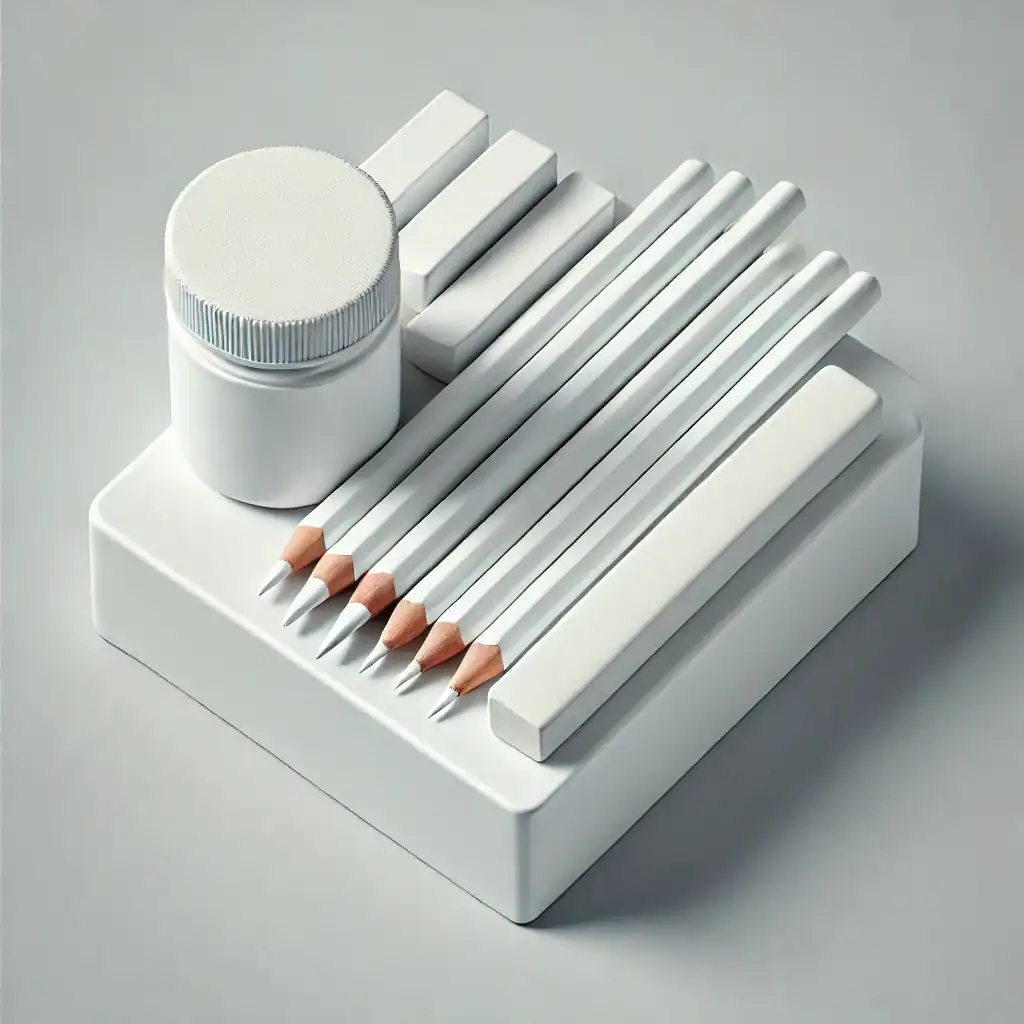
And then there’s white charcoal, an often overlooked tool that can take your drawings to the next level. While traditional charcoal thrives in darkness, white charcoal lets you add striking highlights that make your artwork pop with contrast. It is most effective on toned or black paper, where the contrast truly stands out. This technique can be used to create eerie glows, misty effects, or even the illusion of candlelight in an otherwise shadowy scene. When combined with black charcoal, it’s perfect for crafting high-contrast, dramatic pieces that stand out.
White charcoal is your secret weapon for spectral lighting and chilling luminescence. Use it to highlight sunken cheekbones, glowing eyes, or ghostly mist slithering across a graveyard floor. It’s subtle, yet powerful – like moonlight catching the edge of a crypt.
Experiment and find your style:
No matter which type you use, charcoal is all about experimentation. Some artists swear by a combo of vine and compressed charcoal to get both soft transitions and deep blacks, while others love the control of charcoal pencils. And if you’re feeling adventurous, mixing in white charcoal can open up a whole new level of depth and drama.
The best way to find what works for you? Get your hands dirty and start sketching.
2. Essential tools
While charcoal does most of the heavy lifting, having the right tools on hand can make your drawing process smoother – and your spooky scenes even sharper. These essentials are like your artist’s survival kit in the haunted world of smudges, shadows, and surprises.
Blending stumps/tortillions
These tightly rolled paper tools are perfect for smooth transitions and gradients. They let you control your shading with eerie precision – ideal for creating smoky shadows, soft skin textures, or a haunted mist creeping across the page.
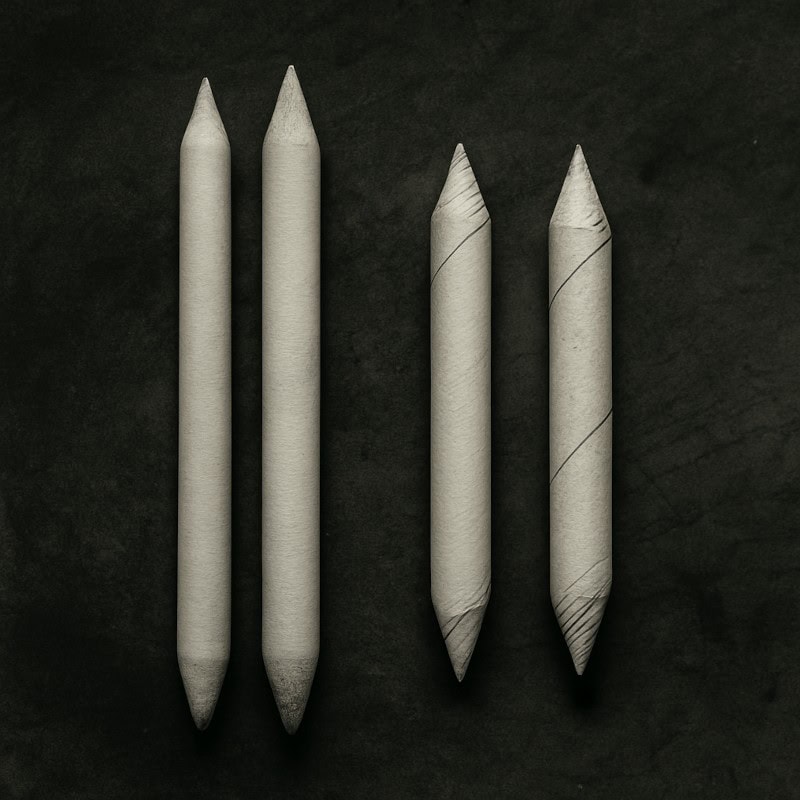
If you want smoother shading with charcoal, blending tools like paper stumps can help soften harsh lines and create atmospheric shadows. You can learn more in my guide How to Use Blending Stumps with Charcoal.
Kneaded eraser
This magical, squishy eraser is perfect for lifting highlights and gently correcting mistakes. You can mould it into tiny shapes to lift out fine details such as ghostly eye glints or moonlit reflections. Plus, it doesn’t leave behind any annoying crumbs – just like a well-behaved poltergeist.
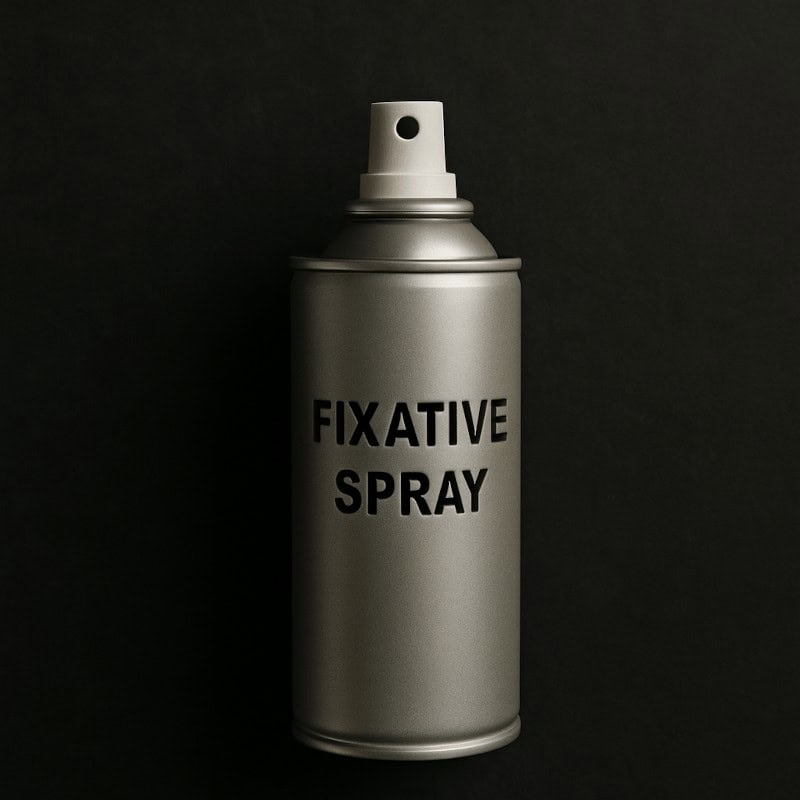
Fixative spray
Charcoal loves to smudge (sometimes a bit too much), so a fixative spray is a must for locking your masterpiece in place. Use a workable fixative if you still want to make changes, or a final fixative once your horror piece is complete.
Just be sure to spray in a well-ventilated space – unless you enjoy the scent of doom.
Good paper
The paper you choose isn’t just a background; it’s your charcoal’s battleground. The right surface can make or break your artwork, especially when working with such a delicate, dusty medium. Whether you’re after ghostly smudges or razor-sharp bone structure, your paper needs to cooperate, not crumble under pressure.
Top picks:
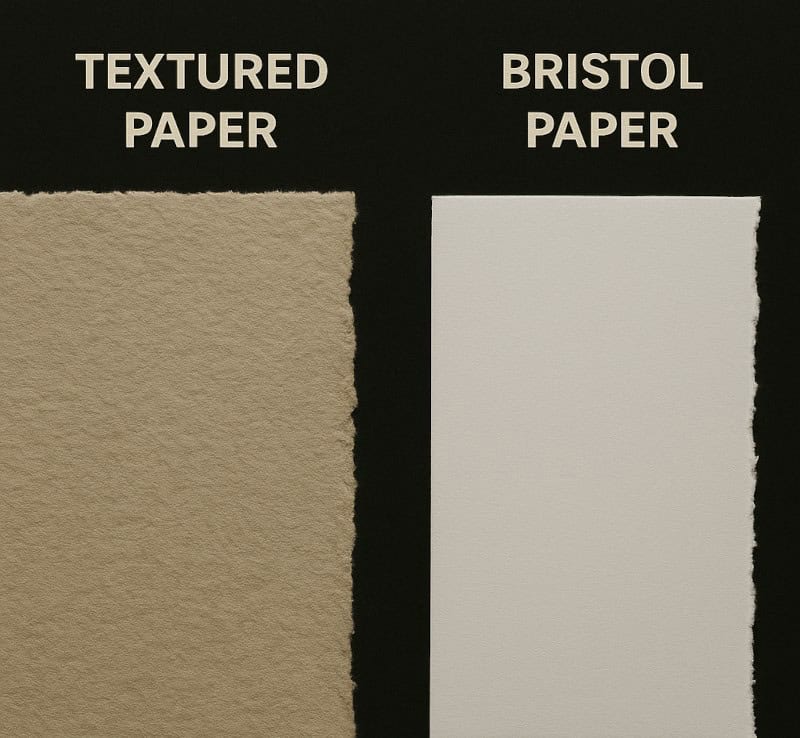
Textured Paper (Cold-Pressed):
Charcoal works best on paper with a bit of “tooth” (texture) to grip the medium. Cold-pressed paper offers a balanced surface that’s great for detail and blending.
Bristol Paper (Vellum Surface):
Bristol vellum has a smoother surface than textured paper, but still enough grip for charcoal. Ideal for clean lines and precise details.
Things to consider when using charcoal paper for drawing:
- Weight: Use paper with a weight of at least 160 gsm to prevent tearing or warping during blending or when using fixative.
- Texture: Medium or heavy tooth helps charcoal “stick” and build layers.
- Archival Quality: For finished pieces, choose acid-free, archival paper to avoid tragic ghost-fade.
- Tone: Try using toned papers to create more drama and depth in your artwork.
3. Brushes for charcoal drawing
You definitely don’t need every brush on this list – even just one or two can make a big difference.
Soft blending brushes
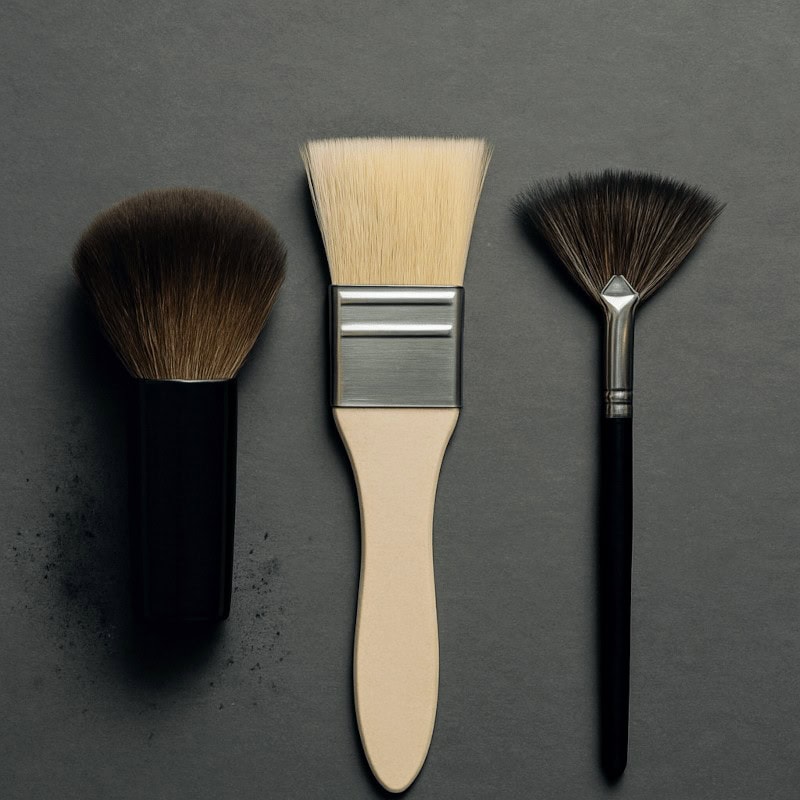
Soft brushes help smooth out charcoal without lifting too much pigment, creating seamless gradients and soft shadows.
Recommended types:
- Makeup brushes: Kabuki or large, fluffy makeup brushes are fantastic for blending large areas.
- Hake brushes: Japanese-style brushes with soft, natural bristles are great for delicate blending.
- Synthetic fan brushes: Ideal for gentle blending and adding light, feathery textures.
Best for:
Blending, shadows, smoothing backgrounds, and softening harsh lines.
Stiff Bristol brushes
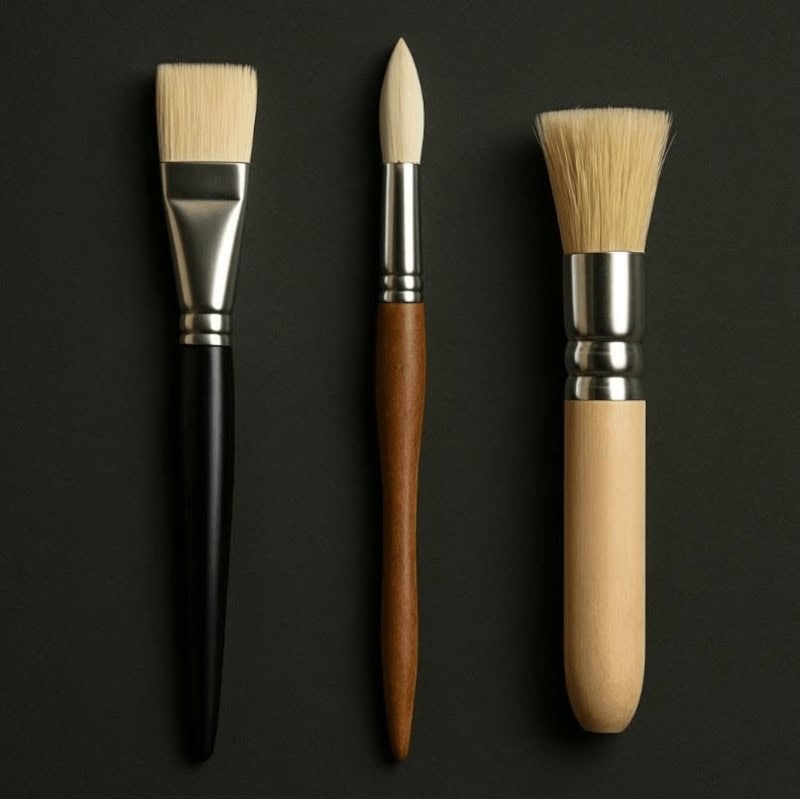
Stiffer brushes can manipulate charcoal more aggressively, allowing for bolder textures and scrubbing effects.
Recommended types:
- Stencil brushes: Compact and stiff – perfect for precise blending or adding gritty textures.
- Oil or acrylic brushes (flat or round): Use older or budget-friendly ones, since charcoal can be abrasive.
Best for:
Scrubbing pigment into textured paper or creating rough, dramatic effects, like decayed bark, cracked stone, or gnarly bones clawing out of the paper.
Detail brushes
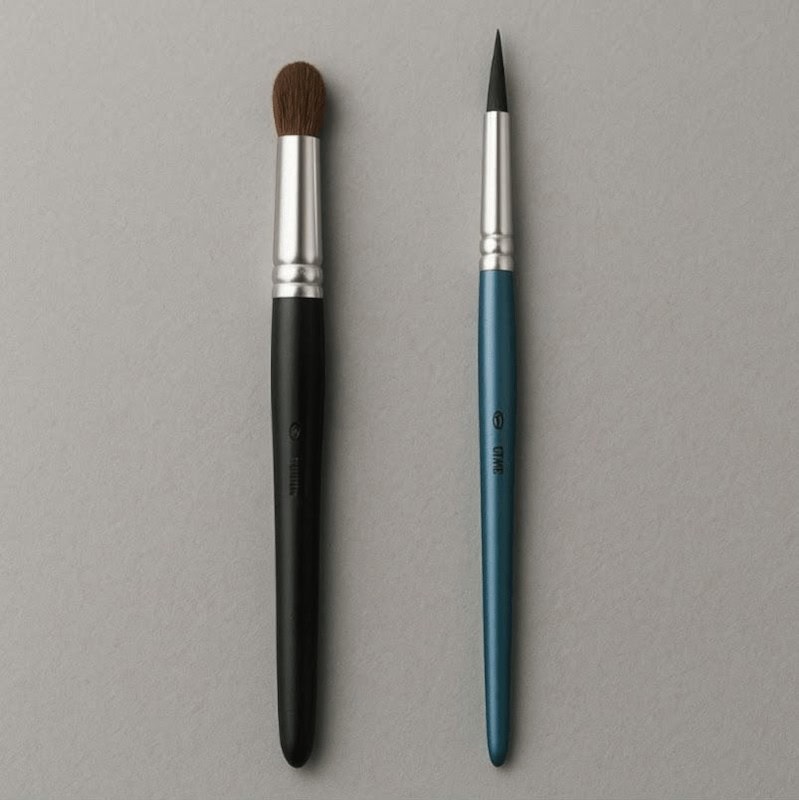
Smaller brushes with precise tips let you add or soften fine details with control, perfect for when your creepy creature needs a subtle snarl or cracked porcelain skin.
Recommended types:
- Watercolour round brushes (synthetic or natural): Flexible and responsive, ideal for tight, detailed work.
- Pointed makeup brushes: Great for delicate blending in small areas.
Best for:
Facial features, hair, cracked surfaces, or creepy creature wrinkles.
Dry brushes
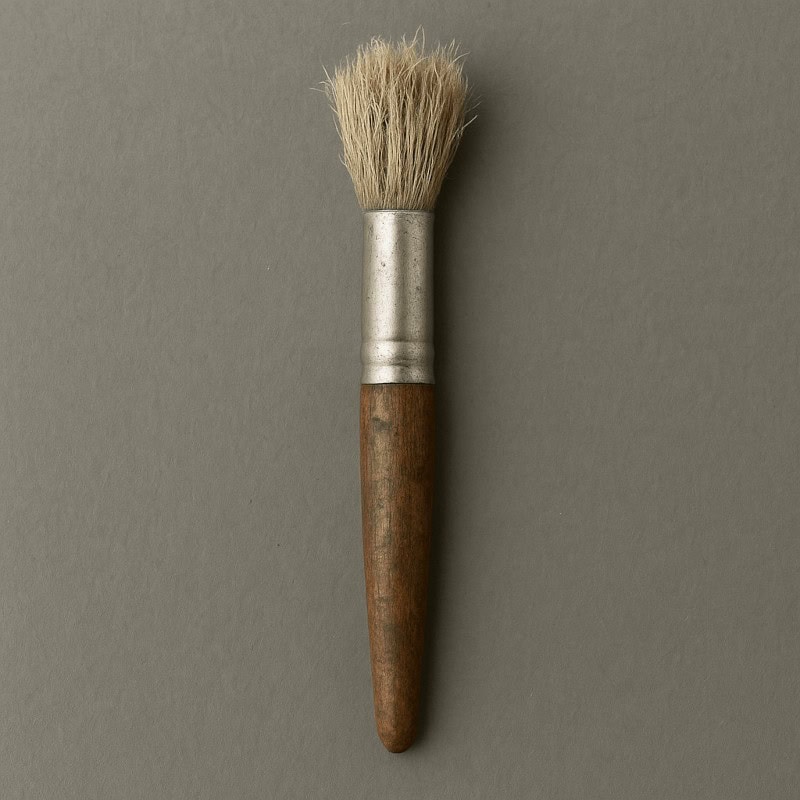
Dry brushes help shift charcoal around without overly blending it – perfect for creating raw, gritty textures with a touch of chaos.
Recommended types:
- Medium-stiff bristle brushes: Clean and dry for best results.
- Used or worn brushes: Ideal for this purpose (don’t throw them out just yet!). Older brushes work better because their rough texture grabs charcoal more aggressively.
Best for:
Creating texture – fur, bark, gritty soil, or scratchy effects.
4. Tips for using brushes with charcoal
Want to keep your charcoal looking creepy and clean? Here are some brush-handling tips to avoid chaos and keep your shadows sharp:
Keep brushes separate:
Don’t mix your wet and dry tools. Using the same brush for both can lead to smudgy horror scenes of the wrong kind.
Use a gentle touch:
Light pressure goes a long way. You can always add more shadow, but flattening your creepy contrast too early can drain the drama.
Clean often:
Tap brushes gently to release excess charcoal. A soft cloth or tissue helps keep things neat without disrupting your work.
Experiment:
Each brush gives a unique effect. Try them all to see what brings your spooky vision to life – whether it’s foggy gloom, jagged bark, or twitchy creature skin.
Mix with other tools:
Brushes team up wonderfully with blending stumps, fingers, or kneaded erasers. Don’t be shy – summon your full toolkit for maximum spooky control.
Wrapping it all in smudge & shadow
Charcoal may be messy, but that’s part of the magic. Whether you’re sketching haunted eyes in the mist, summoning depth with powdered shadows, or carving spectral highlights with white charcoal, this eerie medium rewards boldness and experimentation. So, embrace the smudges, play with texture, and let the shadows whisper your story.
Your Turn:
Do you use brushes with charcoal? Got a favourite trick or a type you swear by? Let me know in the comments – I’d love to hear how you bring your shadows to life.
What You Learned:
The main charcoal types and how they behave:
- Vine charcoal – soft, smudgy, great for loose sketches and gentle atmospheric shadows.
- Compressed charcoal – darker, stronger, perfect for bold outlines, deep horror shadows, and dramatic intensity.
- Charcoal pencils – controlled, precise, ideal for fine details like sharp claws, cracked textures, or facial features.
- Tinted charcoal – subtle colours for bruised skin tones, eerie undertones, and unsettling accents.
- Powdered charcoal – smooth, foggy backgrounds and soft gradients for misty, cinematic scenes.
- White charcoal – highlights, glowing effects, moonlit edges, and contrast on toned/black paper.
The essential brushes and what they’re used for:
- Soft blending brushes – smooth, seamless blends and soft shadows.
- Stiff bristle brushes – gritty textures, rough surfaces, and dramatic, scratchy effects.
- Detail brushes – small, precise blending for fine features and tight areas.
- Dry brushes – chaotic, grainy textures and atmospheric roughness.
- Fan or makeup brushes – gentle dusting, subtle gradients, and ghostly soft transitions.
Related guides you might find useful:
- Graphite Powder
Want to mix things up with another moody medium? Check out graphite powder – great for soft gradients, misty effects, and spooky smooth transitions. - Combining Graphite, Carbon & Charcoal
Ever wondered what happens when you blend the dark powers of graphite, charcoal, and carbon? Spoiler: it’s glorious. - Fixatives & Sealants
Learn how to protect your haunted masterpieces with sprays that lock in your shadows, banish smudges, and (probably) keep supernatural interference at bay.