Graphite Powder for Horror Art: Smooth Shading and Atmospheric Effects
Because sometimes your artwork needs a little… atmospheric chaos
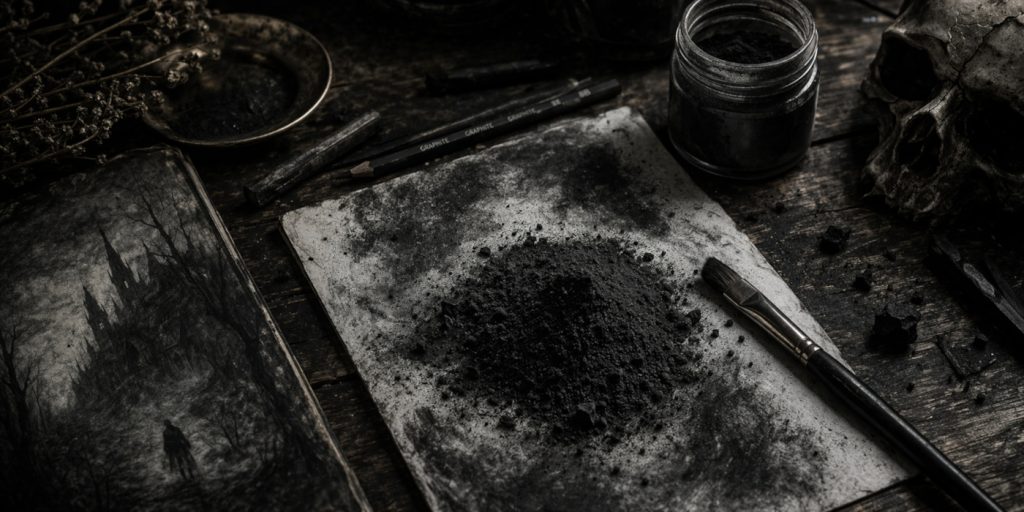
Graphite powder is the kind of material that quietly sits in a jar until you open it… and then immediately behaves like it’s trying to escape and start a new life under your floorboards. One gentle tap and suddenly you’ve created smooth, misty gradients, dramatic shadows, and a workspace that looks like it’s been through something emotionally intense.
It’s messy, moody, and a tiny bit unhinged… which is exactly why it works so well for horror art.
A light sweep of powder can turn a blank page into a creeping fogbank in seconds. Of course, it can also turn your hands, desk, and possibly your soul slightly grey in the process. Worth it.
But once you see how effortlessly it builds atmosphere, depth, and those soft, eerie transitions, you stop questioning it and just accept graphite powder as the chaotic little miracle it is.
What You’ll Learn:
In this guide, you’ll learn how to use graphite powder to create smoother shading, stronger atmosphere, and more controlled effects:
- What graphite powder is and how it differs from regular pencils
- How to apply it using brushes, cloths, and other tools
- How to control blending, gradients, and texture
- Techniques for lifting highlights and adding detail
- How to use water to create painterly effects
- Practical tips for cleaner, more controlled results
- How to protect your workspace and avoid common messes
- Simple safety precautions when working with fine powder
- How to make your own graphite powder at home
What is Graphite Powder?
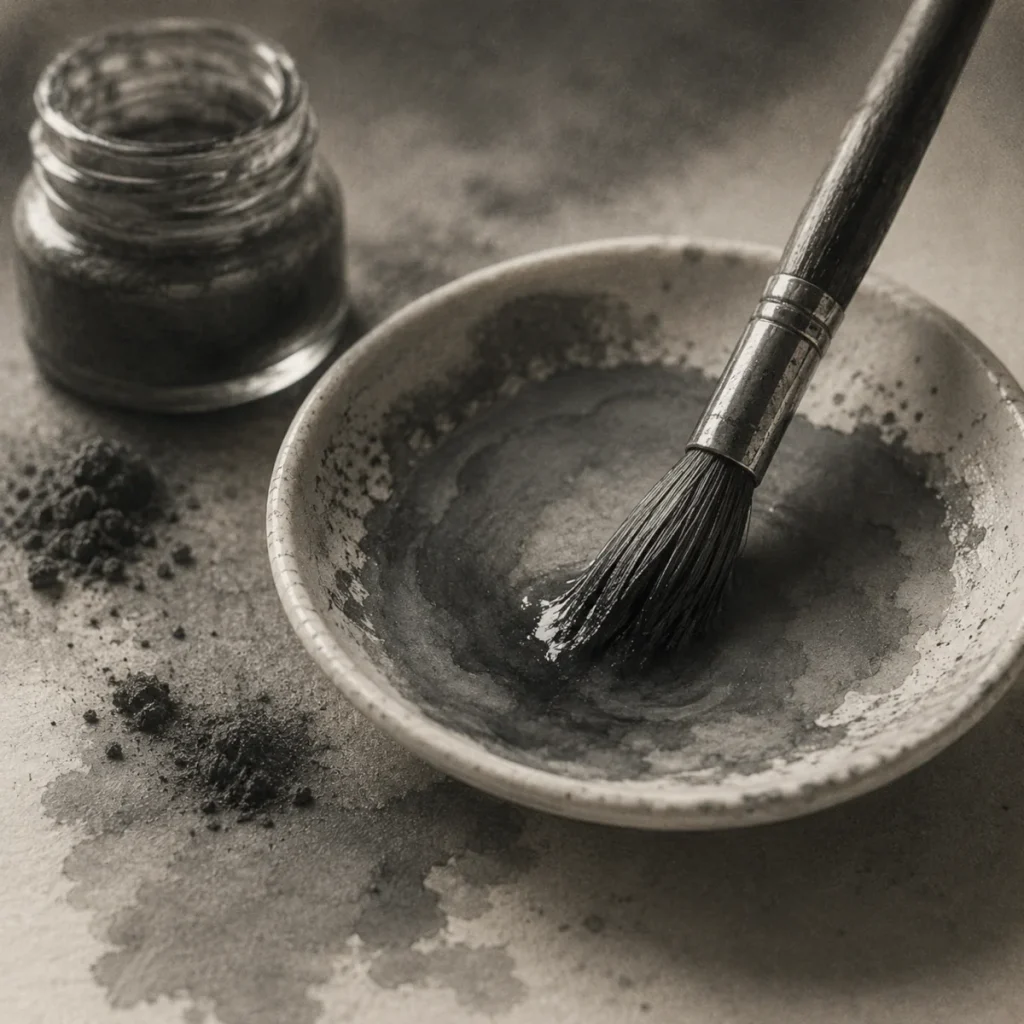
Graphite powder is a finely ground form of graphite, a crystalline form of carbon. Essentially, it’s pencil graphite that’s been processed into a soft, dust-like consistency. This powder has a smooth texture and is available in various grades, differing in particle size and purity.
Artists often use graphite powder as a dry medium to create gradients, build texture, and achieve detailed shading with a softer, more atmospheric finish than standard pencil work.
Think of it as graphite… but untamed. Less “carefully controlled pencil lines,” more “rolling fog creeping across your page.”
Whether you’re crafting eerie backgrounds or adding shadowy depth to your twisted creatures, graphite powder is your go-to tool for summoning darkness with precision.
1. Why Use Graphite Powder in Art
Smooth Gradients
Graphite powder is a dream for achieving silky smooth transitions between light and dark. Instead of visible pencil strokes, you get a velvety fade that works beautifully for soft lighting, misty scenes, and creepy, fog-drenched forest backdrops.
It’s especially useful when you want to create subtle tonal shifts without breaking the illusion with harsh lines.
It also has a habit of blending a little too well… so before you know it, that gentle shadow can quietly spread into a full-blown fog bank. Sometimes that’s a problem. Sometimes it’s the best thing that’s happened to your drawing.
Efficient Coverage
When covering large areas like ominous skies or cavernous shadows, graphite powder gets the job done fast. A quick swipe with a soft brush can darken an entire background without the wrist-breaking layers of pencil.
It’s perfect for blocking in atmosphere early, letting you focus on the finer, more terrifying details later.
Also, fair warning… It’s very easy to go from “just a light background” to “this entire scene now lives in permanent darkness.” Proceed with confidence.
Layering Possibilities
Graphite powder makes an excellent base layer. Lay down your shadows, mood, or midtones, then build on top with pencils or charcoal to add structure, depth, and fine detail.
Think of it like setting the atmosphere of a haunted manor before introducing whatever’s living inside it. Foundation first… then the unsettling part.
It also gives you a bit more freedom to experiment early on, since you’re shaping the overall mood before committing to precise lines.
Textural Variety
From wispy fog to gritty decay, graphite powder adapts beautifully to different tools and techniques. Use a sponge for soft haze, or a stiff brush for rough, unsettling textures that feel a little too alive.
This flexibility makes it perfect for horror art, where the mood can shift from subtle unease to full-blown nightmare in a single pass.
And once you start experimenting, it’s surprisingly easy to go from “gentle atmosphere” to “this surface now looks like it’s been through something deeply unpleasant.” In a good way.
Versatility
Graphite powder isn’t a one-trick monster. Use it on its own for minimalist eerie scenes, or combine it with graphite pencils, blending stumps, or even ink for a bit of mixed-media chaos.
Whether you’re building a creepy background or adding texture to your latest grotesque creation, it plays nicely with other tools and adapts to whatever you throw at it.
It’s also one of those materials that quietly fits into your workflow… and then suddenly becomes the thing you reach for every time you want to bring the shadows in properly.
2. How to Use Graphite Powder
Applying the Powder
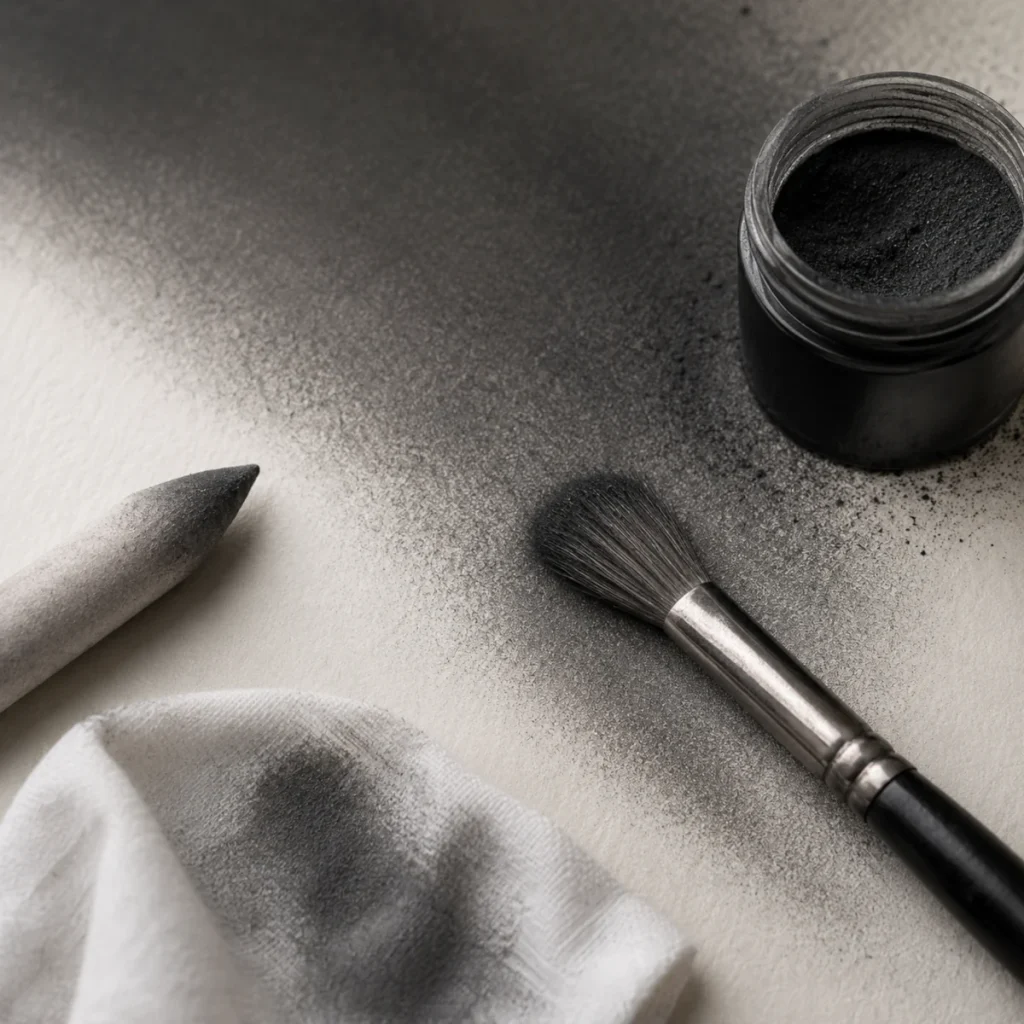
To apply graphite powder, gently use tools like a soft brush, tissue, cotton pad, or sponge to spread it across your paper or drawing surface. For softer blends or subtle texture shifts, a blending stump, chamois, or even your fingers can work beautifully.
Just be warned… things can get messy quickly. One minute you’re creating soft gradients, the next your workspace looks like you’ve been interrogated under harsh lighting.
Each tool leaves a slightly different texture, so experiment to find what suits your eerie masterpiece. Brushes give you more control and reach, while tissues or cotton pads are ideal for smoothing out large background areas like fog, shadows, or cursed fogbanks that definitely weren’t there a minute ago.
Build Gradually
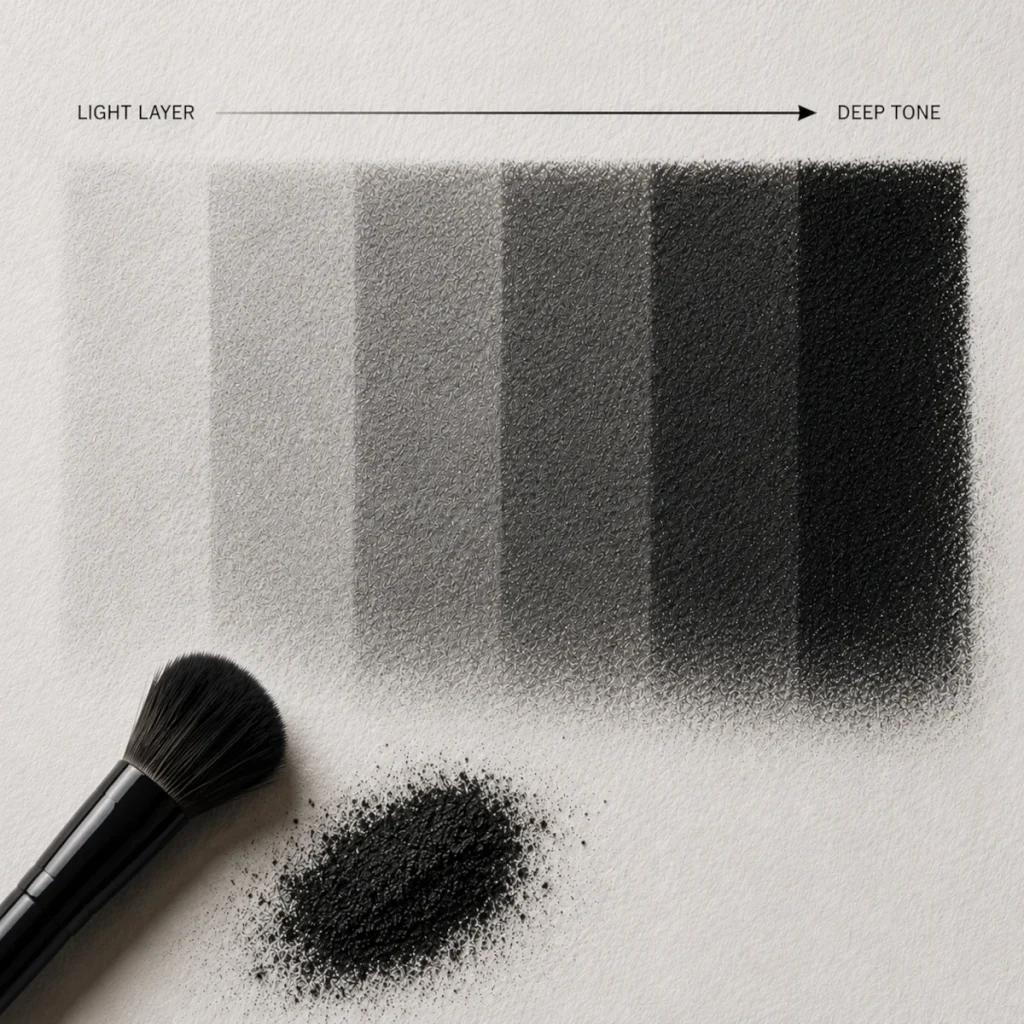
Start with a light, even layer. Think of it as the shadowy foundation of your drawing. You can always darken it later, but if you go in too heavy too quickly, your piece can start looking muddy or overworked.
Build things up slowly. Graphite powder rewards patience, not panic.
Layer gradually to build richness and depth, especially in horror scenes where dramatic lighting does most of the storytelling.
Defining Details
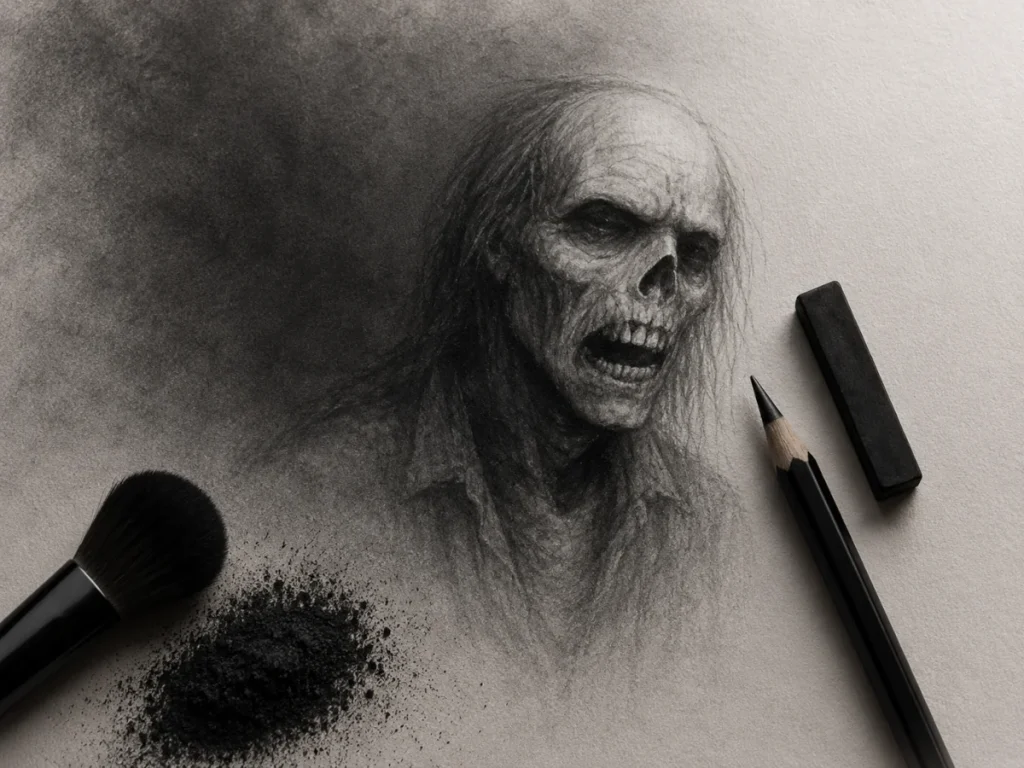
Once your base is in place, use pencils or charcoal to draw sharp lines over the powder. This contrast between soft, moody shading and crisp detail is where the magic happens.
It creates a striking balance between hazy atmosphere and ominous focal points, perfect for creepy creatures, hollow eyes, or anything that looks like it knows your name.
Need ghostly glows or haunted highlights? A kneaded eraser is your secret weapon. Dab or lift the powder to carve out light spots, ethereal textures, or drifting mist without disturbing the surrounding shadows.
It’s basically sculpting darkness… just with slightly better odds of success.
3. Tools for Application
Brushes
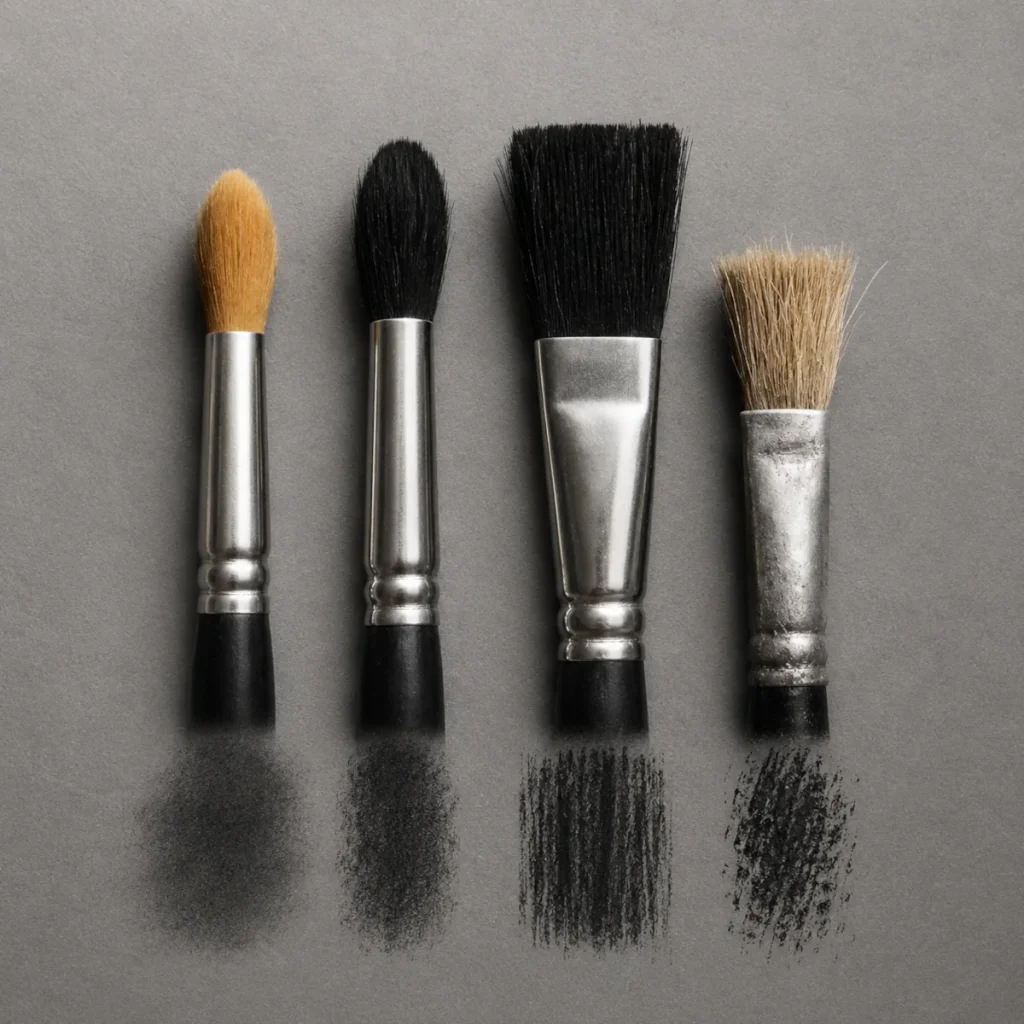
Brushes are your best friend when applying graphite powder, especially if you’re aiming for texture control with a touch of dramatic flair.
- Soft brushes (like makeup or watercolour brushes) are perfect for smooth, even blending and atmospheric backgrounds. Think foggy graveyards, empty hallways, or that suspicious mist that definitely wasn’t there five minutes ago.
- Stiff brushes (like bristle or stencil brushes) add texture and grit, making them ideal for creepy walls, cracked skin, or the kind of surfaces that look like they’ve seen things.
The brush you choose has a big impact on how your final piece turns out, so don’t be afraid to experiment.
Worst case, you discover a new texture.
Best case… You accidentally create something unsettling enough to make you pause and stare at it.
Sponges or Cloths
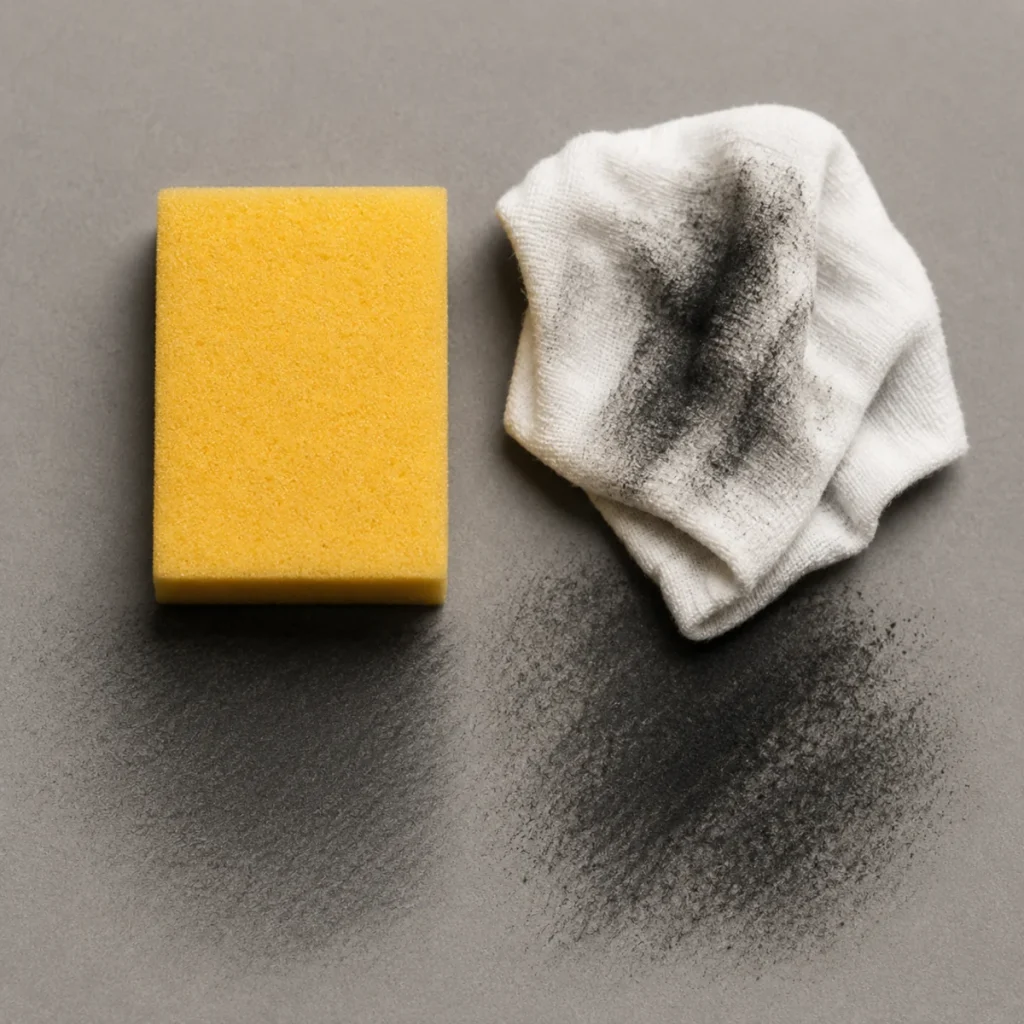
Need to cover a large area quickly? Sponges and soft cloths are basically the graphite powder equivalent of a paint roller.
They spread the powder evenly and smoothly, making them perfect for quick background fills, ominous skies, or laying down that first layer of atmosphere before the real horror settles in.
Just keep your pressure light. Too heavy, and things can go from “soft fog” to “charcoal swamp” surprisingly fast.
Erasers
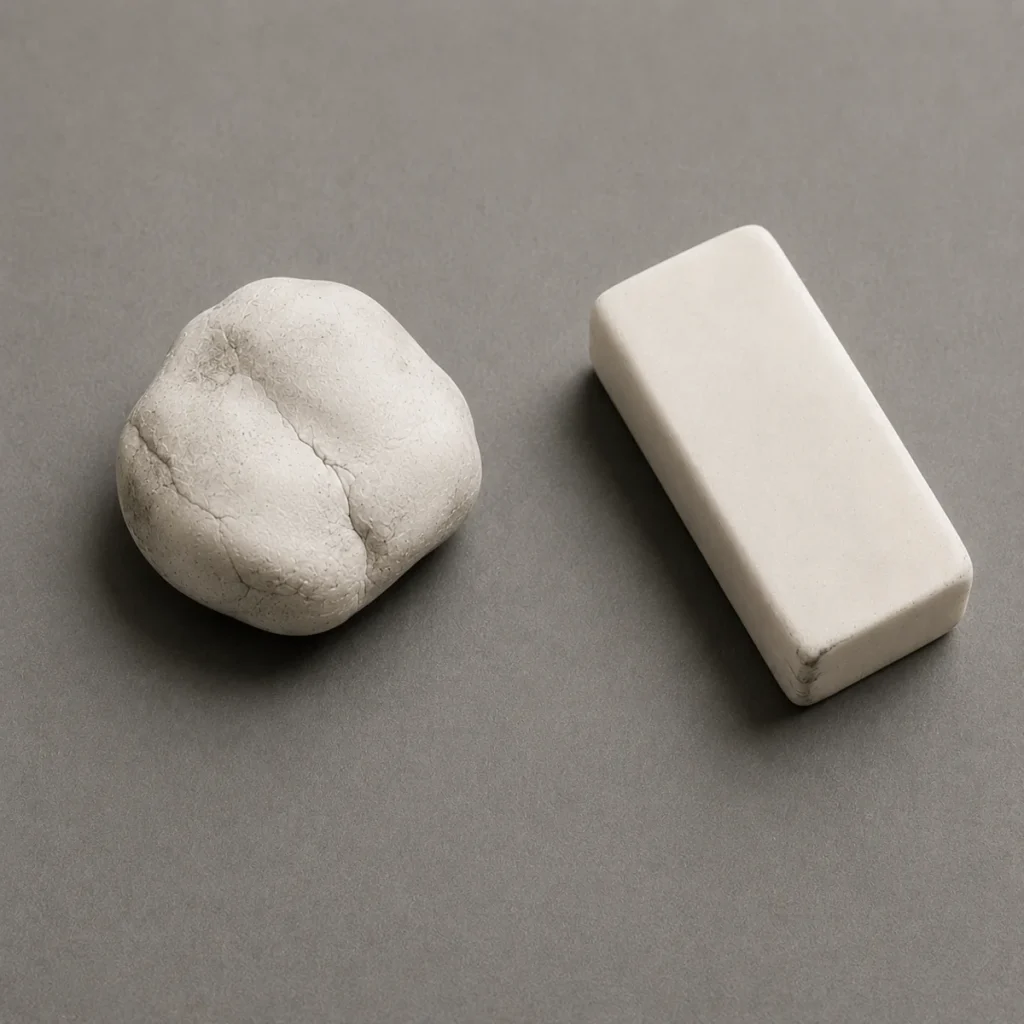
A kneaded eraser is basically a light spell in your horror toolkit.
Instead of just removing graphite, it lets you lift, shape, and control light directly on the page, which is perfect for adding eerie atmosphere and subtle highlights.
Use it to:
- Pull out highlights
- Create misty shapes or ghostly forms
- Carve in details like glimmers in eyes, highlights on bones, or unsettling lighting effects
You can mould it into any shape, making it ideal for precision work and delicate textures.
Plus, it doesn’t leave crumbs… because nothing ruins a beautifully moody drawing faster than what can only be described as eraser dandruff quietly invading your masterpiece
Blending Stumps
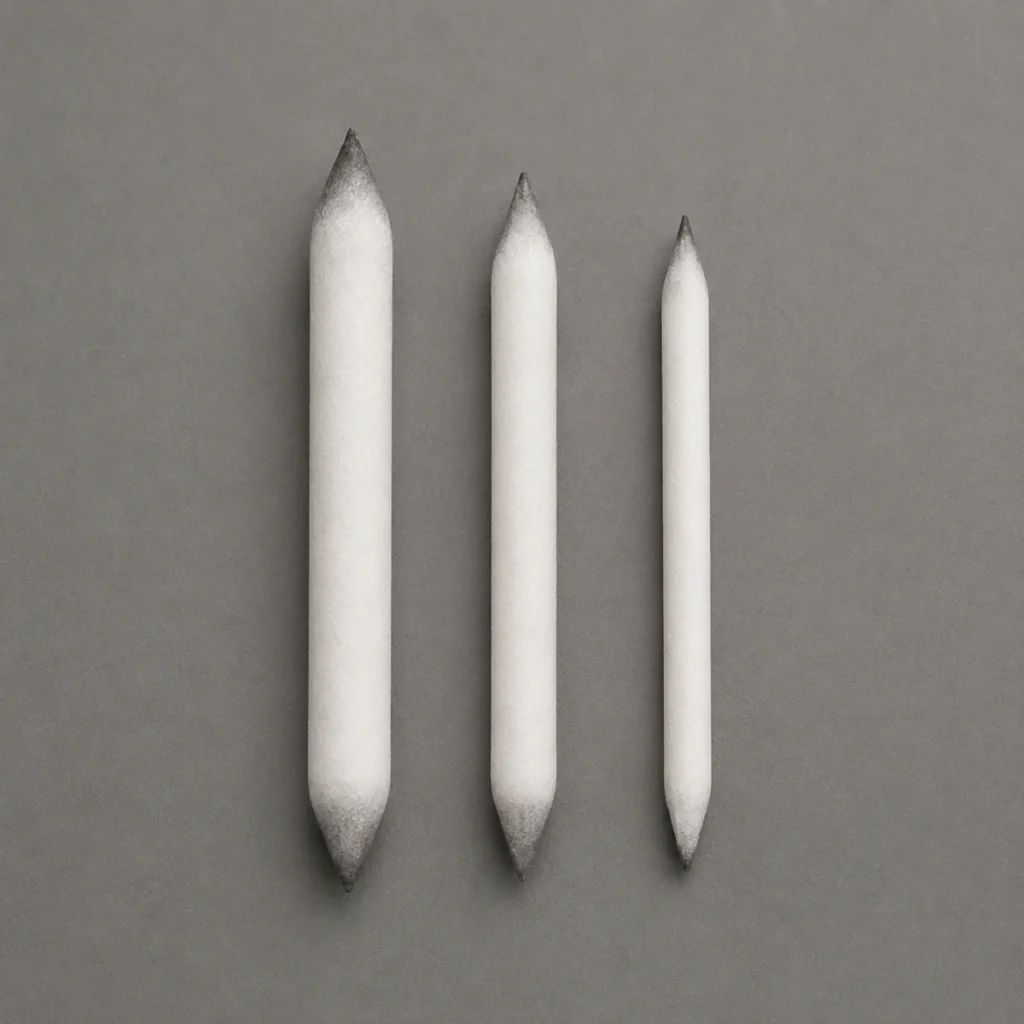
Blending stumps give you precise control when smoothing out edges or connecting areas of graphite powder. They’re perfect for refining transitions without losing that soft, atmospheric look.
They’re ideal for:
- Tight spaces
- Smoothing transitions around creature features
- Blending shadows in folds, corners, and haunted crevices
They’re basically the precision tools of the graphite world, perfect for detail work in your more intricate pieces.
Clean them often to keep your blends smooth. A dirty stump has a habit of spreading shadows to places you definitely didn’t invite them.
4. Artistic Effects & Style Benefits
Painterly Effects
Graphite powder opens up a whole new approach to drawing, closer to painting with shadows than traditional sketching.
Instead of building your work line by line, you can sweep and sculpt large areas of tone, giving your art a soft, fluid, almost ethereal quality.
It’s especially effective for atmospheric horror scenes, where subtlety and suggestion do most of the work… and the details don’t fully reveal themselves unless you’re really looking.
Mood and Atmosphere

If your artwork leans into the dark and dramatic, graphite powder becomes a secret weapon for building mood.
It’s perfect for creating mist, gloom, and eerie lighting effects, allowing you to shape atmosphere without relying on harsh outlines.
Whether you’re illustrating the haunted depths of a forest or the unsettling quiet of an abandoned room, it lets you guide the viewer’s eye through shadow and suggestion… instead of spelling everything out.
Enhanced Realism
For artists aiming to push realism (or even surrealism), graphite powder helps bring softer elements to life in a way that feels natural and immersive.
Think delicate clouds drifting over cursed hills, fabric folding around something just out of sight, or soft textures that almost feel touchable.
The smooth transitions and subtle textures it creates add a level of depth and believability that’s difficult to achieve with pencils alone.
And occasionally… something ends up looking a little too real, which is great for horror, slightly unsettling for everything else.
5. Practical Tips
Use Fixative
Once you’ve finished working with graphite powder, seal your piece with a spray fixative to prevent smudging and preserve all those carefully built details.
Make sure to spray in a well-ventilated area, and always test it on a scrap piece first. Fixative has a habit of changing its mind at the worst possible moment, and it’s better to find that out on something you don’t care about.
Protect Your Workspace
Graphite powder tends to have a habit of drifting, smudging, and settling on everything. Use a protective sheet, desk mat, or even an old newspaper to keep your workspace clean and your artwork free from accidental fingerprints.
Disposable gloves can help if you want to keep your hands clean while working.
Be mindful of clothing too. Graphite powder can cling to fabric and stay there, so it’s best to wear something you don’t mind sacrificing to the cause.
Experiment With Papers
Graphite powder behaves differently depending on the tooth and texture of your paper, so it’s worth trying a few options to see what suits your style.
- Smooth paper = softer blends, less grip
- Textured paper = deeper shadows, more dramatic effects
Try a few types and see which one brings your shadows to life. Sometimes the paper does half the work for you.
6. Safety Precautions When Using Graphite Powder
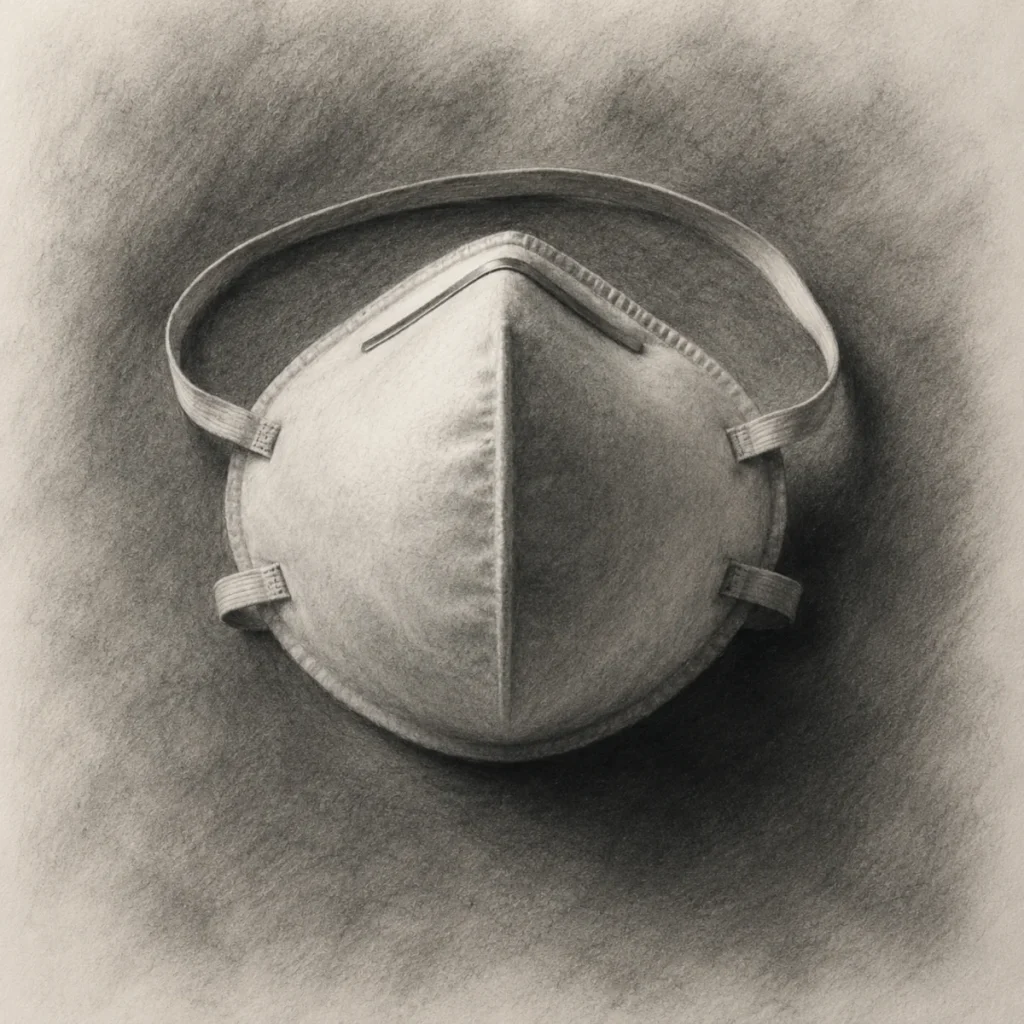
While graphite powder is non-toxic, it can easily become airborne, and inhaling fine particles isn’t great for your lungs. This is especially important when working with larger amounts or applying it with a brush.
Make sure your workspace is well-ventilated, and consider wearing a dust mask, particularly if you’re blending over a wide area. Even a simple mask can make a noticeable difference over longer sessions.
A little precaution goes a long way. It keeps your workspace safer and lets you focus on the drawing itself… instead of dealing with graphite chaos afterwards.
Bonus Tip:
Store your graphite powder in a clearly labelled, airtight container. It keeps things organised, prevents accidental spills, and avoids any unfortunate mix-ups.
7. Create Your Own Graphite Powder
Did you know you can make your own graphite powder at home? Instead of buying pre-made powder, you can use soft graphite pencils (like a 6B or 8B) and gently sand them down with fine sandpaper.
This DIY method is an easy, cost-effective way to get smooth, blendable powder while giving you full control over texture and consistency. It’s also oddly satisfying, like making your own custom shading tool from scratch.
Just make sure to do this over a clean sheet of paper or into a container so you can catch the powder. It keeps things tidy and makes it much easier to store and reuse.
8. Advanced Technique: Mixing Graphite Powder with Water
Graphite powder doesn’t have to be used dry. You can mix it with a small amount of water to create a smooth, paint-like consistency. This turns it into a brush-friendly medium, giving your work a softer, more fluid feel.
It’s especially effective for smooth gradient transitions, misty effects, and smoky textures that are difficult to achieve with pencils alone. Ideal for atmospheric shading, ghostly shadows, and subtle backgrounds where detail fades into suggestion… and your brain fills in the part it probably shouldn’t.
Experiment with your water-to-powder ratio. More water creates lighter, softer washes, while less water produces deeper, more dramatic tones. As you adjust the mix, you’ll start to see how versatile this method can be, especially in horror art, where soft edges and unpredictability add to the mood.
Note of caution:
Be careful when using water on standard drawing paper. Too much moisture can cause buckling, warping, or tearing. For best results, use watercolour paper or a heavyweight mixed-media paper that can handle it.
Conclusion
Graphite powder isn’t just another drawing tool. It opens up a different way of working, from soft, subtle shadows to bold, atmospheric effects. Whether you use it dry or mix it with water, it gives you more control over mood, depth, and texture in your horror art.
So grab your brushes, experiment a little, and see what kind of atmosphere you can pull out of the shadows.
Have you tried using graphite powder in your work?
Do you prefer working dry or mixing it with water?
Feel free to share your thoughts in the comments. It’s always interesting to see how the same tool can lead to completely different nightmares.
What You Learned:
Here’s a quick recap of the key takeaways:
- A little graphite powder goes a long way.
- It creates smoother, more natural gradients than pencils alone.
- Brushes, cloths, and sponges each produce different textures and effects.
- Applying powder first can add depth and atmosphere to pencil work.
- Highlights can be lifted and shaped using a kneaded eraser.
- Adding water transforms powder into soft, painterly washes.
- Good ventilation and a dust mask help keep your workspace safe.
- Protecting your workspace prevents smudges, stains, and accidental chaos.
- You can make your own graphite powder with simple materials.
- Storing it properly keeps it clean, controlled, and ready to use.
Want to Go Deeper? Try These Extras
If you want to build on these techniques, here are a few guides that will help you take things further:
- White Gel Pens for Horror Art: Highlights and Glow Effects
Want to add sharp highlights or eerie glows? A white gel pen can be your secret ingredient for popping those eerie details right off the page. - How to Combine Graphite, Carbon and Charcoal in Drawing
Graphite powder also pairs beautifully with other dry media, especially carbon and charcoal, creating gritty depth, rich blacks, and atmospheric smudge effects. - Graphite Pencils for Horror Art: A Complete Guide
Learn about different graphite pencil types, how their softness affects shading, and which ones are best for building eerie depth in your horror art.