How to Use Erasers in Horror Art (Types,Techniques and Effects)
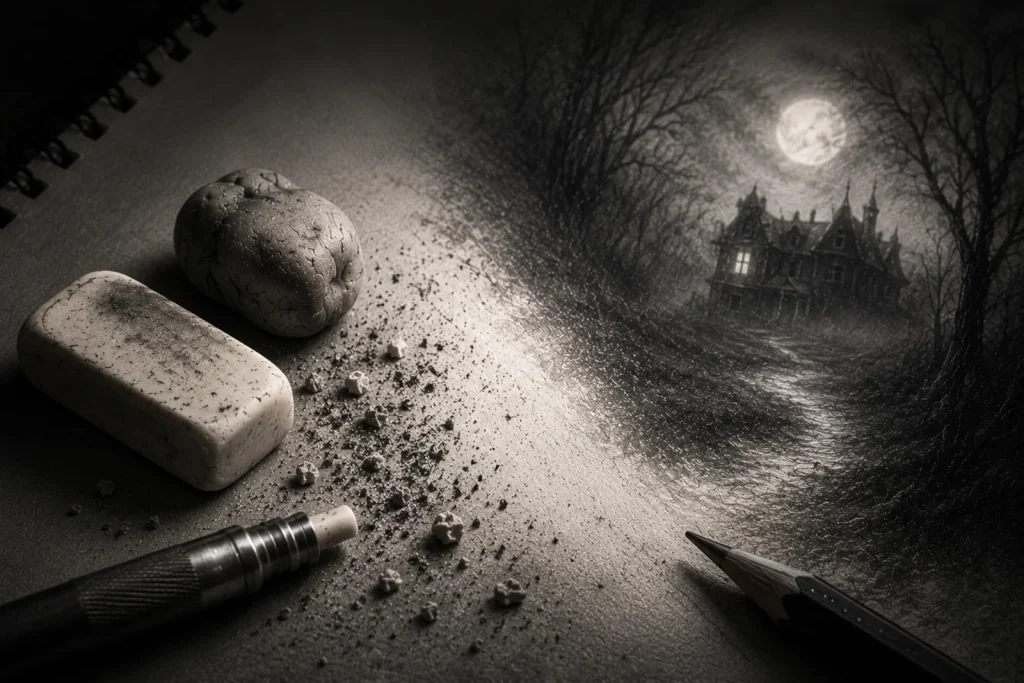
If pencils build the nightmare, erasers carve the moonlight into it.
Most people think of erasers as emergency escape buttons for mistakes. You know the moment: your pencil line suddenly wanders across the page like it’s possessed, and you quietly whisper, “That’s not an accident… that’s atmosphere.”
But in horror art, erasers are far more than correction tools. They can scratch fog into graveyards, pull ghostly faces out of shadows, carve moonlight through forests, and add eerie highlights that make drawings feel alive in the worst possible way. Tiny little blocks of rubber. Absolute menace.
A good eraser can help you create texture, glowing eyes, cracked skin, drifting mist, dirty light, and dramatic contrast without needing complicated materials or advanced techniques. Sometimes the scariest part of a drawing isn’t what you shade in – it’s what you pull back out.
In this guide, you’ll learn how different types of erasers work, how artists use them for horror effects, and how to turn them from simple mistake-fixers into some of the most useful tools in your entire sketchbook arsenal.
If you’re still building your setup, check out my Essential Horror Drawing Tools for Beginners before diving deeper into erasers and effects.
What You’ll Learn:
In this guide, you’ll learn how different erasers can be used to create highlights, atmosphere, texture, and dramatic lighting effects in horror artwork.
- The different types of erasers and what each one is best used for
- How different erasers affect shading, highlights, texture, and contrast
- Why erasers work and how they lift graphite from paper
- Creative ways to use erasers for fog, glowing eyes, cracks, textures, and eerie lighting
- Techniques for controlling highlights, contrast, and atmosphere
- Common eraser mistakes to avoid in horror art
- Practice exercises to improve your eraser control and shading skills
- How to use erasers to make horror artwork feel more dramatic and unsettling
Types of Erasers (And Their Horror Personas)
Fun Fact: Before rubber, people actually used bread as erasers – which sounds practical, until you realise you’re erasing cursed sketches with your lunch roll.
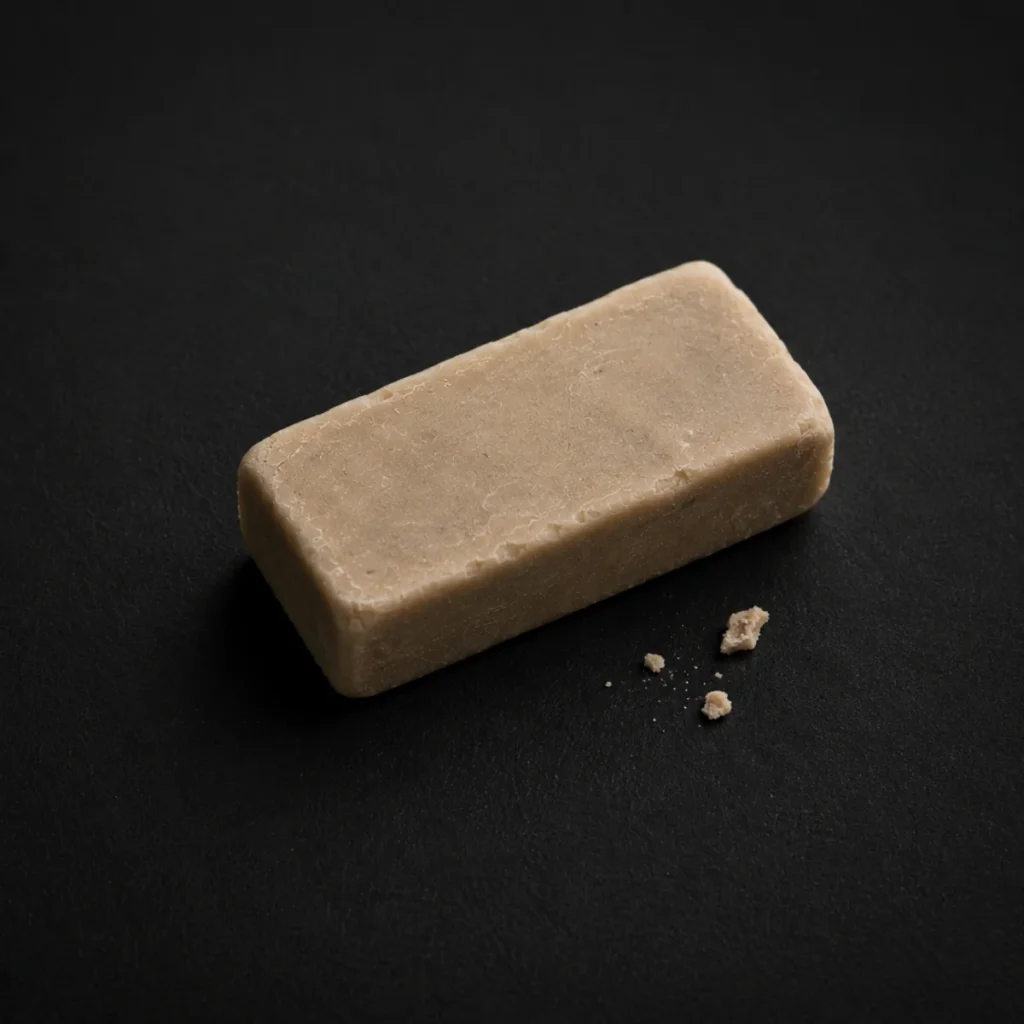
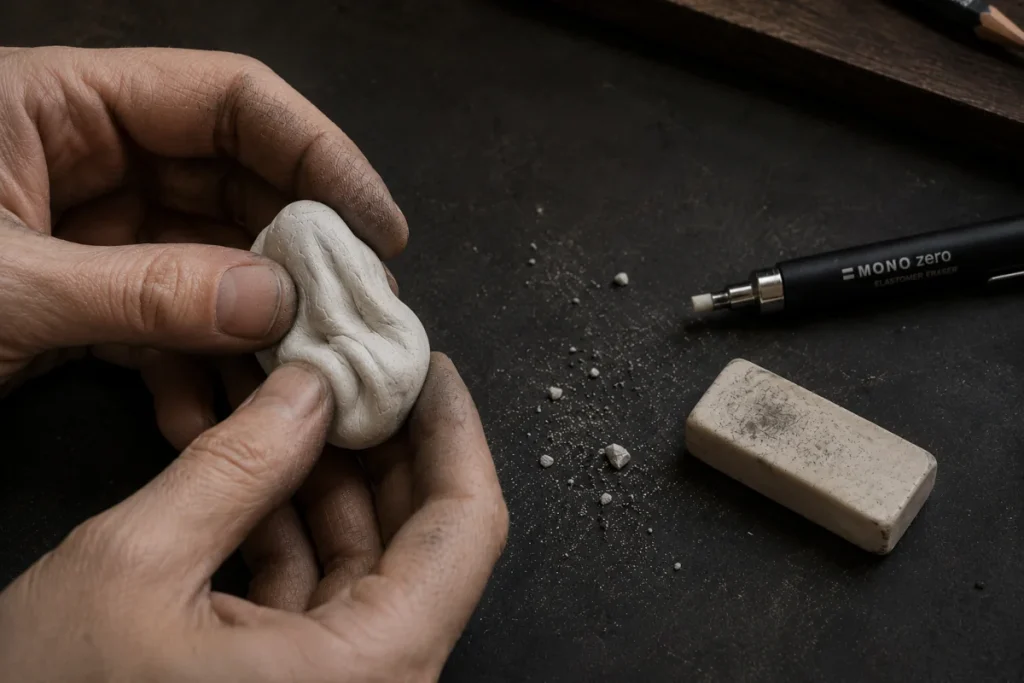
1. Kneaded Erasers – The Shapeshifters
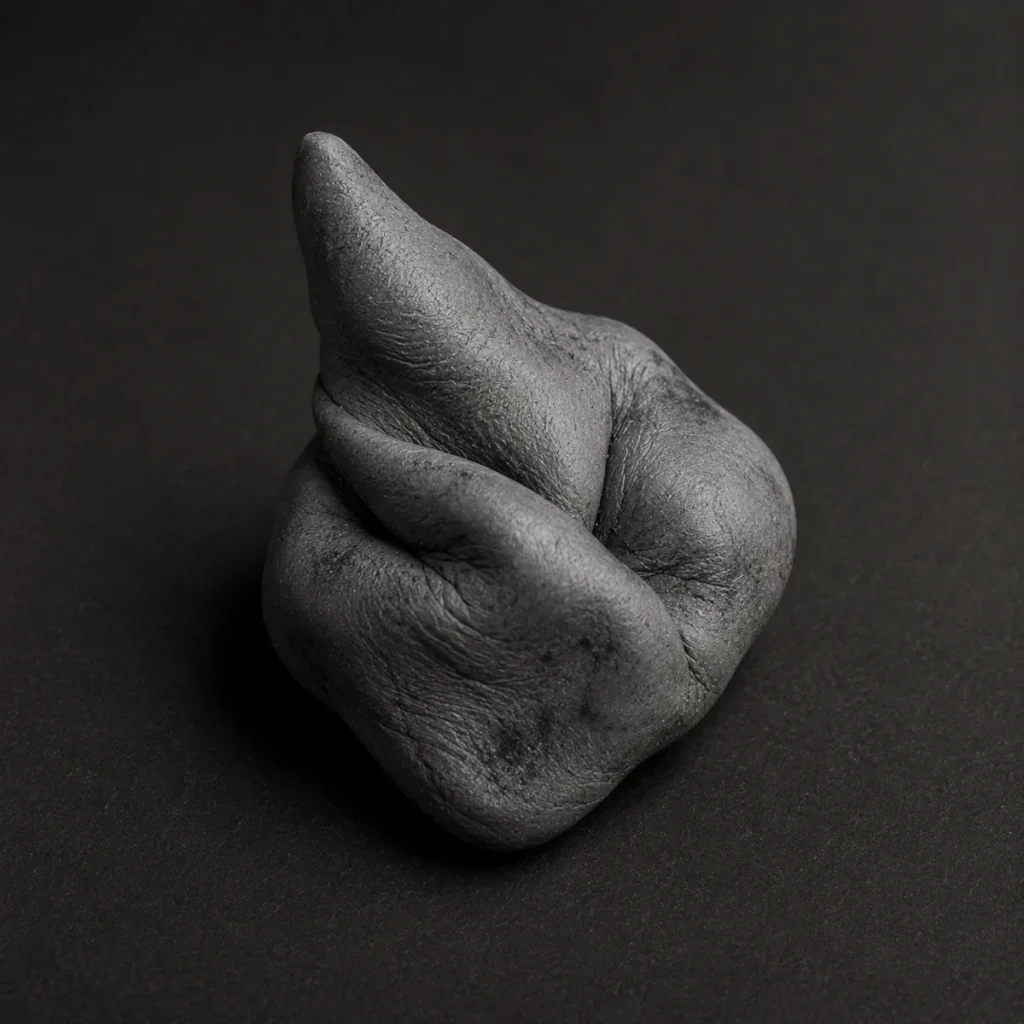
Kneaded erasers are soft, stretchy, and endlessly reshapeable – basically the horror creatures of the art world. Instead of rubbing graphite away aggressively, they gently lift it from the paper, making them perfect for subtle highlights, smoky fog, ghostly lighting, and eerie glowing eyes.
Because you can twist them into sharp points or flatten them into soft pads, they’re incredibly useful for both tiny details and larger atmospheric effects. One minute, they’re carving thin spiderweb highlights, the next, they’re pulling moonlight through a forest path.
Unlike harder erasers, kneaded erasers usually don’t leave messy crumbs behind, which helps keep dark graphite drawings cleaner and smoother. They do absorb graphite quickly though, so you’ll need to stretch and fold them regularly to expose a fresh surface.
If you work with graphite, charcoal, or soft shading techniques, a kneaded eraser quickly becomes one of the most useful tools in your entire horror art kit.
2. Vinyl/Plastic Erasers – The Brutal Executioners
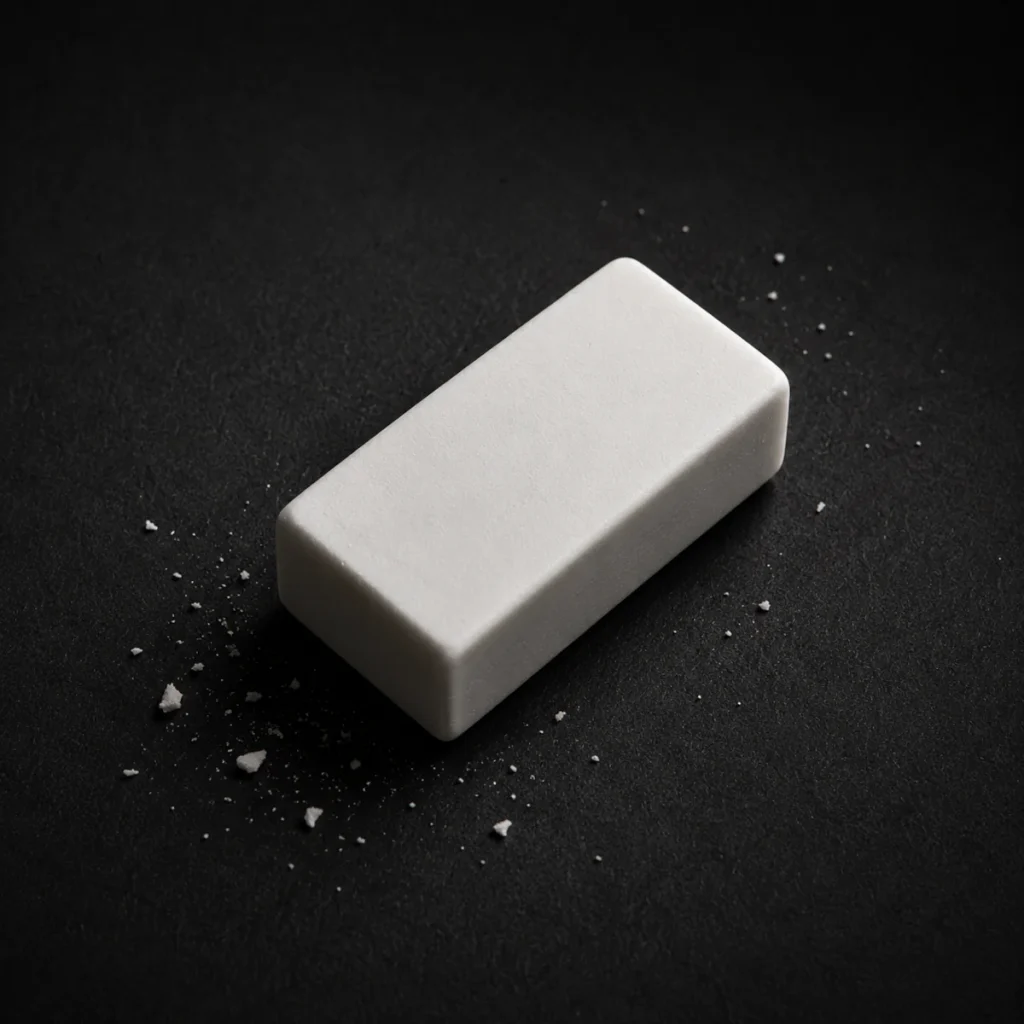
Vinyl erasers are the heavy hitters of the eraser world. They’re firm, powerful, and designed to remove graphite aggressively, making them perfect for bold highlights, sharp edges, and dramatic corrections in dark horror drawings.
If you want a knife blade to gleam, moonlight to slash across a graveyard, or a pair of sinister eyes to burn through the shadows, this is usually the eraser you reach for. They erase cleanly and strongly, which makes them especially useful when working with heavy graphite layers or dense shading.
Because they’re much firmer than kneaded erasers, vinyl erasers can create crisp, bright highlights that really stand out against dark backgrounds. They’re excellent for reflective surfaces, glowing details, sharp textures, and strong contrast effects.
But they do have a bit of a temper. Push too hard and they can damage the paper surface or leave rough patches behind – like your sketchbook has survived a minor exorcism. Gentle pressure usually works best.
Vinyl erasers also leave behind more crumbs than softer erasers, so it’s worth brushing debris away carefully to avoid smudging your artwork.
For horror artists, vinyl erasers work best when you need maximum contrast, dramatic lighting, and highlights sharp enough to feel dangerous.
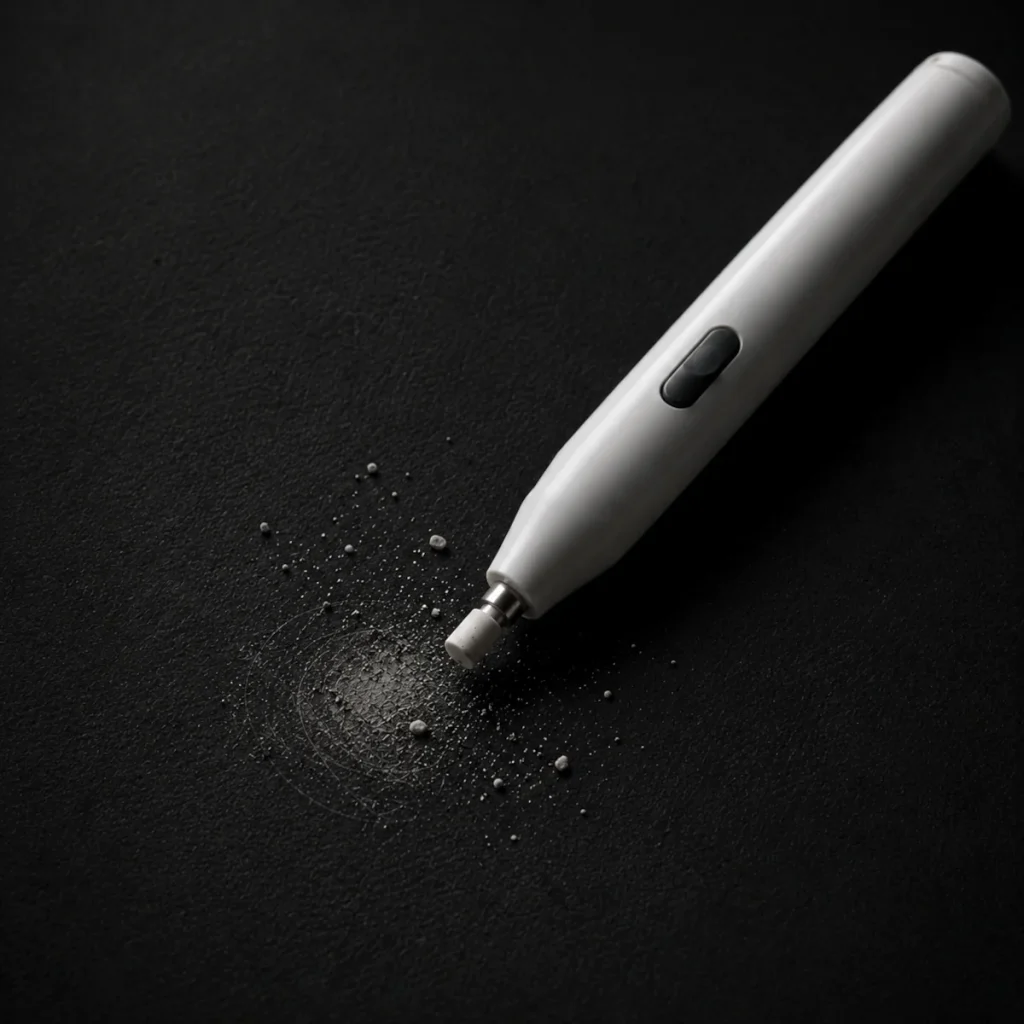
3. Precision Erasers – The Scalpels of Doom
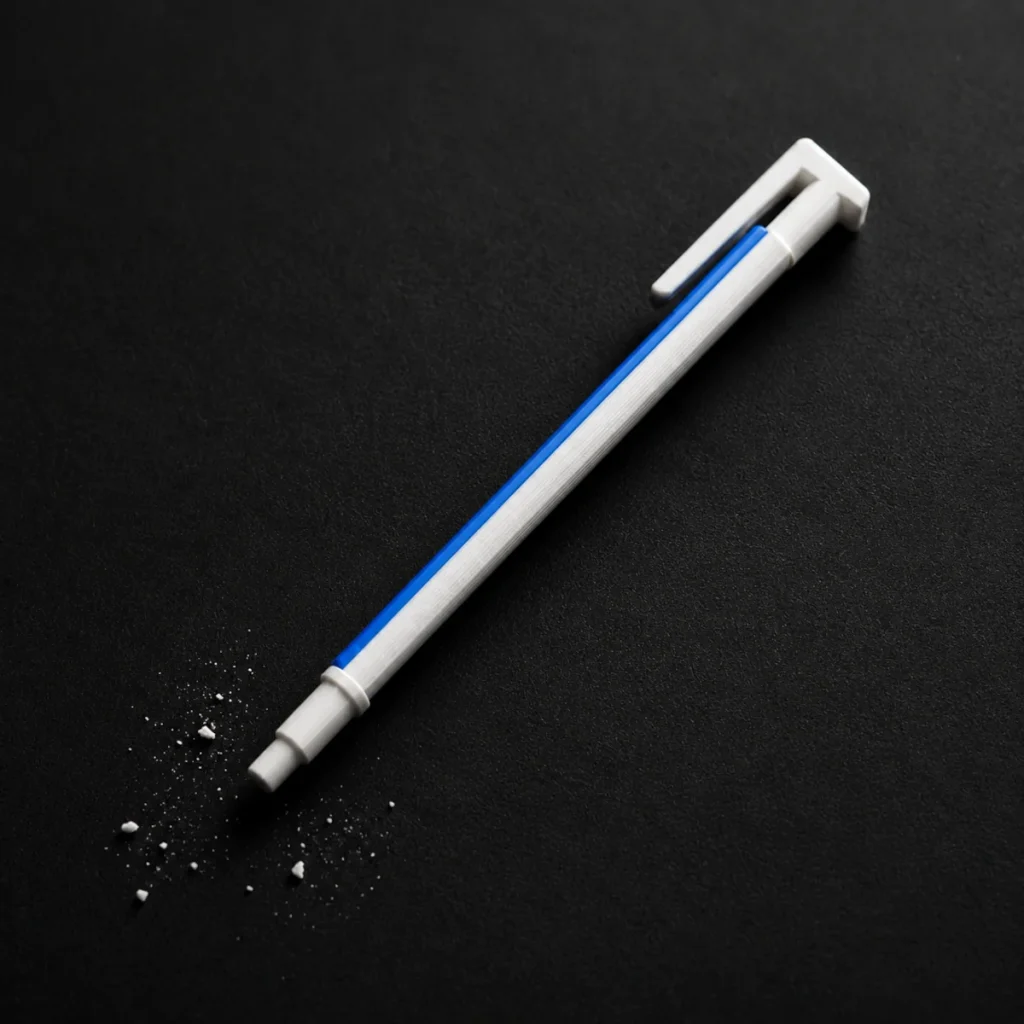
Precision erasers may be small, but they’re absolute lifesavers when your horror drawing needs tiny details and razor-sharp highlights. These erasers usually come in pen-style holders or thin sticks that can be sharpened into incredibly fine points for delicate work.
They’re perfect for erasing individual hairs, tiny cracks, spiderweb threads, scratches, wrinkles, rain streaks, or those little glowing highlights that make a creature suddenly feel alive. When you need control instead of brute force, precision erasers are the tool you reach for.
Because the tips are so fine, they let you carve light directly into dark graphite without disturbing the surrounding shading too much. That makes them excellent for horror art where atmosphere depends on subtle details hiding inside the shadows.
They aren’t designed for large corrections, though. Trying to erase big areas with one can feel like cleaning an entire haunted mansion using a toothbrush. Precision erasers work best for finishing touches, fine textures, and those tiny unsettling details viewers notice a few seconds too late.
To keep them working properly, sharpen or trim the tips regularly. A clean point gives you crisp marks and prevents muddy highlights from ruining your spooky atmosphere.
For horror artists, precision erasers are less like normal erasers and more like tiny light-carving scalpels for your darkest drawings.
4. Gum Erasers – The Crumbly Monsters
Gum erasers are soft, crumbly, and surprisingly gentle on your paper. They break apart easily while you use them, which can feel chaotic at first, but that softness makes them excellent for lifting graphite without damaging delicate shading underneath.
They’re best used for cleaning up large smudges, softening heavy shadows, or lightening broad areas of a drawing that have become too dark and muddy. If your horror scene suddenly looks less “ominous fog” and more “someone spilt chimney soot everywhere,” gum erasers can help rescue it.
Unlike precision or vinyl erasers, gum erasers aren’t built for razor-sharp details. They struggle with tiny highlights and crisp lines, but they shine when you need subtle corrections and softer transitions across larger areas.
As they wear down, they crumble into little flakes instead of dragging graphite across the page. That helps reduce smearing and makes them useful when working with atmospheric shading, smoky backgrounds, or misty horror scenes.
They do leave a mess behind, though. After a long drawing session, your desk may look like an eraser exploded during a séance. Keeping a soft brush nearby helps clear away the crumbs without smudging your artwork.
For horror artists, gum erasers are less about sharp precision and more about controlling mood, atmosphere, and balance when the darkness starts taking over your sketch.
5. Electric Erasers – The Chainsaws
Electric erasers are the chaotic speed demons of the art world. These buzzing little tools spin rapidly to erase graphite with incredible power and precision, making them perfect for creating sharp, dramatic highlights in dark horror drawings.
They’re especially useful when you want intense lighting effects like glowing candle flames, lightning flashes, moonlit reflections, or the eerie shine in a monster’s eye. Because they erase so aggressively, they can carve bright light straight through heavy graphite in seconds.
Unlike softer erasers that gently lift graphite away, electric erasers attack the paper head-on. That makes them brilliant for high-contrast horror art where bold lighting helps create tension and atmosphere.
Many artists also use them to add textures like rain, scratches, distressed surfaces, or glowing mist effects. A quick touch can instantly create marks that would take far longer using a normal eraser by hand.
They do take practice, though. Press too hard and you can chew through the paper faster than a possessed lawnmower. Light pressure and careful control are the key to keeping your highlights clean instead of accidentally excavating your sketchbook.
Electric erasers are also louder than most art tools, which somehow makes them feel even more dramatic. Using one late at night can sound less like peaceful drawing time and more like you’re operating cursed construction equipment in your room.
For horror artists, electric erasers are less about gentle corrections and more about explosive lighting, aggressive contrast, and carving brilliant light out of suffocating darkness.
The Science Behind Erasers (Why They Work)

Erasers don’t actually “erase” graphite from the page in the way most people imagine. Instead, they work by lifting graphite particles away from the paper surface through friction, softness, stickiness, or abrasion depending on the type of eraser you’re using.
Different erasers remove graphite in different ways, which is why some are better for soft shading while others are better for sharp highlights and precise corrections.
- Kneaded Erasers are soft and sticky, so they lift graphite gently without damaging the paper surface. This makes them perfect for soft highlights, fog, smoke, and subtle lighting effects.
- Vinyl Erasers are firmer and more abrasive, meaning they scrape graphite cleanly from the fibres of the paper. They’re ideal for strong highlights, sharp edges, and large corrections.
- Gum Erasers break apart as you use them, helping them absorb graphite and reduce smudging. They work best for lightening large shaded areas and softening heavy graphite.
- Electric Erasers spin rapidly to remove graphite through high-speed friction. They create bright, dramatic highlights and are especially useful for detailed lighting effects in horror art.
Understanding how each eraser works helps you choose the right tool for the exact effect you want. Soft atmosphere? Use a kneaded eraser. Crisp glowing highlights? Vinyl or electric erasers will give you far more control.
Also, yes, technically this means your eraser is ripping graphite particles off the page and trapping them inside itself like some kind of tiny rubber parasite. Which is either fascinating science or the beginning of a very low-budget horror movie.
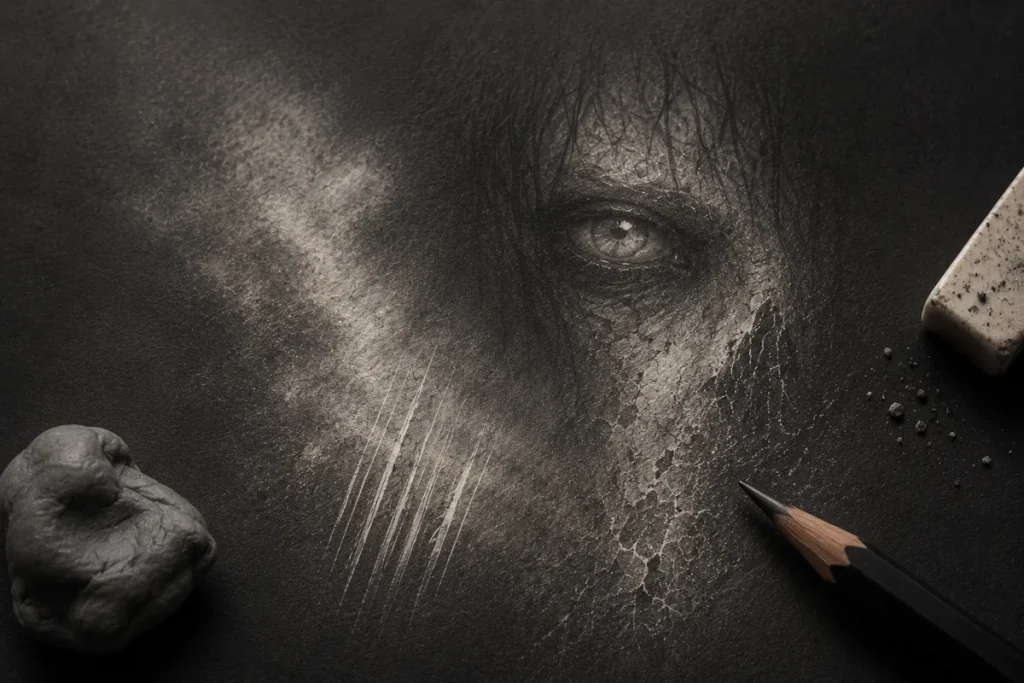
Creative Uses in Horror Art
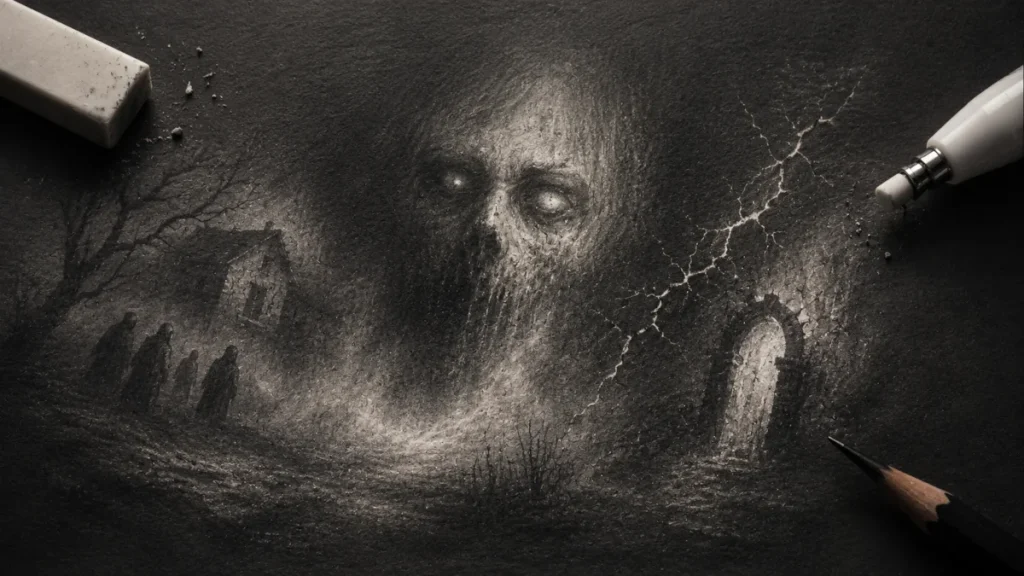
Erasers aren’t just for fixing mistakes – they can actually draw with light. By removing graphite in the right places, you can make parts of your artwork glow, fade, or emerge from the shadows.
Here’s how:
- Add Eerie Highlights:
Gently lift graphite to create glowing eyes, misty shapes, or the faint shimmer of a knife blade in the dark. This turns flat shading into something that feels alive, as though the light itself is trying to escape the drawing. - Carve Textures:
Use erasers to scratch out cracks in old stone, rough wood grain, or peeling surfaces on horror creatures. Instead of drawing every texture with pencil, you can “carve” details by erasing into the graphite, which creates a more natural, weathered look. - Simulate Fading:
Lightly dab with a kneaded eraser to make parts of your drawing look ghostly, worn, or half-erased by time itself. This works especially well for old portraits, haunted walls, and figures disappearing into mist or darkness. - Push Contrast:
Use sharp erasers, such as vinyl or precision erasers, to create bright highlights against deep shadows. Strong contrast makes dark areas feel heavier and more dramatic – like a candle flame flickering inside a pitch-black room.
Techniques & Tips
Erasers can do far more than fix mistakes – it’s all about how you use them. Here are some simple techniques to help you get the most out of your erasers in horror art:
- Pressure is Everything:
A light tap with a kneaded eraser creates soft, glowing highlights, while a firm press with a vinyl eraser cuts out sharp, dramatic light. Different pressure creates completely different moods – soft pressure feels ghostly and atmospheric, while heavier pressure creates harsher contrast and stronger detail. - Twist and Shape:
Kneaded erasers can be pinched, stretched, or twisted into almost any shape. Form a fine point for tiny highlights like eye glints or hair strands, or flatten it for broad misty lighting effects. You’re essentially sculpting the tool before it even touches the paper. - Keep it Clean:
Dirty erasers smear graphite instead of lifting it. Stretch kneaded erasers to expose a fresh surface, wipe gum erasers on scrap paper, and trim vinyl erasers if the edges become dull. Clean erasers create cleaner, brighter highlights. - Work with Layers:
Don’t erase everything at once. Shade, lift graphite gradually, then build more shading over the top. This layered process creates richer shadows, smoother transitions, and more convincing texture. Horror art often looks best when the light feels buried inside the darkness rather than sitting on top of it.
Eraser Maintenance (Yes, Really)
Erasers need care just like pencils and brushes. Ignore them, and they’ll stop lifting graphite properly, smear your shading, or leave dull marks across your drawing. Keeping them clean helps you create sharper highlights and smoother textures.
- Kneaded Erasers:
Stretch, fold, and knead them regularly to expose a clean surface. Once they become overloaded with graphite, they’ll stop lifting effectively and start muddying your highlights. - Vinyl Erasers:
Trim dirty edges with a craft knife so you always have a clean, sharp corner ready for bright highlights and precise details. - Precision Erasers:
Sharpen the tips carefully with sandpaper or a knife to keep fine points for tiny cracks, hair strands, and sharp textures. - Electric Erasers:
Keep spare refills nearby because they wear down surprisingly quickly during detailed work.
Clean erasers create cleaner light. A fresh edge or clean surface gives you brighter highlights, sharper contrast, and more control over fine horror details. Besides, nothing kills the mood faster than carefully drawing a glowing ghost for two hours, only for a filthy eraser to drag a giant grey skid mark straight through its forehead.
When Not to Use Erasers
Sometimes erasing kills the atmosphere.
In horror art, rough marks, soft smudges, and accidental textures can make a drawing feel more natural and unsettling. Not every mistake needs to disappear.
Here’s when to resist the urge to erase:
- Atmospheric Smudges:
A random graphite smudge can sometimes look like mist, smoke, deep shadow, or a figure hiding in the background. Before wiping it away, step back and see whether the accident actually improves the mood. Some of the creepiest details happen by mistake. - Textured Roughness:
Over-erasing can make horror drawings feel too smooth and polished. Horror art often works better with rough textures, scratchy shading, and imperfect surfaces because they create a grittier, more uneasy atmosphere. - Fragile Paper:
Thin or low-quality paper can only handle so much erasing before it starts tearing, pilling, or looking damaged. Go gently and build highlights gradually – unless your artistic goal is accidentally punching a portal through your sketchbook.
Sometimes the strongest horror art comes from controlled chaos. A strange smudge, rough texture, or imperfect shadow can make a drawing feel far more alive than something perfectly clean.
Common Mistakes to Avoid
- Over-Erasing:
Too much scrubbing can damage your paper, flatten your shading, and leave ugly rough patches behind. Build highlights gradually instead of attacking the page like you’re trying to remove cursed evidence from a crime scene. - Using the Wrong Eraser:
Gum erasers are great for soft lifting and large areas, but terrible for tiny details. Trying to erase fine wrinkles with one is like using a shovel to perform surgery. - Relying on Erasers Too Much:
Erasers are tools, not magic undo buttons. Strong horror art comes from confident shading, texture, and atmosphere – not endlessly polishing every mark. Sometimes the accidental imperfections look creepier than the thing you originally planned.
Practice Challenges
Want to master your eraser skills? Try these simple horror art exercises. They’re beginner-friendly but can easily be pushed further as your shading and lighting improve.
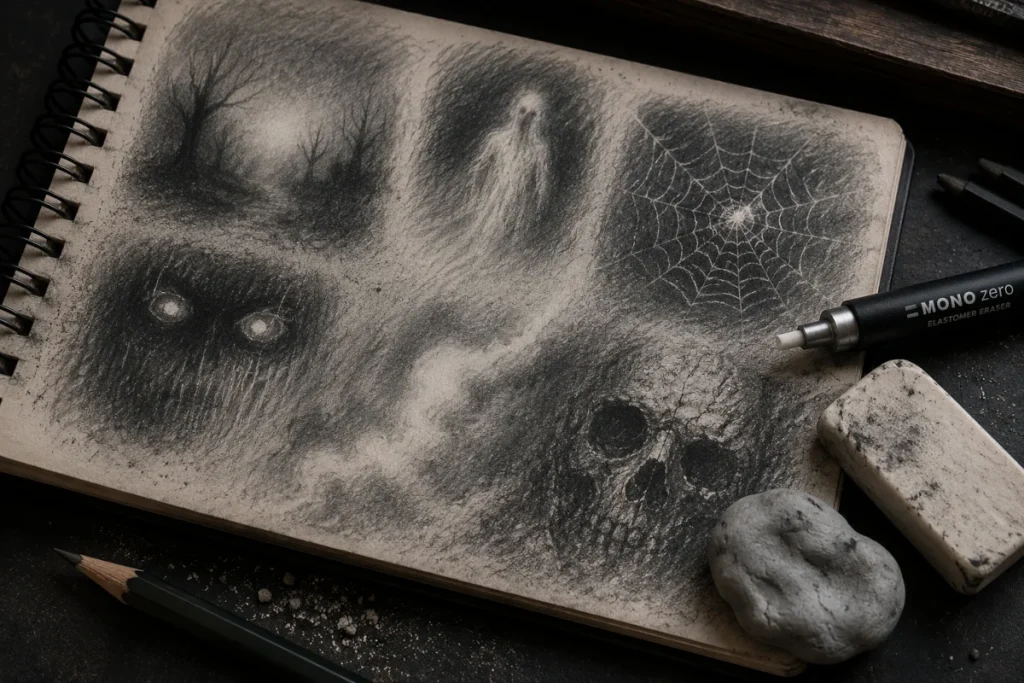
1. Ghost Eyes
- Shade a simple face shape or even just a dark oval in graphite.
- Darken the entire area, then use your eraser to lift out two glowing eyes.
- Experiment with eye shapes: round eyes feel eerie and doll-like, while narrow eyes instantly look more threatening.
2. Cracked Skull
- Draw a simple skull shape (or even a rough circle if you’re practising).
- Shade it heavily, then use a precision eraser to scratch thin fracture lines into the graphite.
- Add highlights around the cracks to make the surface feel sharper and more bone-like.
3. Fog Experiment
- Cover an area in medium-dark graphite.
- Use a kneaded eraser to “paint” fog by lifting soft trails, beams of light, or misty shapes from the darkness.
- Leave vague empty spaces in the fog where a hidden figure might be standing. Your brain will do the rest. Unfortunately.
4. Spiderwebs
- Shade a dark corner or background area.
- Use a sharp eraser to scratch thin web lines across the graphite.
- Add tiny highlights where the web catches the light.
Optional horror upgrade: add a lurking spider in the middle. Extra points if it looks emotionally prepared to pay rent but physically incapable of doing so.
5. Reverse Drawing
- Cover the page in dark graphite instead of starting with pencil outlines.
- Use only erasers to reveal the image, pulling shapes and highlights out of the darkness.
- Focus on light instead of lines: ghostly trees, faces, hands, or misty figures work especially well with this technique.
This exercise completely changes the way you think about drawing. Instead of adding darkness, you’re carving light out of shadow.
Final Thoughts
Erasers aren’t just tools for fixing mistakes. In horror art, they help create atmosphere, texture, lighting, and contrast that pencils alone can’t always achieve. A good eraser can turn a flat drawing into something that feels glowing, worn, ghostly, or disturbingly alive.
Whether you’re lifting soft fog with a kneaded eraser, carving sharp cracks with a precision eraser, or pulling glowing eyes out of heavy graphite, learning how to control highlights is what gives horror artwork its eerie depth, atmosphere and mood.
So next time you pick up an eraser, don’t think of it as the thing that cleans up mistakes.
Think of it as the tool that teaches darkness how to breathe.
What You Learned:
- Kneaded erasers are soft and flexible, making them perfect for lifting subtle highlights, soft fog, glowing eyes, and smooth atmospheric effects.
- Vinyl erasers create strong, sharp highlights and are best for bold corrections, bright contrast, and carving crisp light into dark shading.
- Precision erasers help erase tiny details like cracks, strands of hair, spiderwebs, and fine textures in horror artwork.
- Gum erasers work well for soft clean-up and lightening larger shaded areas without creating harsh edges.
- Electric erasers remove graphite quickly and are useful for creating bright highlights and dramatic contrast in horror artwork.
- Erasers don’t actually “remove” graphite completely – they lift graphite particles from the surface of the paper using friction or tackiness.
- You can use erasers creatively to draw with light instead of darkness, helping create mist, glowing effects, texture, cracks, and eerie contrast.
- Different eraser techniques, such as dabbing, twisting, shaping, and layering, change the mood and texture of your artwork.
- Keeping erasers clean helps prevent smudging and keeps highlights looking sharp and controlled.
- Over-erasing can damage paper and flatten textures, so sometimes leaving rough marks or imperfections creates a stronger horror atmosphere.
- Learning how to control highlights and shadows with erasers can make horror artwork feel more dramatic, unsettling, and realistic.
Explore More Horror Art Tools
Keep building your horror art toolkit with more guides from the Horror Art Tools and Materials series:
- Best Sketchbooks and Paper Types for Horror Art (Complete Guide)
The surface you draw on changes everything. The right paper helps you create smoother shading, sharper highlights, and stronger contrast in your horror artwork. - Blending Tools for Graphite and Charcoal: A Horror Artist’s Guide
Blending tools help soften shadows, build atmosphere, and create foggy, ghost-like effects that feel far more unsettling than harsh outlines alone. - Specialised Markers for Drawing
When graphite alone isn’t enough, markers can add bold contrast, deep shadows, and dramatic lighting effects to your horror artwork.