How to Use Erasers in Horror Art (Types, Techniques and Effects)
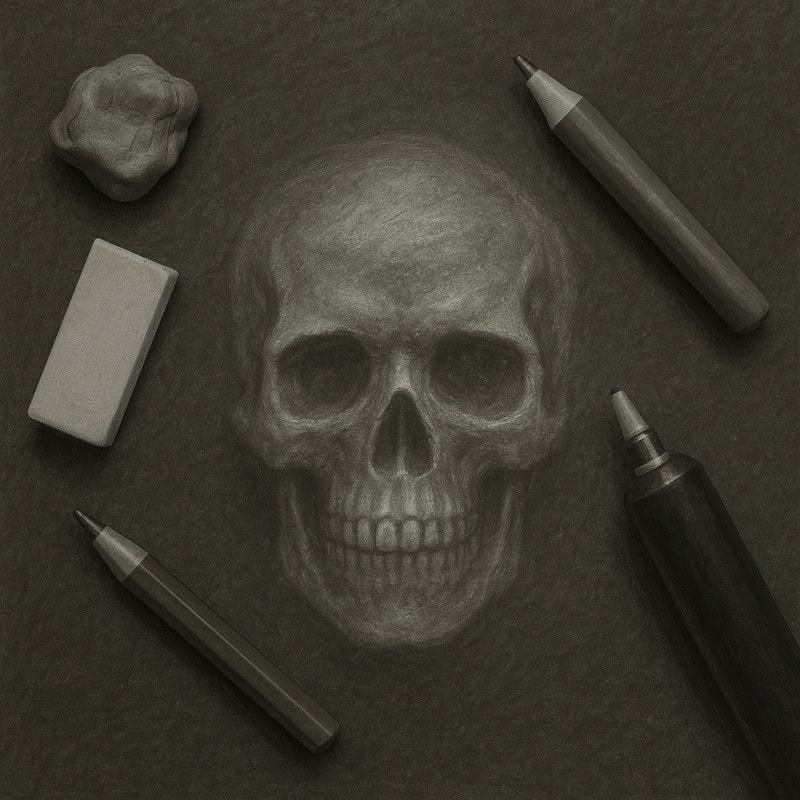
If pencils build the nightmare, erasers add the moonlight.
When most people think of erasers, they imagine them as guilt-ridden panic buttons for mistakes. You know – like when your pencil line takes a drunken detour across your paper, and you mutter, “That’s fine, we’ll just pretend that’s a shadow.”
But in horror art? Erasers are so much more. They’re scalpels, chisels, and ghost-summoning tools that help you carve light into darkness and bring your cursed creations to life.
So, let’s dig into these underestimated monsters of your art kit and see how you can use them to terrify, delight, and occasionally rescue a drawing from utter doom.
If you’re just starting out and want a full breakdown of what you actually need in your kit, check out my Introductory Guide to Horror Drawing Tools for Beginners before diving deeper into erasers.
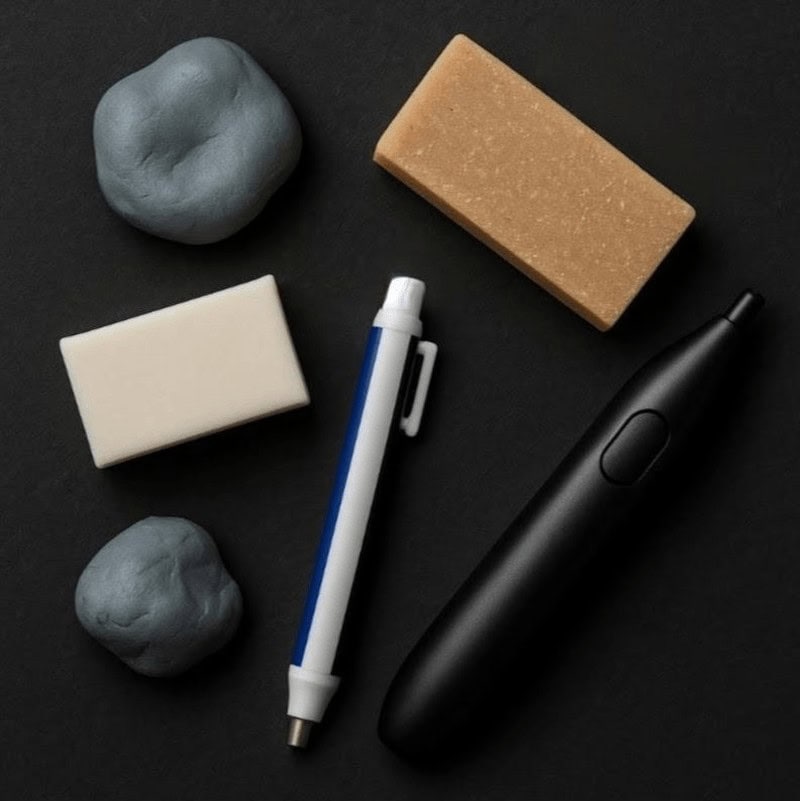
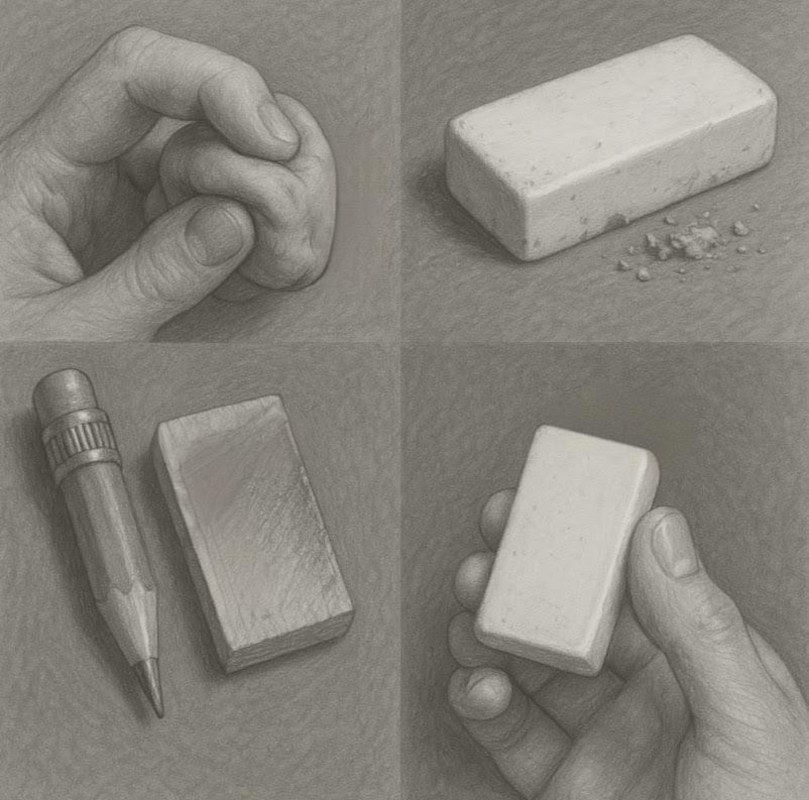
Types of Erasers (and Their Horror Personas)
Fun Fact: Before rubber, people actually used bread as erasers – which sounds practical, until you realise you’re erasing cursed sketches with your lunch roll.
1. Kneaded Erasers – The Shapeshifters
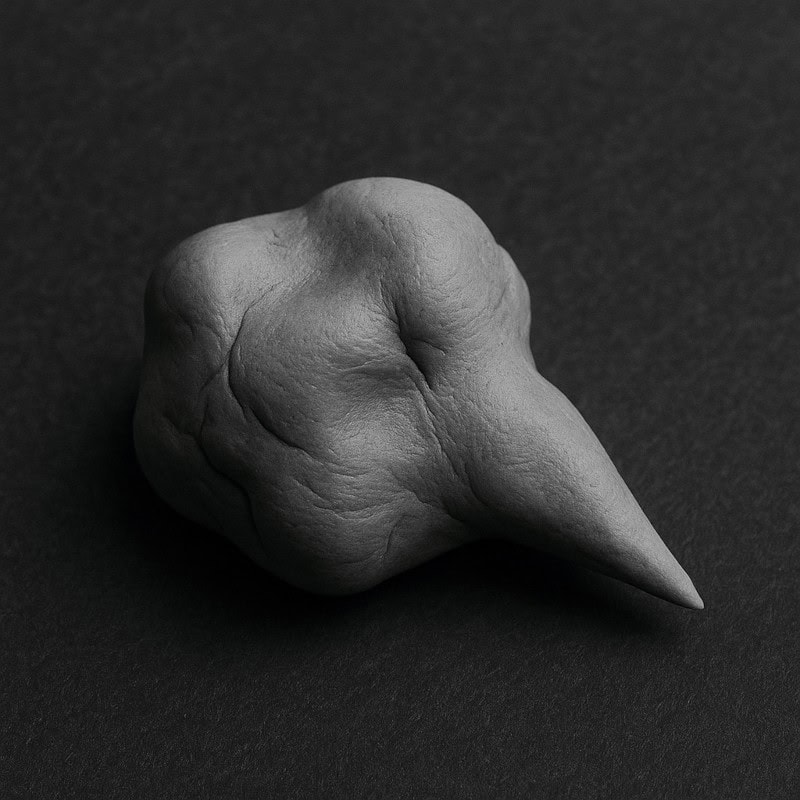
Kneaded erasers are soft, squishy, and bendy – like creepy little stress balls that actually help your art. You can press them gently to lift soft highlights (perfect for glowing eyes or eerie fog) or twist them into a point to erase tiny details like spiderwebs.
They don’t leave crumbs behind, which makes them one of the cleanest erasers to use. But they do get dirty fast, so stretch and fold them to reveal a fresh surface. Think of them as the shape-shifting familiars of your toolkit – always changing form to match the spooky effect you need.
2. Vinyl/Plastic Erasers – The Brutal Executioners
Vinyl erasers don’t mess around. They’re strong, sharp, and perfect for when you need to wipe out mistakes completely or carve bold streaks of light into a dark drawing. Want the blade of a knife to shine or a pair of sinister eyes to really glow? This is the eraser you grab.
Be careful, though – push too hard and you’ll scrape your paper like claws on a coffin. Vinyl erasers are powerful, so save them for dramatic highlights and big corrections.
3. Precision Erasers – The Scalpels of Doom
Precision erasers are tiny but mighty. They come in pen-style cases or skinny sticks that you can sharpen to a fine point. They’re perfect for erasing little details: individual hairs, thin cracks, or spiderweb threads.
They don’t cover big areas, but they shine when it comes to those small, chilling touches that make your creatures look alive. Keep the tips sharp, and you’ll always have a tool ready to carve razor-thin light into the shadows.
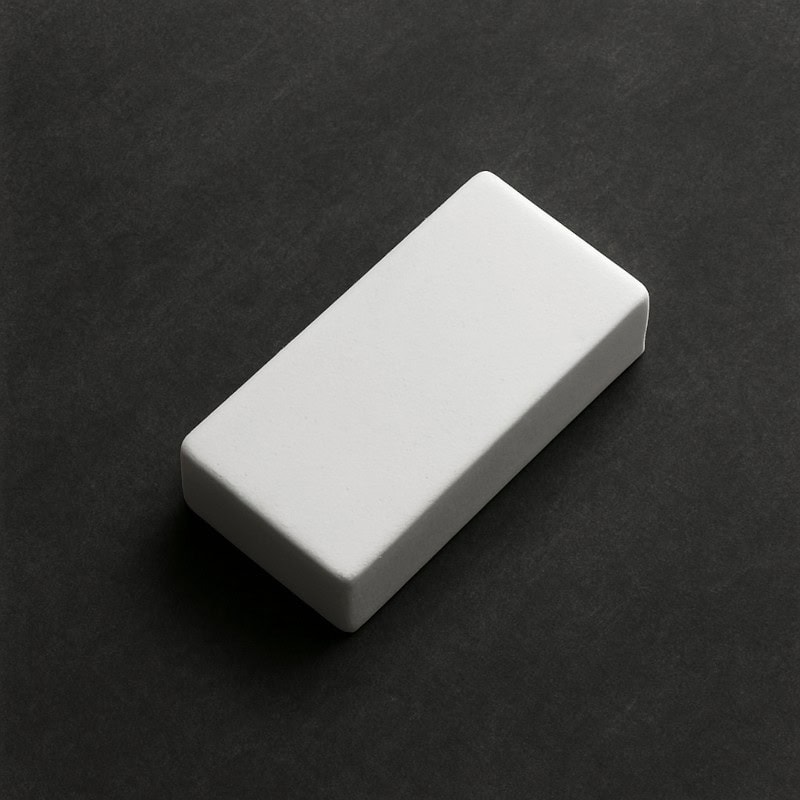
4. Gum Erasers – The Crumbly Monsters
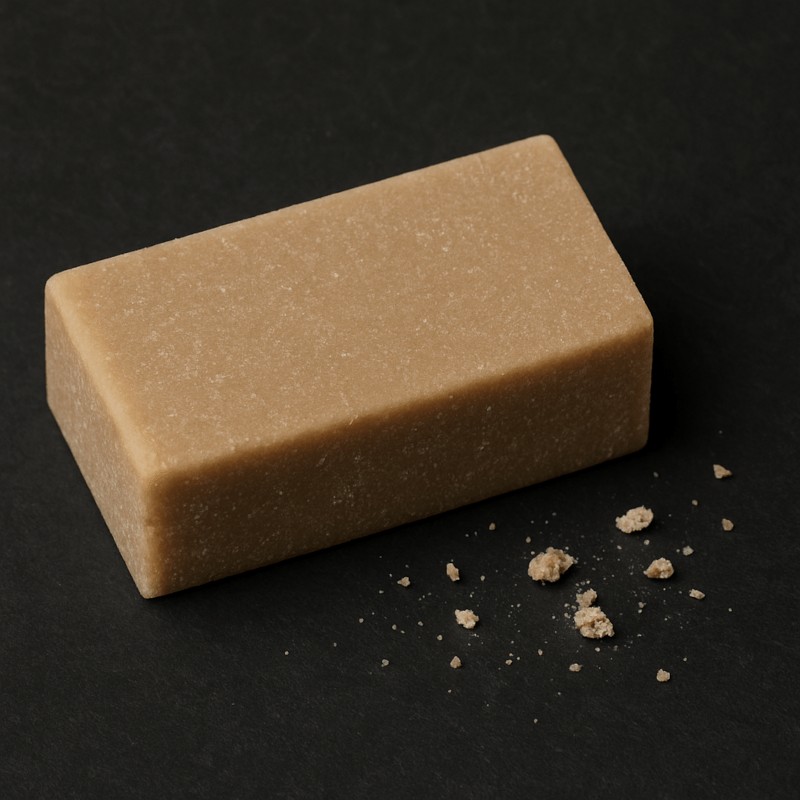
Gum erasers are soft and fall apart easily – think of them as shortbread biscuits that happen to erase. They’re not great for fine details, but they’re handy for cleaning up big smudges or lighting large sections of a drawing.
They leave a mess behind, so expect your desk to look like an eraser graveyard afterwards. Still, when your drawing gets too dark and heavy, gum erasers are the friendly monsters that help pull it back under control.
5. Electric Erasers – The Chainsaws
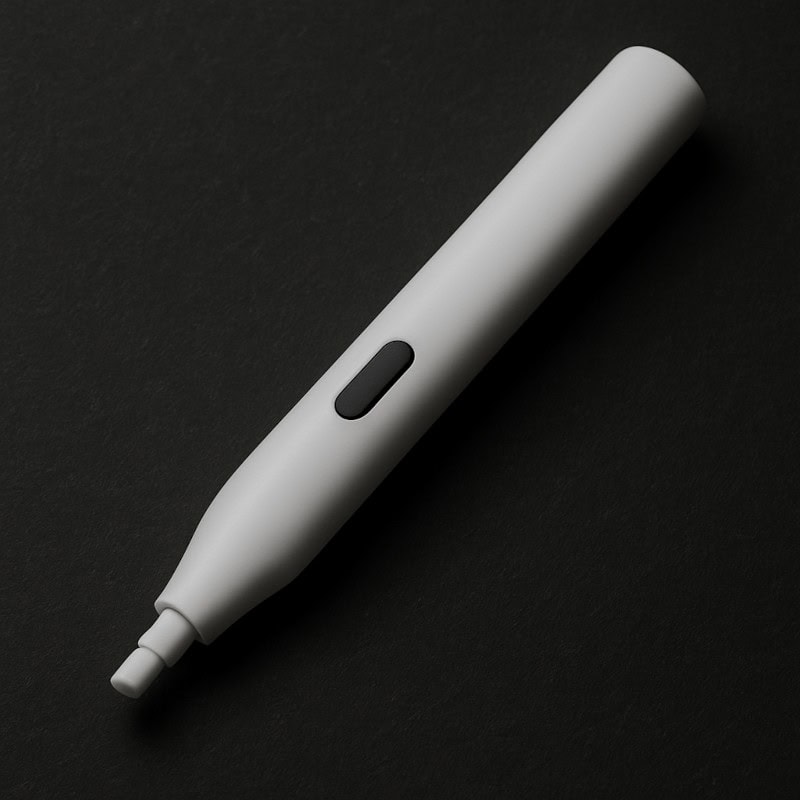
Electric erasers are the wild ones. They spin at high speed like tiny buzzing chainsaws and can cut through graphite in seconds. They’re amazing for dramatic effects – glowing candlelight, lightning flashes, or the sharp glint in a horror creature’s eye.
They’re not exactly subtle, though. Press too hard and you risk chewing up your paper. And maybe avoid using them in the middle of the night unless you want to explain to your neighbours why you’re revving up power tools in the dark.
The Science Behind Erasers (Why They Work)
Here’s the fun bit: erasers don’t actually “erase” anything. They lift graphite (or charcoal, carbon, etc.) from your paper by clinging to the particles.
- Kneaded Erasers work because they’re sticky. They pull graphite off the surface instead of scraping it away. Think of them as clingy ghosts that never let go.
- Vinyl Erasers are firm, so they scrape pigment clean off the fibres of your paper – almost like carving a fresh scar.
- Gum Erasers crumble as they work, creating little eraser corpses that trap the graphite inside.
- Electric Erasers use friction at high speed, grinding off material faster (like a tiny, buzzing poltergeist with a grudge).
Knowing this helps you choose the right eraser for the job. Want soft, atmospheric lifting? Go kneaded. Want surgical precision? Vinyl or electric.
Creative Uses in Horror Art
Erasers aren’t just for fixing mistakes – they can actually draw with light. By removing graphite in the right places, you can make parts of your artwork glow, fade, or pop out of the shadows.
Here’s how:
- Add eerie highlights: Gently lift graphite to create glowing eyes, misty shapes, or the faint shimmer of a knife blade in the dark. This turns flat shading into something that feels alive, like the light itself is crawling out of your drawing.
- Carve textures: Use erasers to scratch out cracks in old stone, the rough surface of decayed wood, or even peeling skin on a horror creature. Instead of drawing every line with your pencil, you “carve” it by erasing, which gives your textures a more natural, worn look.
- Simulate fading: Lightly dab with a kneaded eraser to make parts of your drawing look ghostly, worn, or half-erased by time itself. This is especially spooky for old portraits, haunted walls, or figures that are meant to look as though they’re fading into the mist.
- Push contrast: Use sharp erasers (such as vinyl or precision) to create bright highlights against dark shading. The sudden brightness makes shadows look even deeper and scarier, as if something is waiting inside them. Think glowing candle flames in a pitch-black room – small but powerful.
Techniques & Tips

Erasers can do way more than fix mistakes – it’s all about how you use them. Here are some simple tricks to get the most out of your erasers in horror art:
- Pressure is everything: A light tap with a kneaded eraser can create soft, glowing highlights, while a firm press with a vinyl eraser will cut out sharp, dramatic light. Play around with pressure to see how it changes the mood – gentle = ghostly, heavy = bold and brutal.
- Twist and shape: Kneaded erasers can be pinched or twisted into any shape. Make a fine point for tiny details (like glints in eyes or thin cracks) or flatten it for big, misty highlights. Think of it like sculpting your eraser before it touches the page.
- Keep it clean: Dirty erasers don’t erase – they smear. Wipe them on scrap paper, stretch kneaded erasers, or trim vinyl ones with a craft knife to keep fresh edges. Clean erasers = crisp highlights.
- Work with layers: Don’t erase everything at once. Shade, erase a little, then shade again over the top. This push-pull builds depth and texture, making your shadows richer and your highlights more unnerving. It’s layering light and dark like you’re building a haunted atmosphere.
Eraser Maintenance (Yes, Really)
Erasers need as much care as pencils and brushes. Ignore them, and they’ll betray you mid-drawing.
- Kneaded Erasers: Stretch, fold, and squish them often to expose clean surfaces. If they get too dark and gummy, it’s time to send them to the underworld (aka the bin).
- Vinyl Erasers: Trim dirty edges with a craft knife so you’ve always got a clean, sharp corner ready.
- Precision Erasers: Sharpen the tips with sandpaper or a knife for extra detail power.
- Electric Erasers: Keep spare refills handy – they wear down faster than you think.
Treat your erasers like the creepy pets they are, and they’ll serve you well. Kneaded erasers in particular are like clingy cats – they demand constant stretching and attention, but in return, they’ll sit smugly on your page and make your shadows behave.
When Not to Use Erasers
Sometimes erasing kills the magic.
Here’s when to resist temptation:
- Atmospheric Smudges: That random smudge might actually look like mist, shadow, or a spirit lurking. Don’t erase the ghost you accidentally summoned.
- Textured Roughness: Over-erasing smooths everything out, but horror thrives on grit and imperfection.
- Fragile Paper: Some papers can’t handle aggressive erasing. Unless your goal is to create an accidental window through your sketchbook, go gently.
Sometimes the best horror art comes from letting chaos play a role.
Common Mistakes to Avoid
- Over-erasing: Too much scrubbing can damage your paper – unless your goal is to make your art look like it survived a fire.
- Using the wrong eraser: Gum erasers for fine wrinkles? Forget it. That’s like using a sledgehammer to trim your fringe.
- Relying on erasers too much: They’re tools, not magic undo buttons. The best horror art comes from embracing imperfection (sometimes those “mistakes” are creepier than what you planned).
Practice Challenges

Want to master your eraser sorcery? Try these spooky little exercises. They’re simple enough for beginners but can also be pushed further if you’re more experienced:
- Ghost Eyes:
- Shade a simple face shape or even just an oval in graphite.
- Darken it all over, then use your eraser to lift out two glowing eyes.
- Try different shapes: wide and round for a creepy doll, or thin and sharp for something more sinister.
- Cracked Skull:
- Draw a basic skull (or a circle if you’re new to skulls – keep it simple).
- Shade it dark, then use a precision eraser to scratch out thin fracture lines.
- Add highlights on the edges of the cracks to make them look sharp and bone-like.
- Fog Experiment:
- Cover a whole page in medium-dark graphite.
- Use a kneaded eraser to “paint” misty trails, swirls, or beams of light cutting through the darkness.
- For extra creepiness, shape the fog around where a hidden figure might be standing.
- Spiderwebs:
- Shade a dark corner or background patch.
- Use a sharp eraser to scratch out thin, criss-crossing lines, creating webs that catch the light.
- Bonus points if you add a lurking spider in the middle (with glowing eyes, of course).
- Reverse Drawing:
- Instead of drawing your subject with a pencil, cover the whole page in dark graphite.
- Now, use only erasers to pull your subject out of the shadows – maybe a ghostly tree, a looming figure, or a creepy hand reaching forward.
- This flips the way you think about drawing: instead of adding darkness, you’re carving out light.
Final Thoughts
Erasers aren’t the shameful “oops” buttons of your pencil case. They’re resurrection tools, light-carving blades, and sometimes the heroes that save a drawing from the abyss.
In horror art, they’re what let you turn shadows into something alive, glowing, or unnervingly real. So next time you pick up an eraser, don’t just think of it as cleaning up your mistakes – think of it as whispering:
“Arise, my child,” to the ghostly highlight you’re about to summon.“
What You Learned:
- Different erasers have different “horror personas”: kneaded erasers shape-shift for soft highlights, vinyl erasers wipe out heavy errors, precision erasers carve razor-thin light, gum erasers clean gently, and electric erasers unleash tiny buzzing chaos.
- Erasers don’t actually erase – they lift graphite and charcoal in different ways, which is why each type behaves so differently.
- You can use erasers creatively to add glowing highlights, carve cracks, create misty fog, and pull eerie figures out of the shadows.
- Pressure and technique matter: Light taps = soft glow. Firm pressure = bold cuts of light. Sharp tips = precise details.
- Proper eraser maintenance keeps your tools sharp, clean, and ready for anything your horror drawings demand.
- Sometimes it’s better not to erase – smudges, textures, and imperfections can create atmosphere or mood you didn’t expect.
- Mastering erasers means drawing with light, not just correcting mistakes – and that’s how you create truly unsettling artwork.
Explore More Horror Art Tools
Keep your toolkit growing with more guides from the Horror Art Tools and Materials series:
- Sketchbooks & Paper
The very stage your horrors perform on. Choose wisely, or your masterpiece may look more “meh” than macabre. - Blending Tools
From ghostly fog to shadowy whispers, blending tools help you blur reality into something unsettling. - Specialised Markers
When smooth shading won’t cut it, markers bring cursed colour and despair-drenched backgrounds to life.