Pencil Sharpeners for Horror Artists
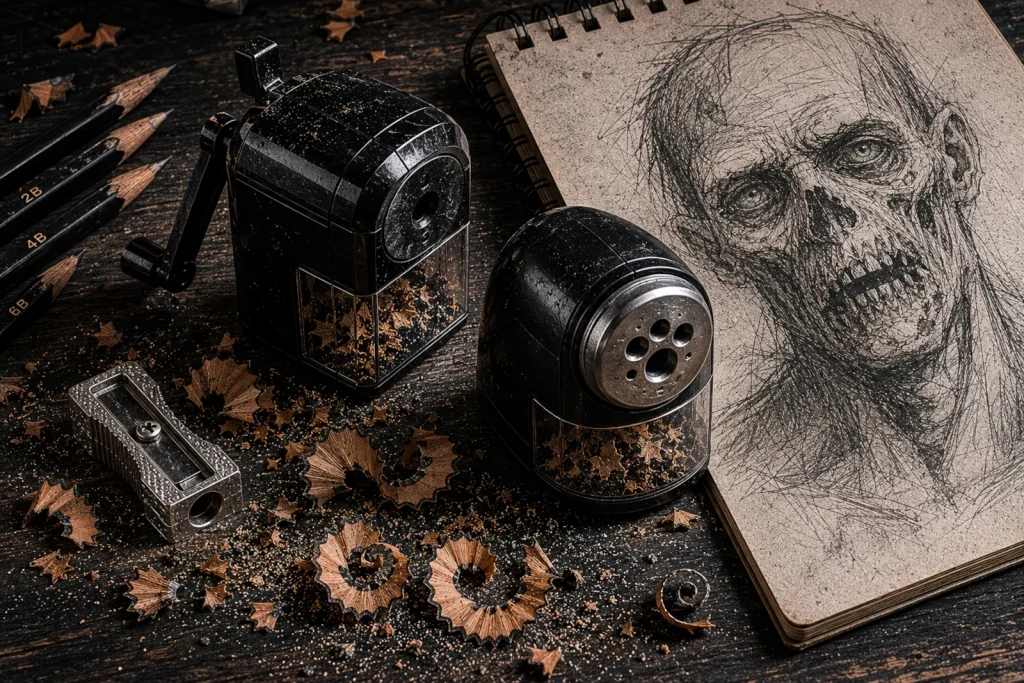
A sharp point is where every good shadow story begins.
A blunt pencil can ruin shading surprisingly fast. Soft shadows become muddy, details disappear, and suddenly your carefully drawn zombie starts looking oddly unfinished. A good sharpener keeps your pencils clean, sharp, and much easier to control – especially when you’re working on fine textures, wrinkles, hair, or tiny horror details.
That’s why sharpeners are one of those tools artists end up relying on far more than expected. The right sharpener helps your lines stay crisp, your shading smoother, and your pencils far less likely to break halfway through a drawing session.
And honestly, if you use coloured pencils, you already know the struggle. Few things are more annoying than a pencil snapping repeatedly while you’re just trying to sharpen it. One minute you’re peacefully drawing, the next you’re holding half a pencil and wondering if your sketch would look better if you attacked it with a breadstick instead.
Whether you prefer a simple handheld sharpener or a larger desk model, finding one that works well with your pencils can make drawing feel much smoother and less frustrating overall.
If you’re building your horror drawing kit from scratch and wondering which art supplies actually matter, take a look at my guide to Essential Horror Drawing Tools for Beginners. It breaks down the essentials so you can spend less time buying random supplies and more time drawing unsettling creatures.
What You’ll Learn:
Learn how different pencil sharpeners, point shapes, and sharpening methods affect detail, shading, texture, and atmosphere in horror artwork.
By the end, you’ll understand:
- The differences between handheld, long-point, crank, electric, and knife-and-sandpaper sharpening methods.
- Which sharpeners work best for graphite, charcoal, and coloured pencils.
- How pencil point shapes affect textures, shading, fine details, and atmospheric horror elements.
- How to sharpen pencils safely and correctly without damaging the core.
- Common sharpening mistakes and how to fix them.
- Basic maintenance tips to keep your sharpeners clean, sharp, and working properly.
Why Sharpness Matters in Horror Art
When your pencil is properly sharpened, everything gets easier. Fine cracks look cleaner, shading feels smoother, and tiny details suddenly become much easier to control. In horror art especially, sharp pencils help you create those eerie little textures that give drawings atmosphere and realism.
A clean point is perfect for things like hairline cracks, wrinkles, scratches, ghostly hairs, and thin cobweb details. It also helps your shading look smoother and more controlled instead of muddy or smudged into oblivion.
Different pencil points can create completely different textures too. A long sharp point works beautifully for detailed linework and soft gradients, while slightly blunter tips can help create rougher textures like worn stone, damaged skin, or gritty shadows.
And honestly, a decent sharpener can save you a surprising amount of frustration. Less breakage, less wasted pencil, and fewer moments of staring silently into the distance after your coloured pencil snaps for the fourth time.
The Types of Sharpeners (And Their Horror Uses)
There’s a lot more to pencil sharpeners than the tiny plastic one most of us borrowed from someone at school and quietly never returned.
Different sharpeners create different pencil points, and that can completely change how your shading, textures, and linework look. Some are better for quick sketching, while others are perfect for detailed horror drawings where every wrinkle, crack, and creepy little shadow matters.
Let’s take a look at the different types and what they’re actually useful for.
1. Manual Handheld Sharpeners
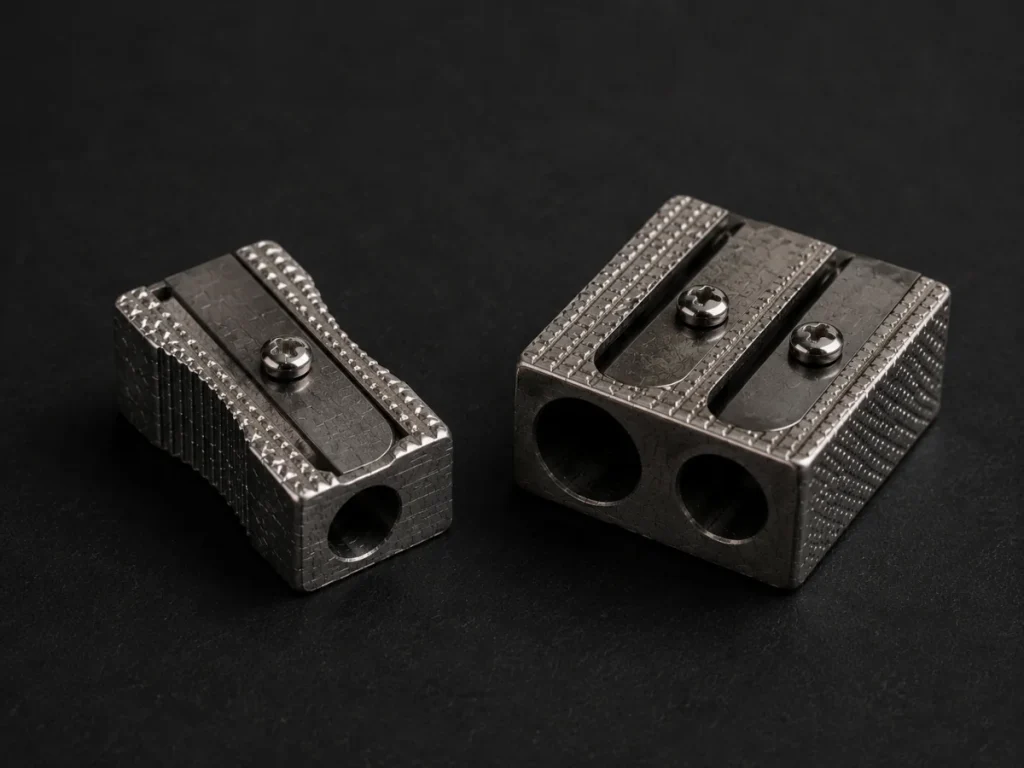
The classic handheld sharpener is usually the first type most artists own. They’re small, affordable, easy to carry around, and reliable for everyday graphite drawing. Double-hole versions are especially useful if you switch between standard and jumbo pencils.
They’re great for quick sharpening during sketching sessions and work especially well for standard graphite pencils and general drawing work.
For horror art, handheld sharpeners are perfect for rough concepts, loose sketching, early shading layers, and quick detail work before refining the darker areas later on.
2. Adjustable or Long-Point Sharpeners
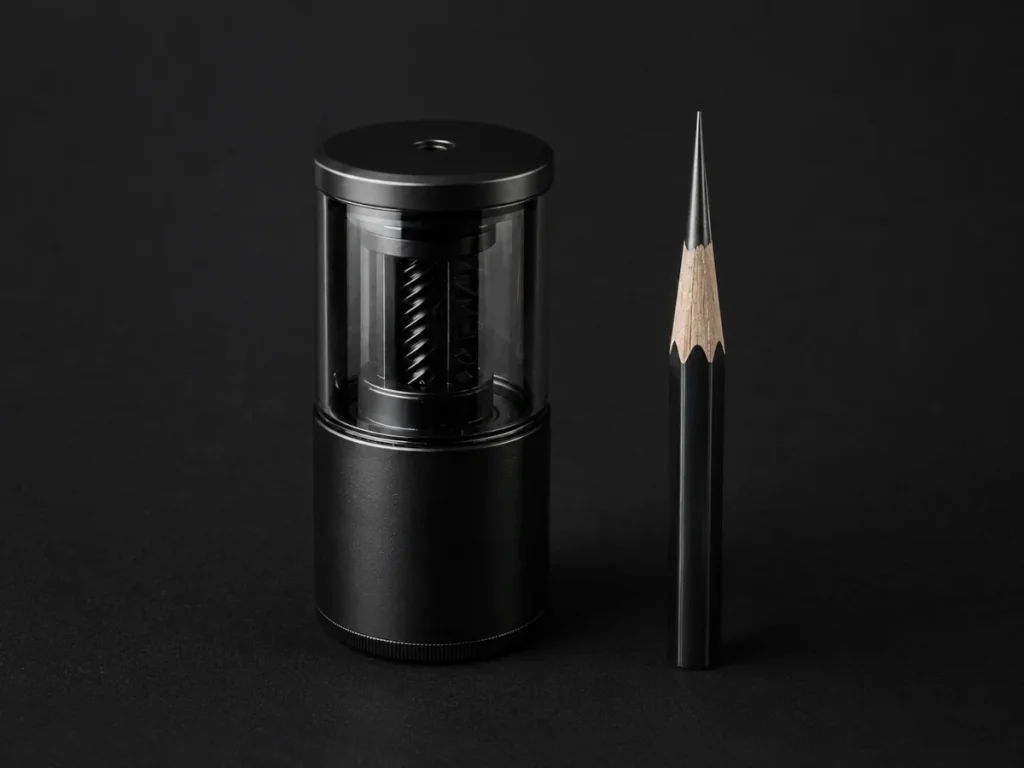
These sharpeners create a long, needle-like point that gives you far more control when working on detailed drawings. Because the taper is longer, you can usually draw for longer before needing to sharpen again too.
They’re especially useful for graphite pencils and slightly harder coloured pencils, though softer cores can sometimes snap if you get a bit too enthusiastic with the sharpening. We’ve all been there – one second you’re preparing for delicate shading, the next you’re holding half a pencil and reconsidering your life choices.
For horror art, long-point sharpeners are brilliant for hairline cracks, spiderwebs, stitches, fine hairs, tiny wrinkles, and all those unsettling little details that make a drawing feel properly eerie.
3. Crank or Helical Desk Models
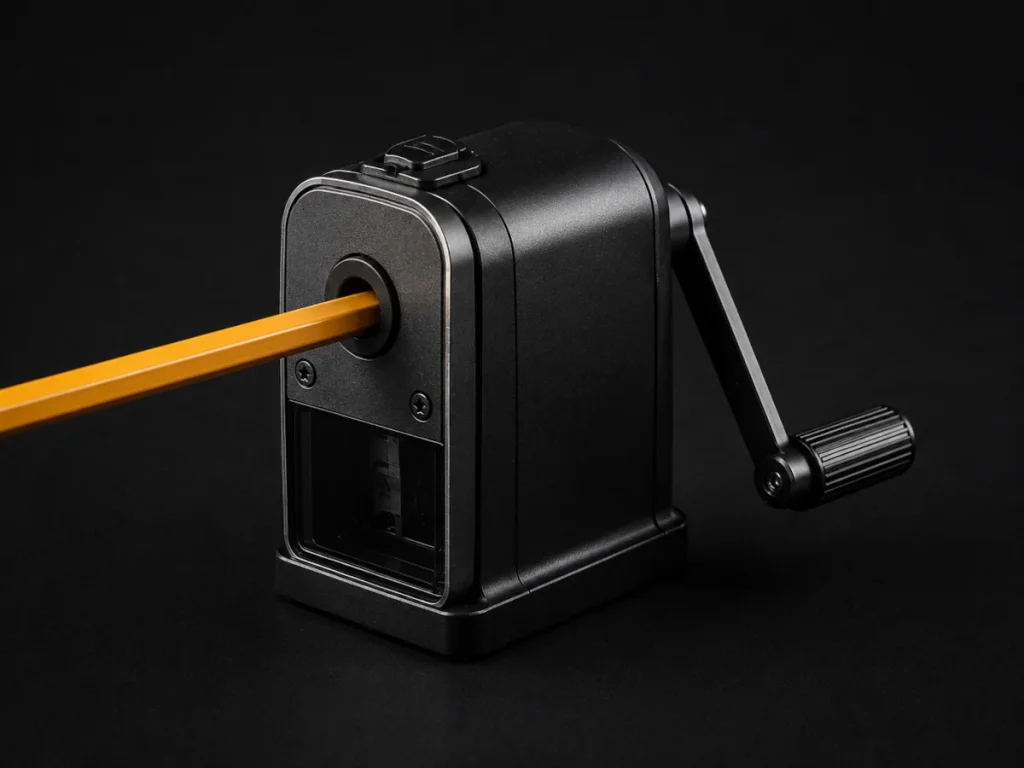
These sharpeners use a rotating helical blade to create strong, consistent points with very little effort. Many models also let you adjust the point size, which is handy when switching between detailed linework and broader shading.
They’re especially useful if you go through a lot of pencils during long drawing sessions. Instead of constantly stopping to sharpen by hand every five minutes, you can quickly prepare several pencils at once and keep working without breaking your creative flow. Your future self – the one covered in graphite dust at midnight – will appreciate it.
For horror artists, desk sharpeners are great when building layered textures like rotting wood, cracked stone, bark, aged walls, or rough decayed surfaces. They’re also incredibly useful for larger projects where you need multiple sharp pencils ready to go before diving into heavy shading and texture work.
4. Electric Sharpeners
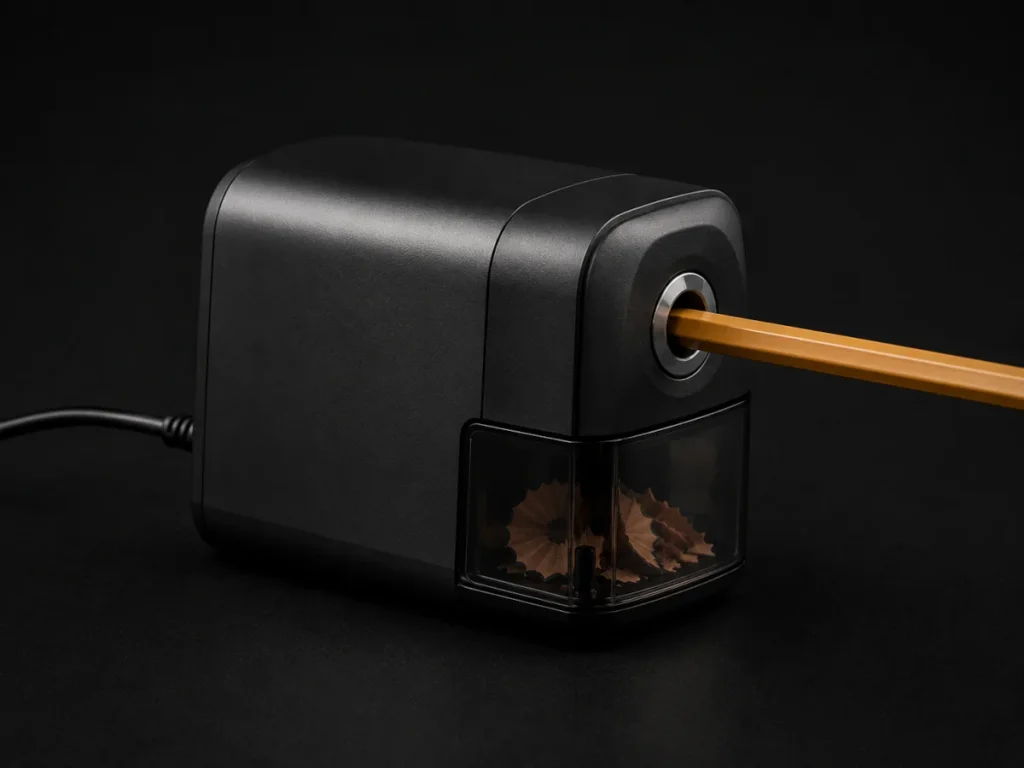
Electric sharpeners are all about speed and convenience. If you burn through pencils during long drawing sessions, they can save a surprising amount of time by giving you sharp, consistent points in just a few seconds.
They’re especially useful when sketching heavily, preparing several pencils before a project, or working against a deadline where stopping to sharpen by hand starts feeling like a side quest nobody asked for.
That said, they’re not always the gentlest option. Some models can be a bit aggressive with softer graphite or waxy coloured pencils, and cheaper sharpeners sometimes chew through pencils like a tiny desk demon with anger issues. If you use one, it’s worth choosing a reliable model and avoiding excessive pressure when sharpening.
For horror art, electric sharpeners work well when you need a steady supply of ready-to-use pencils for large textured pieces, layered shading, or detailed environments that eat graphite for breakfast.
5. Craft Knife + Sandpaper Block
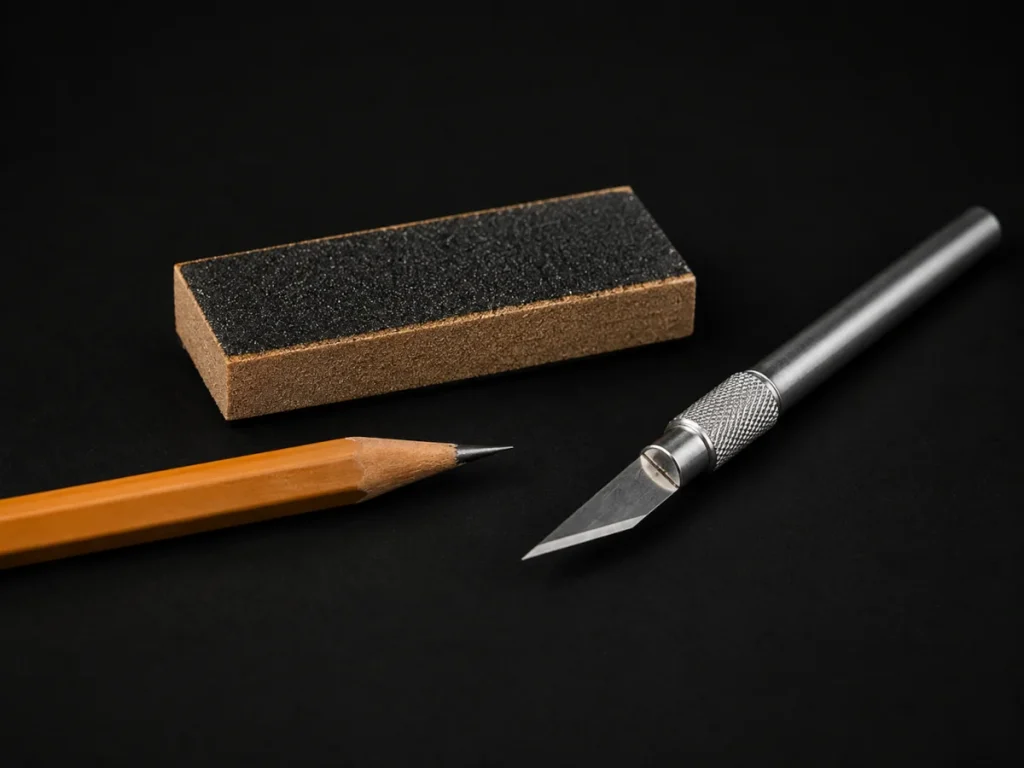
This is probably the most flexible sharpening method of all. Using a craft knife lets you shape the wood casing exactly how you want, while a sandpaper block helps refine the graphite into anything from a super sharp needle point to a broad chisel edge.
It takes a little practice at first – and possibly sacrificing one or two innocent pencils to the graphite gods – but the amount of control you get is hard to beat.
This method is especially useful for fragile materials like charcoal, pastel, and softer graphite pencils that tend to snap inside regular sharpeners. Instead of forcing the pencil through a blade, you’re shaping it gradually and much more gently.
For horror artists, this setup is fantastic for creating custom textures and specialised marks. You can shape long delicate points for tiny cracks, spiderwebs, stitches, and hairline details, or create broader edges for rough stone, bark, foggy shading, and worn surfaces. It’s also one of the best options for charcoal work, where precision matters but brittleness is always lurking in the background like a tiny graphite curse.
Pencil Point Shapes and When to Use Them
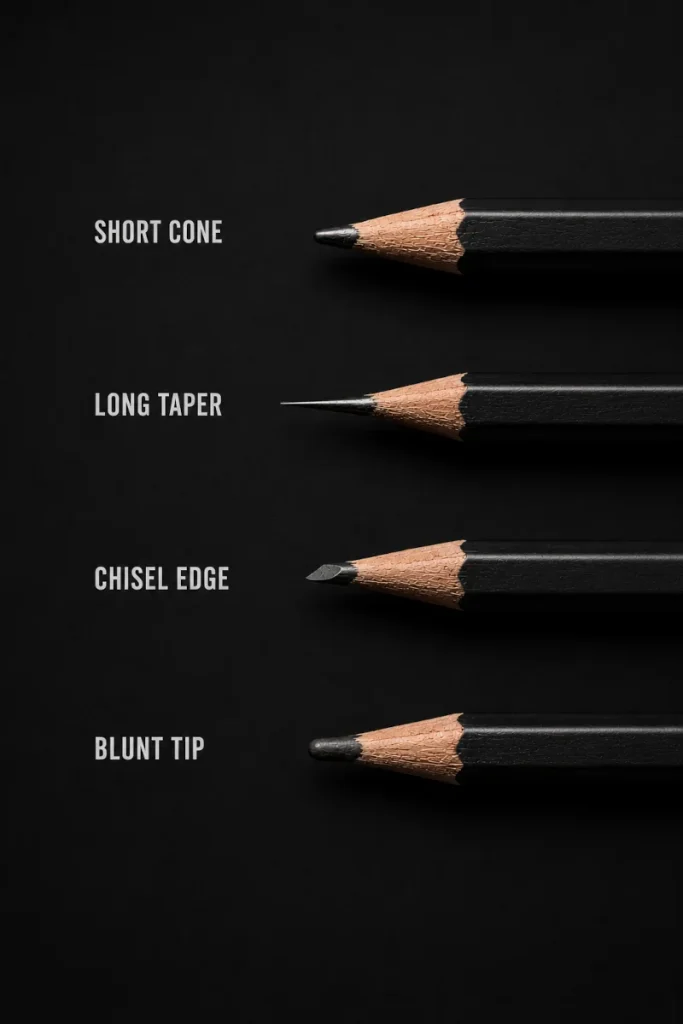
Different point shapes create completely different textures and effects, and learning when to use each one can make a huge difference in your drawings.
- Short Cone: The dependable all-rounder – great for general sketching, quick shading, and fast texture work.
- Long Taper: Perfect for fine cracks, cobwebs, stitches, whiskers, and tiny details. Sharp enough to make you slightly nervous every time you pick it up.
- Chisel Edge: Excellent for bark, stone, rusty streaks, jagged textures, and anything that needs rough, broken-looking marks.
- Blunt Tip: Ideal for fog, grime, smoky shading, soft gradients, and broader shadow work where smooth blending matters more than razor-sharp detail.
As you draw more, you’ll probably start switching between different point shapes naturally depending on the effect you want. Sometimes a perfectly sharp point is exactly what you need. Other times, a slightly worn-down pencil creates much more natural-looking textures and softer atmosphere.
How to Sharpen Without Damaging Your Pencils
1. Knife + Sandpaper Long Taper
Use a craft knife to carefully remove small sections of the wood around the pencil core. Work slowly and rotate the pencil as you go so the exposed graphite stays even. Once enough of the core is showing, lightly rub the tip against fine sandpaper to shape and smooth the point.
This method creates a long, sharp point that gives you excellent control for tiny details, soft shading, hair textures, cracks, stitches, and fine lines. It takes a little practice at first, but the precision is worth it.
If you rush, though, the graphite can snap surprisingly fast. One wrong move and your beautifully sharpened pencil suddenly becomes a very expensive twig.
2. Handheld Sharpeners
Insert the pencil into the sharpener and slowly turn the pencil itself rather than twisting the sharpener. This puts less pressure on the graphite core and helps prevent breakage.
Use light, steady pressure while sharpening. If the pencil starts catching or feels stuck, stop and check the blade rather than forcing it. Forcing the pencil can crack the core inside the wood, even if you can’t see the damage straight away.
A good handheld sharpener should feel smooth and controlled, not like you’re trying to start a lawn mower in the dark.
3. Crank/Electric
Place the pencil into the sharpener and allow the blades to sharpen it gradually using gentle pressure. Let the machine do most of the work rather than pushing the pencil in too hard.
Electric and crank sharpeners are useful for quick, repeatable points, especially during longer drawing sessions. However, softer graphite and waxy coloured pencils can sometimes wear down too quickly or break if the sharpener is too aggressive.
If the sharpener starts making strange noises, vibrating heavily, or the pencil feels jammed, stop immediately and check it before continuing. A blocked sharpener can chew through a pencil faster than a zombie through supermarket doors.
Graphite vs Charcoal vs Coloured Pencils
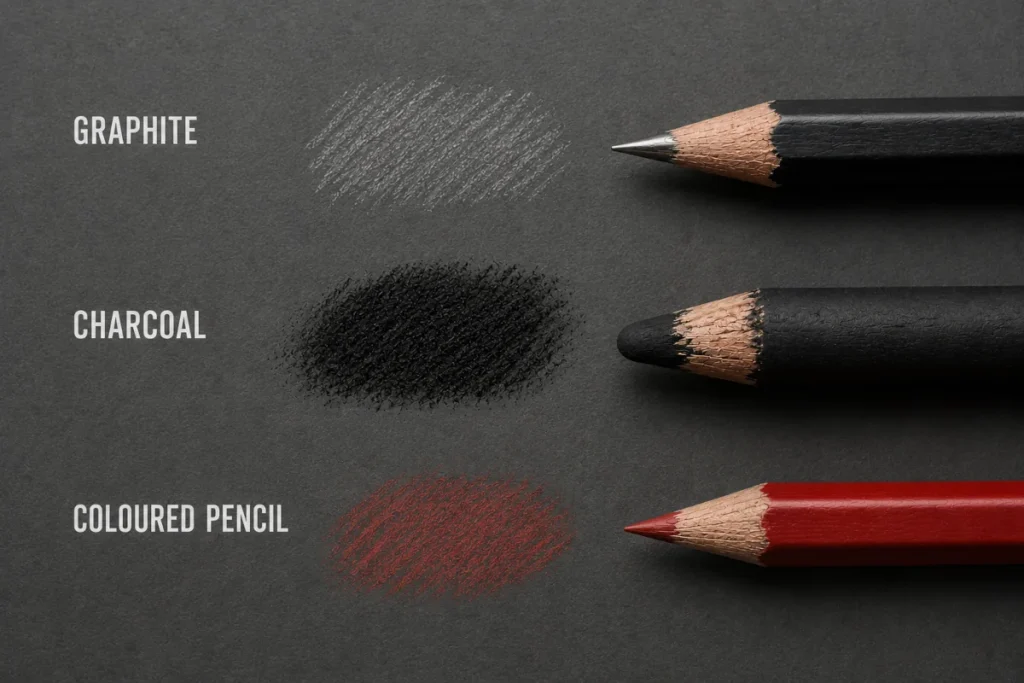
Different pencil types react very differently to sharpening, and using the wrong method can destroy the point before you even start drawing.
- Graphite: Works best with long, sharp tapers because graphite is strong enough to hold a fine point. Adjustable sharpeners or the knife-and-sandpaper method are ideal for detailed shading and clean linework.
- Soft Graphite: Softer graphite grades like 4B-8B are much more fragile and can snap easily if sharpened too aggressively. Use slow, gentle sharpening and avoid forcing the pencil into tight sharpeners.
- Charcoal: Charcoal pencils are extremely brittle and break very easily inside standard sharpeners. A craft knife and sandpaper block give you far more control and help prevent wasted charcoal cores.
- Coloured Pencils: Coloured pencil cores are often waxier and softer than graphite, which means they can crack under too much pressure. Handheld sharpeners usually work best, and slightly shorter points tend to last longer without breaking.
A good rule is this: the softer and more fragile the core, the more carefully you’ll want to sharpen it. Tiny details are great. Snapping the tip five seconds later? Less great.
Maintenance: How to Keep the Gremlins Out
- Empty shavings regularly: Built-up shavings can clog the blades and make sharpening rough, uneven, or messy over time.
- Clean the blades occasionally: Use a small brush or cotton swab to remove graphite dust and debris. Fine graphite powder builds up surprisingly quickly inside sharpeners.
- Replace dull blades when needed: If the sharpener starts chewing the wood instead of creating smooth cuts, the blade is probably worn down. Dull blades can crack cores and waste pencils fast.
- Give electric sharpeners breaks: Long sharpening sessions can overheat the motor, especially with softer pencils. If you notice heat, strange smells, or unusual noises, stop and let the sharpener cool down before using it again.
A well-maintained sharpener gives cleaner points, wastes less pencil material, and makes drawing feel far less frustrating overall.
Troubleshooting: What to Do When the Pencil Fights Back
1. Tips keep snapping?
The point is probably too long or too sharp for the pencil type. Shorten the taper slightly and use lighter pressure while drawing.
2. Chewed-up wood?
The blade is likely dull or clogged with graphite dust. Clean the sharpener first, and replace the blade if it still tears the wood instead of cutting smoothly.
3. Core spinning inside the barrel?
The graphite core has likely broken loose from the wood casing. A knife and sandpaper can sometimes rescue it, but honestly, some pencils are beyond saving. Tiny graphite ghosts. Gone too soon.
4. Uneven point?
Rotate the pencil while sharpening instead of twisting the sharpener itself. This helps create a smoother, more balanced point and reduces stress on one side of the core.
Knife Safety Notes
- Always cut away from yourself. A sharp craft knife and distracted hands are not a great combination.
- Keep the blade capped when you’re finished. Digging through your pencil case shouldn’t feel like a survival challenge.
- Take your time when sharpening. Slow, controlled cuts give you cleaner pencil points and far fewer snapped cores.
- If the blade starts dragging or tearing the wood, replace it. Dull knives are far more dangerous than sharp ones.
Conclusion
At the end of the day, the humble pencil sharpener is one of the most underrated tools in horror art. Whether you’re working with a pocket handheld, a fancy long-point sharpener, or going full old-school with a knife and sandpaper, the right tip can mean the difference between “slightly spooky” and “truly unsettling.”
Sharp points make cracks sharper, fog smoother, and stitches more believable. They also save you from the dreaded Breadstick Pencil.
So sharpen wisely, treat your tools with care, and remember: a good point isn’t just about neatness. It’s what brings those eerie little details crawling out of the page.
What You Learned:
- Handheld sharpeners are best for quick sketching and general drawing because they create reliable points fast without overcomplicating the process.
- Long-point sharpeners produce extended, needle-like tips that give you more control for fine details like cracks, stitches, cobwebs, whiskers, and tiny textures.
- Crank and electric sharpeners create fast, consistent results, making them useful for longer drawing sessions, studio setups, or artists who work through pencils quickly.
- Craft knives and sandpaper blocks allow you to shape the pencil exactly how you want, giving you more control over fragile materials like charcoal and soft graphite.
- Different pencil point shapes affect the way your textures and shading appear, from smooth foggy gradients to rough bark, rust, grime, and scratched surfaces.
- Graphite pencils can be sharpened into different point shapes depending on whether you need clean linework, smooth shading, rough textures or fine detail.
- Soft graphite and charcoal require gentler sharpening methods because their cores are more fragile and can snap or crumble under pressure.
- Coloured pencils perform better with shorter, sturdier points since waxier cores break more easily when sharpened too finely.
- Rotating the pencil instead of the sharpener helps create a cleaner, more even point while reducing stress on the pencil core.
- Maintaining your sharpeners properly helps extend their lifespan, keeps pencil points more consistent, and prevents unnecessary breakage or wasted materials.
Explore More Horror Art Tools
If you found this guide useful, sharpen your skills even further with these other eerie essentials:
- Liquid Chalk Markers for Horror Art
Create ghostly, foggy effects with matte strokes that look like they’ve been dragged across abandoned blackboards. Perfect for eerie signage, glowing runes, and cryptic messages hidden in your backgrounds. - Rulers & French Curves: The Unsung Heroes of Horror Art
Keep your perspective sharp and your lines controlled. Ideal for creepy architecture, twisted spirals, creature horns, and anything that needs an unnaturally precise edge. - Using Craft Knives in Drawing
Craft knives aren’t just for survival-horror aesthetics. They’re brilliant for razor-thin highlights, scratched textures, and rough cuts that make surfaces feel worn, damaged, or genuinely unsettling.