Fixatives and Sealants for Graphite and Charcoal Drawings
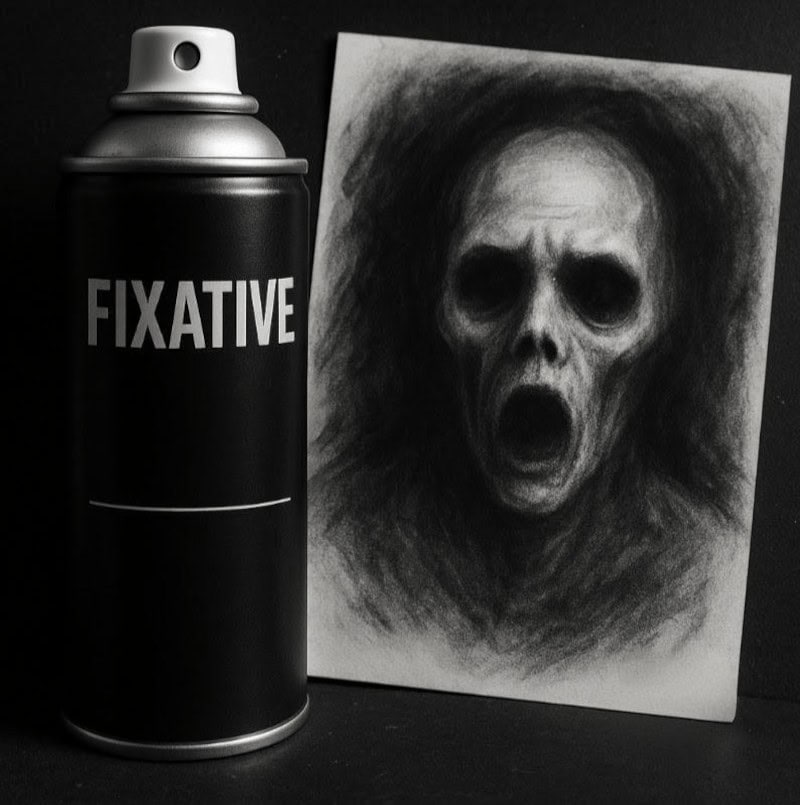
Fixative settles over your drawing like a cold breath, holding every detail exactly where it belongs.
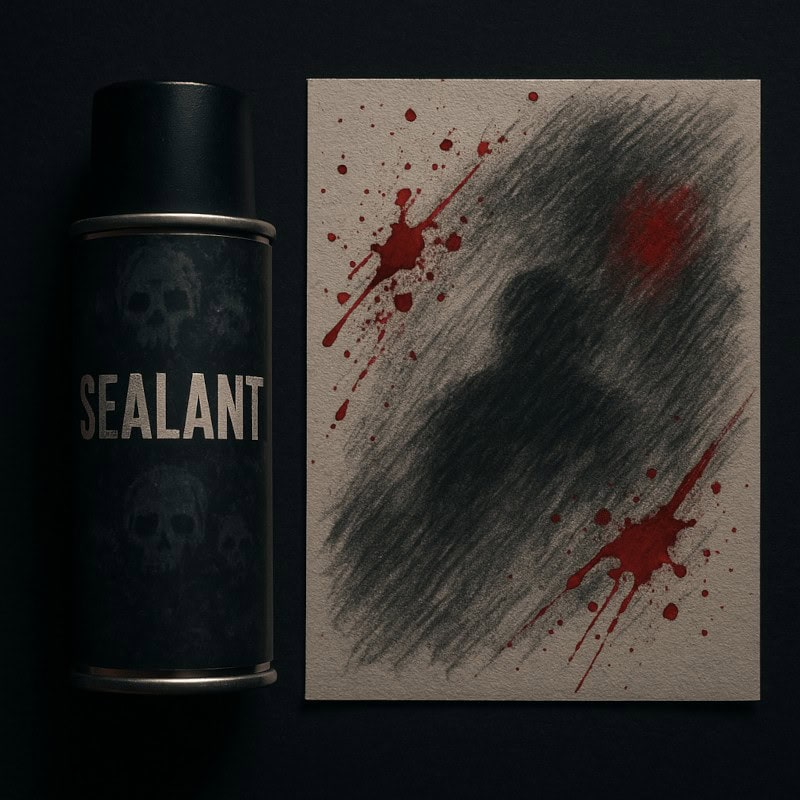
You’ve spent hours (or possibly centuries, depending on your undead status) crafting a horrifyingly beautiful drawing. The shadows are perfect, the monster’s expression is chillingly delightful – and then… smudge. One careless swipe, and your masterpiece looks like it’s been attacked by an over-enthusiastic eraser poltergeist.
That’s where fixatives and sealants come in. These sprays act as invisible guardians, protecting your work from fingerprints, fading, accidental blurring, and the occasional supernatural interference (probably). Think of them as your art’s personal exorcists, locking everything in place so your creations stay as terrifying as intended.
Types of Fixatives
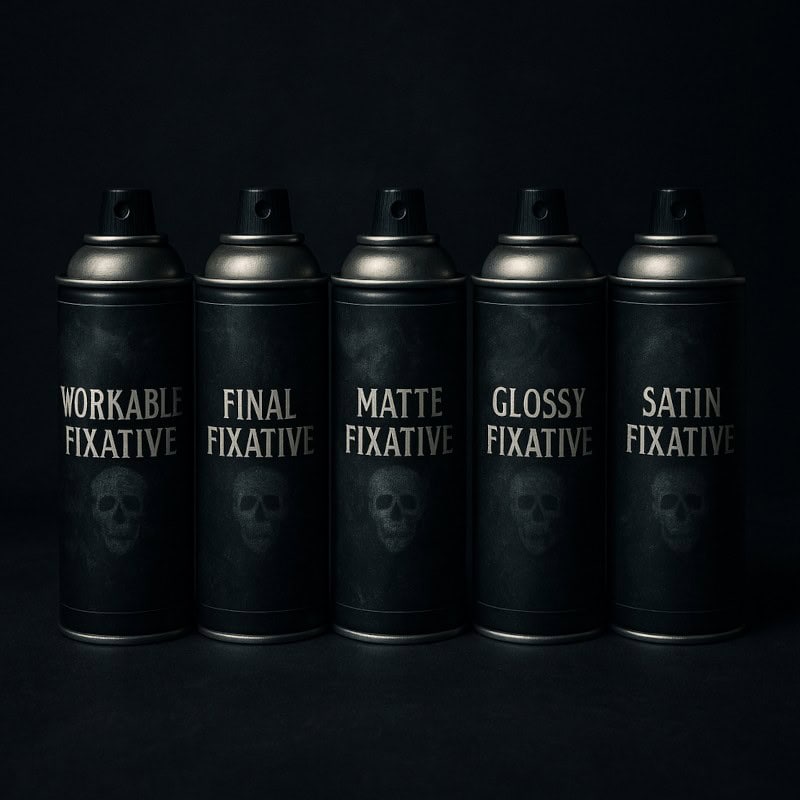
Not all sprays are created equal.
Here’s what lurks on the art store shelves:
- Workable Fixatives – Semi-permanent sprays that “set” your drawing layer so you can keep working on top. Great for layering eerie shadows without turning them into a black fog swamp.
- Final Fixatives – The last step for when your piece is complete. They seal everything permanently, keeping your cursed relics intact.
- Matte Fixatives – Smooth, non-shiny finish. Perfect for mist, fog, or anything that needs atmosphere.
- Glossy Fixatives – Adds shine. Fantastic for slime, blood, and all things unpleasantly wet.
- Satin Fixatives – A balance between matte and gloss – when you can’t decide if your monster should be mysteriously matte or slimy chic.
Workable Fixatives – Locking in the Darkness
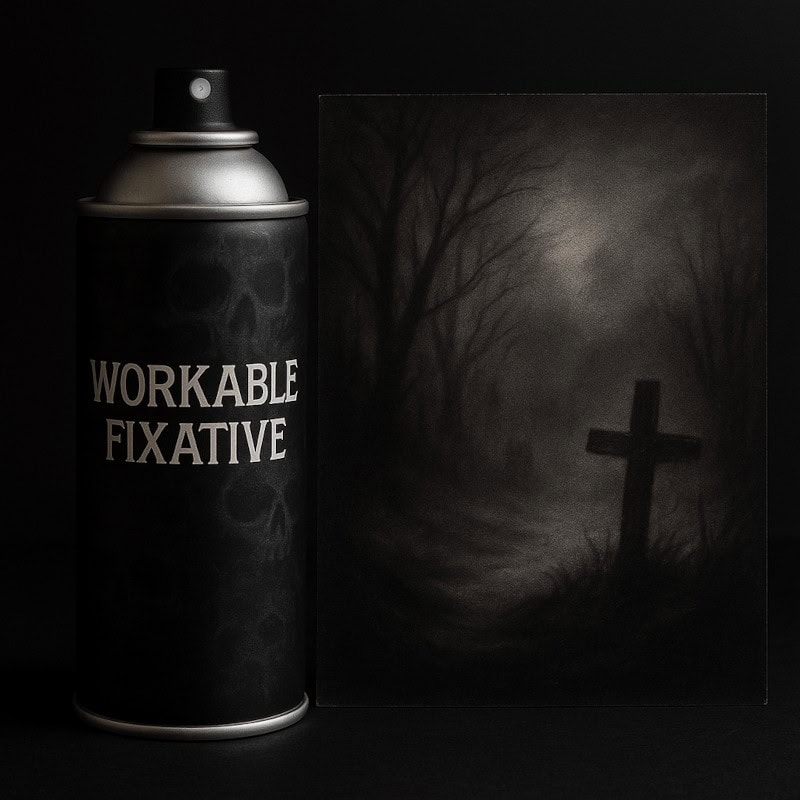
What they do:
Workable fixatives allow you to freeze a drawing layer in place without making it untouchable. You can keep layering, erasing, and adding details without everything smearing into oblivion.
When to use:
- Building foggy graveyard shading in graphite and charcoal.
- Layering charcoal over pencil for maximum gloom.
- Experimenting with eerie highlights without wrecking the shadows underneath.
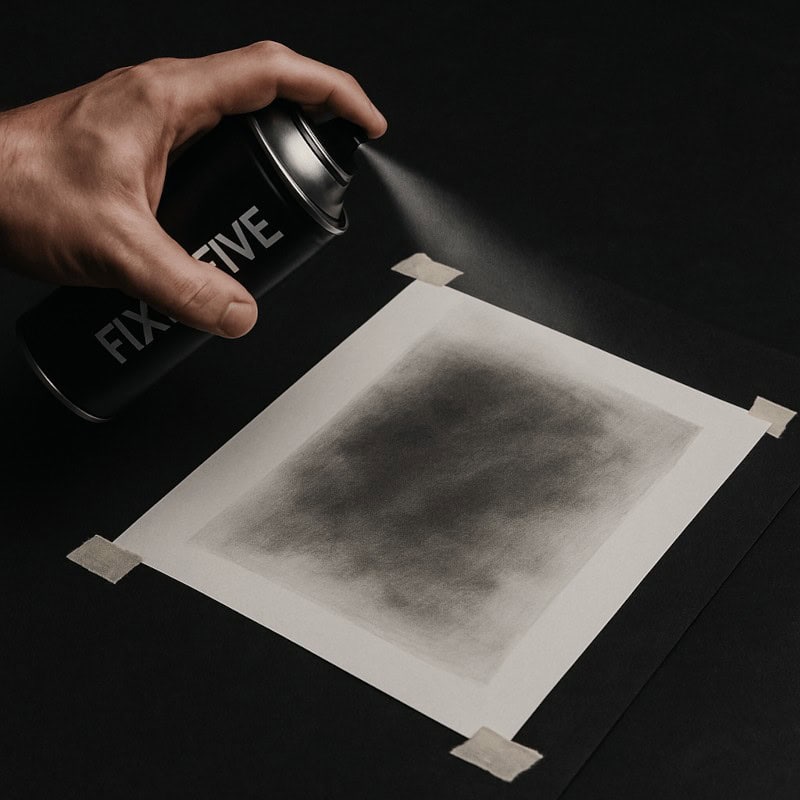
How to apply:
- Lay your drawing flat (translation: not balanced on your teacup).
- Shake the can like you’re waking the dead.
- Hold it 10-12 inches away and spray in sweeping motions.
- Let it dry for 5-10 minutes before adding more layers.
Final Fixatives – Preserving Your Cursed Relics
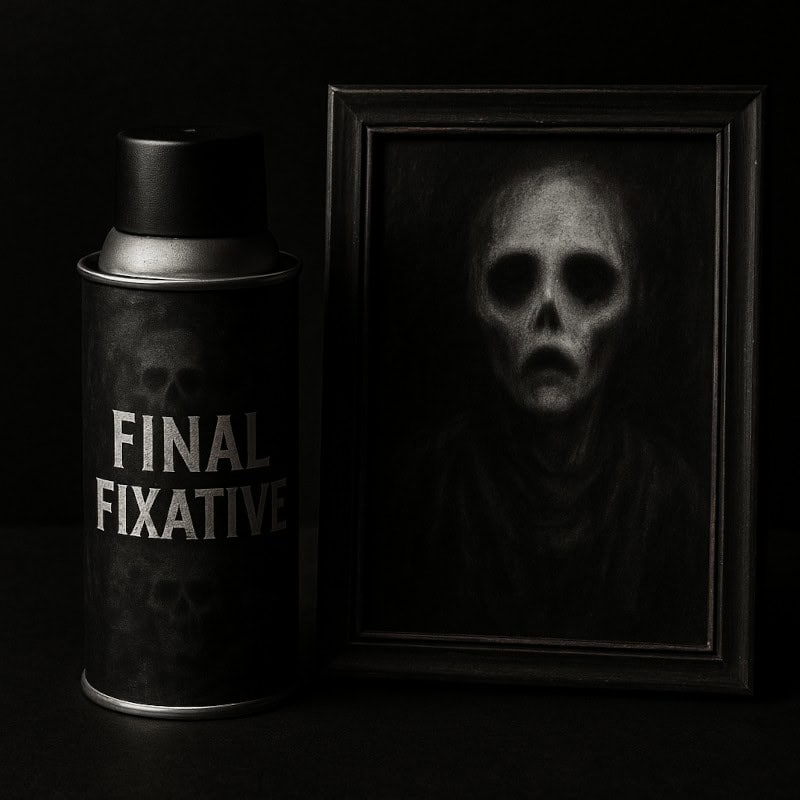
What they do:
Final fixatives are the point of no return – once sprayed, your drawing is sealed forever. They protect against smudging, fading, and the dreaded “accidental fingerprint of doom.”
When to use:
- Once you have finished a drawing that you want to protect from being ruined.
- Before framing your undead masterpiece.
- Any time your artwork is complete and ready to outlive you.
How to apply:
- Spray in multiple passes – not one dramatic fog cloud.
- Rotate the paper for even coverage.
- Let it dry completely before touching.
Note: Without a final fixative, your vampire may gradually fade into a “Generic Grey Blob.” And let’s be honest, nobody fears Generic Grey Blob.
Sealants for Mixed Media – Making Monsters Play Nicely
What they do:
Sealants are more effective than fixatives. They serve as a barrier, allowing different mediums, such as graphite, ink, coloured pencil, pastel, and even acrylic, to coexist without blending into chaos.
When to use:
- Adding ink blood splatters over graphite shading.
- Blending coloured pencil gore with charcoal shadows.
- Protecting pastel highlights from turning into a dust storm.
Application Techniques
Spraying may sound simple, but doing it wrong can curse your artwork forever.
- Distance matters: 10-12 inches away is the sweet spot. Too close = blotchy nightmares.
- Sweep, don’t blast: Spray in smooth side-to-side motions. Don’t hover unless you enjoy mysterious dark patches.
- Layer lightly: Several thin coats are always safer than one heavy one.
- Flat vs. vertical: Flat spraying is usually the safest method, but you can also tape your paper to a wall if you prefer spraying vertically.
- Test first: Always try it on a scrap piece – every brand has its quirks.
How it Affects Different Mediums
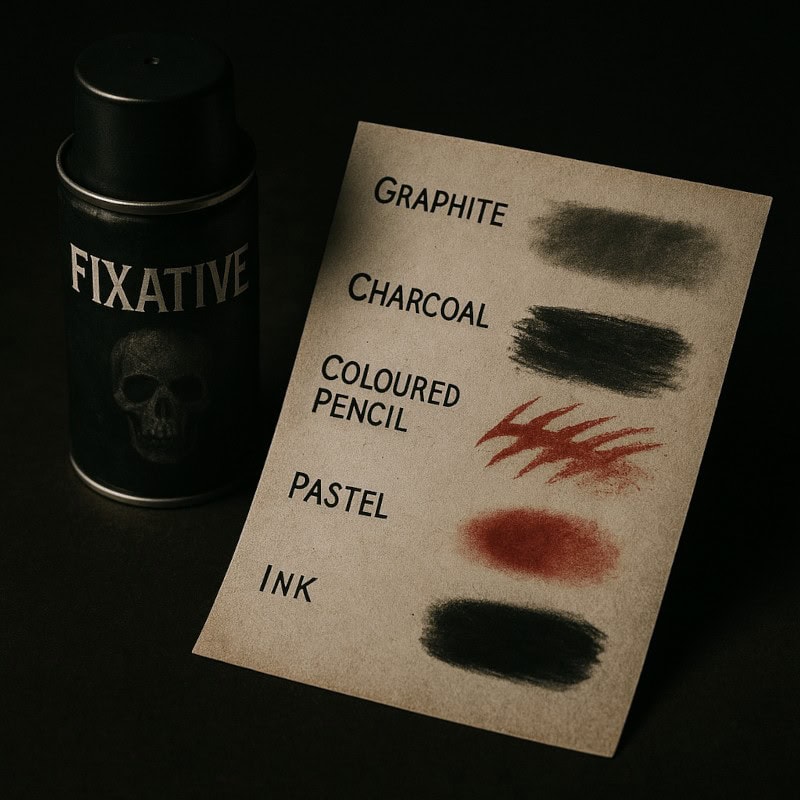
- Graphite: Deepens tones, shadows look richer. Too much = black void.
- Charcoal: Dramatic darkening, but tames smudges.
- Coloured Pencil: Colours may “pop” more; glossy fixatives especially make reds look deliciously bloody.
- Pastels: Absolutely require fixatives unless you want a sneeze to erase your ghost.
- Ink: Usually safe, but sealants protect from fading and give extra shine.
Archival Longevity
Not all sprays are built for eternity.
- Acid-free archival sprays = your art stays crisp, with no yellowing over decades.
- Cheap sprays = your zombie drawing may decay worse than the zombie itself.
If you want your cursed relics to survive centuries (and terrify future generations), go archival every time.
Common Problems & How to Fix Them
- Blotches: Usually sprayed too close. Step back and mist lightly.
- Shiny spots: Uneven coverage. Rotate the paper and respray gently.
- Warped paper: You drowned it. Use lighter coats and sturdier paper.
- Yellowing: Caused by cheap sprays. Archival fixatives prevent this horror story.
Safety & Ventilation
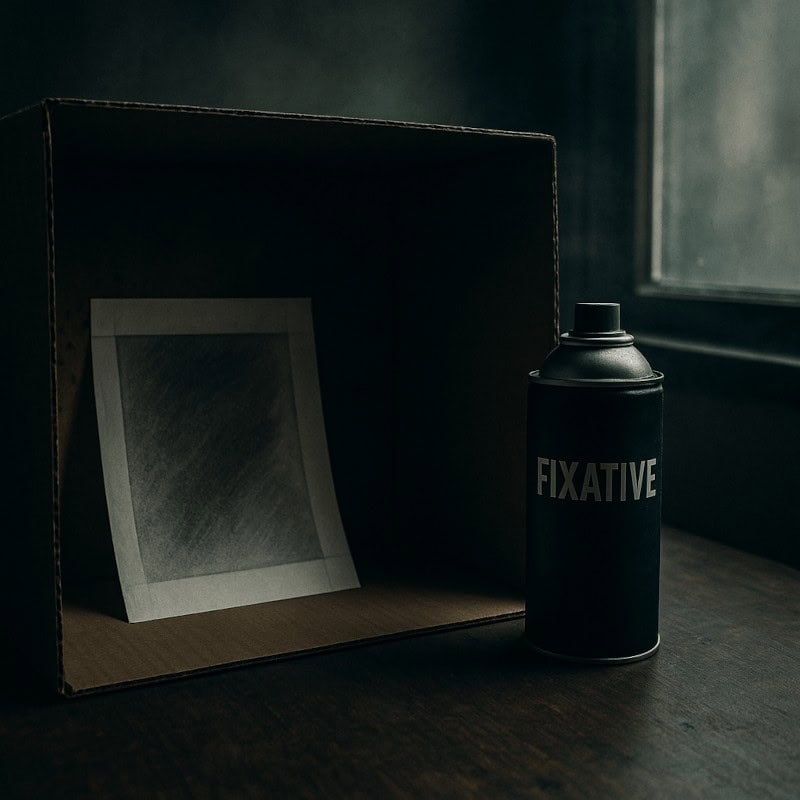
These sprays may seem harmless, but they can be unsafe if proper precautions are not taken.
- Always spray in a well-ventilated area (balcony, outdoors, or by a wide-open window).
- Wear a mask if possible – “Eau de Fixative” is not the perfume you want.
- Protect your surroundings: use cardboard or newspaper, or risk giving your entire desk a shiny haunted sheen.
Practical Horror Spin
- Workable Fixative: Build ghostly fog around your haunted mansion sketch, layer by layer.
- Final Fixative: Preserve your zombie bride forever (till undeath do us part).
- Sealant: Combine graphite shadows with bloody ink splatters, without accidental tie-dye disasters.
Wrapping It Up
Fixatives and sealants might not be the flashiest tools in your horror art kit, but they’re the unsung guardians that keep your creations safe long after the last pencil stroke. Whether you’re layering misty shadows with a workable fixative, sealing a finished demon portrait with a final spray, or juggling different mediums with a mixed-media sealant, these invisible protectors defend your art from smudges, fading, and accidents lurking in the dark.
Handled properly, they can mean the difference between a masterpiece that survives the ages… and one that dissolves into a tragic smudge-blob of doom.
So next time you finish a drawing, don’t leave it at the mercy of fingerprints, dust, or supernatural sabotage. A quick spray is all it takes to lock in your shadows and keep your horrors looking freshly sinister for years to come.
What You Learned:
- Workable fixatives allow you to keep drawing, blending, and adjusting without smudging your previous layers.
- Final fixatives lock in your finished artwork so it stays protected from smudging, fading, and accidental marks.
- Sealants help different mediums – like graphite, ink, coloured pencil, and pastel – sit together cleanly without blending into each other.
- Proper spraying technique (distance, light layers, and ventilation) prevents blotches, shine, and uneven coverage.
- Different mediums react differently to fixatives and sealants, so testing on scrap paper helps ensure consistent results.
Explore More Horror Art Tools
Want to keep building your haunted toolkit? Check out these other posts:
- Sketchbooks & Paper
Texture vs smooth, and how the right paper can take your art from “meh” to magnificently macabre. - Ink & Dip Pens
Inky shadows, creepy cross-hatching, and dripping dread straight onto the page. - Specialised Markers
Smooth transitions, cursed colour washes, and backgrounds painted in pure despair.