Graphite Pencils for Drawing: Grades, Shading Techniques and Artist Tips
If graphite pencils had a personality, they’d politely tap your shoulder and say, “Ready to draw something horrifying, dear?”
Graphite pencils are one of the most versatile and essential tools for artists, loved for their ability to create everything from light, delicate sketches to bold, dramatic shading.
Whether you’re just beginning your artistic journey or you’re a seasoned pro, graphite pencils are indispensable for creating stunning artwork. When choosing graphite pencils for drawing, it’s important to consider the grade and type that best suit your needs.
If you’re brand new to horror drawing and still figuring out which tools you actually need, I’ve put together a simple Beginner Guide to Horror Drawing Tools to help you build your kit without overcomplicating things.
What are graphite pencils?
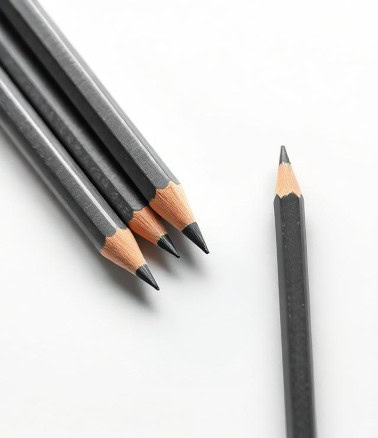
Graphite pencils are made by encasing a mixture of graphite and clay inside a wooden or mechanical barrel. The ratio of graphite to clay determines the pencil’s grade, which ranges from soft and dark (B grades) to hard and light (H grades). This variety allows incredible control over shading, texture, and detail, making graphite pencils a go-to tool for all kinds of drawing.
Soft grades create darker, smoother lines that are great for shading and expressive sketches. Harder grades, on the other hand, produce lighter, crisper lines, perfect for technical details and fine line work.
Many artists rely on graphite pencils for their versatility, using them for everything from rough thumbnails to fully polished masterpieces.
1. Why use graphite pencils?
Graphite pencils offer unmatched flexibility for different styles and techniques. Whether you’re conjuring up creepy creatures or fine-tuning delicate details, graphite pencils deliver the control and creativity artists crave. They’re the go-to tool for artists at any level – and here’s why:
- Versatility:
From quick concept sketches to highly detailed shading, graphite pencils adapt to almost any drawing style. You can go light, go dark, or go full horror masterpieces.
- Ease of Use:
Graphite is super forgiving. It’s clean, easy to erase or smudge, and perfect for experimenting without the commitment of ink or paint.
- Variety:
Available in a wide range of grades, from 9B for rich, velvety shadows to hard 9H for precise, pale lines. This gives you total control over tone and texture.
- Accessibility:
Affordable, portable, and widely available. You don’t need a fancy setup – just grab a pencil and let your nightmares spill onto the page.
You don’t need a fancy setup – just grab a pencil and let your nightmares spill onto the page… or kitchen table, whichever’s closer.
2. Choosing the right graphite pencil
Selecting the right pencil depends on your project and personal style. Are you sketching spooky silhouettes, building up eerie shadows, or working on precise details for your next monstrous masterpiece? Here’s a quick guide to help you choose the best graphite grade for your drawing needs:
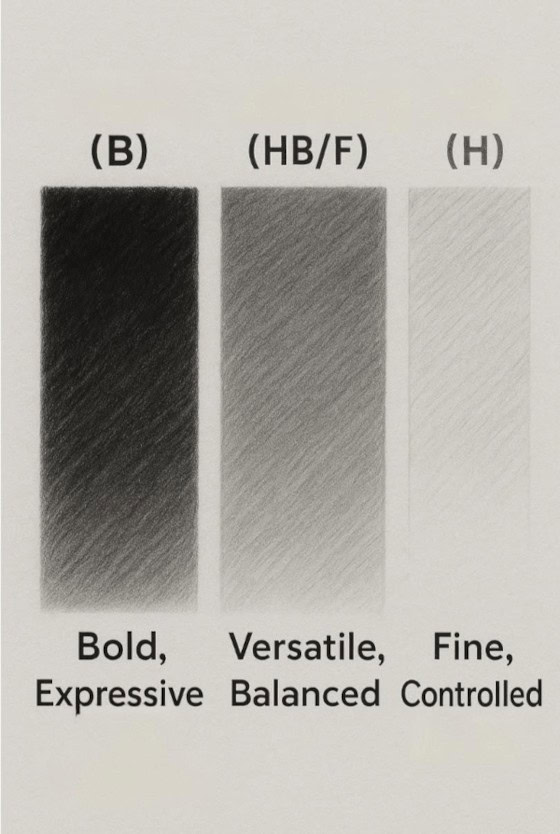
Soft Grades (B)
These pencils have more graphite and less clay, making the marks darker and smoother.
Ideal for:
- Bold lines, shading, and building depth.
- Realistic and expressive work, especially for dynamic shadows or creepy creature design.
The softer the grade (like 6B-9B), the darker and smoother the result, perfect for moody horror atmospheres and haunted shading.
Hard Grades (H)
Hard grades contain more clay, resulting in lighter and finer lines.
Best for:
- Technical drawings, fine details, and subtle shading.
- Intricate monster eyes, razor-sharp claws, or delicate textures in eerie environments.
The higher the H number, the lighter and more precise the line. Think “haunted blueprints” and ghostly linework.
Medium Grades (HB/F)
A balanced blend of soft and hard, great for when you need control but still want some punch.
Perfect for:
- General sketching, layout work, or anytime you’re not sure where the drawing will lead… but you know it’s about to get spooky.
3. Techniques for using graphite pencils
Try these fundamental techniques to get the most out of your graphite pencils. They’ll help you build form, texture and atmosphere – especially important in horror art, where shadows and subtlety can make or break the mood.
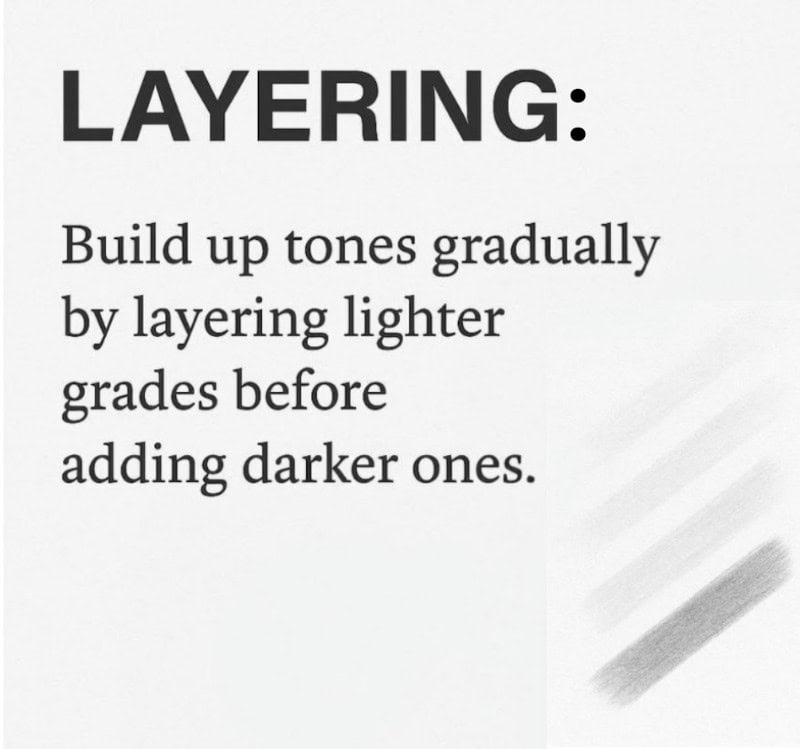
Layering
Build up tones gradually by starting with lighter grades and layering darker ones on top. This method gives you more control over shading and creates smooth transitions, perfect for moody atmospheres or rendering haunted, foggy scenes where something might be watching from the mist.
Blending
Use tools like tortillons, blending stumps, tissue paper, or even cotton swabs to soften transitions between light and dark. Blending helps you create misty shadows, smooth skin, or eerie gradients – ideal for ghostly effects or unsettling characters that look a little too lifelike.
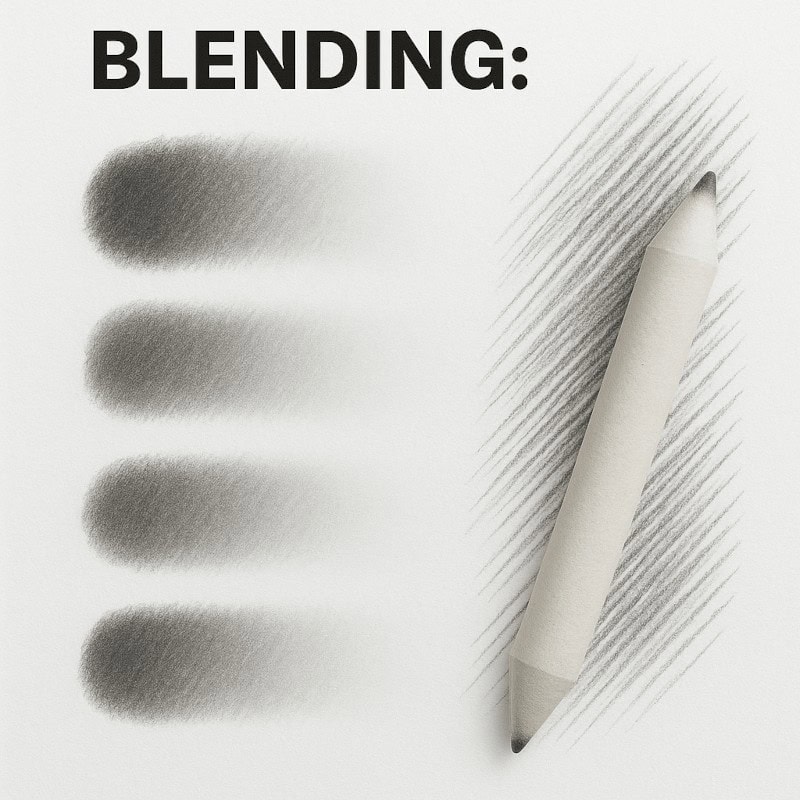
Tools like tortillons and blending stumps help soften transitions between light and dark. If you want a deeper look at how blending tools work in horror art, check out my full Blending Tools Guide.
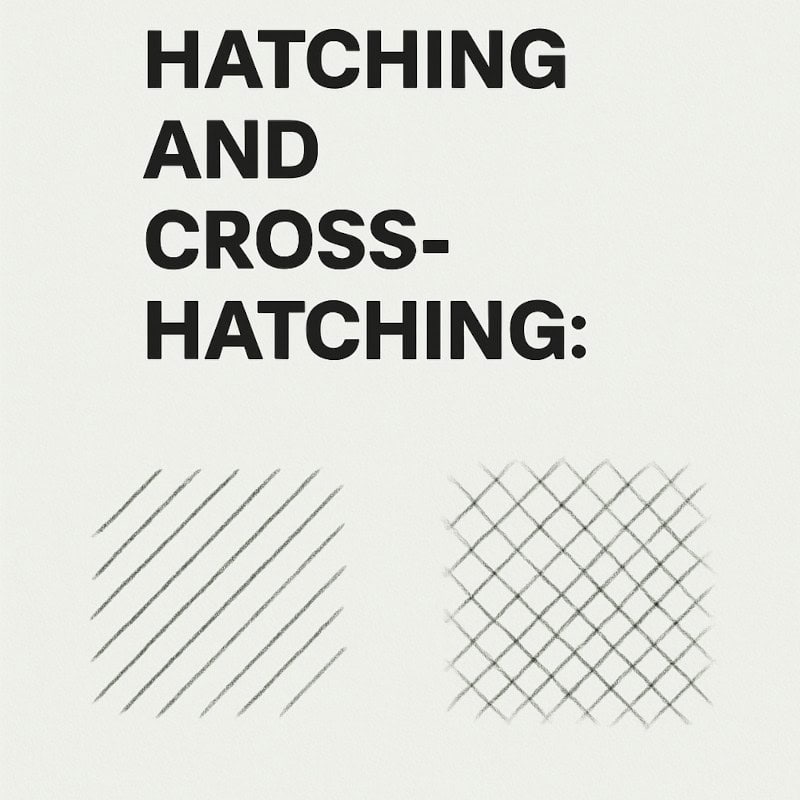
Hatching and Cross-Hatching
Use a series of lines (hatching) or intersecting lines (cross-hatching) to create texture and depth. This technique is great for building gritty surfaces, rotting textures, or wiry hair on creepy creatures. The closer and more layered the lines, the darker and more textured the area becomes.
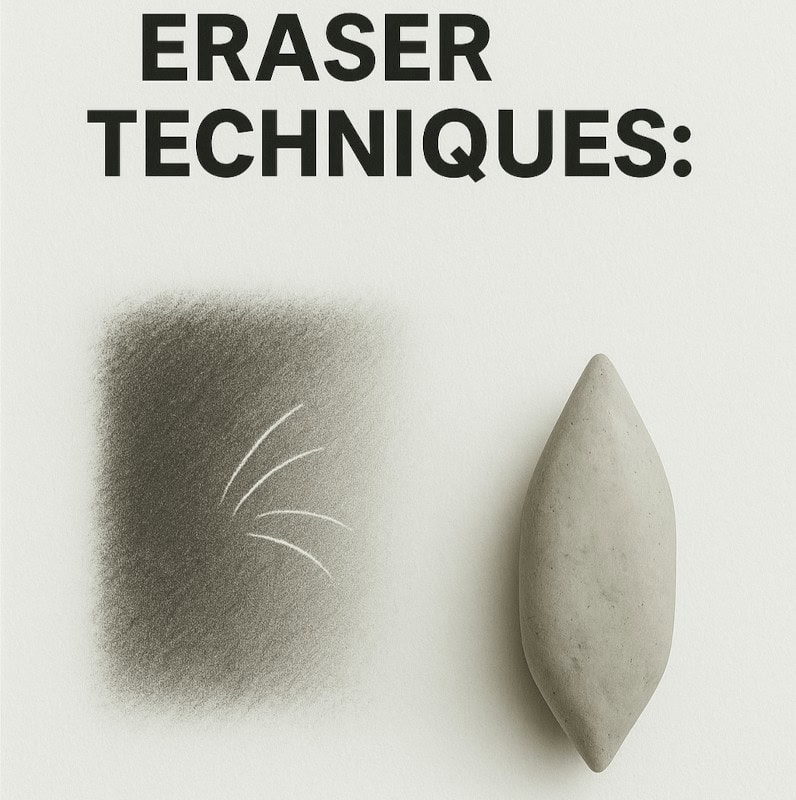
Eraser Techniques
Lift highlights using kneaded or precision erasers to add contrast and dimension. You can even “draw” with a kneaded eraser by tapping or shaping it into a point to pull out fine details – like glints in creepy eyes, eerie fog, or scarred skin textures.
Bonus Tip:
Don’t just draw with graphite – fight back. Combining these techniques gives you a full range of effects that make your horror drawings come to life. Practice them in quick sketches before using them in your finished pieces.
4. Caring for your graphite pencils
To maintain the quality of your tools and keep your creative flow uninterrupted, it’s important to treat your graphite pencils with care. A little maintenance goes a long way – especially when you’re deep in a spooky sketch session and don’t want broken leads or smudges messing with your masterpiece.
Here are a few simple ways to care for your pencils:
- Store Them in a Case
Avoid damage by keeping your pencils in a padded case, especially when travelling or storing them with other tools. This helps protect the fragile tips and keeps everything organised.
- Use a Proper Sharpener
Choose a sharpener designed for graphite pencils to prevent breakage and maintain a clean, even point. It’s best to avoid cheap sharpeners as they treat pencils like werewolves treat mailmen – shredded, chewed up, and tossed aside with zero remorse.
- Keep your Workspace Clean and Smudge-Free
Graphite has a sneaky habit of showing up where it’s not invited – like on your hand, your face, your cat, or that one perfectly clean area of your drawing. Use a sheet of scrap paper under your drawing hand to avoid accidental smudges, and if needed, give your workspace a quick wipe now and then.
Wrapping it up
Graphite pencils aren’t just tools – they’re a gateway to creativity. Whether you’re sketching eerie ideas or crafting finely detailed masterpieces, they offer the precision and control you need to bring your vision to life. Investing in high-quality graphite pencils – and knowing how to care for and use them – can seriously level up your drawing skills.
So grab your pencils, unleash your imagination, and let those dark ideas come to life – one eerie sketch at a time.
What You Learned:
- Graphite pencils come in soft (B), medium (HB/F), and hard (H) grades; each giving you a different level of depth, texture, and detail.
- Soft grades (B) create dark, smooth shading and dramatic shadows.
- Hard grades (H) give crisp, pale, controlled lines for fine details.
- Medium grades (HB/F) balance softness and precision for general sketching and mood building.
- Layering softly first, then deepening tones, helps you build smooth gradients and eerie atmosphere.
- Blending tools like stumps, tissue, or cotton swabs keeps transitions misty and ghost-approved.
- Hatching and cross-hatching build gritty textures, shadows, and creepy depth.
- Kneaded and precision erasers lift highlights and add fine, spooky details.
- Proper storage, gentle sharpening, and a clean workspace keep your pencils sharp, safe, and smudge-free.
- Graphite pencils are the foundation tool for horror art – versatile, forgiving, and perfect for summoning shadows on any page.
Ready to level up your tools?
If graphite pencils are your gateway, wait till you meet their darker cousins:
- Carbon Pencils
Great for rich, dark lines with less shine than graphite – ideal for strong contrast and bold shading. - Graphite Powder
Perfect for covering large areas, soft shading, and creating smooth gradients or moody backgrounds. - Charcoal
Excellent for dramatic value shifts, deep shadows, and expressive textures, though it’s a bit messier to handle.