Graphite Powder for Drawing: Uses, Effects and Tips for Atmospheric Effects
Because sometimes your artwork needs a little… atmospheric chaos
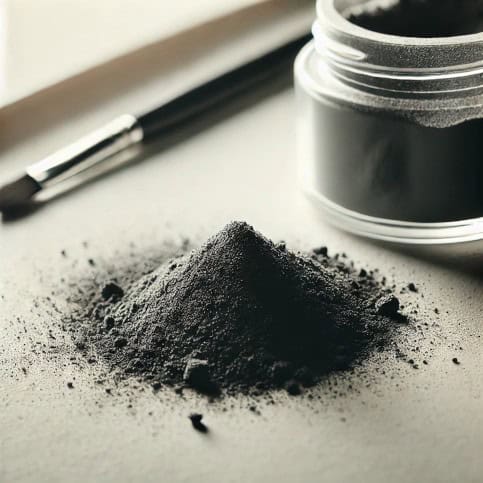
Graphite powder is the kind of material that quietly sits in a jar until you open it – and then immediately behaves like it’s trying to escape and start a new life under your floorboards. One gentle tap and suddenly you’ve created smooth, misty gradients, dramatic shadows, and a workspace that looks as though you were questioned by detectives and absolutely cracked under pressure.
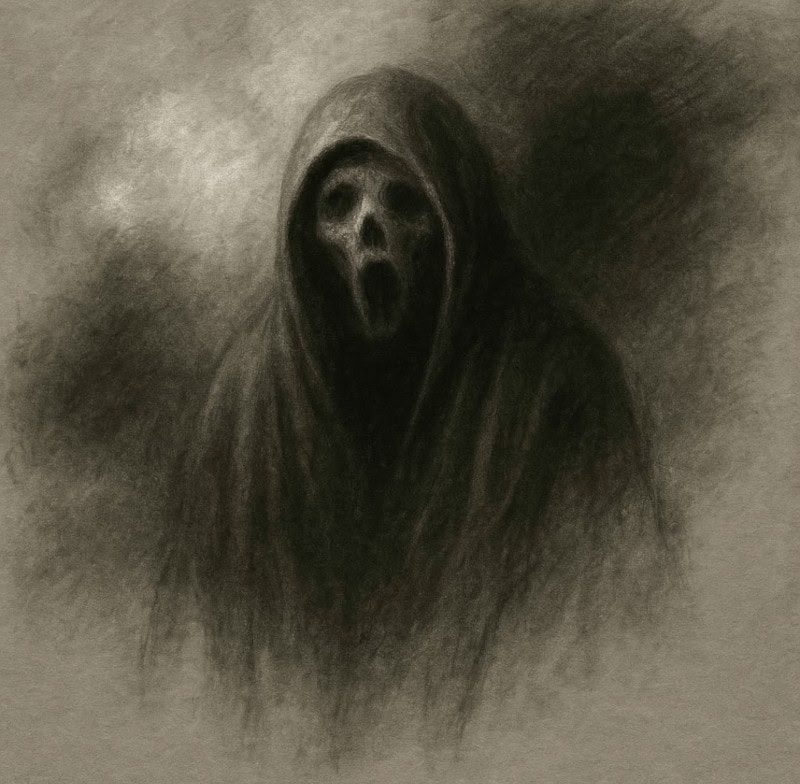
It’s messy, moody, and a tiny bit unhinged… which is exactly why it’s brilliant for horror art. A light sweep of powder can turn a blank page into a creepy fogbank faster than you can say, “Wait, how did this get on my ear?” But once you see how effortlessly it adds atmosphere and depth, you stop questioning it and simply accept graphite powder as the chaotic little miracle it is.
What is graphite powder?
Graphite powder is a finely ground form of graphite, a crystalline form of carbon. Essentially, it is pencil graphite that’s been processed into a soft, dust-like consistency. This powder has a smooth texture and is available in various grades, differing in particle size and purity. Artists often use graphite powder as a dry medium to create gradients, add textures, and achieve detailed shading in their drawings.
Whether you’re crafting eerie backgrounds or adding shadowy depth to your twisted creatures, graphite powder is your go-to tool for summoning darkness with precision.
1. Why use graphite powder in art
Smooth gradients
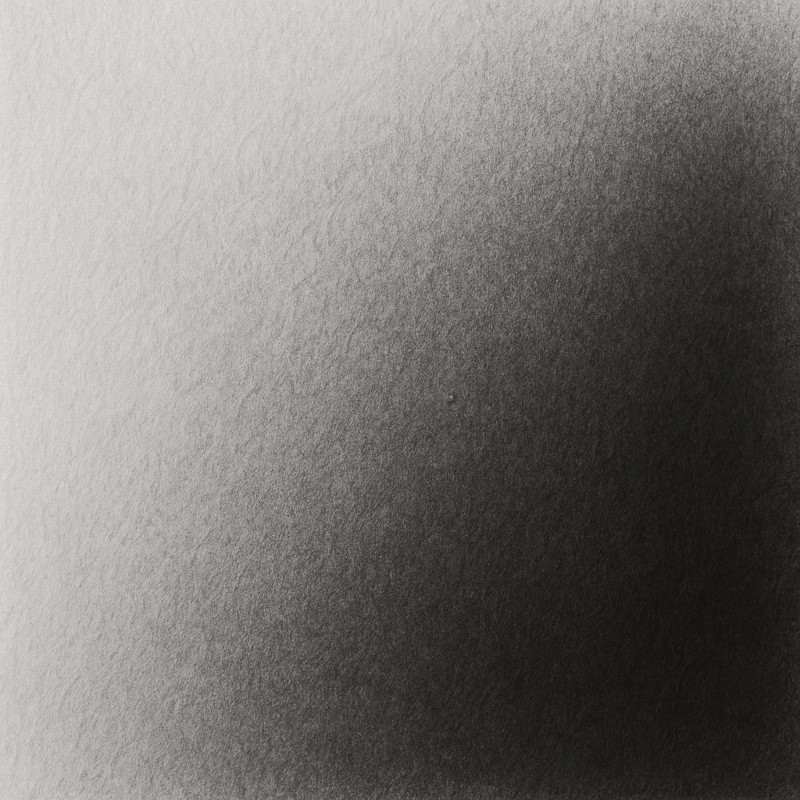
Graphite powder is a dream for achieving silky smooth transitions between light and dark. Instead of visible pencil strokes, you get a velvety fade that works wonders for soft lighting, misty scenes, and creepy, fog-drenched forest backdrops. It’s especially advantageous when you want to make subtle tonal shifts without breaking the illusion with harsh lines.
Efficient coverage
When covering large areas – like ominous skies or cavernous shadows – graphite powder gets the job done fast. A quick swipe with a soft brush can darken an entire background without the wrist-breaking layers of pencil. It’s perfect for setting the mood before diving into the gory details.
Layering possibilities
Graphite powder makes an excellent base layer. Lay down your shadows, mood, or midtones, then go back in with pencils or charcoal to add structure, depth, and detail. Think of it like building the atmosphere of a haunted manor before placing your ghoulish characters inside it – foundation first, then the fun.
Textural variety
From wispy fog to gritty decay, graphite powder adapts beautifully to different tools and techniques. Use a sponge for soft haze, or a stiff brush for gritty, unsettling textures. This versatility is great for horror art, where the vibe can shift from spooky to grotesque in a single swipe.
Versatility
Graphite powder isn’t a one-trick monster. Use it solo for minimalist eerie scenes, or mix it with graphite pencils, blending stumps, and even ink for mixed-media mayhem. Whether you’re crafting a creepy background or adding texture to your latest grotesque beastie, it plays nicely with others, and it’s always ready to bring the shadows.
2. How to use graphite powder
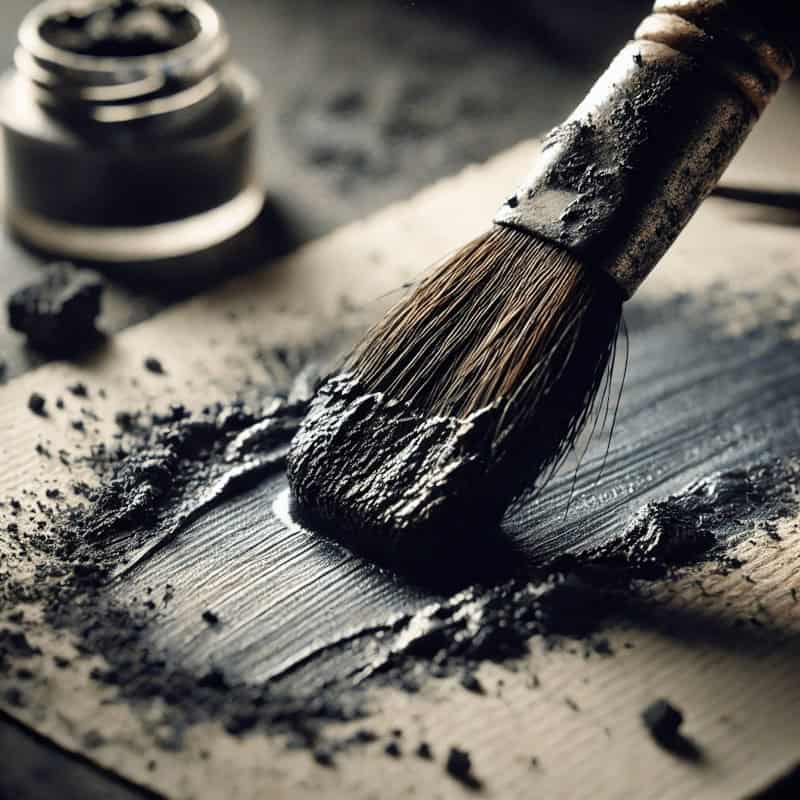
Applying the powder
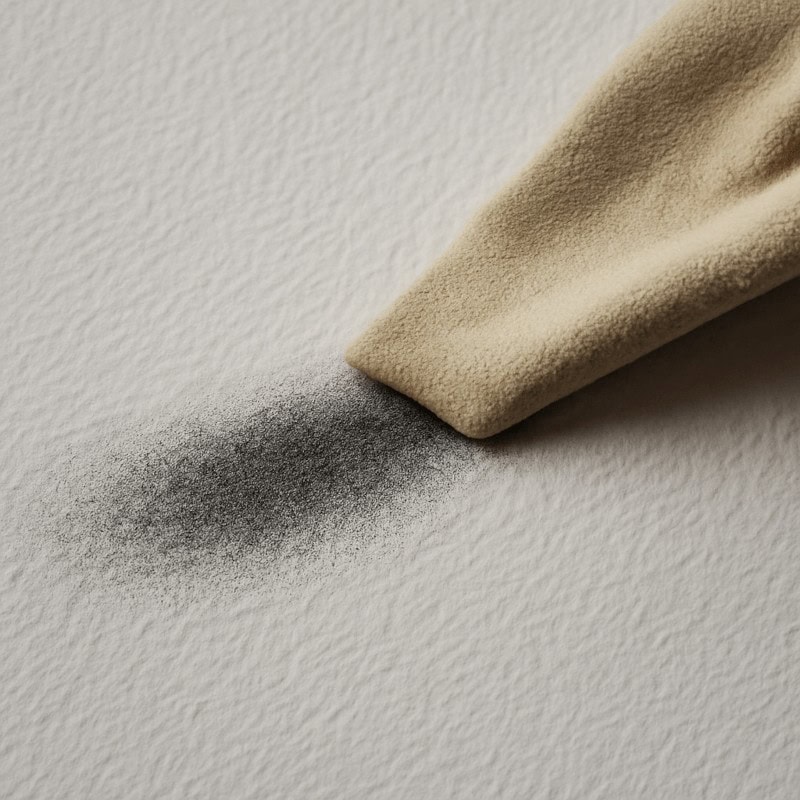
To apply graphite powder, gently use tools like a soft brush, tissue, cotton pad, or sponge to spread it across your paper or drawing surface. For softer blends or subtle texture shifts, a blending stump, chamois, or even your fingers can work beautifully, though be warned, things can get messy fast (but hey, that’s part of the fun, right?).
Each tool leaves a slightly different texture, so experiment to find what suits your eerie masterpiece. Brushes offer more control and reach, while tissues or cotton pads are great for smoothing out large background areas like fog, shadows, or cursed fogbanks.
Build gradually
Start with a light, even layer – think of it as the shadowy foundation of your drawing. You can always darken it later, but if you go heavy too quickly, your piece might start looking muddy or overworked. Layer slowly to build richness and depth, especially in horror scenes where dramatic lighting steals the show.
Defining details
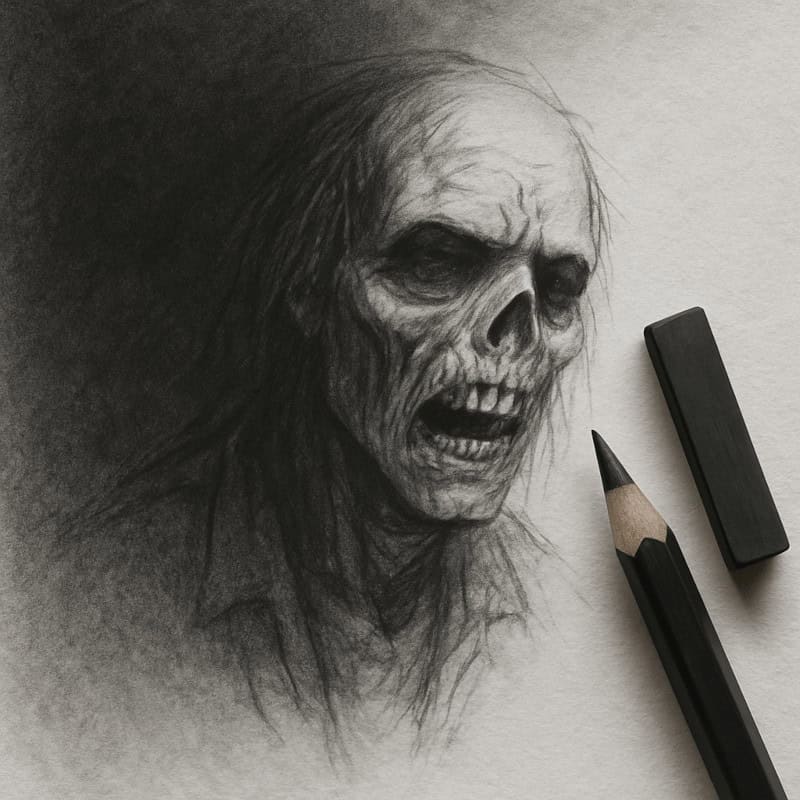
Once your base is in place, use pencils or charcoal to draw sharp lines over the powder. This combo creates an eerie contrast between the soft, moody background and crisp, ominous focal points – perfect for creepy creatures or twisted environments.
Need ghostly glows or haunted highlights? A kneaded eraser is your secret weapon. Dab or lift powder to carve out light spots, ethereal textures, or eerie mist without disturbing surrounding shadows. It’s basically sculpting darkness with fingers.
3. Tools for application
Brushes
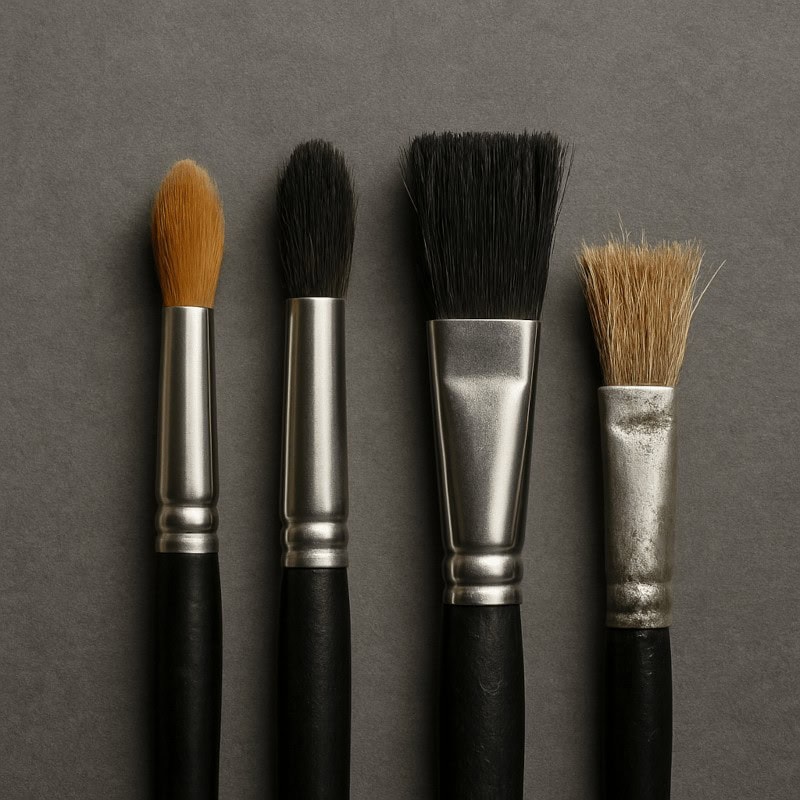
Brushes are your best friend when applying graphite powder, especially if you’re aiming for texture control with a dash of dramatic flair.
- Soft brushes (like makeup or watercolour brushes) are perfect for smooth, even blends and atmospheric backgrounds. Think foggy graveyards, haunted hallways, or ghostly glow-ups.
- Stiff brushes (like bristle or stencil brushes) bring more texture and grit, ideal for creepy walls, cracked skin, or the decaying details of the undead.
The brush you choose has a big say in how your final piece turns out, so don’t be afraid to experiment. Spooky surprises await.
Sponges or cloths
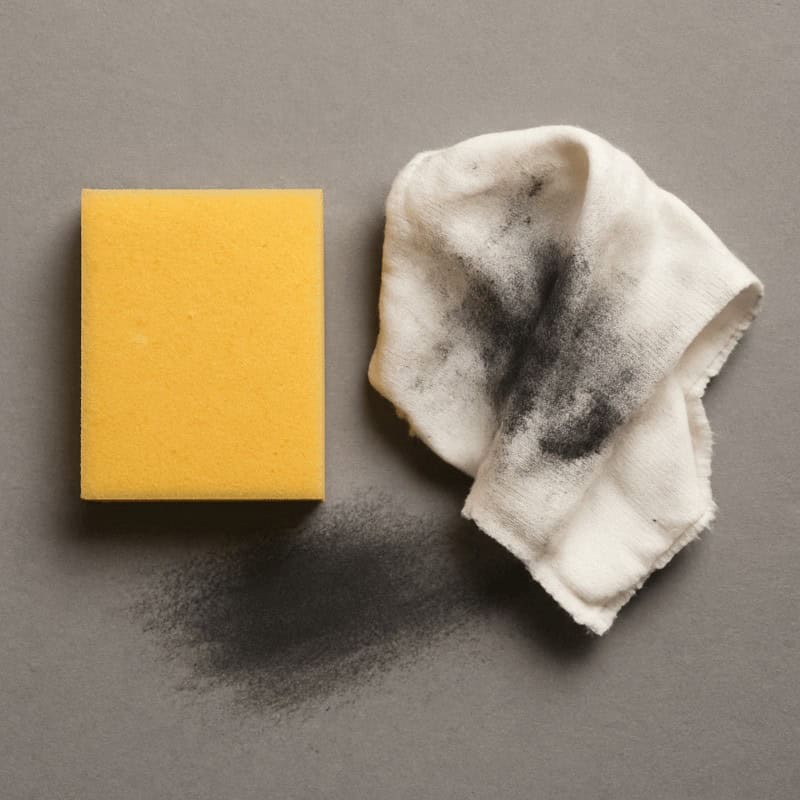
Need to cover a large area fast? Sponges and soft cloths are the graphite powder equivalent of a paint roller. They spread the powder evenly and smoothly, making them perfect for quick background fills or ominous skies, before the real horror begins.
Erasers
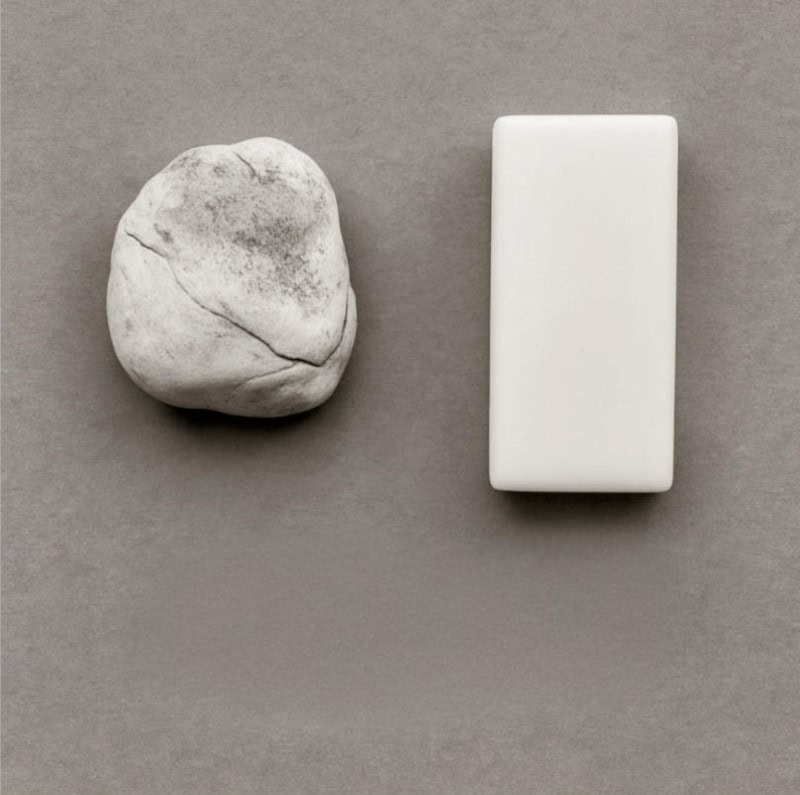
A kneaded eraser is like a light spell in your horror toolkit.
Use it to:
- Pull out highlights
- Create misty shapes or ghostly forms
- Carve in details like glimmers in eyes, highlights on bones, or creepy lighting effects
You can mould it into any shape, so it’s ideal for precision work. Plus, it never leaves crumbs – because nothing ruins a dramatic scene like eraser dandruff.
Blending stumps
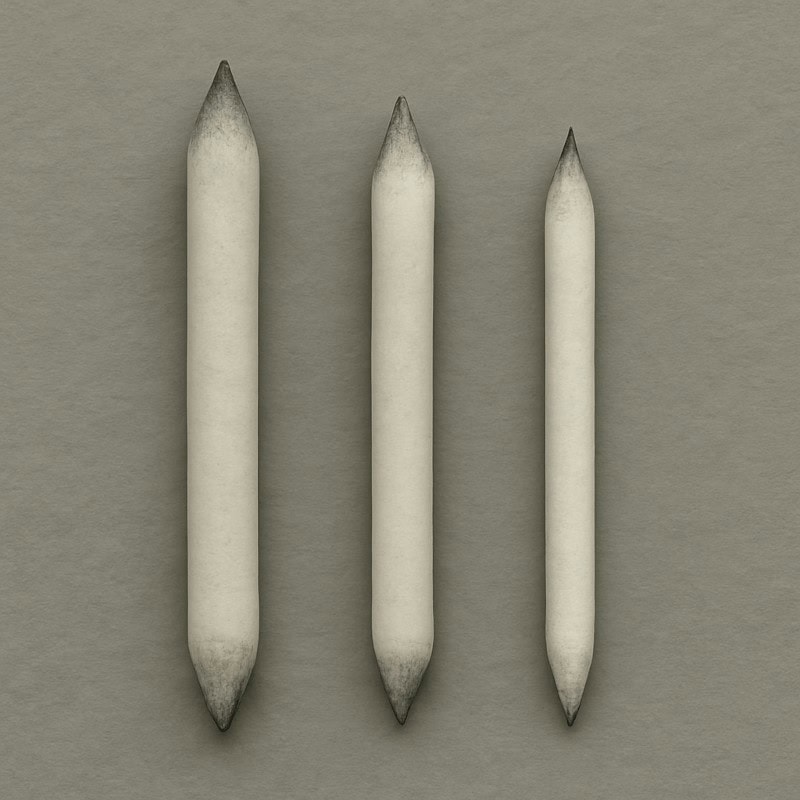
Blending stumps give you precise control when smoothing out edges or connecting areas of graphite powder.
They’re ideal for:
- Tight spaces
- Smoothing transitions around creature features
- Blending shadows in folds, corners, and haunted crevices
They’re like the precision scalpels of the graphite world – perfect for detail work in your monstrous masterpieces.
4. artistic effects & style benefits
Painterly effects
Graphite powder opens up a whole new approach to drawing – more like painting with shadows. Instead of building your work line by line, you can sweep and sculpt large areas of tone, giving your art a soft, fluid, almost ethereal quality. It’s perfect for atmospheric horror scenes where subtlety and suggestion do the heavy lifting.
Mood and atmosphere
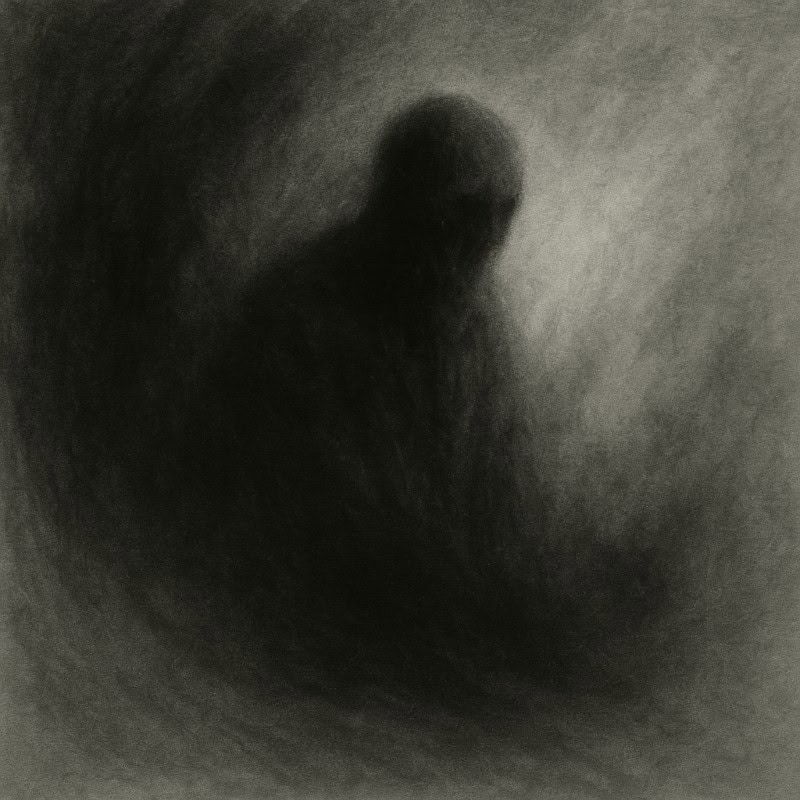
If your artwork leans into the dark and dramatic, graphite powder is your secret weapon for creating mood. It’s brilliant for conjuring mist, gloom, and eerie lighting effects. Whether you’re illustrating the haunted depths of a forest or the unsettling quiet of an abandoned room, it lets you shape the atmosphere that horror feeds on, without harsh outlines getting in the way.
Enhanced realism
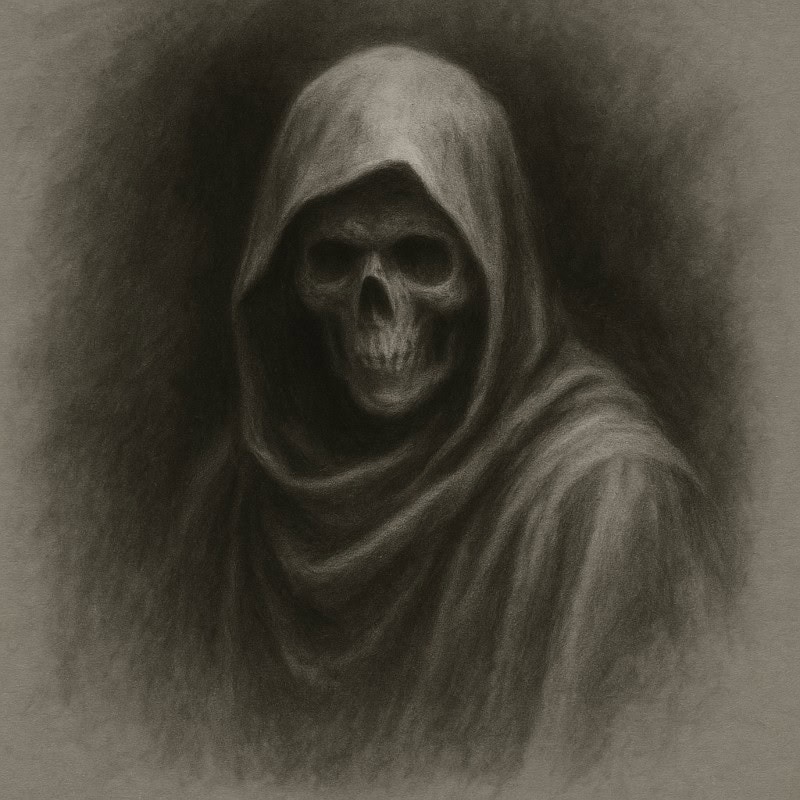
For artists aiming to push realism (or surrealism, for that matter), graphite powder helps bring soft elements to life. Think delicate clouds rolling over cursed hills, gently draped fabric hiding something ominous underneath, or soft fur just begging to be pet (but maybe… don’t). The smooth transitions and subtle textures you can achieve add a level of depth and believability that’s hard to match with pencils alone.
5. Practical tips
Use fixative
Once you’ve finished working with graphite powder, seal your piece with a spray fixative to prevent smudging and preserve all your eerie details. Just make sure to spray in a well-ventilated area – and always test on a scrap piece first to avoid any surprise blotches (ghastly in a bad way).
Protect your workspace
Graphite powder is a sneaky little beast – it loves to drift, smudge, and settle on everything. Use a protective sheet, desk mat, or even an old newspaper to keep your workspace clean (and your horror art from looking haunted by fingerprints). Disposable gloves can also help if you want to avoid charcoal on your hands.
And be careful with clothing and fabrics – graphite powder can cling to them permanently, so it’s worth wearing something you don’t mind getting ruined.
Experiment with papers
Graphite powder behaves differently depending on the tooth and the texture of your paper.
- Smooth paper = softer blends, less grip
- Textured paper = deeper shadows, more dramatic effects
Try a few types to see which one helps your shadows come alive.
6. Safety Precautions When Using Graphite Powder
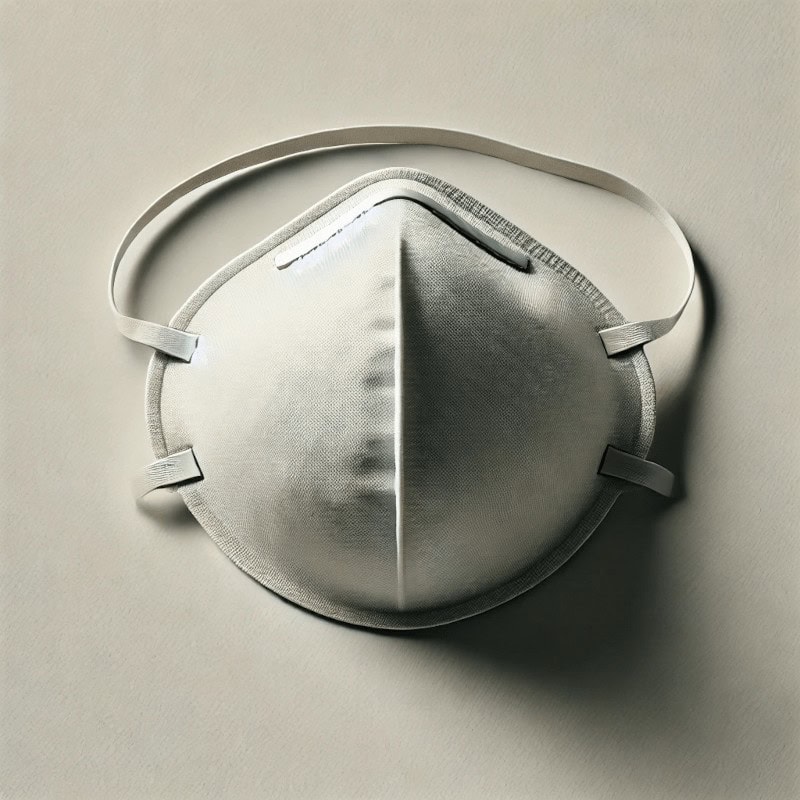
While graphite powder is non-toxic, it can easily become airborne, and inhaling fine particles isn’t great for your lungs. This is especially important when working with large amounts or applying it with a brush.
Make sure your workspace is well-ventilated, and consider wearing a dust mask to prevent accidental inhalation, especially if you’re blending powder over a wide area. Even a simple mask can go a long way in keeping your lungs happy and your creative rituals uninterrupted.
A little precaution can make your drawing sessions not only safer, but far more comfortable… so you can focus on conjuring creepy masterpieces, not coughing fits.
Bonus Tip:
Keep your graphite powder in a clearly labelled, airtight container – because nothing kills the vibe faster than mistaking it for cocoa powder (trust me, haunted hot chocolate is not the goal).
7. Create your own graphite powder
Did you know you can make your own graphite powder at home? Instead of buying pre-made powder, just grab a soft graphite pencil (like a 6B or 8B) and gently sand it down using fine sandpaper.
This DIY method is an easy, cost-effective way to get smooth, blendable powder while giving you full control over texture and consistency. Plus, it’s oddly satisfying – like brewing your own shadowy potion.
Just be sure to do it over a clean sheet of paper or a container to catch the powder. No one wants haunted floors; they tend to scream when stepped on… Just saying.
8. Advanced technique: mixing graphite powder with water
Graphite powder doesn’t just have to be used dry – you can mix it with a little water to create a smooth, paint-like consistency. This transforms it into a brush-friendly medium, adding a painterly, expressive feel to your drawings.
It’s an excellent technique for achieving gradient transitions, misty effects, or eerie, smoky textures that pencils alone can’t replicate. Perfect for atmospheric shading, ghostly shadows, or creepy backdrops that look like they’re crawling off the page.
Try experimenting with your water-to-powder ratio – more water gives you softer, diluted washes, while less water offers deeper, more dramatic tones. As you explore, you’ll discover effects unique to this method, perfect for horror-themed pieces where a little unpredictability adds to the charm.
Note of caution:
Be careful when using water on regular drawing paper – too much moisture can cause it to buckle, warp, or even tear. For best results, use watercolour paper or a heavyweight mixed-media paper that can handle a bit of wet chaos.
Conclusion
Graphite powder isn’t just a drawing tool – it’s a gateway to eerie effects, ghostly gradients, and atmospheric magic. Whether you’re blending it dry for subtle shadows or mixing it with water for dramatic washes, this versatile medium adds a whole new level of depth to your horror art.
So don your gloves, grab your brushes, and let the shadows whisper their way across the page.
Have you tried using graphite powder in your art?
Do you prefer the dry or wet technique? Share your thoughts and experiences in the comments. I’d love to hear how you incorporate graphite powder into your drawings. Who knows? Your next twisted masterpiece might just inspire the next eerie tutorial right here on Dreaded Designs.
What You Learned
- Tiny amounts go a long way.
- Powder creates smoother gradients than pencils alone.
- Brushes, cloths, and sponges all leave different textures.
- Layering powder first gives pencils more depth.
- You can pull highlights back out with an eraser.
- Water turns powder into dramatic washes.
- Ventilation and masks keep things safe.
- Protecting your workspace prevents stains.
- You can make your own powder if needed.
- Storing it properly keeps it clean and contained.
Want to go deeper? Try these extras:
- White Gel Pens
Want to add sharp highlights or magical little glows? A white gel pen can be your secret ingredient for popping those eerie details right off the page. - Combining Graphite, Carbon & Charcoal
Graphite powder also pairs beautifully with other dry media. Try combining it with other dry media. Try combining it with carbon and charcoal for gritty depth, rich blacks, and some satisfyingly spooky smudge effects. - Graphite Pencils
Learn about different graphite pencil types, how their softness affects shading, and which ones are best for building eerie depth in your horror art.