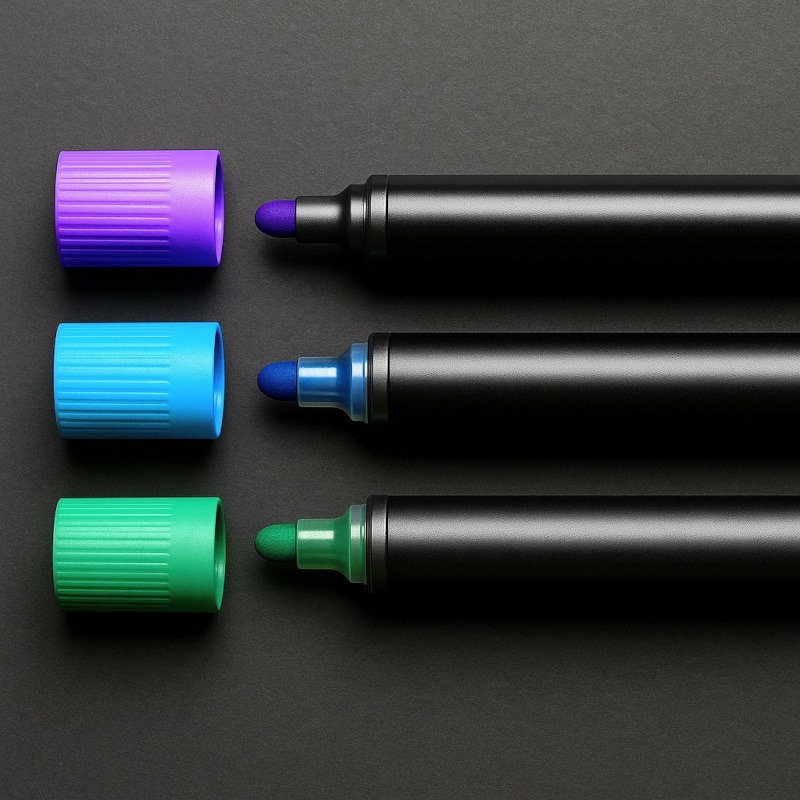
Acrylic Paint Markers for Horror Art
One careful stroke, and acrylic markers make your artwork feel like it just woke up in the dark.
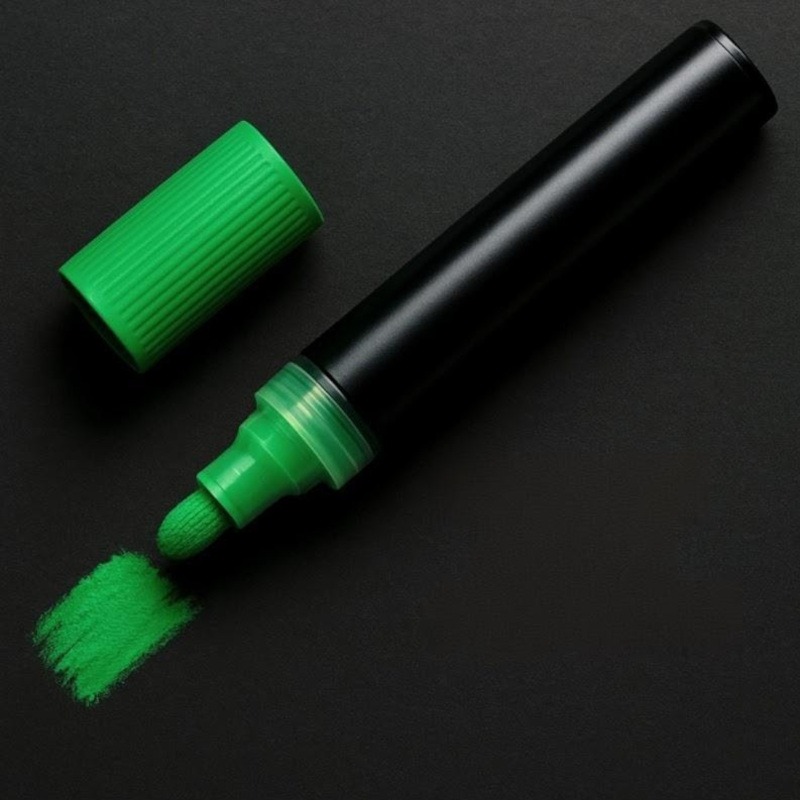
Acrylic paint markers are basically paint that has decided it wants to get things done. No water cups, no palette, no brush that dries into a crunchy claw because you forgot about it (again). Just shake, click, draw, done.
They’re ridiculously perfect for horror art because they let you add the kind of sharp, dramatic highlights that make your drawings look like they’ve seen some things. Bone edges become too clean. Doll faces look way too self-aware. Eyes start looking like they’re about to blink.
If pencils build your creepy creation, acrylic paint markers are the moment it wakes up and starts whispering your name.
Why Horror Artists Love Them
Acrylic paint markers:
- Matte, opaque coverage
- Clean edges even over dark or textured areas.
- No smudging once dry (they don’t reactivate)
They serve as the final dramatic touch to your artwork.
The moment it goes from sketch to she lives.
Acrylic Paint Marker Nib Types
Nib Size | Best Uses |
Extra Fine | Tiny cracks, glassy eye highlights, eyelashes, fine stitches |
Fine | Bone edges, small symbols, precise texture |
Medium Bullet | Filling shapes, rough shading, grime textures |
Chisel | Bold runes, dramatic sweeping strokes, lettering |
Surfaces They Work On
Surface | How Well They Work | Notes |
Paper | Excellent | Best control, great for detail and highlights |
Canvas | Great | Even better with a light gesso layer |
Wood | Great | Lightly sand first; seal after if handled |
Black Paper | Excellent | Perfect for glowing light effects and high - contrast horror |
Watercolour Paper (Hot Press) | Excellent | Smooth and tough - ideal for layered marker work |
Glass | Good | Wipe first with isopropyl alcohol; seal if displaying |
Ceramic | Good | For decorative display only unless sealed |
Plastic/Metal | Good | Light sanding or clear gesso helps the paint grip |
If you want sharp, dramatic detail, choose:
- Bristol Smooth Paper
- Hot Press Watercolour Paper
- Black Drawing Paper
Which Paper to Buy
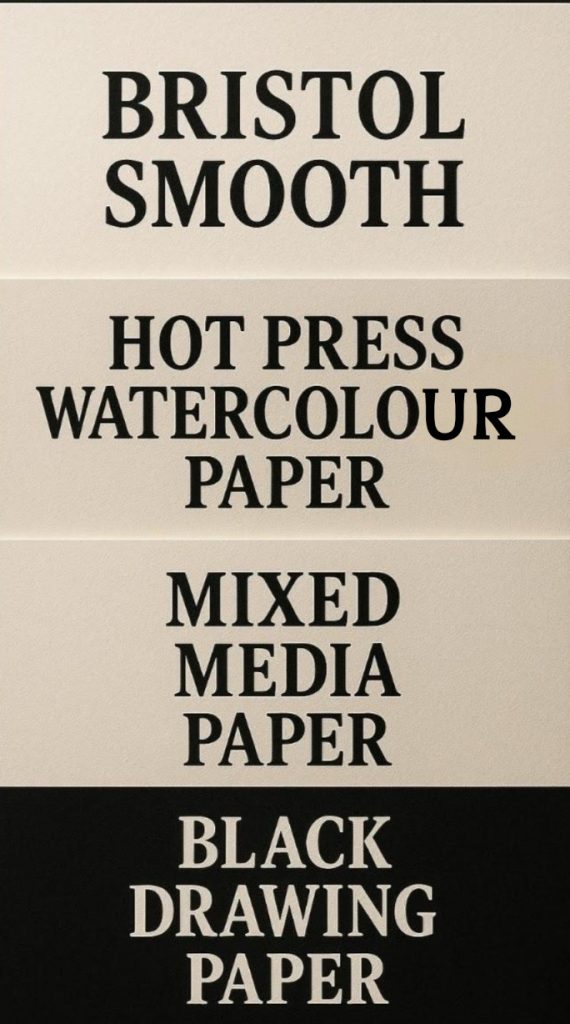
Bristol Smooth (250 – 300 gsm)
- Ultra-smooth, great for clean highlights and sharp precision.
- Perfect for bone shine, glowing eyes, and cracked porcelain details.
Look for: Bristol Board – Smooth/Plate Finish
Hot Press Watercolour Paper (300 gsm)
- Thick, smooth, and fancy.
- Perfect for finished artwork you want to frame or display.
Look for: Hot Press (not cold press; cold press is bumpy like dragon skin)
Mixed Media Paper (200 – 300 gsm)
- Best for everyday drawing and practising.
- Works with pencils, markers, and ink altogether.
Look for: 200 gsm or higher
Black Drawing Paper (160 – 220 gsm)
- Where acrylic markers shine.
- Creates instant mood and eerie atmosphere.
Look for: Black Drawing Paper or Black Mixed Media Paper
Paper Weight Guide
Weight | Meaning |
160 gsm+ | Minimum for marker work |
200 - 250 gsm | Best for sketchbooks & regular drawing |
300 gsm | Professional, ideal for final pieces |
If the pad doesn’t list the weight, treat it with suspicion.
How to Use Acrylic Paint Markers
- Shake the marker (it should rattle like a possessed maraca).
- Prime the nib by pressing it gently on scrap paper until paint appears.
- Draw slowly for solid, even lines.
- Let it dry fully (usually under a minute).
- Cap between uses: acrylic paint dries quickly when exposed to air.
If the flow slows, don’t pump aggressively; it only causes ink flooding.
Just wipe, prime once, and continue.
Layering
Layering with acrylic paint markers is about building up your details in stages rather than trying to blend everything at once. Since acrylic paint dries permanently, each layer remains fixed in place. This allows you to continuously enhance brightness, contrast, or texture without risking smudging or muddying your artwork.
Start by applying your highlight or detail lightly. Let that dry completely (usually less than a minute). Then go over the same area again to make it brighter and sharper. The second layer is where the magic happens – lines look cleaner, highlights pop, and your art starts to get that “oh no… it’s alive” energy.
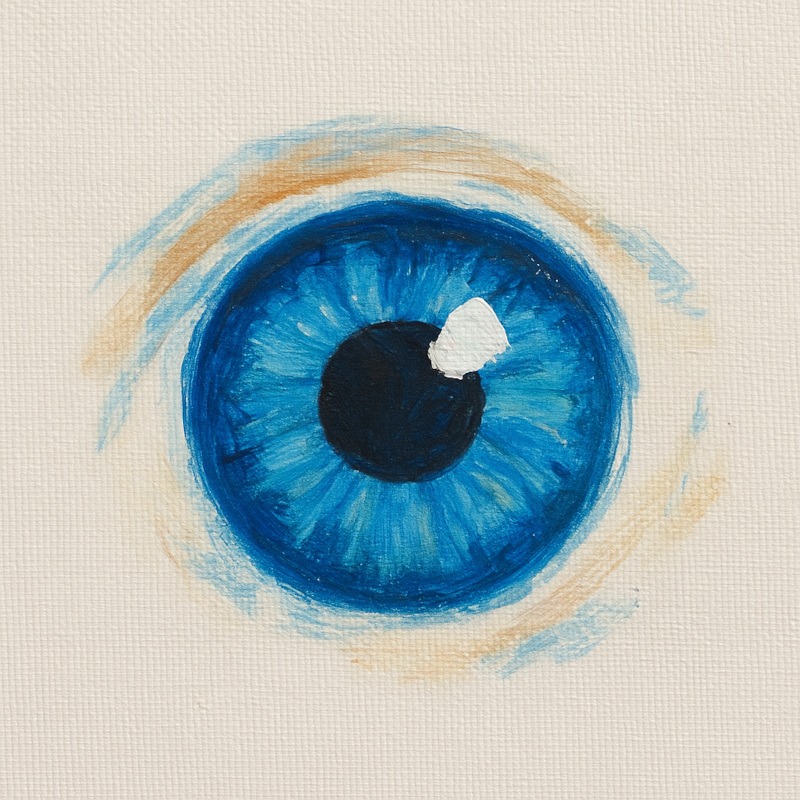
If you want something to look reflective (like a wet eyeball, polished bone, or a glossy, cracked surface), add a third tiny highlight layer. Think of it like turning up a dimmer switch… except instead of lighting a room, you’re awakening a creature.
Common Issues & Fixes
Although acrylic paint markers are relatively easy to use, they can sometimes be temperamental. Fortunately, every issue has a straightforward solution:
Patchy or streaky lines?
The paint isn’t mixed yet. Give the pen a good shake – it should sound like there’s a little gremlin dancing inside.
Ink stopped flowing mid-line?
The nib just needs to be primed again. Press it gently on scrap paper once or twice; no need to slam it like it owes you money.
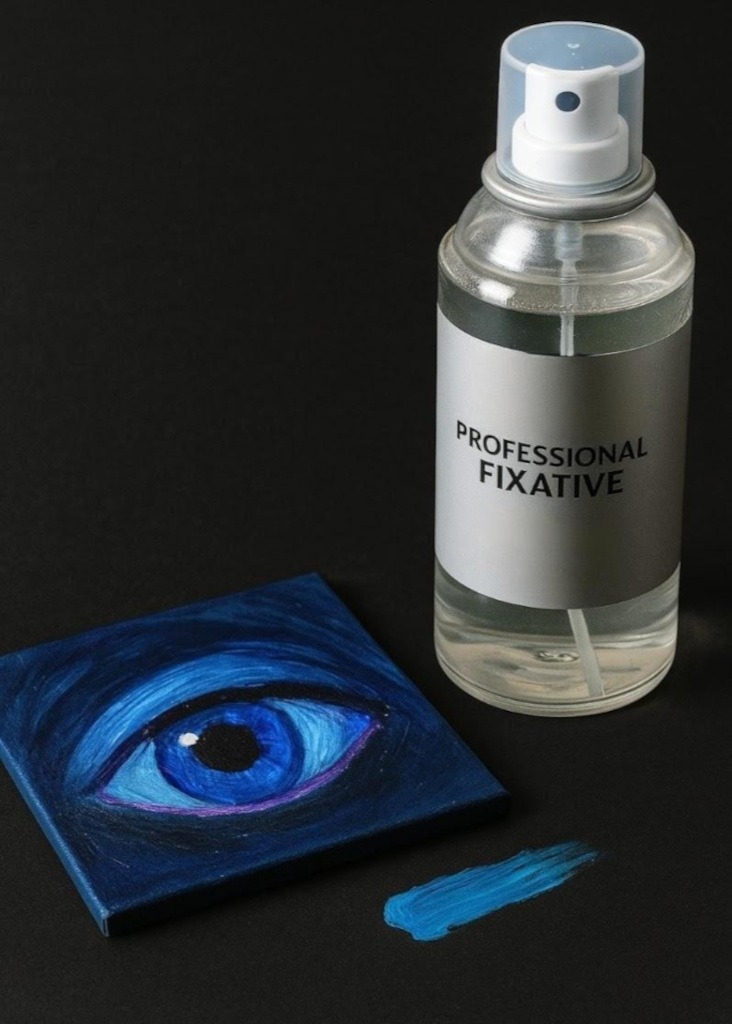
Marker starts picking up graphite and turning grey?
Your pencil layer is still loose. Lightly spray your drawing with workable fixative before adding highlights. Or simply scribbling the tip clean on a scrap sheet – works surprisingly well.
Paper looks wrinkled or fuzzy?
That’s the paper’s way of saying, “I’m not built for this.”
Switch to 200gsm or thicker paper. Your markers will instantly behave better.
Sealing & Finishing Acrylic Paint Marker Art
Once you’ve finished adding your highlights and creepy little details, take a moment to let the marker fully dry. Acrylic dries quickly, but it benefits from a few minutes to settle.
If your art is staying inside your sketchbook or portfolio, you don’t need to seal anything. The paint will stay exactly where it is.
However, if your piece is on canvas, wood, glass, ceramic, or anything that gets touched or displayed, sealing is a good idea. A clear acrylic varnish (matte) will protect the artwork without changing the spooky atmosphere. A gloss varnish will make everything look shiny and wet, which is great if you are specifically going for “fresh eyeball” energy, and less great if not.
Just make sure the paint is fully dry before sealing; nobody likes surprise smearing, not even your local cryptid.
Conclusion
Whether you’re detailing bone shine, ghost-glow eyes, cracked porcelain skin, or just adding a suspiciously wet highlight to something that shouldn’t be wet… acrylic paint markers deliver every single time.
Think of your art like a creature:
- Pencils build the body
- Shading gives it weight
- Acrylic paint markers open the eyes
And if the eyes follow someone across the room?
Congratulations.
You’ve done it correctly.
Acrylic paint markers are one of those tools that make your art suddenly look intentional – as if you always meant for it to be that dramatic. They’re easy to use, deeply satisfying, and dangerously good at turning a nice drawing into something that might get up and wander around at night.
What You Learned:
- Acrylic paint markers are real paint in pen form, no water cups, no brush-cleaning trauma.
- They’re perfect for horror art because they add that final dramatic “oh no… it’s alive” highlight.
- Use Bristol Smooth, Hot Press watercolour, or Black Drawing Paper for the cleanest, brightest results.
- Layering = let the first mark dry, then go over it again to boost brightness and intensity.
- If your marker misbehaves, it usually just needs a shake, nib prime, or better paper.
- You only need to seal the artwork if it’s on wood, canvas, ceramic, glass, or something that gets touched.
Tools You Might Also Like
If you’re building your horror art toolkit, these guides might help you choose your next favourite toy:
- Liquid Chalk Markers
For eerie, foggy lettering and symbols that look like they were whispered onto a blackboard by something you probably shouldn’t summon. - Rulers & French Curves
When your monster needs clean arcs, sharp geometry, or architecture that isn’t wobbling like it’s possessed. - Craft Knives
For razor-thin highlights, scratched textures, and that “this drawing has secrets” energy.