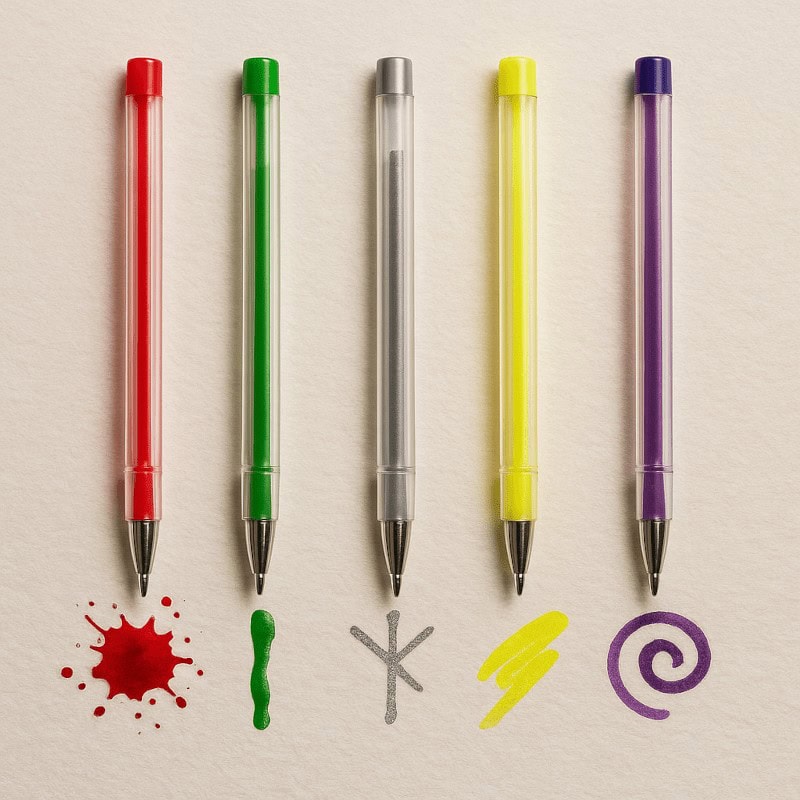
Coloured Gel Pens in Horror Art
When the gel pen comes out, your highlights suddenly stop hiding and start showing off.
Coloured gel pens aren’t just for school notes or cheerful doodles – in horror art, they’re secret weapons. Their bold, opaque glow can transform a sketch from eerie to downright unsettling, making them ideal for adding those final cursed touches that graphite and charcoal alone can’t provide.
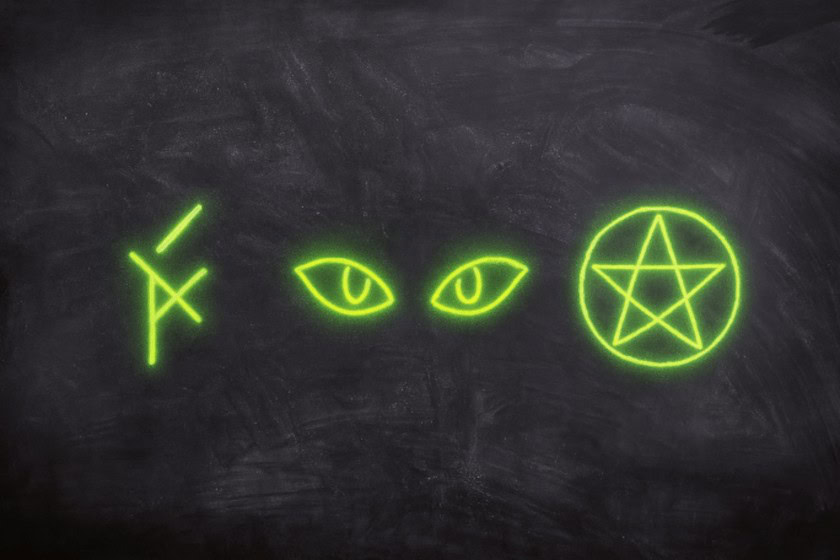
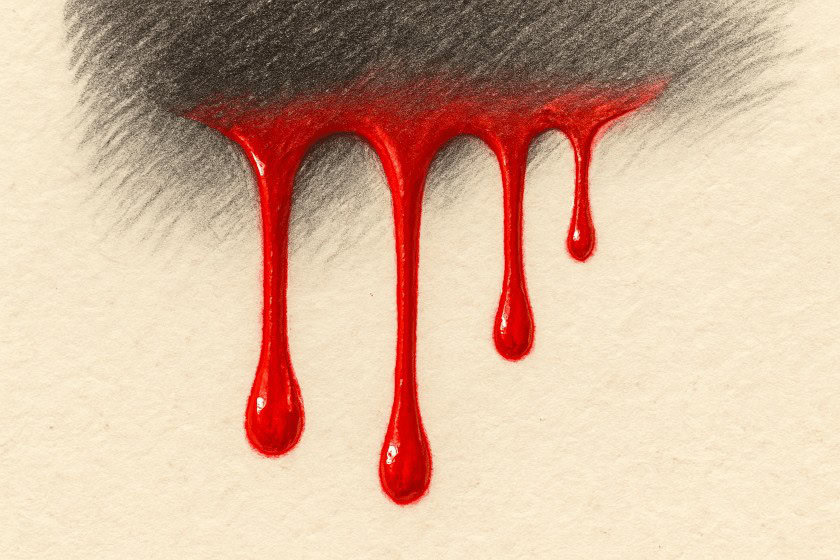
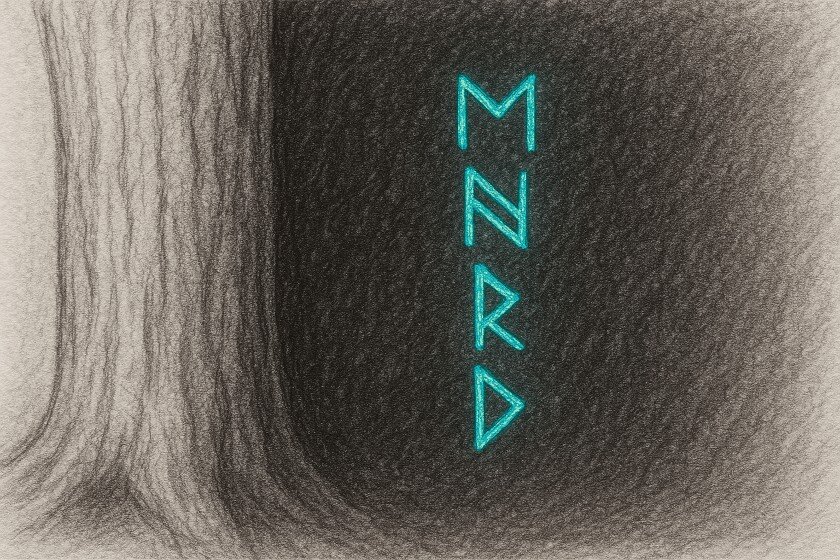
They shine brightest when used against dark shading or smudgy backgrounds. A single line of gel ink doesn’t just sit quietly – it demands attention. Think glowing runes, a splash of blood, or a pair of eyes lurking in the shadows that make viewers shift uncomfortably in their chairs.
Subtlety is key. Otherwise, your page stops whispering “Silent Hill” and starts screaming “Silent Glowstick Rave,” complete with Pyramid Head waving neon bracelets. They work best as accents, not full shading tools – little jolts of glow that make your horrors pop without overwhelming the page.
Coloured gel pens are one of the easiest ways to add glowing highlights, blood effects, and supernatural details to horror drawings.
Why Gel Pens Work in Horror Art
Gel pens deliver something pencils can’t: colour that pops instead of blending in. Their water-based ink sits on top of the paper, catching light and making eerie details feel unnervingly alive against the darkness of graphite or charcoal.
Think about it:
- Highlighting cursed runes that should glow unnaturally.
- Adding veins of blood or ichor that refuse to be ignored.
- Marking occult symbols so they look as if they’re burning into the page.
They’re best used as accents rather than main players. Like a jump scare in a horror film, they lose their effectiveness when overused. The trick is to let the gel pen work as a surprise, something the viewer’s eyes land on unexpectedly.
Creepy Colours & Their Powers
1. REd Gel Pens
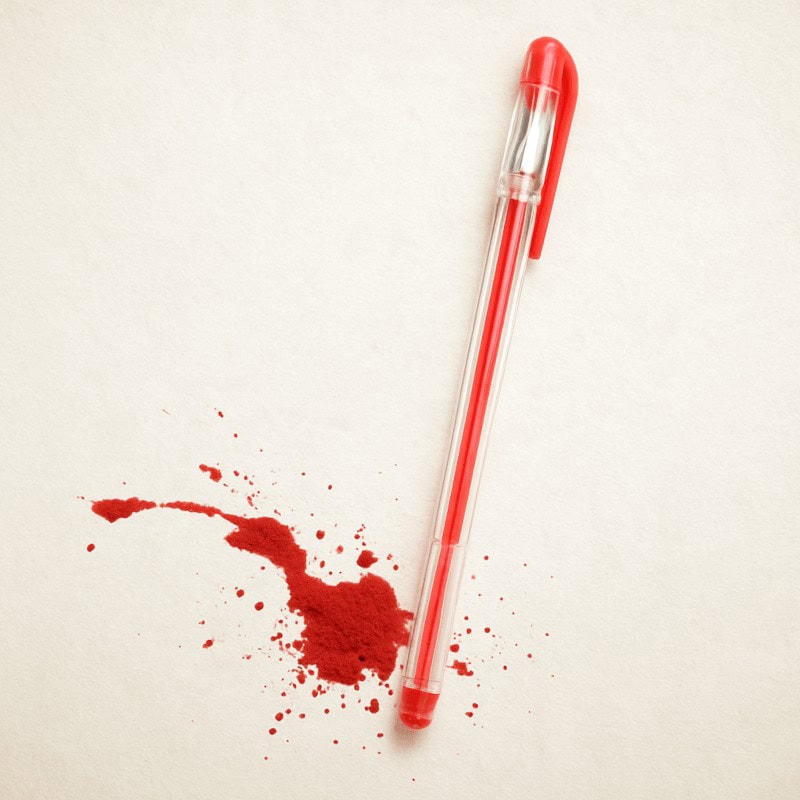
Red is the classic choice for horror-themed gel pens. Its associations with blood, danger, and warning signs mean it carries impact even in small doses.
- Use red to create blood splatters, drips, or scratches that stand out over graphite shading.
- Perfect for summoning circles or ritual marks, especially when layered over rough charcoal backgrounds.
- Works well for tiny details, like a glint in the corner of a vampire’s mouth.
Try to avoid sneezing during a splatter test; otherwise, your sketchbook might resemble a police report.
2. Green & Purple Gel pens
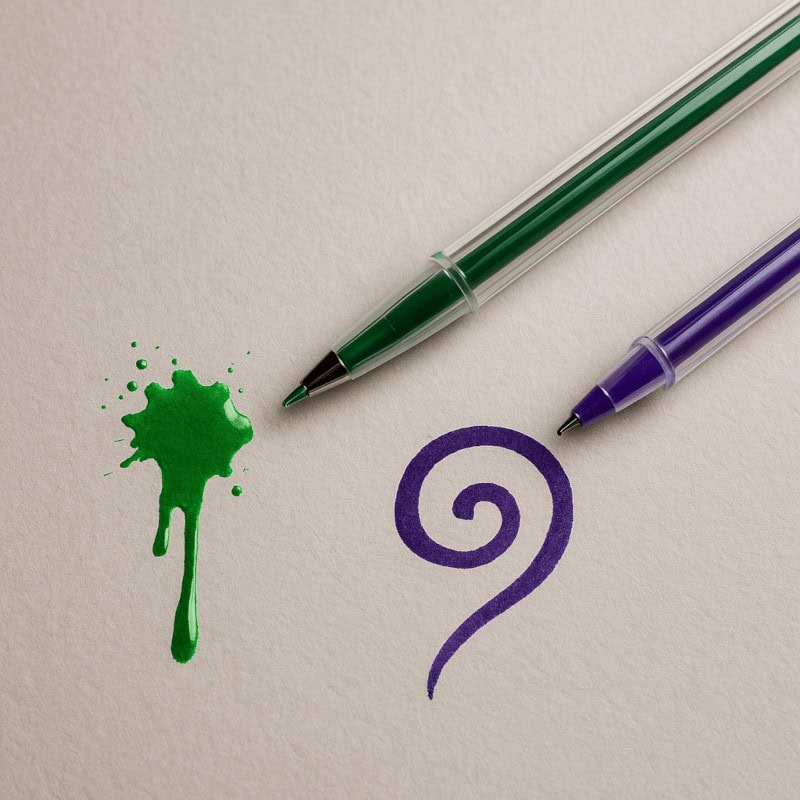
These colours are the go-to for occult and supernatural vibes.
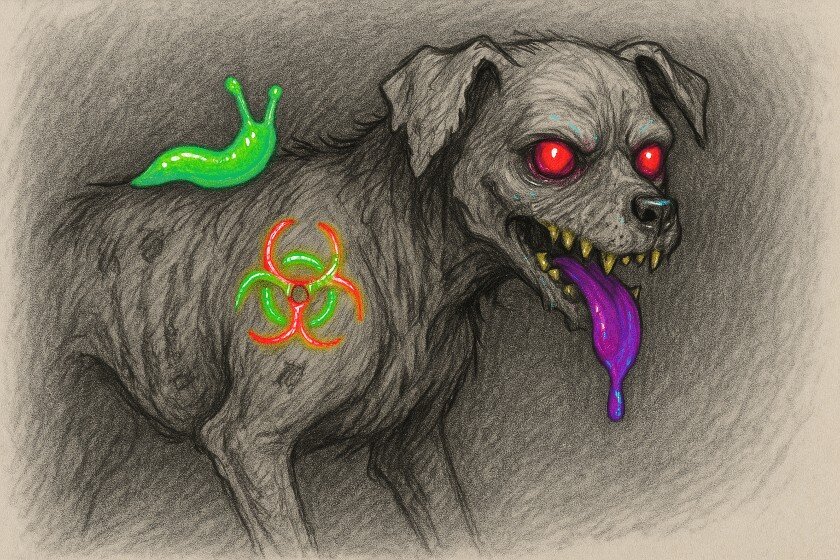
- Green: screams poison, toxic slime, or glowing ectoplasm. It’s ideal for drawing monsters with a radioactive edge or for eyes that don’t belong to anything human.
- Purple: tied to mysticism and withcraft, purple works perfectly for cursed objects, enchanted smoke, or ghostly energy.
Use these shades when you want your piece to feel otherworldly or unholy. They’re subtle enough not to overwhelm the page, but strong enough to give your art an immediate “something’s not right here” mood.
3. Metallics & Brights
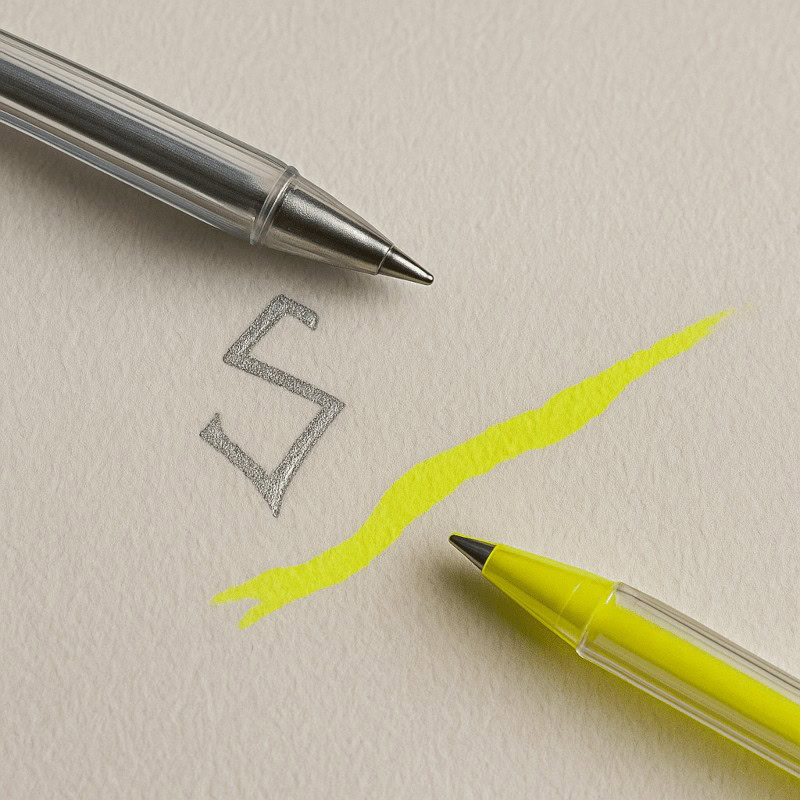
Metallic and neon pens take “glow” to the next level. They shimmer under light, instantly catching the eye.
- Use metallic silver or gold for runes, amulets, or cursed weapons that look ancient and enchanted.
- Try bright neons for modern horror themes: glowing graffiti, flickering signs, or apocalyptic slime trails.
- They’re also great for adding contrast to dark scenes, because metallics bounce light while everything else absorbs it.
And yes, even a shopping list looks threatening in metallic ink: “Bread. Milk. Souls.”)
Practical Horror Artist Tips
- Paper choice matters – Gel pens work best on smooth, heavy paper. On rough or textured pages, the ink can skip, leaving patchy lines that kill the effect.
- Layering order – Always lay down your graphite or charcoal first. Gel pens should be the finishing touch, because drawing over them is like sketching on wax.
- Test before committing – Some gel pens glide like butter, others scratch like cursed twigs. Always try them on a spare scrap of paper first.
- Give them time to dry – Gel pens can smudge easily. Rushing risks turning your glowing rune into a muddy blur.
Build Your Cursed Gel Pen Kit
You don’t need an entire rainbow to get started. A small selection can create a huge range of effects.
- Starter essentials: Red, green, white, and metallic silver.
- Add-ons for flair: Neon yellow or pink for unnatural glows, purple for occult details.
- Optional sparkle: Glitter pens, for when your monsters want to look fabulous.
Hey, even eldritch horrors deserve a little glitter.
Gel Pen Experiment Ideas for Horror Art
Gel pens are fun, but they’re also unpredictable little beasts. These quick experiments are designed to help you push their limits without worrying about creating a polished piece – think of them as horror-themed test runs before you unleash them on a full drawing.
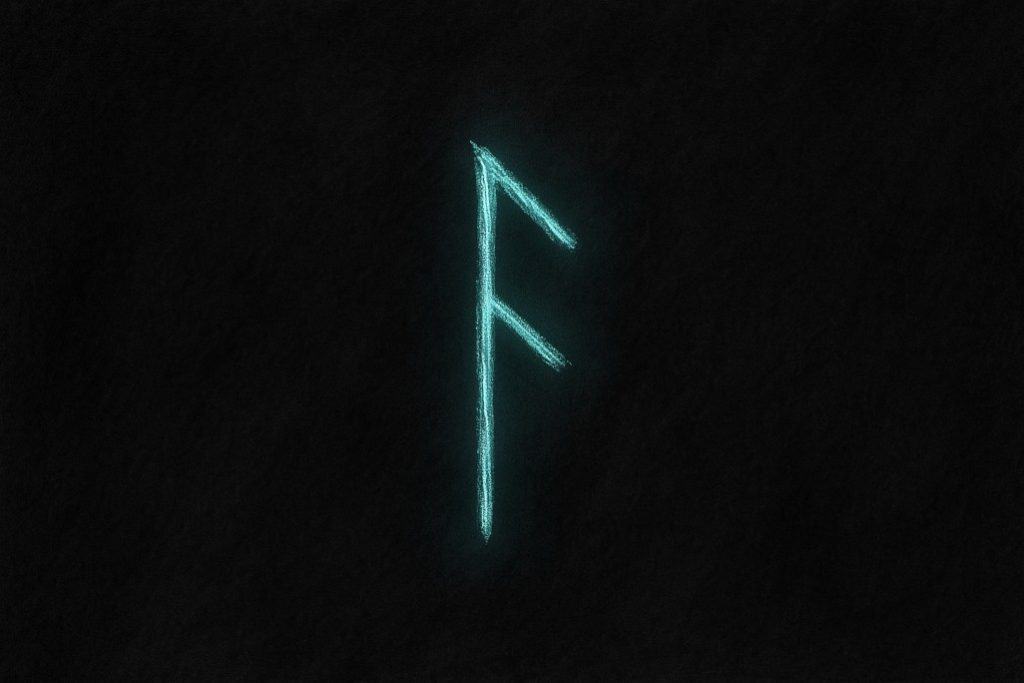
- Reverse Horror Glow – Take a section of your sketchbook and shade it completely black with charcoal or heavy graphite. Once the background is dark, carve glowing shapes into the darkness with your gel pens. Try runes, luminous eyes, or even a single cursed symbol in the middle of the page. The darker the base, the more the gel pen will appear to be glowing.
- Drip Illusions – Use your gel pen to draw smooth, glossy drips that look like liquid sliding down the page. Start them from a shaded area, like a crack, wound, or shadow, and vary the thickness and length so each drip feels natural. The shine of gel ink makes the effect look freshly wet, and you can even add a tiny white or metallic highlight for extra realism.
- Secret Messages – Draw a full graphite scene, then sneak small symbols or runes in with gel pens. Place them in the corners, in the shadows, or even half-hidden in background objects. It makes your art feel “layered,” as if there are whispers and warnings lurking inside the piece. Anyone who spots them gets that delicious “wait a second…” reaction.
- Fabulous Monsters – Pick a creepy creature you’ve already drawn and add a completely unnecessary but humorous detail in gel pen. Maybe your zombie gets glitter eyeliner. Maybe your vampire has glowing pink nails. Maybe your skeleton wields a metallic rainbow scythe. The clash of horrifying and fabulous will train you to use gel pens playfully, without feeling pressured to “get it right.”
Horror Practice Prompts
If you’d rather keep things simple, these prompts are quick warm-ups. Each one focuses on a single idea, so you can explore what gel pens can do without committing to an entire cursed landscape.
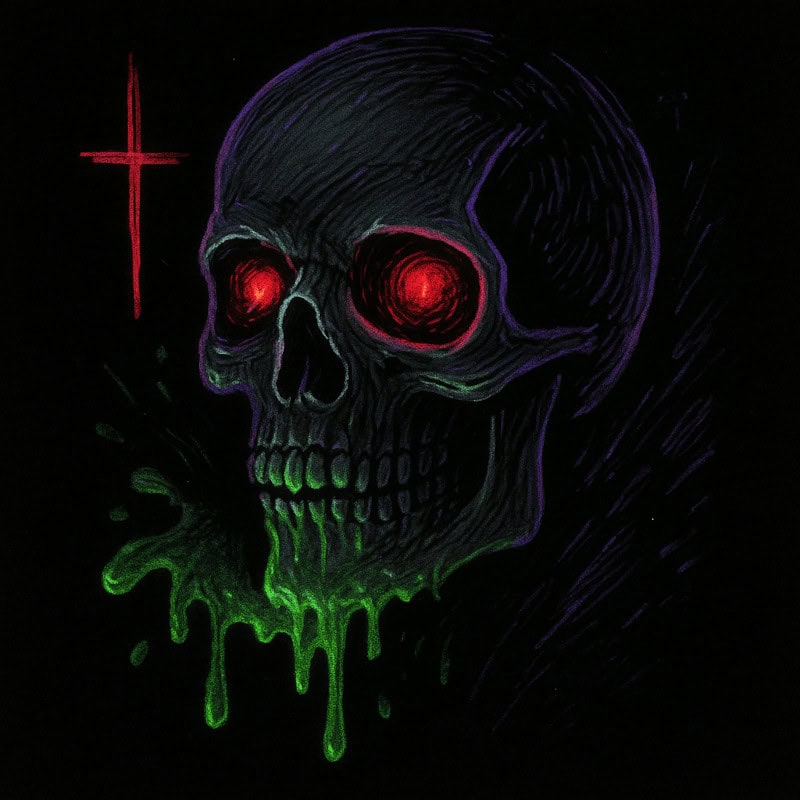
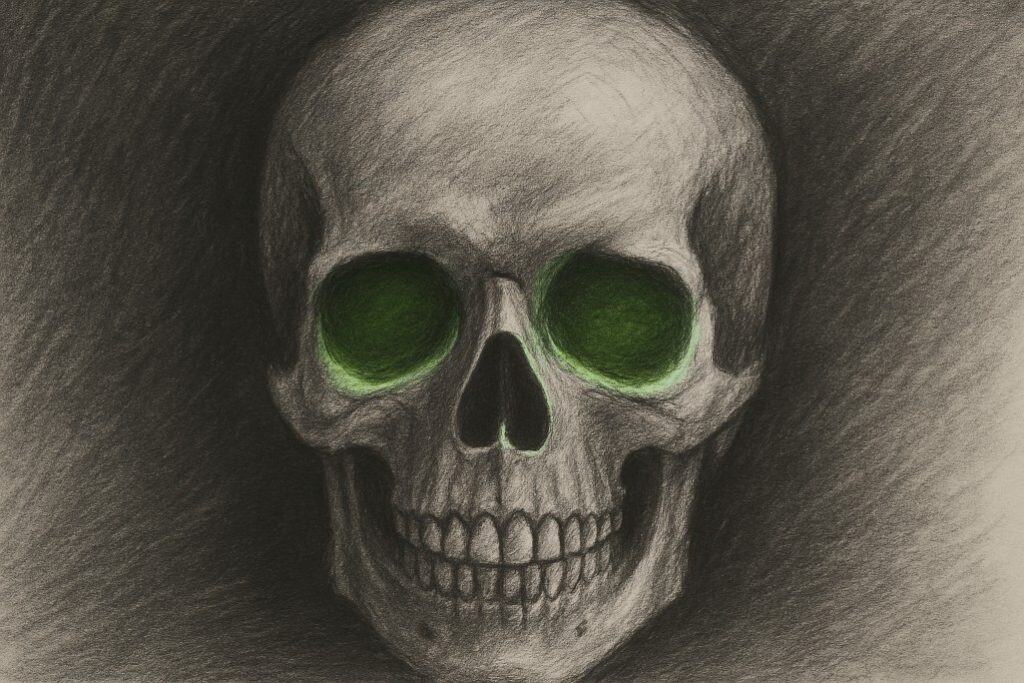
- The Haunted Skull – Draw a simple skull in graphite. Shade it dark, then use a neon green gel pen to add glowing eyes. Try layering white gel pen highlights around the sockets to make them pop even more.
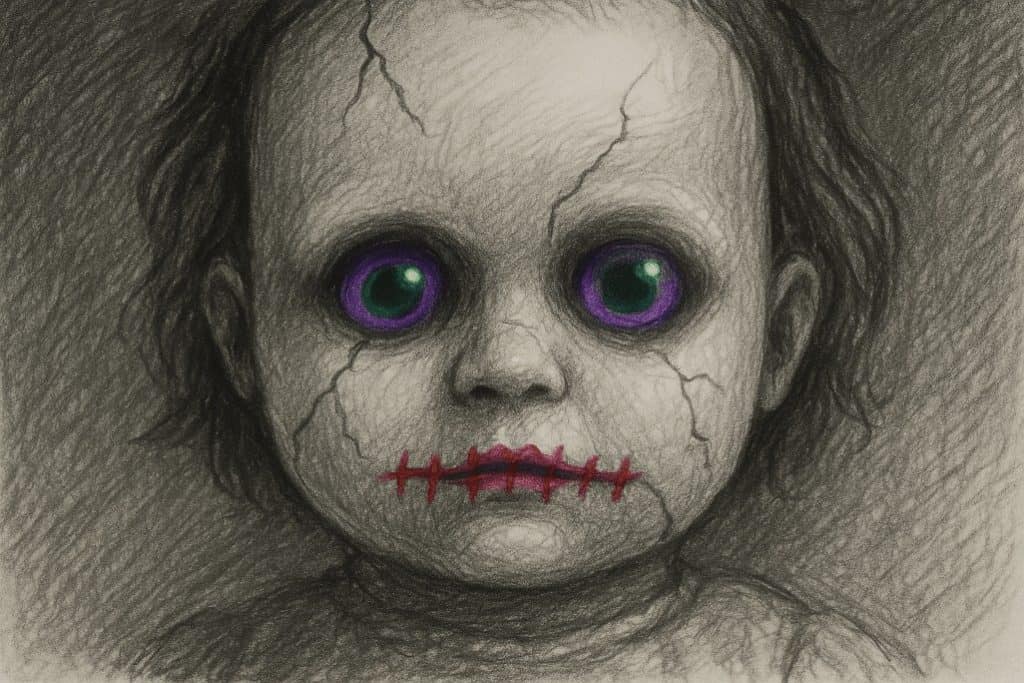
- The Doll’s Curse – Sketch a basic porcelain doll face in pencil. Once it’s shaded, use a red gel pen to stitch a jagged line across the mouth – like someone tried to silence it. Add faint purple or green glows in the eyes for an extra “why does this feel wrong?” vibe.
- The Rune in the Dark – Black out a whole page with charcoal or graphite, then choose just one glowing silver or metallic rune to sit in the centre. This trains you to use restraint; the single mark will look far more powerful than a cluttered page.
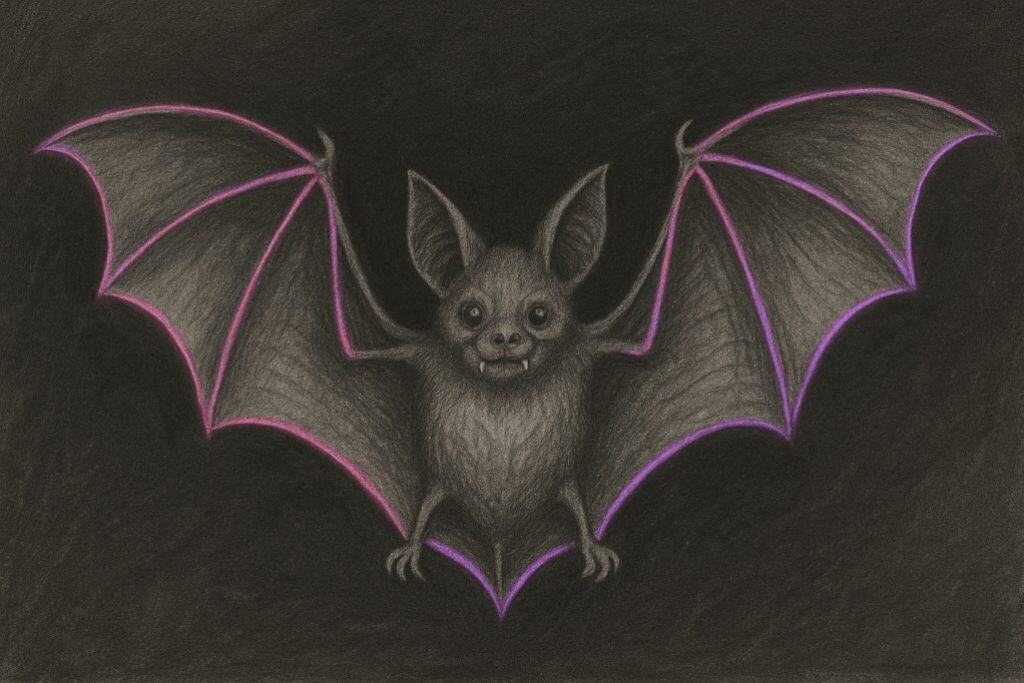
- The Glam Bat – Draw a bat outline, keep the body shaded in pencil, then give it glowing eyeliner with metallic pens or neon pink highlights in the wings. Think “Transylvanian rave chic.” It’s equal parts spooky and ridiculous, which is exactly what makes it fun.
Final Thoughts
Coloured gel pens are small tools with a big impact. They transform subtle sketches into striking horror scenes with just a few strokes. Whether you’re adding blood splatters, eerie auras, or metallic curses, they’re all about balance: just enough to unsettle without tipping your art into chaos.
Use them sparingly, use them playfully, and remember: gel pens aren’t just doodles. They’re for summoning creatures that shouldn’t exist. Because nothing says “nightmare fuel” quite like a zombie rocking glow-in-the-dark eyeliner.
One last thing – give your gel pens a moment to dry before you touch the page again. Nothing ruins a cursed glow faster than a thumbprint smear.
What You Learned:
- Gel pens are best used as finishing touches to add highlights, accents, and small details.
- Different colours – white, coloured, metallic, and bright tones – each create their own mood and effect in horror art.
- Gel pens work most effectively on dark or toned areas, where their brightness can stand out.
- Slow, steady strokes help prevent skipping, streaking, and uneven ink flow.
- Testing your pen on scrap paper helps you check opacity and flow before committing to your drawing.
- Letting gel ink fully dry prevents smudging and keeps your highlights clean and sharp.
- Using gel pens thoughtfully enhances contrast, guides the viewer’s eye, and strengthens the overall atmosphere of your artwork.
More Tools for Your Horror Art
Coloured gel pens are just one weapon in your haunted toolkit. If you’re curious about other creepy materials, check out these guides:
- Coloured Pencils
For eerie bruises, sickly skin tones, and cursed glows that blend beautifully with graphite. - Pastels
Messy, dusty, and unpredictable – perfect for fog, ghostly atmospheres, and dreamlike backgrounds. - Craft Knives
Not just for horror movies. Use them to sharpen pencils to deadly precision or carve unsettling textures straight into your drawings.