Using Craft Knives in Drawing
Sharp Tools for Sharp, Spooky Details
Craft knives might look like horror props, but in your art toolkit, they’re far less dramatic than they appear. They’re sharp, precise, and surprisingly polite – as long as you’re not waving them around like you’re reenacting a chase scene. In reality, they’re brilliant little tools that let you sharpen pencils to perfect points, carve clean highlights into dark shading, and add textures that instantly make your artwork feel gritty and alive.
And yes, they also add a tiny thrill to your workflow. There’s something oddly satisfying about gently scraping a highlight into a creature’s eye or roughing up a haunted wall until it feels perfectly worn and story-filled, like it’s been part of your drawing for centuries. Used properly, a craft knife gives your horror art those razor-thin details and eerie surface effects that pencils and erasers simply can’t pull off – without turning the whole intro into a comedy sketch.
What Are Craft Knives?
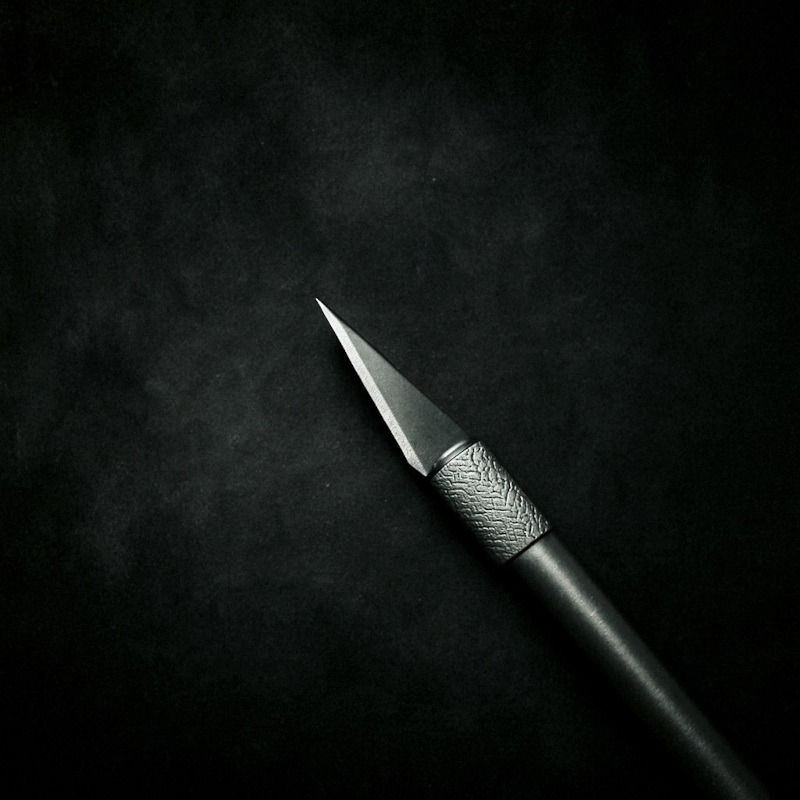
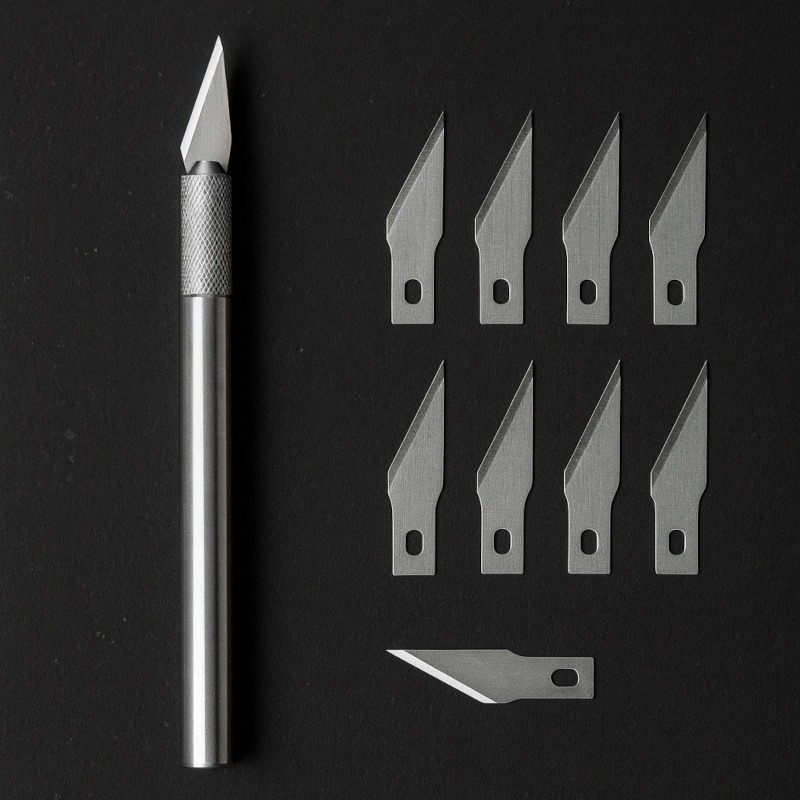
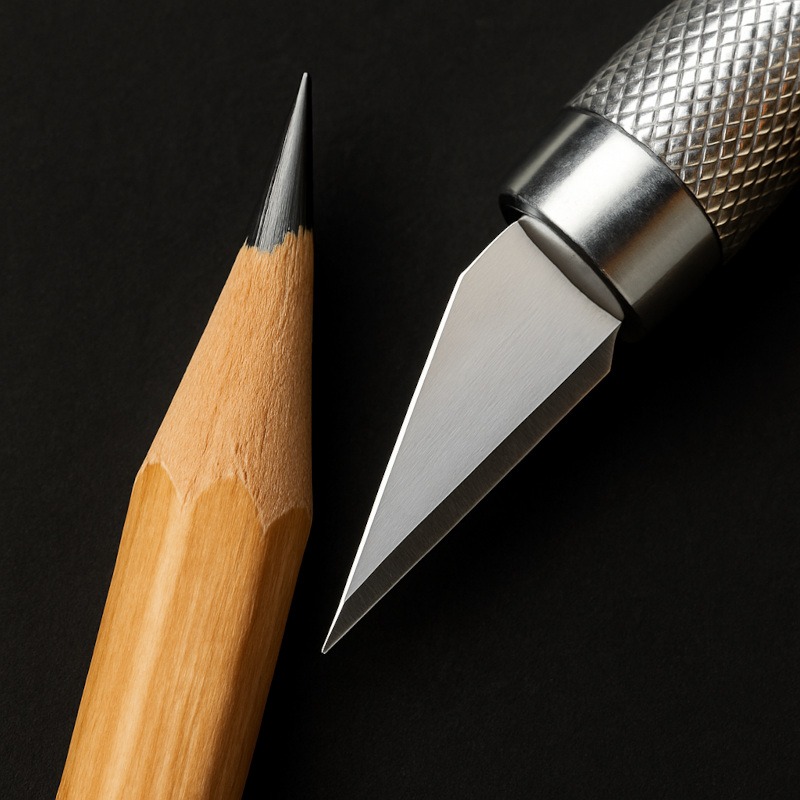
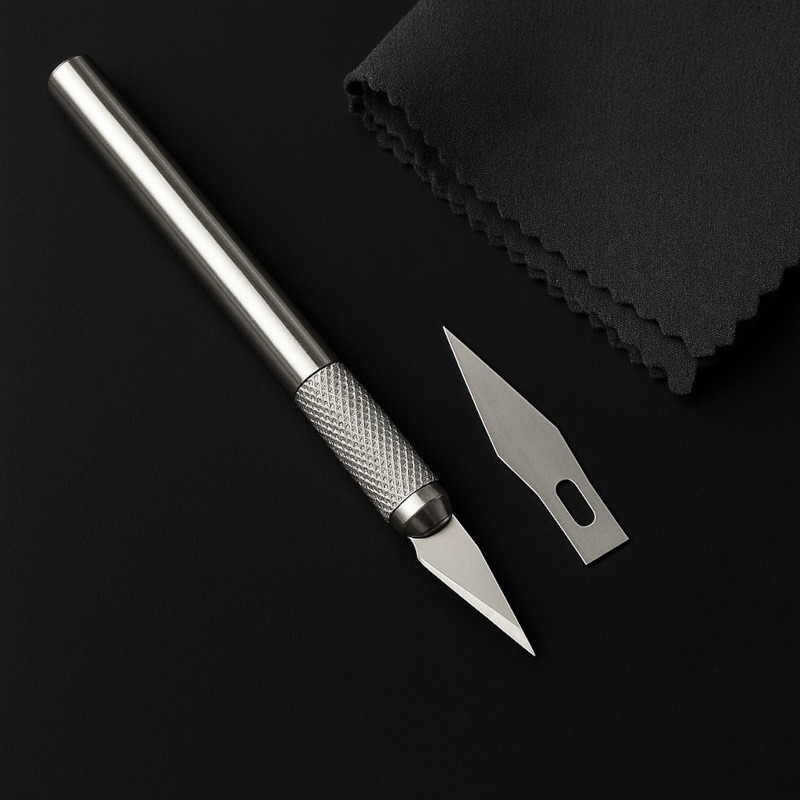
Craft knives are small, lightweight cutting tools with replaceable razor-sharp blades. You’ve probably seen the classic silver hobby knife (often called an X-Acto knife), but there are plenty of variations. For drawing, the most important thing is the blade: thin, sharp, and capable of making extremely precise cuts or scrapes.
Artists use them for:
- sharpening pencils to long, tapered points
- carving into graphite or charcoal for fine highlights
- creating scratch textures and sharp details
- cutting paper, stencils, and templates
In horror art, the miniature blade becomes an extension of your hand – perfect for details that need to look crisp, ghostly, or a little unsettling.
Why Horror Artists Love Craft Knives
Craft knives feel almost purpose-built for horror artwork because of the textures and effects they can create.
1. Razor-Thin Highlights
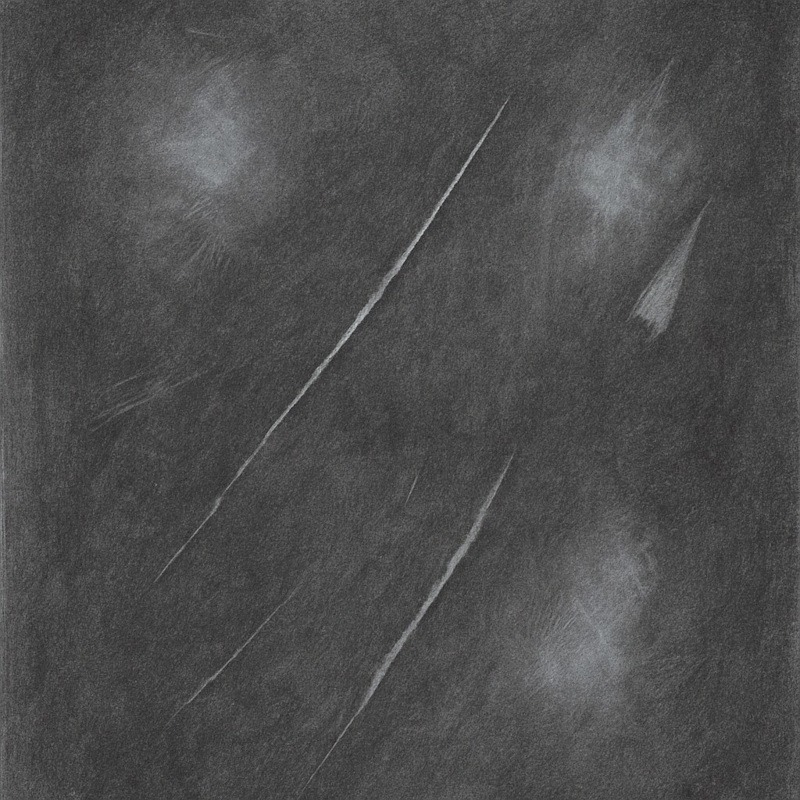
When light hits something sharply – a cracked tile, a shiny eye edge, a blade, a broken window – a craft knife can carve that highlight cleaner than any eraser. It slices through the graphite, revealing the paper beneath, creating an ultra-bright, ultra-thin line.
2. Scratchy, Distressed Textures
Walls, wooden floors, gnarled tree bark, cracked skin, stretched fabric – scraping lightly with a blade creates organic, eerie textures that feel raw and unsettling. Perfect for haunted houses, creepy creatures, and atmospheric scenes.
3. Ghostly Surface Marks
Sometimes you want a texture that looks like something touched the wall… something light, but definitely not human. Knives can create marks that look aged, worn, or mysterious.
4. Crisp Edges That Pencils Can’t Achieve
For weapons, tools, broken glass, or anything sharp in your horror scene, knife-carved lines add a believable snap to the edges.
5. Ultra-Precise Pencil Sharpening
Many artists prefer knife-sharpened pencils because you can control the taper and expose a longer lead, which is ideal for shading, hatching, or drawing hair and fur.
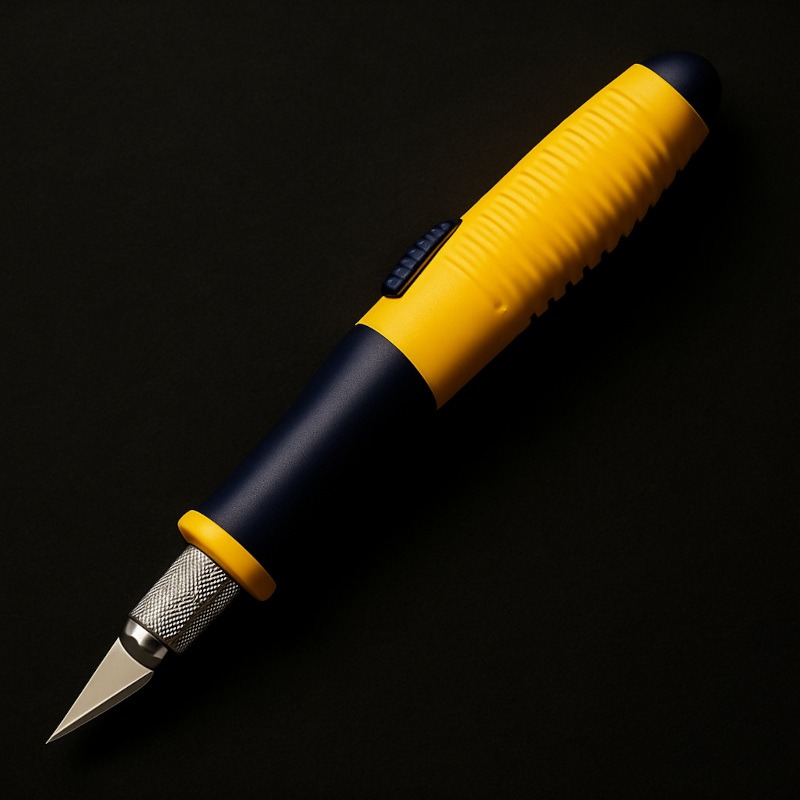
Types of Craft Knives (and What They Do)
There aren’t hundreds of varieties you need to worry about – just a few solid options:
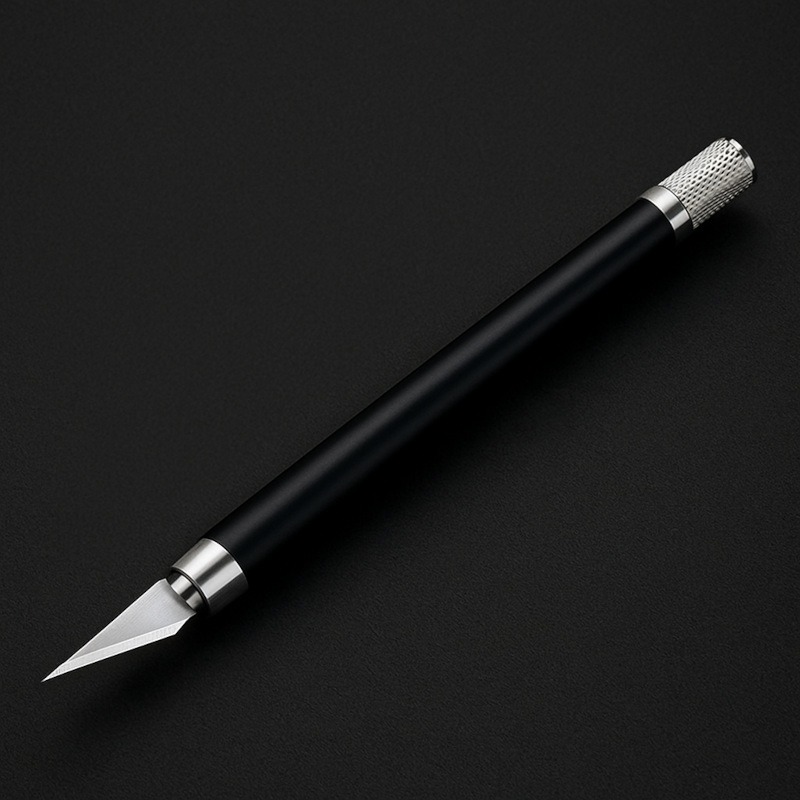
Standard Hobby Knife (X-Acto Style)
- Great for fine details
- Replaceable blades
- Perfect control for highlights and scraping
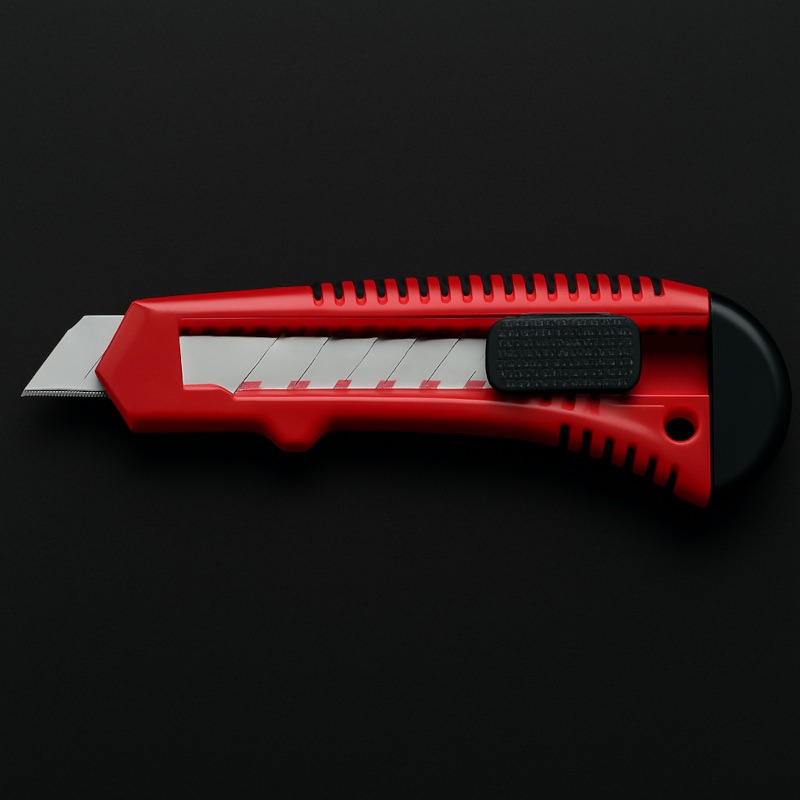
Snap-Off Utility Knife
- Good for sharpening pencils
- Sturdy, easy to replace dull sections
- Less precise for tiny details, but very handy
Scalpel-Style Craft Knife
- Extremely sharp
- Amazing for delicate scraping
- Must be handled with respect (and preferably two cups of calmness)
Retractable Craft Knife
- Safer to store
- Perfect for pencil sharpening
- Not ideal for ultra-micro details
For beginners, one standard craft knife and a pack of blades is more than enough.
How to Use Craft Knives for Drawing (Safely & Effectively)
1. Hold the Knife Almost Parallel to the Page:
This is the big secret.
You’re not “cutting” – you’re gently scraping.
The blade should skim the surface, not dig into it.
2. Use Light, Controlled Pressure:
Soft, repeated passes work far better than one aggressive scrape.
Think “shaving a ghost’s leg hair,” not “opening a cursed portal.”
3. Work Slowly:
You want to carve details, not your fingers.
Slow = precise = professional.
4. Practice on Scrap Paper First:
Every paper reacts differently.
Better to ruin a scrap than take a dramatic slice out of your masterpiece.
5. Clean the Blade:
Graphite can build up, and a quick wipe keeps your highlights razor-clean and crisp.
A quick wipe keeps the lines crisp.
Carving vs. Scraping: When to Use Craft Knives Before or After Your Shading
Craft knives can create two completely different types of highlights depending on when you use them. This isn’t often discussed, but it makes a huge difference in your results – especially for horror art.
Carving Before You Add Graphite (Ultra-Clean Highlights):
If you carve thin lines or shapes before shading, you get:
- razor-clean, controlled highlights
- soft graphite settling around the cut
- a smooth, glowing look
- perfect for eyes, metal edges, and porcelain cracks
This is the technique artists use when they want those surgical, hairline highlights that pencils can’t achieve.
Scraping After Your Graphite or Charcoal (Rough, Distressed Effects):
If you shade first and then scrape on top, you get:
- jagged, torn highlights
- distressed textures
- cracked surfaces
- foggy, ghostly marks
- gritty horror effects
This is what creates those broken tiles, scratched walls, and eerie textures you see throughout your post.
Which One Should You Use?
- Use carving first for clean, precise, intentional accents.
- Use scraping after for rough, spooky, textured effects.
Most horror artists use both in the same drawing – one for clean details, the other for atmospheric damage.
Horror Art Techniques You Can Create With a Craft Knife
Now that you know when to carve and when to scrape, here’s what both techniques can actually do in a horror drawing.
Carving Highlights in Dark Areas
Perfect for:
- wet eyes
- broken glass
- blade edges
- shiny skin
- metal details
These bright slivers of light add instant drama.
Scraping Cracks and Hairline Fractures
Small, sharp cracks look far more realistic when carved than drawn.
Use for:
- cracked walls
- damaged floors
- bone fractures
- porcelain doll faces (because why wouldn’t they be terrifying?)

Creating Distressed Textures
Drag the blade gently for rough, spooky textures on:
- boarded windows
- crumbling stone
- tree bark
- old wallpaper
Carving Foggy or Misty Highlights
Light, sweeping scrapes create wispy highlights perfect for:
- fog
- hair
- smoke trails
- ghostly glows

Sharpening Pencils
Knife-sharpened pencils let you:
- expose longer graphite
- control lead shape
- create fine details more easily
Once you go knife-sharpened, you may never go back.
When Not to Use a Craft Knife
Even in horror art, knives aren’t always the answer.
Avoid using them on:
- thin or fragile paper
- sketchbooks with weak tooth
- cheap printer paper
- heavily layered graphite (can tear)
If you’re unsure, test on the corner of a page.
Common Mistakes (and How to Avoid Them)
Pressing Too Hard:
Results in… tearing.
Fix: Light, feathery scrapes only.
Holding the Knife Straight Up:
This digs into the paper instead of shaving the graphite.
Fix: Keep the blade almost horizontal.
Using a Dull Blade:
Dull blades drag and scratch unpredictably.
Fix: Replace blades often – they’re cheap.
Using It on the Wrong Paper:
Some papers can’t handle scraping.
Fix: Test first. Always.
Forgetting Safety
Your art should look dangerous – you shouldn’t.
Fix: Cut away from yourself, always.
Caring for Your Craft Knife
They’re easy to maintain:
- Replace blades regularly
- Store safely (retract or use a cap)
- Keep them dry
- Clean graphite off the blade
- Dispose of dull blades responsibly
Treat your knife well, and it’ll last for years.
What Craft Knives Can’t Do
Even though craft knives are little horror-magic wands, they’re not suited for everything.
Here’s what they won’t give you:
- Soft blends or gradients – Knives only remove material; they can’t smooth graphite or soften transitions.
But they can create light foggy or misty highlights by gently lifting the top layer of graphite – that’s texture, not blending. - Big, fuzzy highlights – Misty or glowing effects need erasers or blending tools. Knives make sharp, crisp marks only.
- Wide erasing – You can’t clear large areas cleanly; the blade will just scratch the paper.
- Gentle textures – They’re great for cracks, hair, metal, and precision work, but anything needing softness (like fabric or skin pores) should be done with actual pencils or erasers.
- Work on smooth/weak papers – Thin or delicate paper tears instantly. Knives love sturdy, textured paper that can take a little abuse.
Think of craft knives as the tools for sharp, bright, crisp, and dramatic marks – not soft, misty, or foggy ones.
Conclusion
Craft knives might look like they wandered out of a supernatural evidence locker, but in horror art, they’re basically tiny enchanted relics that turn you into a suspiciously powerful creature. One gentle scrape and suddenly your drawing has highlights bright enough to signal aircraft, cracks so dramatic they deserve their own theme music, and textures that whisper, “I have seen the abyss and brought back souvenirs.” Honestly, it should be illegal for a tool this small to cause this much chaos in a single swipe.
Using a craft knife gives you the exact chaotic energy of someone who absolutely 100% did not pass the vibe check – and yet here you are, adding razor-thin lines with the precision of a caffeinated banshee. If anyone walks into the room while you’re scraping away, you instantly look like you’re either restoring a haunted artefact or preparing a ritual you found in a suspiciously dusty book. But hey – treat the blade kindly, keep your mortal fingers on the correct side of destiny, and you’ll create horror art so sharp it looks like it’s plotting something.
What You Learned:
- Craft knives help you carve ultra-thin highlights, sharp cracks, and eerie textures.
- Light scraping works better than pressing hard – subtlety is key.
- Carving thin lines before shading gives you ultra-clean highlights that pencils can’t recreate, while scraping after shading creates rough, eerie textures.
- Craft knives can’t scrape bright highlights into pure white paper – you need graphite or charcoal on the paper first for the blade to reveal lighter tones.
- Holding the blade low and parallel to the paper prevents tears.
- Replace blades often for clean results.
- Perfect for horror art: broken glass, creepy doll faces, monster eyes, damaged walls, and distressed surfaces.
- Knife-sharpened pencils give you more control and precision.
More Horror Art Tools
If you’re enjoying adding dangerously satisfying detail with craft knives, here are a few more tools lurking in the shadows that you might want to explore:
- Pencil Sharpeners
A crisp point can make or break your shading. From classic handheld sharpeners to electric beasts, this guide helps you choose the right way to keep your pencils ready for battle. - Pastels
Soft pastels bring fog, atmosphere, and dreamy horror glows… while oil pastels deliver greasy, unsettling textures that look like they belong in a cursed attic. Perfect for backgrounds, fog effects, or scenes that need a haunting softness. - Specialised Markers
When you want eerie gradients, cursed colour washes, inky shadows, or moody transitions that pencils can’t handle on their own, specialised markers step in like little artistic demons.