Carbon Pencils for Drawing: Deep Blacks, Shading and Horror Art Effects
For when your shadows need to be so dark they could legally count as jump scares.
Looking to add rich, eerie shadows and crisp detail to your horror sketches? Carbon pencils might just be your new best fiend. Blending the deep black tones of charcoal with the smooth control of graphite, they’re ideal for creating dark atmospheres, haunting highlights, and sinister shading. In this guide, we’ll explore what makes carbon pencils so powerful – and why they deserve a place in your horror art toolkit.

What are carbon pencils?
Carbon pencils are a unique drawing medium that combines the best qualities of charcoal and graphite. They’re typically made from a mix of carbon and graphite, often enhanced with binders or fillers to produce a smooth, matte finish.
Compared to graphite, carbon pencils produce deeper blacks with less shine. Unlike traditional charcoal, they’re less messy, less brittle, and easier to control, making them perfect for detailed work. Their intense blacks and smooth handling make them especially useful in horror art, where both dramatic shadows and precision are key.
1. Characteristics
Rich, Deep Blacks
Carbon pencils produce darker tones than graphite, making them ideal for high-contrast art, especially horror illustrations. They’re perfect for dramatic shadows, eerie lighting, and intense textures that give your work a chilling sense of life.
Matte Finish
Unlike graphite, which can leave a shiny or reflective glare, carbon pencils deliver a matte finish. This adds visual depth and reduces glare in photos and scans – great for showcasing your creepy creations both on screen and in print.
Smooth Texture
Carbon pencils glide across the page with a texture smoother than charcoal but not as slick as graphite. This balance gives you excellent control – ideal for sketching delicate veins, decaying wood, or the fine wrinkles on a haunted face.
Blendability
They blend beautifully, allowing for soft transitions, moody gradients, and ghostly effects. Use blending stumps, tissue, or even fingers to shape misty shadows or soft fog creeping across your scene.
Smudge-Resistant
While not completely smudge-proof, carbon pencils are less messy than charcoal. That makes them easier to work with, especially when crafting sharp outlines or horror textures like cracked mirrors, cursed scrolls, or crumbling stone.
Versatility
Carbon pencils are versatile and perform well on all types of paper, whether smooth, textured, or toned. They adapt easily to various styles, making them suitable for drawing on rough parchment or slick sketchpads. These pencils are perfect for creating monster scales, foggy scenes, ghostly glows, and whatever else your imagination can conjure up. Even if your creation is an aggressively haunted hamster in a Victorian waistcoat, there’s no judgment here!
With their deep blacks, smooth handling, and reliable control, carbon pencils are a must-have for horror artists who want precision without sacrificing dramatic impact.
2. Why use carbon pencils for horror art?
Creating Dark, Moody Atmospheres
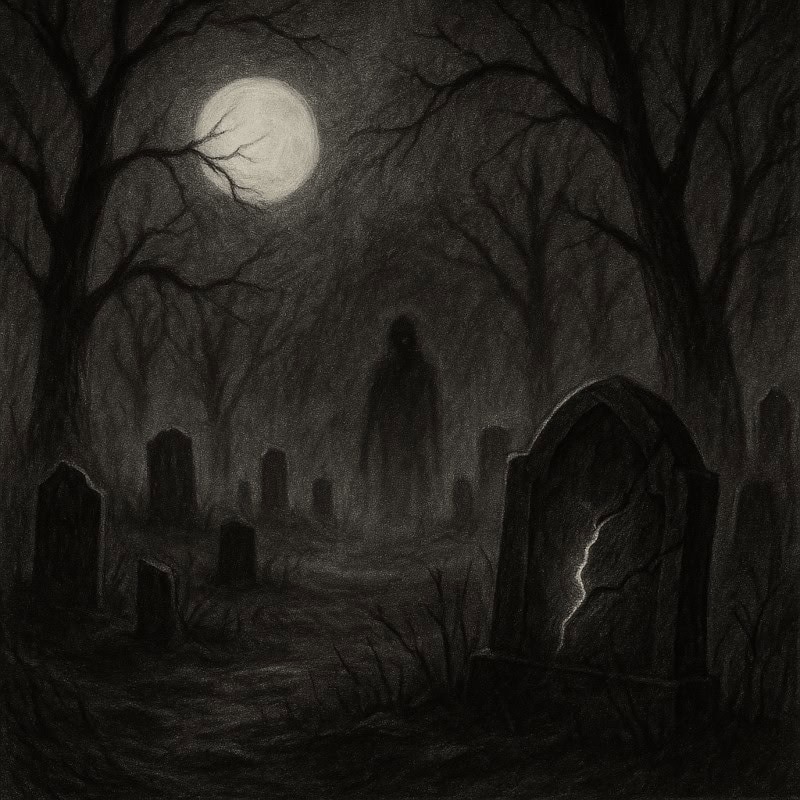
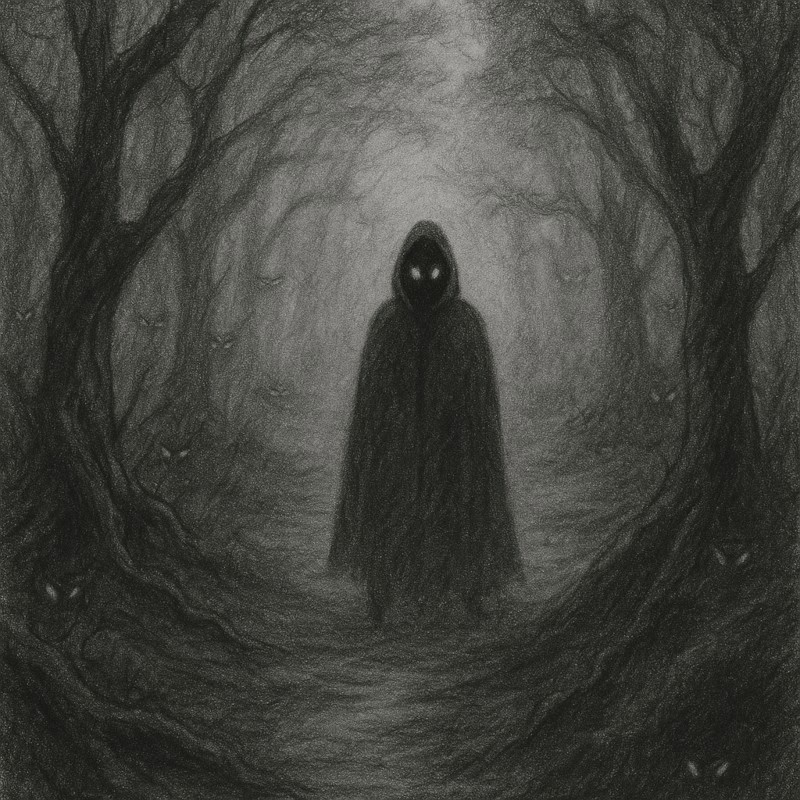
Carbon pencils are perfect for building haunting environments. Their rich blacks and velvety matte finish make it easy to draw deep shadows, eerie lighting, and ominous voids – whether you’re illustrating a fog-drenched graveyard or the hollow eye sockets of something that shouldn’t exist.
Detail Work
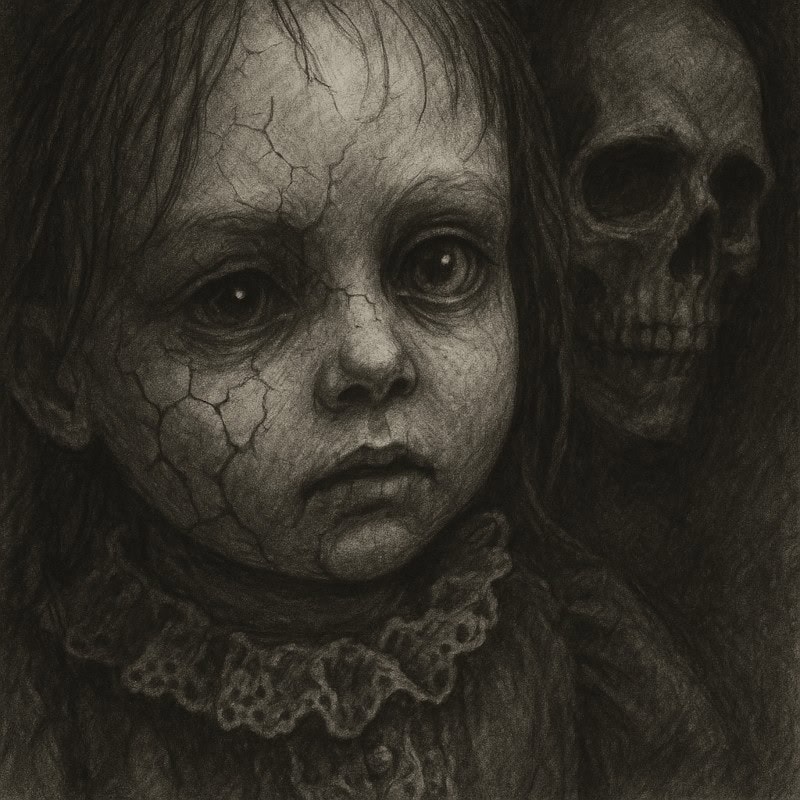
These pencils hold a fine point longer than charcoal, making them ideal for intricate horror details. Think cracked porcelain dolls, cursed sigils, wiry fur, decayed skin textures, or tiny glowing eyes peering from the dark. They’re precise enough for delicate linework but bold enough to carry the dread.
Layering for depth and drama
Carbon pencils layer beautifully over graphite or charcoal, helping you deepen shadows, build contrast, and add those final creepy flourishes. Whether you’re enhancing a dark void or creating misty overlays, layering gives your horror scenes depth and atmosphere.
Just don’t go full gremlin with the pressure – too much, too soon, can damage your paper or make blending a nightmare.
Because they’re cleaner than charcoal but darker than graphite, carbon pencils hit that perfect sweet spot for horror art – controlled chaos with a delicious dash of dread.
3. Techniques for creepy control & shadowy style
Shading and Blending
To build eerie gradients and soft, moody shadows, start with a light touch and gradually build pressure for darker, more intense areas. Carbon pencils respond beautifully to layering, making it easy to shift from subtle fog to a pitch-black void.
For blending, use stumps, tissues, or even your fingers to smooth transitions and create ghostly effects. Want gritty bark or creepy skin? Try a firm tissue or blending stump for a sharper texture.
The goal is to shape your shadows with intention, not smear your piece into a spooky soup.
Cross-Hatching
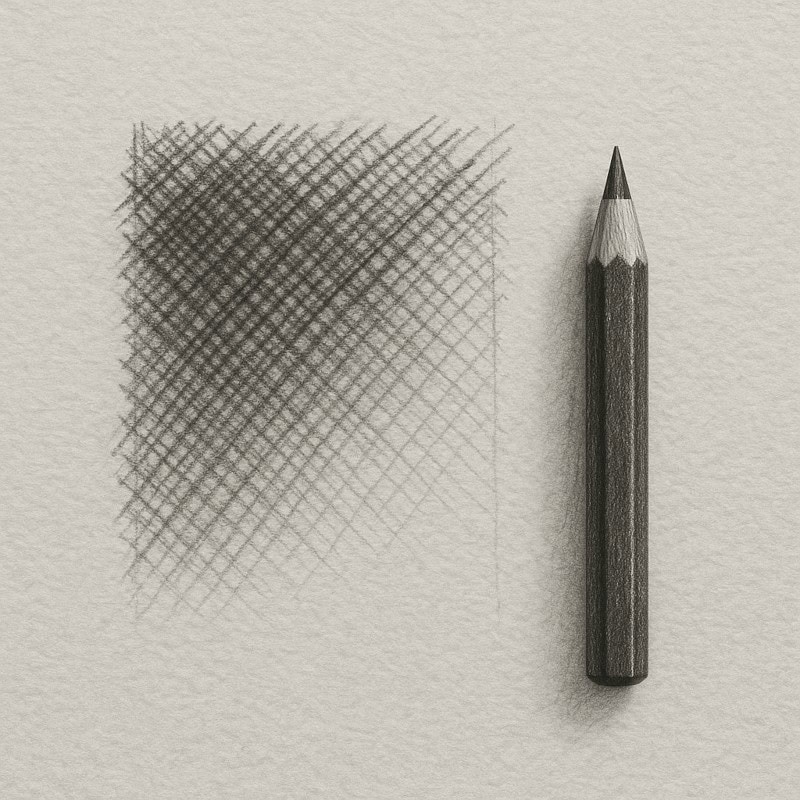
Their smooth texture makes carbon pencils perfect for cross-hatching. You can layer lines to build texture and shadow depth without losing control – perfect for anything from decaying skin to ragged cloth or gnarled tree bark.
Highlighting with contrast
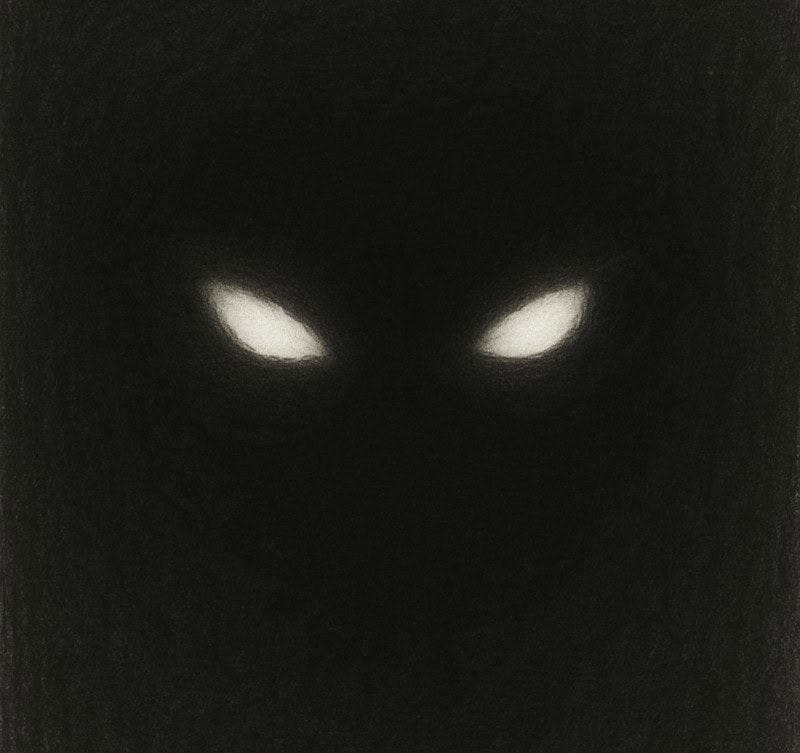
Pair your carbon pencil with white charcoal or pale pastel pencils to make your highlights pop. This high-contrast combo is perfect for glowing eyes, ghostly skin, or bone details that shine through the gloom.
Combining with graphite and charcoal
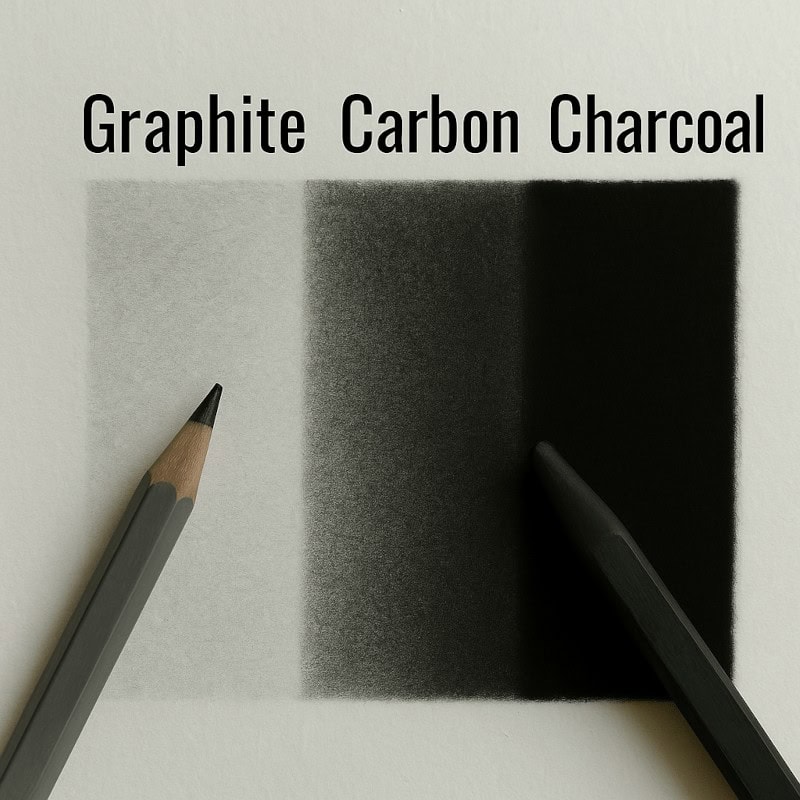
For the best of all worlds, pair carbon pencils with graphite and charcoal. Start your base sketch with graphite – it lays down smooth, light layers. Then build depth and drama with carbon pencils.
White charcoal or pale pastel pencils work brilliantly for highlights, especially in horror art. The stark contrast between pitch-black carbon and pale accents adds an eerie glow and dramatic flair. Want even more bite? A touch of ink can push cursed symbols or runes into full-blown nightmare fuel.
Start your base sketch with graphite – it lays down smooth, polite lines. Then carbon pencils kick down the door with shadows.
If you’d like to see graphite, carbon, and charcoal throw a full-blown family reunion (with less awkward small talk), creep over to the Combining Graphite, Carbon and Charcoal post.
4. Mastering your dark tools: Tips for working with carbon pencils
Choose the Right Paper
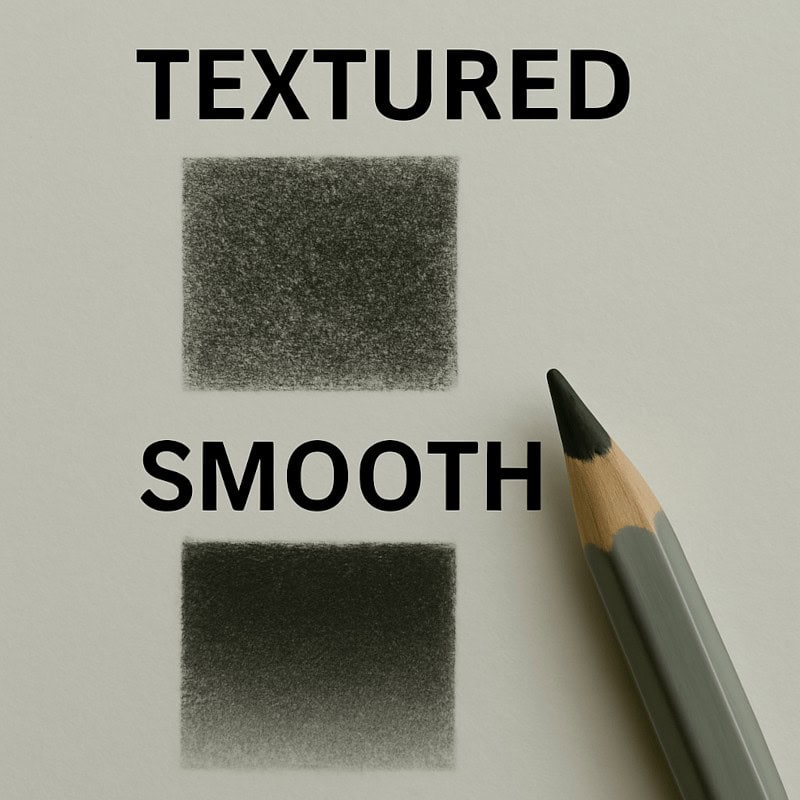
Your paper choice can make or break your spooky masterpiece. Textured paper, such as cold-pressed or rough surfaces, grips the carbon better and brings out a gorgeous matte finish. It’s perfect for foggy backgrounds, gritty surfaces, or weathered skin. Smooth paper, on the other hand, is better for fine detail but may need extra layering to achieve those deep, dramatic blacks.
Keep Them Sharp
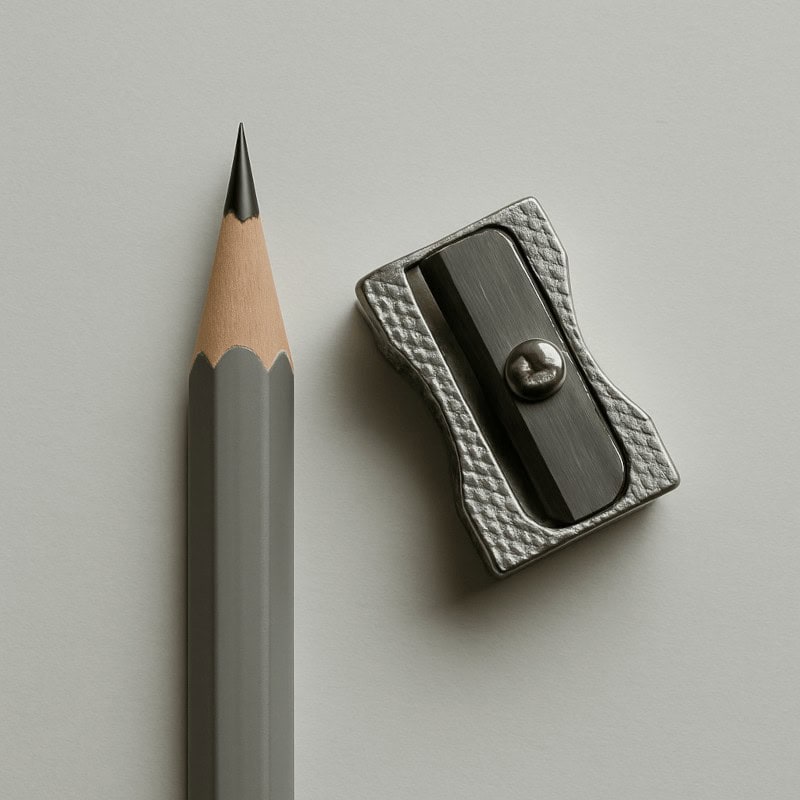
A crisp, sharp tip is your best friend when you’re drawing creepy details like cracked porcelain skin, glowing bug eyes, or gnarly veins. Carbon pencils can be a bit high-maintenance – more brittle than graphite – so treat them with care.
To keep your strokes clean and your control tight, sharpen often – but ditch the electric sharpener. Those beasts chew through pencils like a banshee through drywall. Use a manual sharpener or a craft knife instead for more control and less heartbreak – because fuzzy evil just doesn’t hit the same.
Fixative know-how
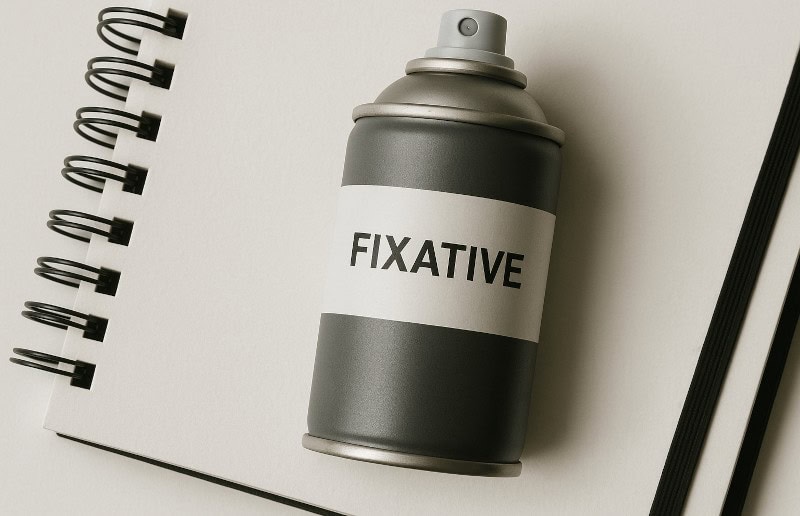
Use a workable fixative to set layers as you build them up, especially if you’re combining carbon with graphite or charcoal. Once your drawing is finished, a final fixative locks everything in place without dulling that beautiful, brooding finish. Just remember to test it on scrap paper first – some fixatives can mess with your tones, and no one wants their ghostly glow turned into a muddy mess.
Experiment with pressure
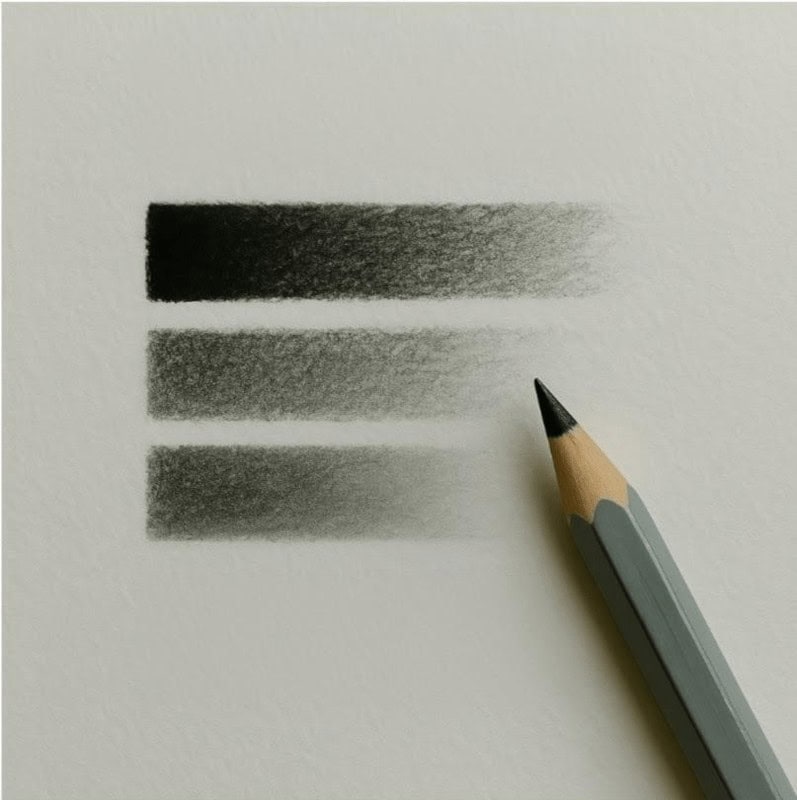
Carbon pencils are incredibly responsive to pressure, making them perfect for everything from barely-there shadows to pitch-black voids. Press lightly for misty effects or push harder for dramatic impact. This gives you a full tonal range to work with – great for creating depth in scenes crawling with tension.
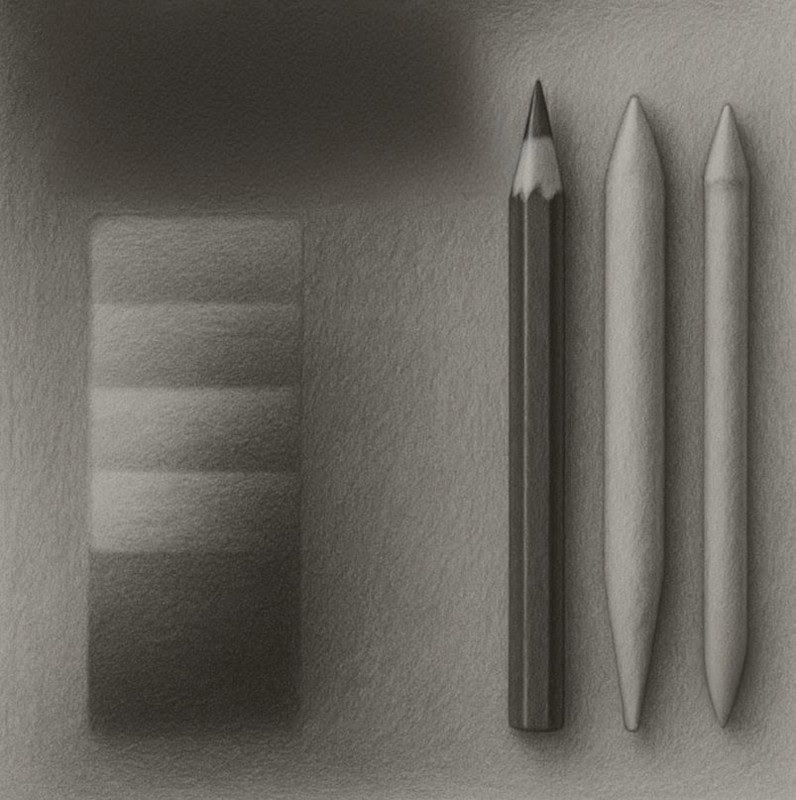
Keep blending tools clean
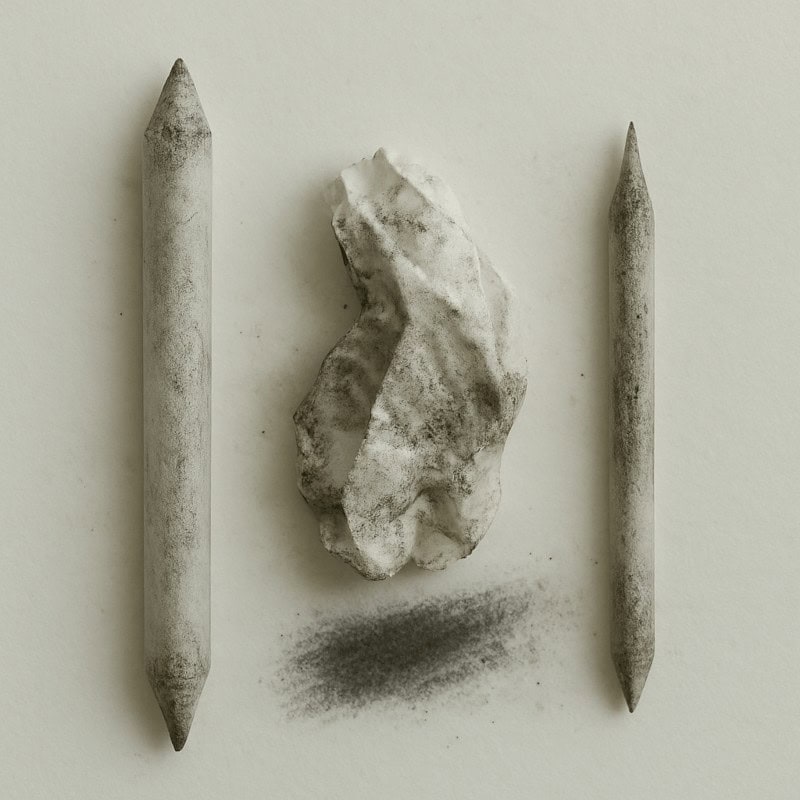
When you’re blending carbon with graphite or charcoal, dirty tools can quickly muddy your textures. Clean your blending stumps and fingers often, and replace tissues regularly to keep your shadows smooth and your transitions looking intentional, not like your art got cursed halfway through.
5. Pros and cons
Pros | Cons |
Deep, rich black tones | Harder to erase than graphite |
Matte finish - no shiny reflections | Can smudge if not fixed |
Versatile for both detail and shading | Brittle leads may break easily |
Less dusty than charcoal | Limited range of tones compared to graphite |
Wrapping it up
Carbon pencils might not get the same spotlight as graphite or charcoal, but they deserve a top spot in your horror art toolkit. With their bold blacks, smooth control, and ability to handle both detail and drama, they’re the perfect bridge between softness and strength. Whether you’re crafting eerie environments or carving out cursed details, carbon pencils help you keep things sharp, shadowy, and spooky.
So keep them handy, experiment boldly, and don’t be afraid to let the darkness smudge a little.
What You Learned:
- Carbon pencils create deep, rich blacks perfect for dramatic shadows and horror atmosphere.
- They offer a smooth, matte finish with less reflective shine than graphite.
- Their texture sits between charcoal and graphite, giving controlled blending without the mess.
- They’re excellent for fine details like cracked porcelain, creepy wrinkles, or eerie glows.
- Layering graphite → carbon → charcoal boosts depth, contrast, and drama.
- Pressure control lets you shift easily from soft fog to pitch-black intensity.
- Textured paper boosts drama; smooth paper is great for detail.
- Sharpen often, avoid electric sharpeners, and treat brittle leads with care.
- Clean blending tools frequently to avoid muddy, cursed-looking textures.
Explore more horror-ready drawing tools
If your pencils are already whispering, “What’s next?”, here are a few more tools ready to join the ritual:
- Graphite Pencils
Learn about the classic staple every horror artist should master. - Combining Graphite, Carbon & Charcoal
Master the dark trinity of drawing tools and learn how to blend them for maximum mood and contrast. - White Gel Pens
Add striking highlights, glowing effects, and spectral shine to your creepiest creations.