Pencil Sharpeners for Horror Artists

A sharp point is where every good shadow story begins.
A blunt pencil is scarier than any monster. Why? Because it murders your shadows, drowns your details, and leaves your sketch looking like it was drawn with a breadstick. And nobody ever made nightmare fuel with a breadstick.
That’s why a sharpener isn’t just a tool; it’s a survival kit. Think of it as the chainsaw from Evil Dead, except instead of lopping off limbs, you’re carving out crisp, terrifying details.
Horror artist truth: Nothing makes a grown adult weep faster than a coloured pencil breaking for the third time in a row. If you hear wailing from my studio, don’t call an exorcist; it’s just me, sharpening my fifteenth red pencil.
If you’re building your horror drawing kit from scratch and wondering which essentials actually matter, I break it all down in my Beginner Guide to Horror Drawing Tools, so you don’t end up buying things you don’t need.
Why Sharpness Matters in Horror Art
When your pencil is sharp, everything sings – or hisses, depending on what you’re drawing. A clean, pointed edge lets you cut in those hairline cracks, draw bruises with smooth gradients, and add cobwebs so fine they’d make Miss Muffet cry.
- Clean linework: Sharp tips = razor stitches, ghostly hairs, and spider-silk threads.
- Controlled shading: Long tapers make bruises look “authentically ghastly” instead of “mud smudge chic.”
- Texture variety: Chisels, cones, and blunt tips provide a range of textures from mossy stone to rusty nails.
- Less breakage: The right sharpener saves your cores, your money, and your sanity (in that order).
The Types of Sharpeners (and Their Horror Uses)
There’s more to life than the plastic sharpener you borrowed from school.
Let’s look at the options and what they bring to your spooky toolkit:
1. Manual Handheld
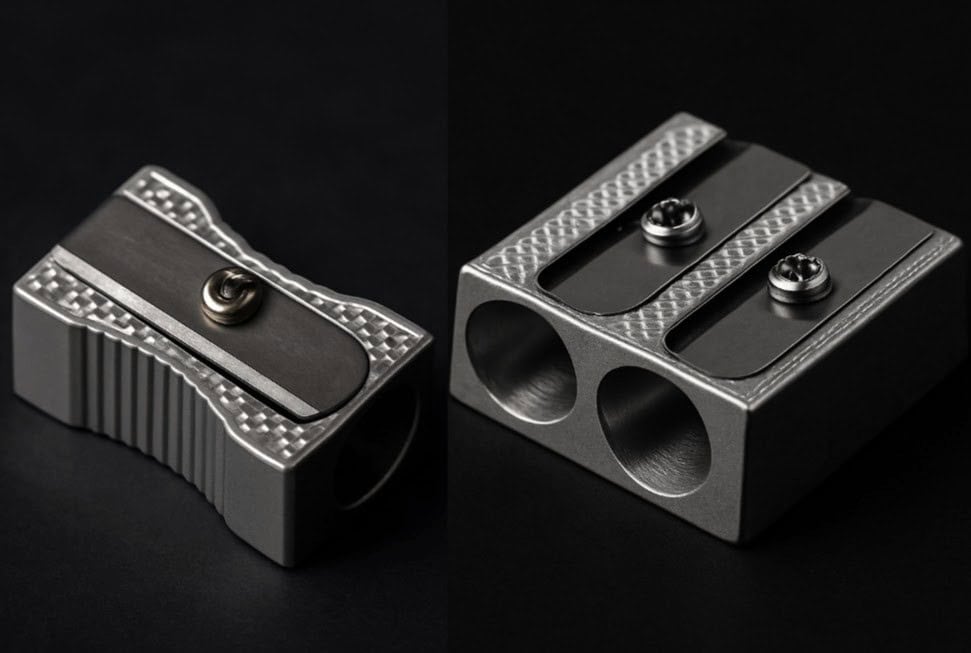
The most common sharpener, and often the first one artists reach for. They’re inexpensive, portable, and reliable for standard graphite pencils. Double-hole versions are handy if you use both standard and jumbo pencils.
Best for: Quick sharpening during sketching, standard graphite points, and light-to-medium drawing sessions.
Horror use: Outlining characters, building up rough concepts, or quick shading passes before refining details.
2. Adjustable or Long-point
These two-step sharpeners create an extended, needle-like taper. The longer point means more control and less frequent sharpening. They’re excellent for fine detail work, but can be too delicate for very soft pencils.
Best for: Graphite pencils (HB-2B) and harder coloured pencils if handled carefully.
Horror use: Hairline cracks, spiderwebs, fine hairs, stitches, and tiny textures that rely on precision.
3. Crank or Helical Desk Models
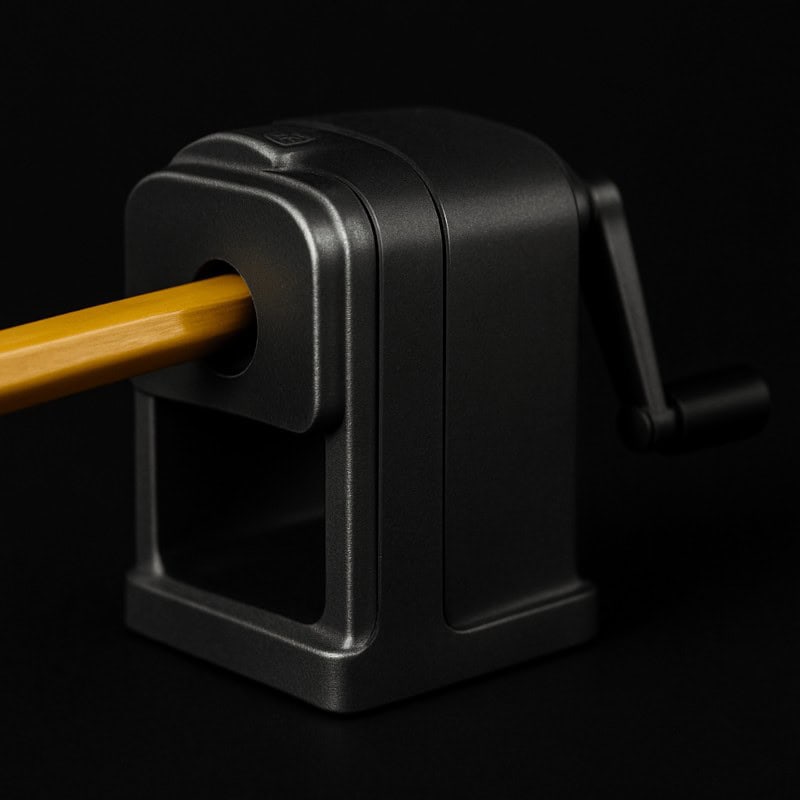
These sharpeners use a rotating helical blade for strong, consistent results. Many allow you to adjust the length of the point. They’re fast and efficient, making them useful if you work with large sets of pencils.
Best for: High-volume sharpening, classroom or studio setups, and harder graphite or coloured pencils.
Horror use: Preparing multiple pencils in advance for long drawing sessions – especially helpful when building layered textures like bark, stone walls, or decayed surfaces.
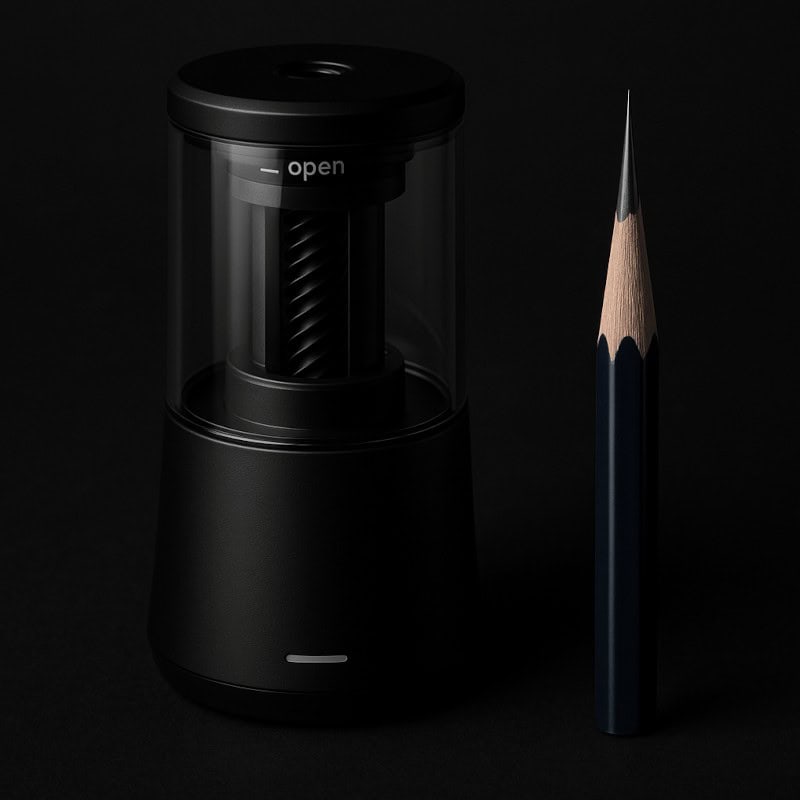
4. Electric Sharpeners
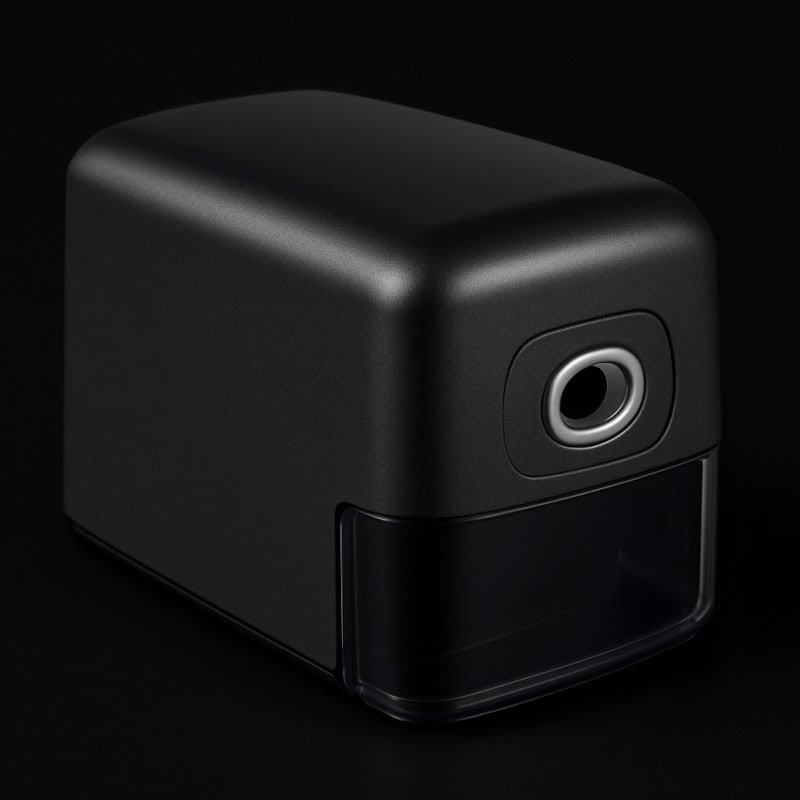
Electric sharpeners are quick and convenient, giving consistent points in seconds. However, they can be harsh on softer cores, especially waxy coloured pencils, and may overheat with prolonged use.
Best for: Graphite pencils and harder-core colored pencils. Great if you sketch heavily and need fast, repeatable points.
Horror use: When you’re working against a deadline or need a reliable supply of ready-to-use pencils without constant manual effort.
5. Craft Knife + Sandpaper Block
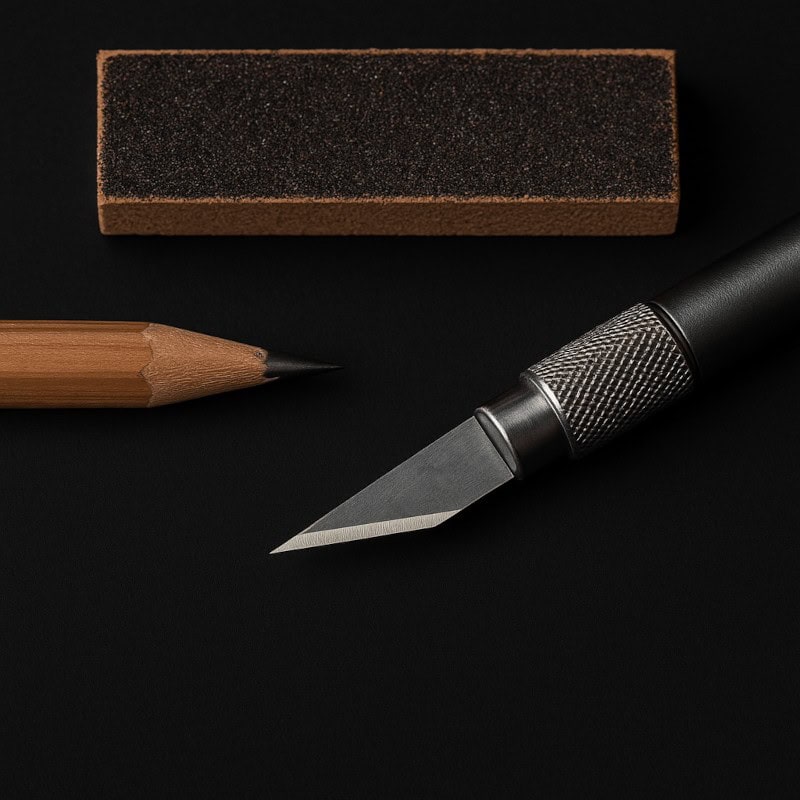
The most versatile option. A craft knife lets you shape the wood casing exactly as you want, while sandpaper blocks allow you to refine the point or create unique edges (like a chisel). It takes practice, but the control is unmatched.
Best for: Graphite, charcoal, pastel, and fragile pencils that break easily in traditional sharpeners.
Horror use: Creating specialised tips for shading fog, building textures in wood or stone, and achieving long, fragile points for ultra-fine details. Also perfect for charcoal, which is too brittle for mechanical sharpeners.
Pencil Point Shapes and When to Use Them
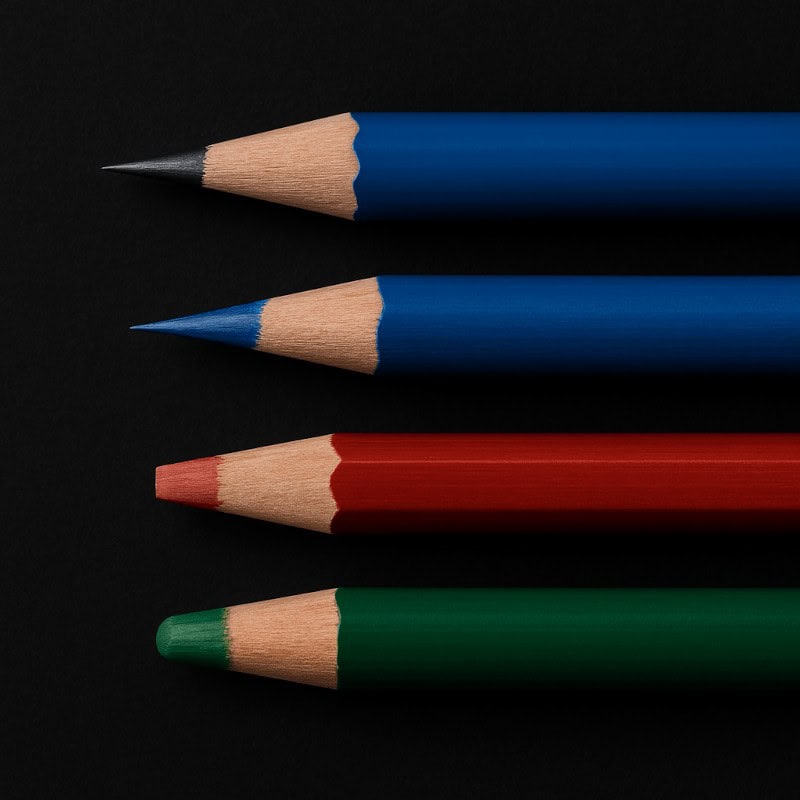
- Short Cone: The workhorse – good for general sketching, quick shading, and fast textures.
- Long Taper: Fine cracks, whiskers, cobwebs. So sharp you could probably sign a contract with the devil.
- Chisel Edge: Bark, stone, rusty streaks, jagged edges – basically anything that screams “don’t touch this.”
- Blunt Tip: Perfect for fog, grime, and shading bruises. Or, y’know, for when you’ve given up on sharpness and want to cry in soft gradients.
How to Sharpen Without Damaging Your Pencils
1. Knife + Sandpaper Long Taper
Carefully score the lacquer, shave away the wood, and expose a longer length of the pencil core. Finish by refining the point with fine sandpaper. This method gives you a very sharp, precise point but requires practice and control.
2. Handheld Sharpeners
Insert the pencil into the sharpener and rotate the pencil, not the sharpener. This helps prevent the core from breaking. Apply steady, even pressure for the best results.
3. Crank/Electric
Use gentle pressure and let the blades do the work. If the sharpener makes unusual noises or the pencil feels stuck, stop and check before continuing.
Graphite vs. Charcoal vs. Coloured Pencils
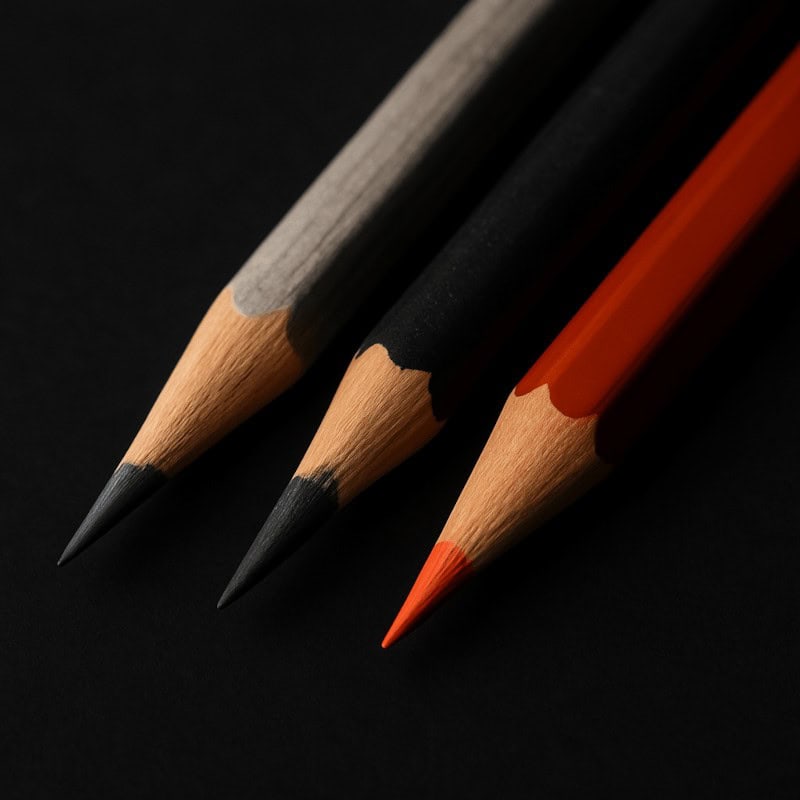
- Graphite: Works best with long, sharp tapers. Use an adjustable sharpener or the knife-and-sandpaper method for precise, clean points.
- Soft Graphite: Very fragile. Requires gentle sharpening with a knife and sandpaper to avoid breakage.
- Charcoal: Too brittle for standard sharpeners. Always use a knife and sandpaper for the best results.
- Coloured Pencils: Break easily under pressure. Use handheld sharpeners only, and keep the points shorter and sturdier.
Maintenance: How to Keep the Gremlins Out
- Empty shavings often. Nobody wants a sharpener so clogged it coughs up splinters.
- Clean blades with a brush or cotton swab. Graphite dust builds up like cursed attic cobwebs.
- Replace blades when they start chewing instead of slicing. Dull blades = vampires sucking the life from your pencils.
- Electric sharpeners need breaks. If you smell burning, either the sharpener’s dying… or you’ve just drawn a demon sigil by accident.
Troubleshooting: What to Do When the Pencil Fights Back
- Tips keep snapping? Shorten the point and lighten your touch.
- Chewed-up wood? Dull blade. Time to retire it (no need to be sentimental, this isn’t a Disney movie).
- Core spins inside the barrel? That pencil was doomed from birth. Grab your knife and sandpaper to salvage it.
- Uneven point? Rotate the pencil, not the sharpener. (Yes, we’ve all made this mistake. And no, you’re not cursed.)
Knife Safety Notes
- Always cut away from yourself. We need your hands intact.
- Cap knives when not in use, unless you want your pencil case to double as a booby trap.
- Don’t sharpen while watching horror jump scares. You’ll lose more than pencil tips. Trust me on this one.
Conclusion
At the end of the day, the humble pencil sharpener is one of the most underrated tools in horror art. Whether you’re working with a pocket handheld, a fancy long-point sharpener, or going full old-school with a knife and sandpaper, the right tip can mean the difference between “slightly spooky” and “truly unsettling.”
Sharp points make cracks sharper, fog smoother, and stitches more believable. And they save you from the dreaded Breadstick Pencil.
So sharpen wisely, treat your tools with care, and remember: a crisp point isn’t just about neatness, it’s about unlocking the kind of eerie detail that crawls straight out of the page.
What You Learned:
- Sharp points give cleaner lines, tighter details, and smoother shading.
- Different sharpeners create different point shapes – choose the one that suits your texture.
- Long tapers are great for fine details; short cones handle quick shading and sketching.
- Fragile cores (like soft graphite and coloured pencils) need gentler sharpening methods.
- Knife + sandpaper gives the most control but requires careful handling.
- Rotating the pencil, not the sharpener, prevents uneven points and breakage.
- Regular cleaning keeps sharpeners working properly and stops splintered, chewed edges.
Explore More Horror Art Tools
If you found this guide useful, sharpen your skills even further by checking out these other eerie essentials:
- Liquid Chalk Markers
Create ghostly, foggy effects with matte strokes that look like they’ve been scrawled on cursed blackboards. Perfect for eerie signage, glowing runes, and writing cryptic messages that may or may not vanish at midnight. - Rulers & French Curves
Keep your perspective sharp and your lines steady. Essential for drawing creepy architecture, creature horns, and spirals that twist just a little too unnaturally. - Craft Knives
Not just for final-girl survival kits. Craft knives are an artist’s ally, giving you razor-thin highlights, unsettling textures, and authentic cuts that look like something clawed straight through your page.