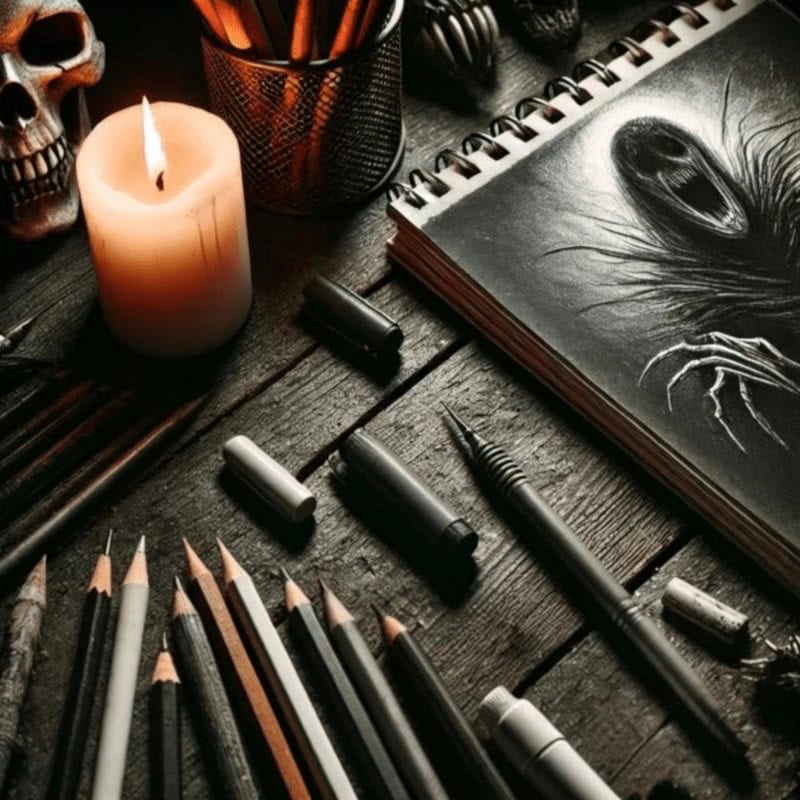
Creating horror art isn’t just about what you draw – it’s about how you bring the darkness to life. The right tools can make all the difference when crafting eerie shadows, unsettling textures, and ghostly highlights. Whether you are sketching nightmarish creatures, decayed landscapes, or a portrait of that thing lurking under your bed, having the right supplies will help you push your horror visions further.
This guide will walk you through everything from essential sketching tools to advanced materials that add extra depth (and dread) to your artwork. If you’re starting out, stick to the basics: graphite, charcoal, and a solid sketchbook (no, your old shopping list won’t suffice). But if you’re looking to elevate your horror creations, we’ll explore additional materials such as white gel pens for eerie highlights or textured paper for that haunted house aesthetic.
No matter your skill level, experimenting with different tools will help you refine your style and uncover new ways to make your art more disturbing, unsettling, and, dare I say, terrifying. So, let’s sharpen those pencils (or claws) and dive into the horror artist’s toolkit!
1. Essential drawing tools
These are the must-have tools for any horror artist, whether you’re sketching eerie creatures or creating chilling atmospheric scenes.
Graphite pencils
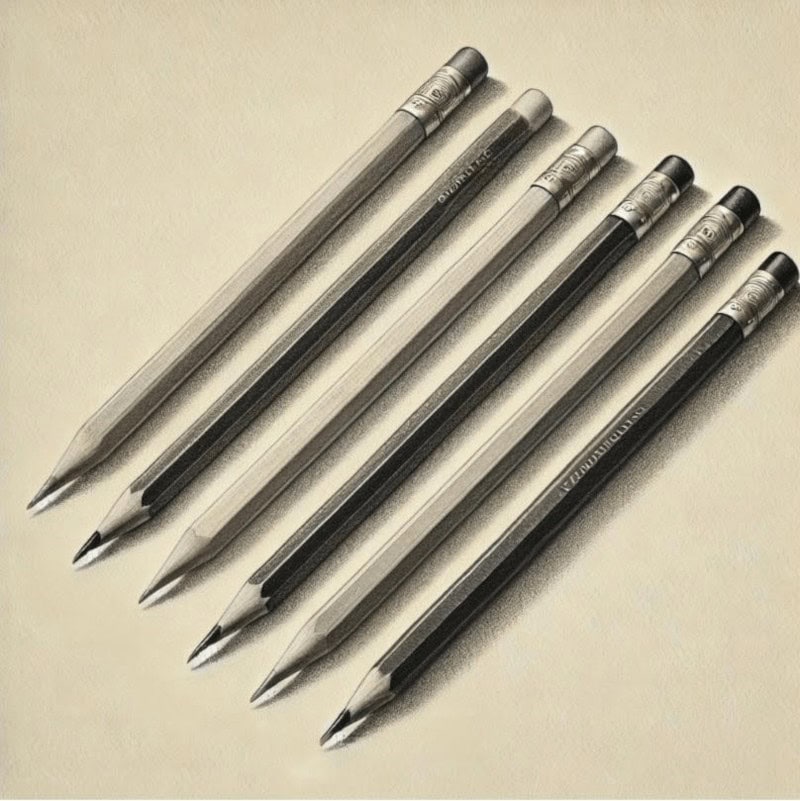
The backbone of horror art, graphite pencils are your sharp little daggers for bringing nightmares to life. Whether you’re sketching the whisper-thin lines of a haunted doll’s cracked smile or building deep shadows that swallow your scene whole, graphite is where every cursed creation begins.
- Light to Dark Contrasts – From faint whispers of fog to pitch-black shadows, different grades of graphite let you control the mood of your monsters.
- Detail Power – Perfect for carving out eerie wrinkles, veins, and textures that make your characters look just a bit too real.
- Reliability – Unlike some fancy materials, graphite won’t abandon you halfway through your demon’s eyeball. It’s sharp, steady, and always ready to stab… the page.
Enter the Graphite Pencils guide – your first step into the shadows, where graphite becomes the heartbeat of every chilling creation.
Charcoal
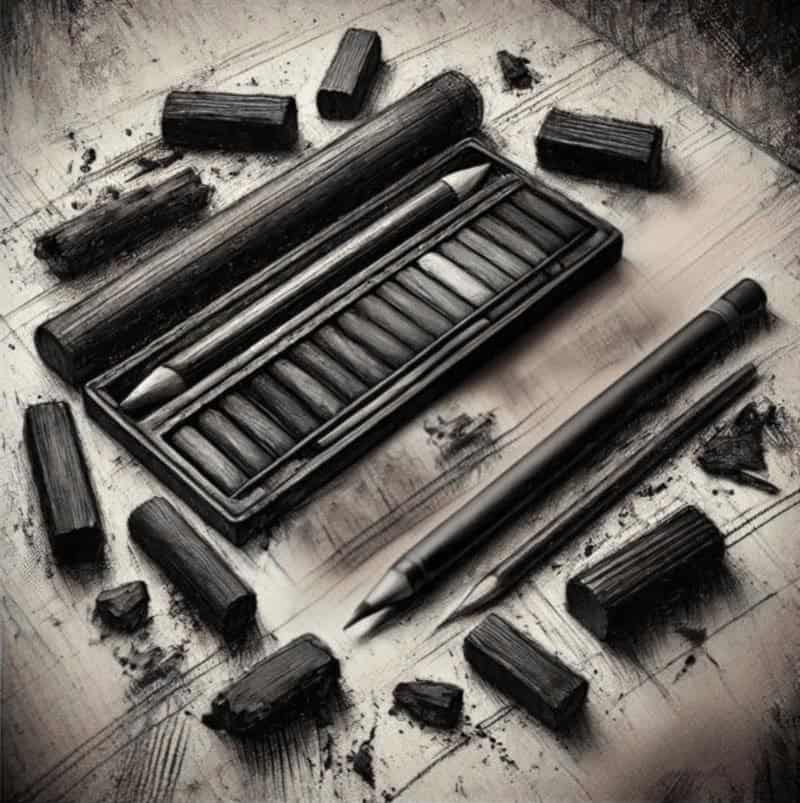
If graphite is your steady sketching companion, charcoal is its unhinged cousin, showing up late at night, making a mess of everything. It’s bold, dramatic, and completely unforgiving – exactly what you need when your horror art demands shadows that look like they could swallow the page whole.
- Deep, smudgy blacks that scream nightmare fuel
- Haunting shadows with a smoky, decayed vibe
- Drama dialled up to eleven – perfect for creatures lurking just out of sight.
Visit the Charcoal guide; your gateway to deep, haunting blacks and eerie smudges that seem to move when the lights go out.
Carbon pencils
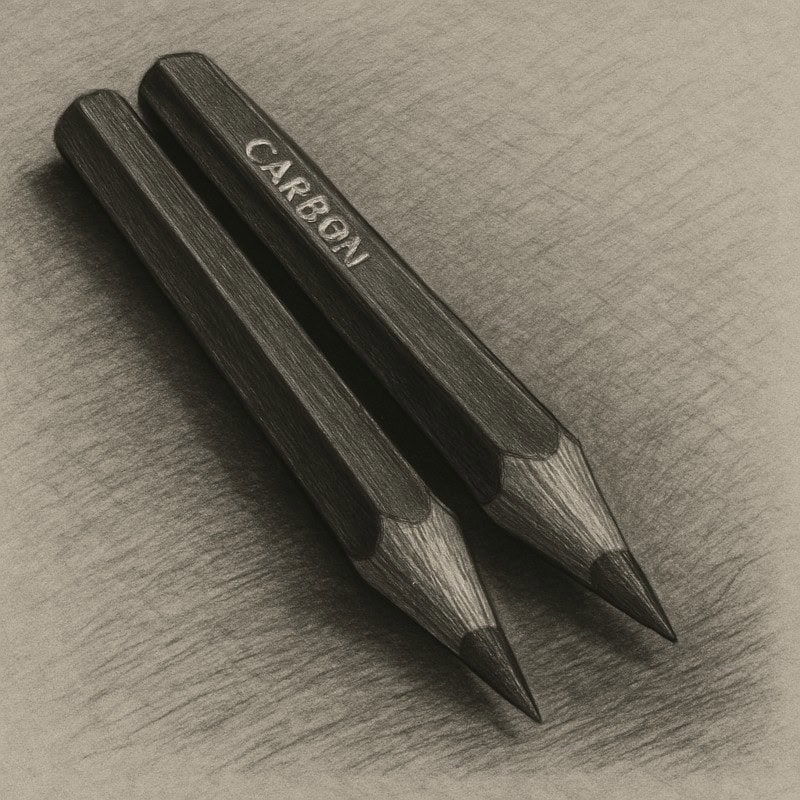
Think of carbon pencils as the unholy lovechild of graphite and charcoal. They offer the dark, velvety richness of charcoal but without the finger-smudged chaos, paired with the precision of graphite. Perfect for artists who want their shadows deep and sinister, but still under control.
- Smooth, sharp lines with a pitch-black finish
- Crisp details that don’t blur into oblivion
- Shadows with bite – clean, dark, and professional-looking doom
The Carbon Pencils guide: for when you want your lines clean, your shadows sharp, and your art to whisper, “something’s watching.”
Erasers
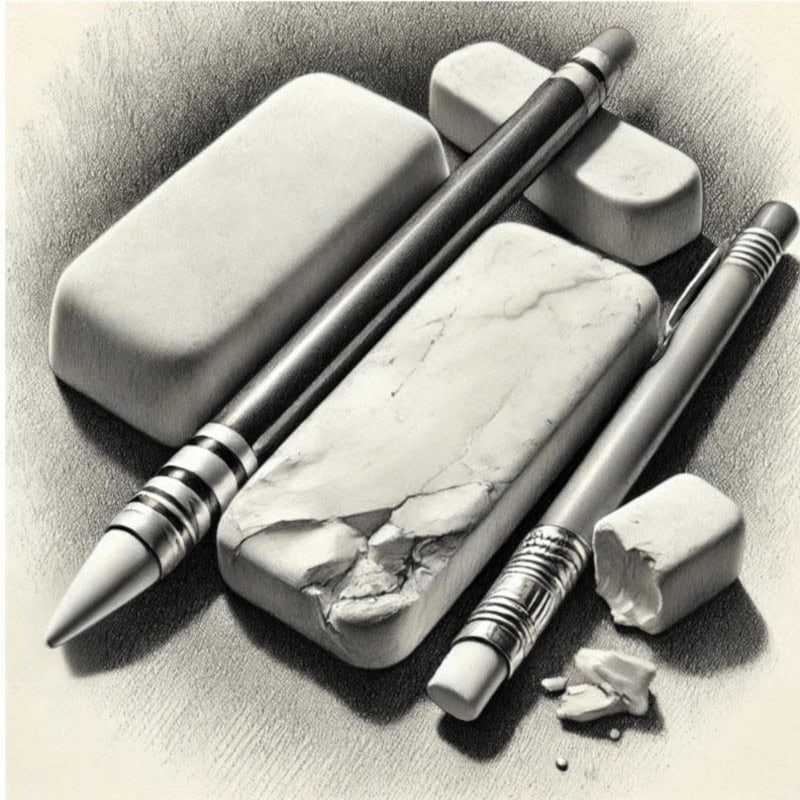
In horror art, erasers aren’t just for fixing screw-ups – they’re for summoning light out of darkness. These little tools of terror can carve glowing highlights, pull sinister details from the shadows, and make your monsters look like they’re lit by something unholy.
- Kneaded erasers: soft, ghostly glows and spectral fades
- Precision erasers: razor-sharp cracks, wrinkles, and creepy doll details
- Block erasers: wipe out whole areas like they were never there (because sometimes you summon the wrong thing)
Explore the Erasers guide for clean-ups and controlled chaos. Learn which eraser to trust when your shadows start misbehaving.
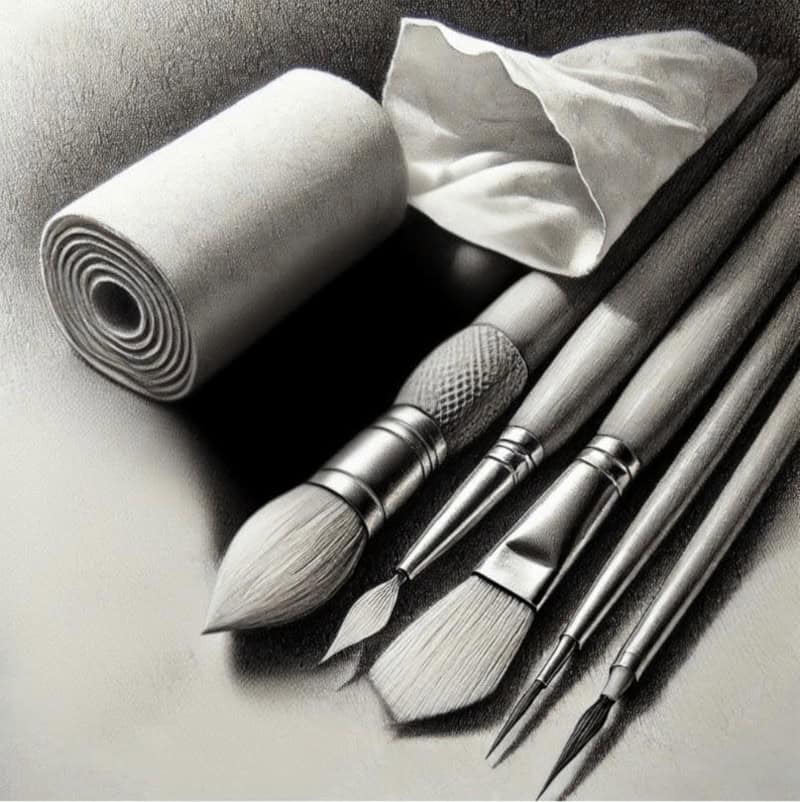
Sketchbooks & Paper Types

Every horror masterpiece needs a home, whether it’s in a battered old notebook that looks like it came from an abandoned attic or on pitch-black paper that makes highlights glow like ghost fire. The surface you draw on shapes the mood of your art as much as the pencils you use.
- Sketchbooks – A solid sketchbook keeps your nightmares contained in one place. Choose a hardback for durability, or opt for a spiral-bound version if you prefer a layout that lies flat.
- Smooth vs. Textured Paper – Smooth paper = crisp details for doll faces and veins. Textured paper = gritty atmosphere for fog, shadows, and rotten walls.
- Toned Paper (Grey/Tan) – Ready-made midtones so that your highlights and shadows instantly pop. Great for eerie glows and shadowy figures lurking in half-light.
- Black Paper – Maximum contrast. White pens, neon gels, and colored pencils blaze against the dark like glowing eyes in the void.
- Speciality Papers – Handmade, rough, or just plain weird. They add unique texture and eerie vibes, making your drawings look like pages ripped straight from a cursed grimoire.
Visit the Sketchbooks & Paper Types guide to discover which paper textures and sketchbooks best suit your horror art. From smooth to rough, light to dark, find your drawing’s perfect haunted home.
Pencil Sharpeners
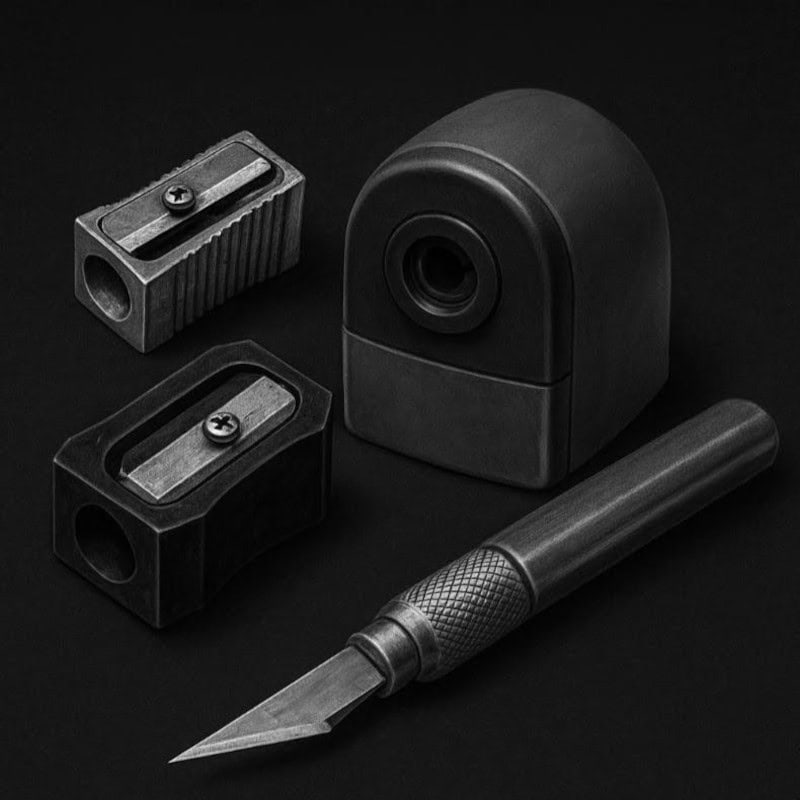
A blunt pencil is scarier than any monster – because it means your shadows turn muddy and your details fade into nothingness. A good sharpener keeps your weapons (pencils) battle-ready for every cursed sketch.
- Manual (handheld) sharpeners – Small, portable, and less likely to devour your pencils whole. Cheap and reliable, though not always the sharpest bite.
- Electric sharpeners – Fast and consistent, but beware: they can chew through your precious pencils quicker than a ghoul at a midnight feast.
- Craft knives – The old-school method. Slice away the wood to expose a long, tapered point for shading or detailing. Perfect for control freaks… just don’t slip and add real blood effects.
Visit the Pencil Sharpeners guide to compare different sharpener types, from classic handheld models to electric beasts.
2. Recommended additional materials
These tools elevate your horror drawings, adding depth, contrast, and eerie details.
White gel pens
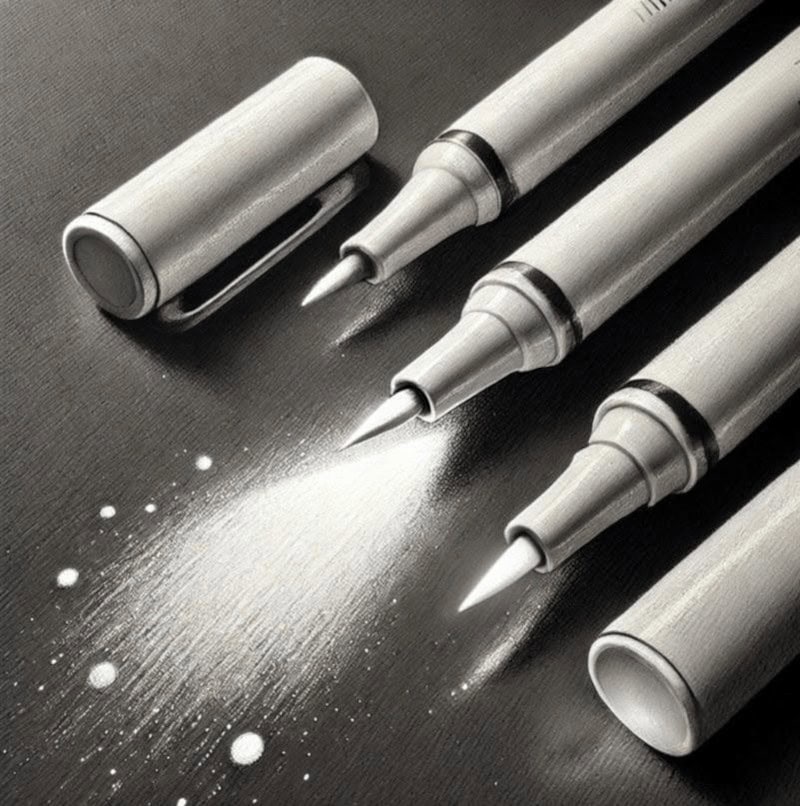
When you need a flash of the unnatural, white gel pens are your secret weapon. They add eerie highlights and ghostly details that look like they don’t belong in this world – glowing eyes, spectral mist, or the sharp glint of teeth in the dark.
- Perfect for supernatural glows and spectral highlights
- Brings out details that graphite and charcoal can’t
- Small tool, big drama – every horror piece deserves a chilling final touch
Visit the White Gel Pens guide to explore techniques for glowing highlights and haunting final details that bring your artwork to life.
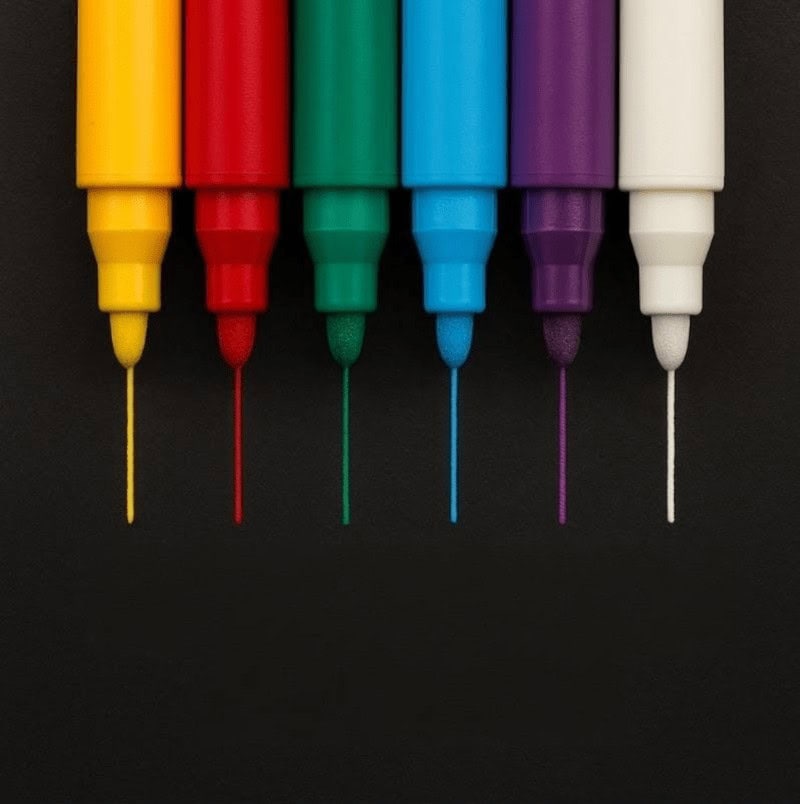
Coloured Gel Pens
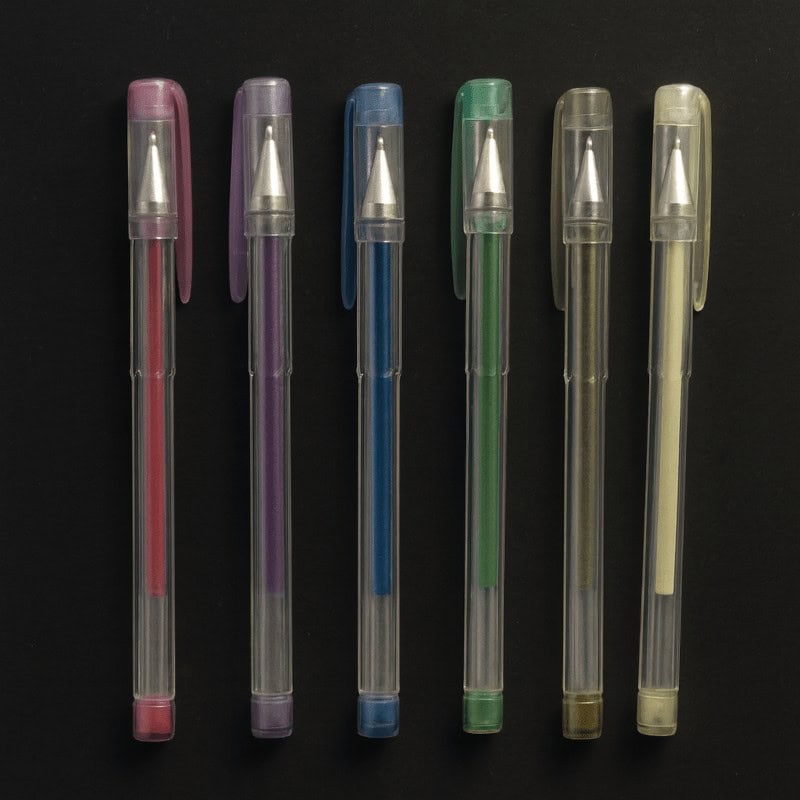
Forget doodling hearts in the margins, coloured gel pens in horror art are all about cursed colour. Their vivid, inky glow slices through graphite and charcoal like neon against shadow, adding unsettling pops that look almost too alive.
- Red gel pens: perfect for sinister blood effects and cursed symbols
- Green or purple: eerie auras, glowing eyes, and occult vibes
- Metallics and brights: shimmering, otherworldly details that refuse to stay buried in the shadows
Explore the Coloured Gel Pens guide to discover how a few cursed pops of colour can turn your sketches from monochrome misery to murderously vibrant.
Acrylic Paint Markers
When your horror art needs bold, opaque lines like they were painted with liquid nightmare fuel, acrylic paint markers really step up to the easel. With their matte finish and ability to write on almost anything – from paper and wood to glass and ceramics – these pens are your weapon of choice for adding creepy details that really stick.
- Cursed Coverage – These markers bury whatever’s underneath, from delicate graphite lines to layers of charcoal.
- Surface Flexibility – Unlike most drawing tools, these bad boys don’t care if you’re working on paper, wood, glass, or ceramic.
Explore the Acrylic Paint Markers guide to learn when, where, and how to use them for horror art.
Coloured Pencils
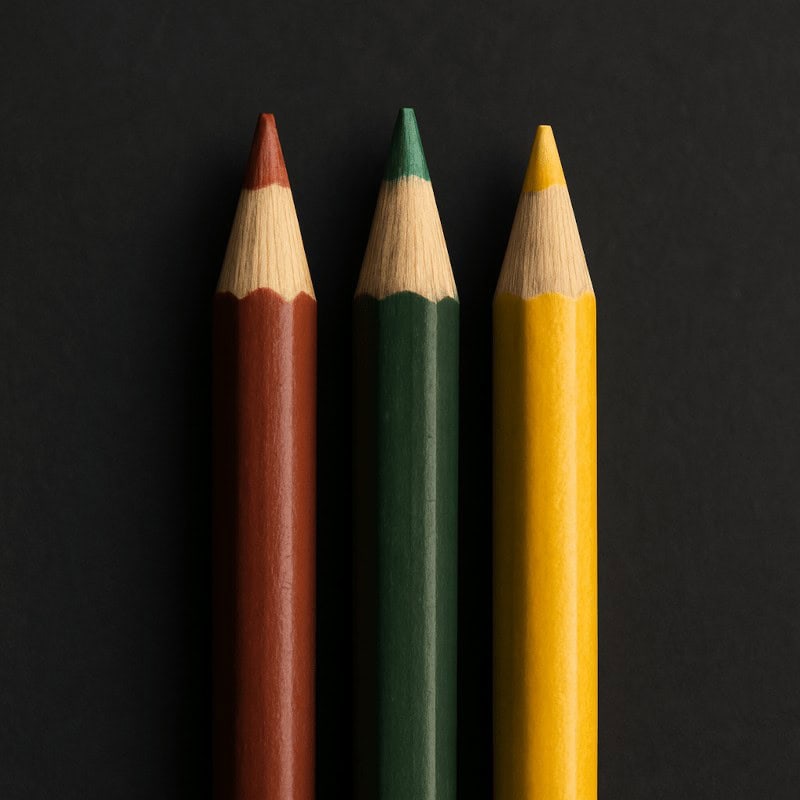
Don’t be fooled by their cheerful reputation – coloured pencils can go full horror with the right palette. Think bruised purples, sickly greens, blood reds, and ghostly blues. They layer beautifully over graphite, letting you build cursed skin tones, haunting glows, or sickly textures that scream something isn’t right.
- Perfect for eerie details like veins, bruises, and glowing eyes
- Great for layering with graphite to add unsettling depth
- Easy to control, blend, and sharpen for precision horror effects
Explore the Coloured Pencils guide to make sure your pencils stay sharp, your paper behaves, and your colours channel just the right amount of creepiness.
Liquid Chalk Markers
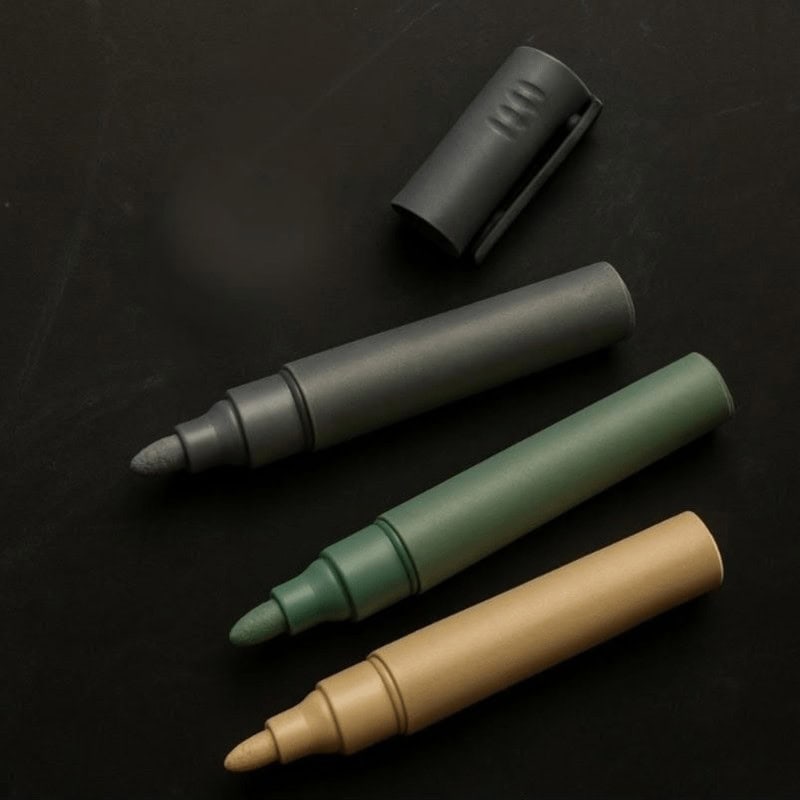
Like graffiti from the underworld, liquid chalk markers bring bold, chalky strokes that look both temporary and hauntingly permanent. They’re smooth to use, but their matte, powdery finish feels like something scrawled on a cursed blackboard in an abandoned school.
- Great for eerie, foggy effects with a chalk-dust vibe
- Matte finish that stands out against dark paper or surfaces
- Perfect for runes, sigils, and creepy handwritten notes that look like they’ll vanish… but don’t
Ready to explore the magic they can do? Continue to the Liquid Chalk Markers guide.
Pastels
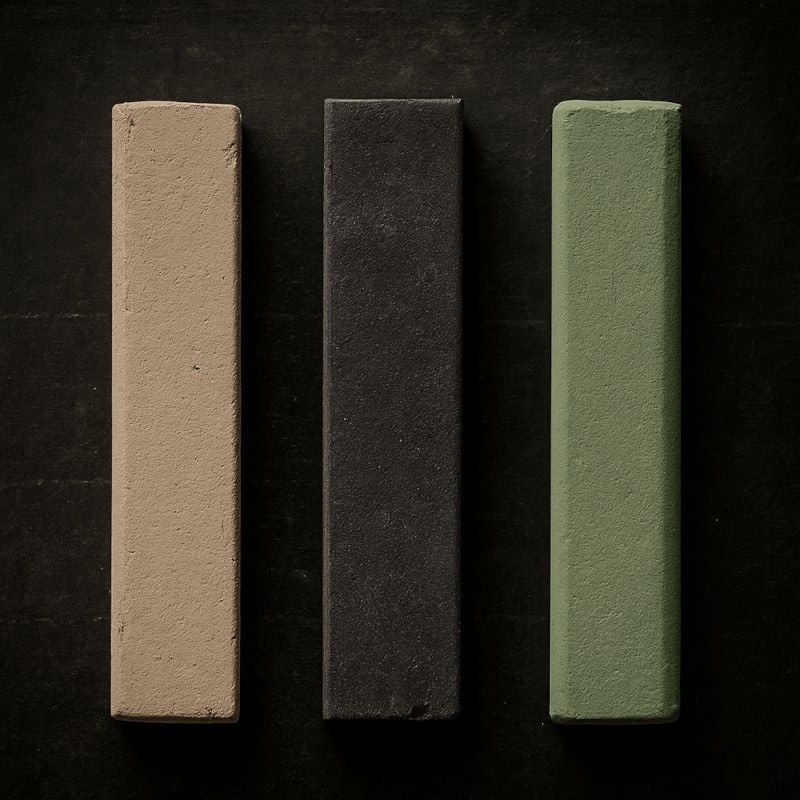
Messy, dusty, and unpredictable – pastels are like the poltergeists of the art world. They leave their mark everywhere, but that chaos can be perfect for horror. Soft pastels create eerie fog, spectral glows, or hazy dreamscapes, while oil pastels give you greasy, unsettling textures that resemble something smeared across the walls of an abandoned asylum.
- Soft pastels: ghostly atmospheres and smoky blends
- Oil pastels: bold, greasy strokes with a disturbing edge
- Perfect for unsettling backgrounds, fog effects, and dreamlike horror scenes
Not sure where to begin with chalk markers? The Pastels guide walks you through the basics before you unleash the spooky stuff.
Blending Tools
Smooth transitions and ghostly gradients don’t just appear on their own – blending tools are how you blur the line (literally) between this world and the next. They’re perfect for misty shadows, foggy backgrounds, and that unsettling “did I just see something move?” effect.
- Tortillions & Blending Stumps: soft, smoky shading without harsh edges
- Cotton Swabs & Tissues: subtle effects, background fog, and quick clean-ups
- Great for hiding mistakes like they never existed… or making your art look haunted in the best way
Visit the Blending Tools guide to uncover the secrets of smooth, spooky blending – and if you want to master the technique, you can also follow my step-by-step tutorials on Using Blending Stumps with Graphite and Using Blending Stumps with Charcoal.
3. Drawing Aids
Not every horror masterpiece comes from freehand chaos – sometimes you need a little order in the madness. Drawing aids keep your lines sharp, your curves smooth, and your cursed lairs looking architecturally sound (because even monsters appreciate good design).
Rulers & French Curves
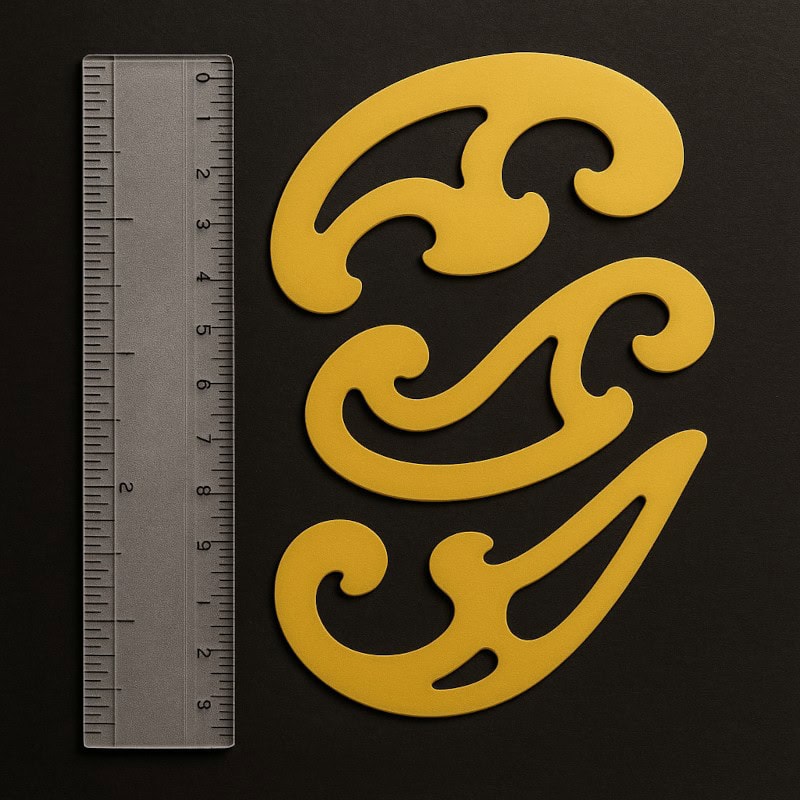
Not the most glamorous tools, but essential for keeping your perspective in check and your straight lines from wobbling like a tipsy ghost. French curves add elegance (and a touch of the unnatural) with sweeping arcs, spirals, and shapes your shaky hand can’t quite master.
- Great for perspective drawings, creepy architecture, and geometric horror
- Perfect for creature horns, spirals, or unnatural, otherworldly designs
- Add precision where freehand fails – keeping your monster’s lair sharp instead of wobbly
Explore the Rulers & French Curves guide to see how they keep your creepy drawings from wobbling off into chaos.
Circle Templates (Stencils)
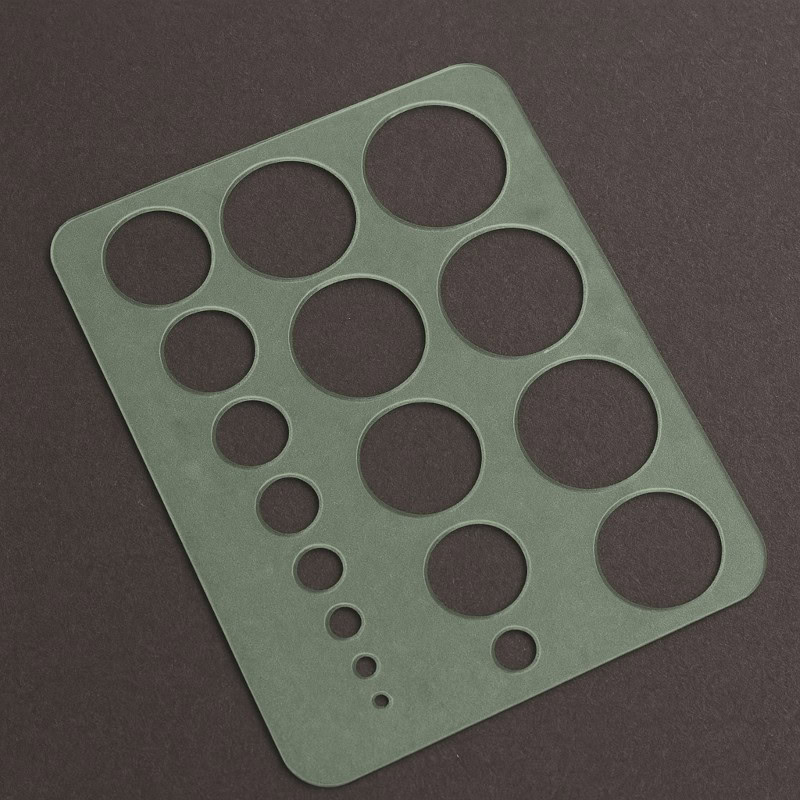
These plastic sheets with different-sized cutouts are basically cheat codes for summoning perfect circles. Monster eyes, glowing orbs, ritual circles, moons – anything round and ominous gets an upgrade when you stop freehanding lopsided potatoes.
- Great for eyeballs, moons, occult symbols, and monster eyes that stare too long
- Fast, consistent, and way less stressful than redrawing circles a hundred times
- Keeps your supernatural geometry sharp and convincing
Learn more about using circle templates in horror art in the Circle Templates (Stencils) guide here.
Craft Knives
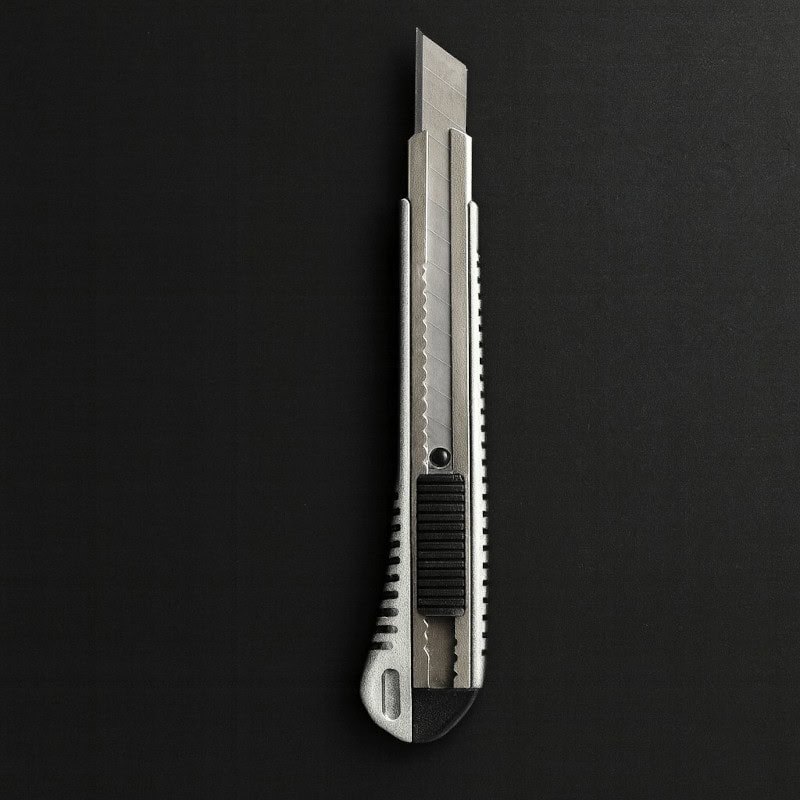
A sharp blade isn’t just for final-girl survival kits – it’s an artist’s ally. Craft knives are perfect for sharpening pencils into long, tapered points or carving eerie details straight into graphite and charcoal drawings.
- Great for razor-thin highlights, cracks in walls, and unsettling surface textures
- Cuts directly into the page, leaving marks that erasers can’t undo
- Adds a raw, unsettling quality to your work that feels scratched in by something unnatural
Warning: handle with care, unless you really want to add authentic blood effects to your piece.
Want to dive deeper into knife-carved highlights and eerie textures? Explore the Craft Knives guide here.
4. Optional advanced supplies
For when you’re ready to push beyond the basics and dabble in darker experiments…
Graphite powder
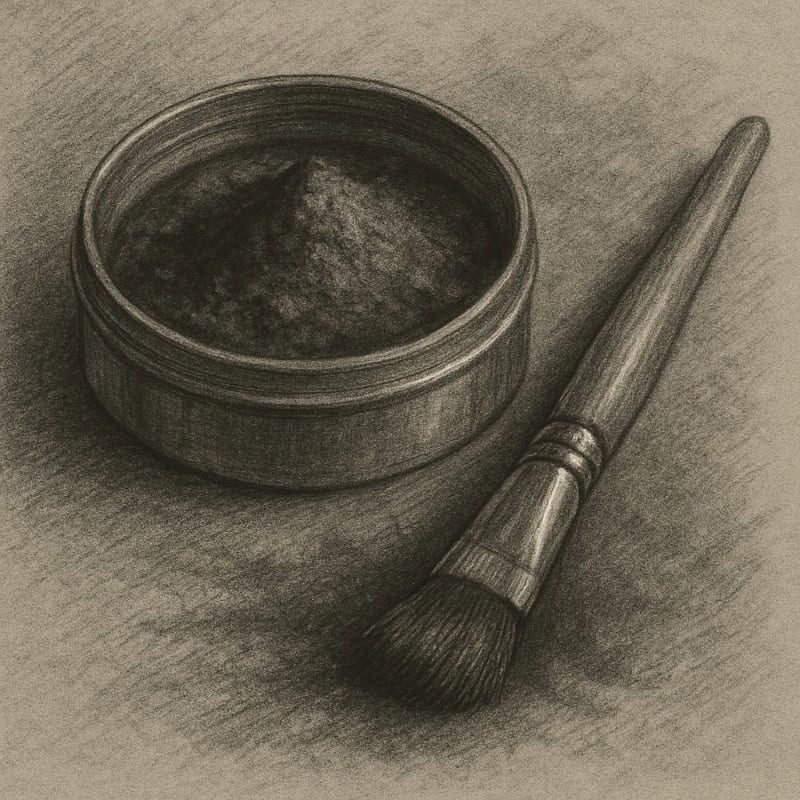
Like black magic in a jar, graphite powder is perfect for summoning creeping fog, moody shadows, and eerie atmospheres. A little goes a long way; use it to build subtle gradients or drown your scene in a haze of dread.
- Great for soft shadows, fog, and atmospheric effects
- Perfect for eerie gradients and backgrounds that feel unsettlingly alive
- Adds depth and mood without harsh lines, just don’t sneeze while applying
See exactly when and how to use graphite powder in the Graphite Powder guide – including blending methods and surface tips.
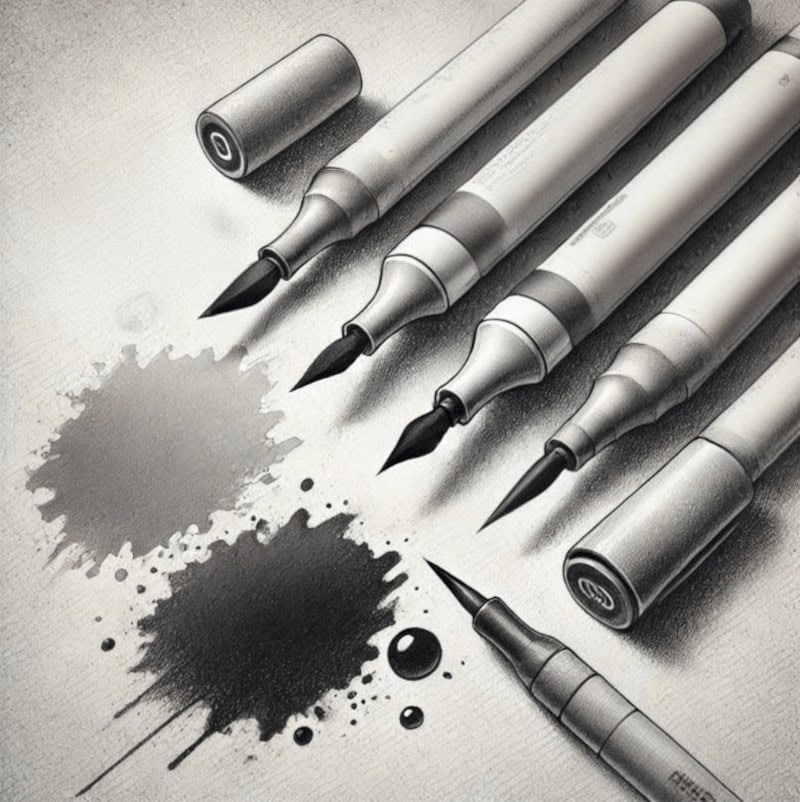
Ink & dip pens

For bold, inky darkness and scratchy, sinister lines, nothing beats old-school ink. Whether you’re cross-hatching like a maniac or dripping shadows across the page, dip pens bring a raw, unsettling edge that feels like pure dread in liquid form.
- Perfect for inky shadows, creepy textures, and scratchy cross-hatching
- Great for bold, dramatic contrasts or dripping, bleeding effects
- Ideal when you want your lines to look like they were carved into the page with despair itself
Warning: messy, unpredictable, and prone to spills, basically horror in liquid form.
Want more tips on getting the most out of ink? You can explore the full Ink & Dip Pens guide here.
Specialised Markers
When your horror art calls for smooth transitions, eerie washes, or cursed colour effects, specialised markers step in. They’re perfect for adding lifelike glows, moody gradients, or atmospheric depth that pencils alone can’t conjure.
- Alcohol-Based Markers – Smooth, blendable, and great for lifelike horror effects (blood splatters, anyone?)
- Ink Wash Markers – Ideal for moody backgrounds and foggy atmospheres that feel painted with despair.
- Best For Horror Art – Adding cursed glows, shadowy gradients, or painterly effects over graphite and ink.
If you’re curious about how these markers fit into your horror art toolkit, you can check out the Specialised Markers guide here.
Fixatives & Sealants
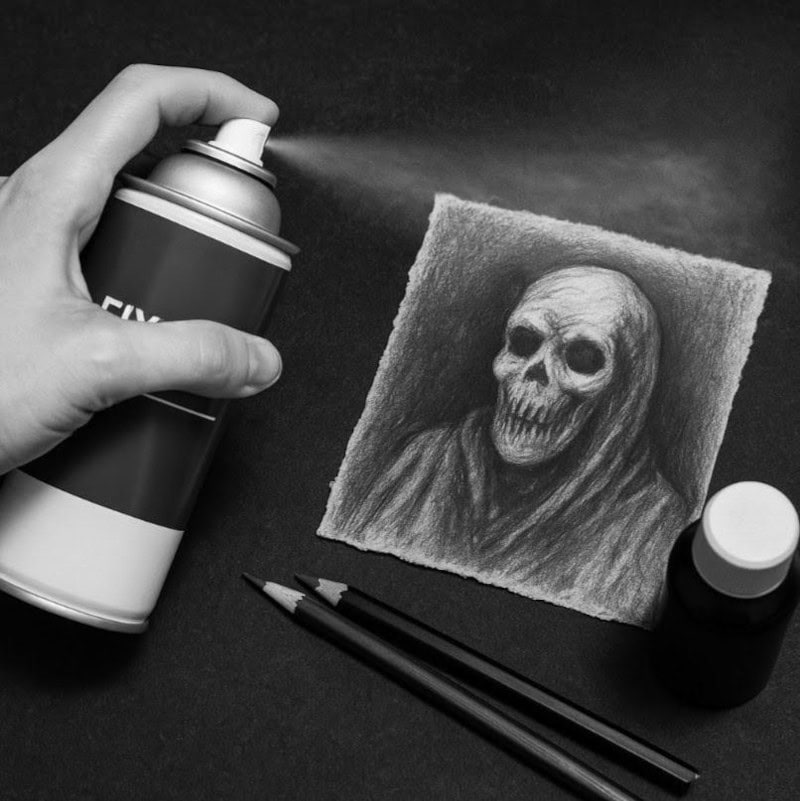
The last thing you want is your haunted masterpiece turning into a smudged mess thanks to rogue fingerprints, time, or supernatural interference. Fixatives and sealants are your final line of defence; think of them as protective wards for your artwork.
- Workable Fixatives – Lock in your current layer so you can keep building shadows, fog, and cursed textures without turning everything into graphite soup.
- Final Fixatives – Once your piece is finished, seal it like a relic in a tomb. Protects against fading, smudging, and overly curious demons.
- Sealants for Mixed Media – Essential if you’re combining graphite, gel pen, or other sinister supplies. A light spray helps everything play nice without one medium eating the other alive.
See how to use them properly in the Fixatives & Sealants guide.
Final thoughts
Mastering horror art isn’t just about the tools – it’s about how you use them to twist atmosphere, tension, and eerie detail into your creations. Whether you’re sketching with trusty graphite, smudging with charcoal, or experimenting with inks and textured paper, the right supplies can bring your nightmares to life in ways you never imagined.
Now I’d love to hear from you: what are your must-have horror art tools? Do you swear by an old favourite, or have you discovered a new trick that makes your art deliciously creepy? Drop a comment below – let’s swap spooky secrets.